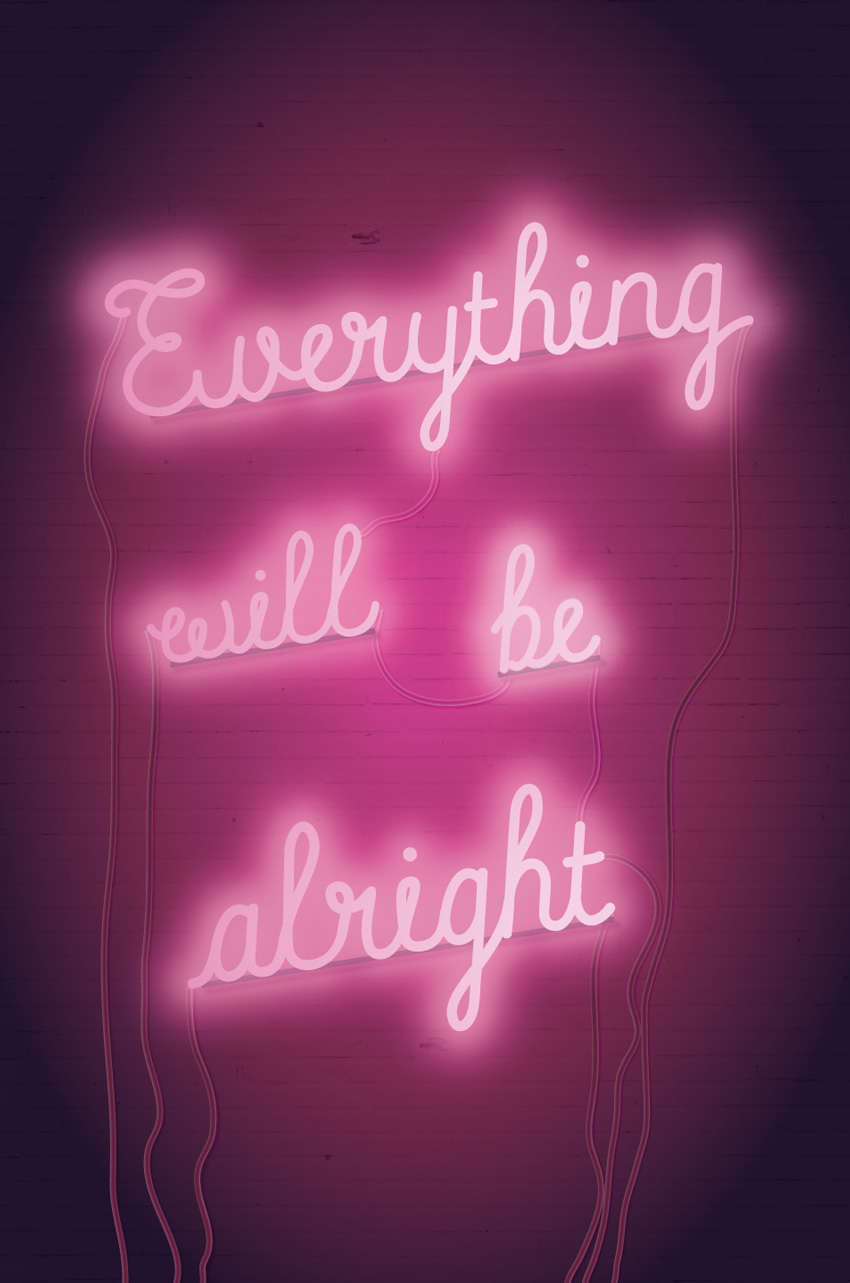
Everyone needs a bit of optimism in their lives, and this neon sign poster is the perfect pick-me-up. Pop it on the office noticeboard, set it as your phone background, or share it on social media to spread the good vibes.
We’ll create the poster layout in Adobe InDesign and prepare the design for either printing or online circulation. This is a great all-round introduction to graphic poster design for beginners.
If you’re looking for a quick-fix design, these high-impact poster templates from GraphicRiver and Envato Elements will do just the trick.
Ready? Let’s get started!
What You’ll Need to Create Your Poster
Firstly, make sure you have access to Adobe InDesign. Then you’ll also need to download the following images and fonts:
1. How to Prepare Your InDesign Document for Designing
Step 1
Open InDesign and go to File > New > Document.
With the Intent set to Print, deselect Facing Pages.
Set the Width of the page to 24 in and Height to 36 in. Keep the Margins to their default width, and add a Bleed of 0.25 in to all edges of the page. Then click OK.

Step 2
Expand the Layers panel (Window > Layers). Double-click on Layer 1 to rename the layer Brick, and click OK.
Choose New Layer from the panel’s top-right menu. Name this second layer Wires and click OK. Create a further two new layers: Backs and then Neon.
Lock all layers except the bottom layer, Brick.

Step 3
Expand the Swatches panel (Window > Color > Swatches). Choose New Color Swatch from the panel’s top-right menu.
Name the swatch Deep Pink, and set the Color Type to Process and Color Mode to CMYK. Set the levels below to C=10 M=100 Y=0 K=16. Click Add, and then OK.
Repeat the process to create five more new CMYK swatches, with the following names and values:
- Hot Pink: C=10 M=100 Y=0 K=0
- Pale Pink: C=5 M=12 Y=0 K=0
- Shadow: C=88 M=95 Y=50 K=74
- Dark Pink: C=10 M=100 Y=0 K=38
- Maroon: C=39 M=97 Y=40 K=55

2. How to Create a Brick Backdrop for Your Poster
Step 1
Working on the Brick layer, use the Rectangle Frame Tool (F) to create an image frame over the top half of the page, extending the edge up to the bleed.
Go to File > Place, navigate to the brick wall image you downloaded earlier, and Open.
Allow the brick texture to fill the frame completely.

Select the image frame and Edit > Copy, Edit > Paste. On the copy, Right-Click > Transform > Flip Vertical.

Move the copy below, covering the bottom half of the page and creating a solid brick texture across the whole page.

Step 2
In the Swatches panel, click on New Gradient Swatch in the panel’s drop-down menu.

Name the swatch Background Pink Gradient, set the Type to Radial, and choose Swatches from the Stop Color menu.
On the Gradient Ramp, set the left-hand stop to Deep Pink and the right-hand stop to Shadow. Click on the ramp to add a third stop in the center, setting this to Maroon.

Step 3
Use the Rectangle Tool (M) to create a shape across the whole page, setting the Fill (from the Swatches panel) to Background Pink Gradient.
With the rectangle selected, head up to Object on the main menu, and Effects > Transparency. Set the Mode to Multiply and reduce the Opacity to 90%, before clicking OK.

3. How to Create Neon Type on Your Layout
Step 1
Lock the Brick layer and unlock the top layer, Neon.
Use the Line Tool (\) to draw a slightly diagonal line across the top half of the page, as shown below.

Step 2
Select the Type on a Path Tool (Shift-T) and click once on the left side of the line, to transform it into a text path.

Type in ‘Everything’. Highlight the text and, from either the top Controls panel or the Character panel (Window > Type & Tables > Character), set the Font to Balham to Brooklyn and Font Size to 450 pt.

Step 3
Switch to the Selection Tool (V, Escape) and select the line. From the Swatches panel, set the Stroke Color to [None].

Switch back to the Type Tool (T), highlight the text, and set the Font Color to Hot Pink.

Step 4
With the line selected, head up to Object > Effects > Outer Glow.
Click on the colored square next to the Mode menu, and choose Hot Pink for the Effect Color.
Set the Opacity of the glow to 80% and Spread to around 40%, before clicking OK.

Step 5
Select the line and Edit > Copy, Edit > Paste, moving the copy below. Adjust the text to read ‘will’ and reduce the Font Size a little.

Edit > Paste the line again, editing this text to read ‘be’ and moving it over to the bottom-right of ‘will’, as shown below.

Paste again, moving this copy to the bottom of the group, and adjusting the text to read ‘alright’. Increase the Font Size a little.

Step 6
Select all four text lines and Right-Click > Group.

With the group selected, Edit > Copy and Edit > Paste in Place.

Adjust the Font Color of this pasted group to Pale Pink.

Step 7
With the pasted Pale Pink group selected, go to Object > Effects > Transparency. Set the Mode to Screen and Opacity to 70%.

Click on Drop Shadow in the menu’s left-hand menu. Set the Effect Color to Hot Pink and pull down the Opacity to around 40%.

Click on Outer Glow in the left-hand menu. Set the Effect Color to Pale Pink and bring the Opacity down to around 65%.

Finally, click on Gradient Feather at the bottom of the menu. Set the Type to Radial, and click OK to exit the window.


Step 8
Edit > Paste in Place to drop another group of text lines onto the page. We’ll use this copy as a highlight, to give the text effect some extra glow.

Set the Mode to Screen and bring the Opacity down to 50%.

Click on Outer Glow in the panel’s menu, and set the Effect Color to Pale Pink. Set the Opacity to around 55%, add about 10% Noise, and set the Spread to 40%.
Click OK to exit.

4. How to Add Wires and Backs to Your Neon Sign
To make your sign look more realistic, we can add trailing wires and ‘backs’ behind the words.
Step 1
Lock the Neon layer and unlock the Wires layer.
Use the Pencil Tool (N) to draw an imperfect line from the edge of the ‘a’ of ‘alright’ down past the bottom edge of the page.

Use the Smooth Tool to stroke over the line, smoothing out any jaunty edges to the line.

From the Stroke panel (Window > Stroke), set the Weight of the line to 12 pt.

Then adjust the Stroke Color of the line to Maroon.

Step 2
Use the Pencil Tool (N) to draw more lines leading from the outlying edges of each word, trailing down to the bottom of the page. Repeat the same Stroke Weight and Color as described in the step above.

Add a few looped lines between the words in the center of the layout, setting the Stroke Color to Dark Pink, to indicate the increased amount of light at the center of the poster.

Select all the pencil-drawn ‘wires’ on the poster, and go to Object > Effects > Drop Shadow.
Set the Effect Color to Hot Pink, bring the Opacity down to around 65%, and add about 20% Noise.

Click on Inner Glow, and set the Opacity to around 40%. Then click OK.


Step 3
Lock the Wires layer and unlock the Backs layer above.
Use the Line Tool (\) to create a line under the baseline of the top word, ‘Everything’. Set the Stroke Color of the line to Shadow and set the Weight (from the Stroke panel) to 11 pt.

Edit > Copy, Edit > Paste the line, shortening it to fit under ‘will’. Repeat two more times, placing copies of the line under ‘be’ and ‘alright’.

Step 4
Select all four lines sitting under the words, and go to Object > Effects > Drop Shadow.

Set the Effect Color to Dark Pink, Opacity to 75%, Spread to 27% and Noise to 15%.

Click OK to exit the window. Then step back and admire your hard work!
With your artwork now finished, you can export your poster to a print- or online-friendly format. Go to File > Export, and choose Adobe PDF (Print) from the Format menu for a press-ready file. To share your poster online, choose PNG, JPEG or Adobe PDF (Interactive) from the Format options.

Conclusion
Your neon sign poster is finished—great job!
In this tutorial we’ve covered a wide range of skills for creating poster work and special typographic effects. You now know how to:
- Create a moody gradient backdrop for your posters.
- Format advanced neon text effects by building up layers of type.
- Create a ‘lit-up’ effect by adjusting glows, gradients, transparencies, and shadows.
- Add extra photorealistic details, like wires and backs, using InDesign’s drawing tools.
If you’re on the hunt for more poster designs, a poster template is a quick and easy-to-edit alternative. You can find tons of fantastic event, infographic and motivational posters over on GraphicRiver and Envato Elements.
Looking for more poster tutorials? Make sure to check these out:
-

How to Create a Suffragette-Inspired Poster in Adobe InDesign #100Years
2018 marks a hundred years since women won the right to vote in Britain, due to the remarkable efforts of the suffragist movement. This poster design takes… -

How to Create a Wanted Poster Photo Manipulation in Adobe Photoshop
Tackle a fun photo manipulation inspired by old Western wanted posters. In this tutorial, I’ll show you how to create the poster design itself before nailing… -

10 Top Tips for Designing Music Festival Posters
Whether you’re planning to host your own festival event or looking for inspiration to help with a design project, these top design tips will help you create… -

Create an “Inception” Inspired Movie Poster
In this tutorial will take inspiration from the Inception movie of a few years ago. The film used breathtaking special effects to create a world of…
{excerpt}
Read More