In this Vector Quick Tip, you will learn how to create various Brush stroke effects for different purposes, such as creating banners or an artistically drawn landscape.
Step 1 – Create the Draft of the Landscape
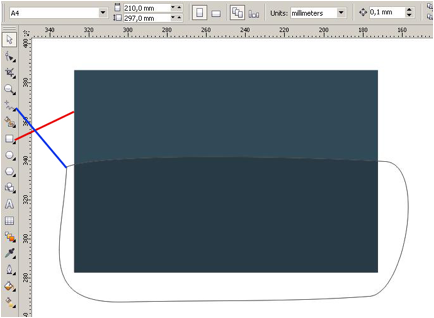
Select the Rectangle Tool and draw a rectangle. Then draw the horizon line with the FreeHand Tool as shown in the image below (don’t forget to close the shape). Select the both objects and intersect them (Arrange > Shaping > Intersect). Slightly change the color of the intersected area.
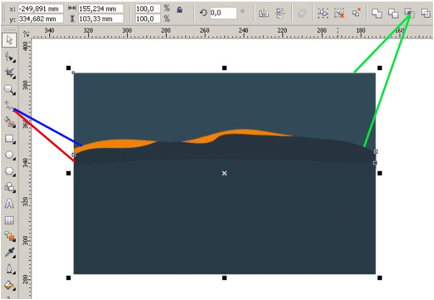
Use the FreeHand Tool to draw the shape of the hills. Then intersect the object with the main rectangle the way described above, so it fits the main rectangle. Do the same with the highlights on the hills.
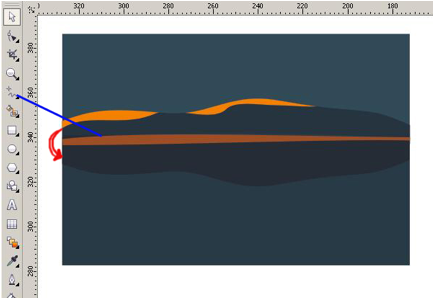
To make the reflection of the hill in the water, copy it (Control + C), paste it (Control + V), and holding Control drag it downwards.
Step 2 – Draw the Rush
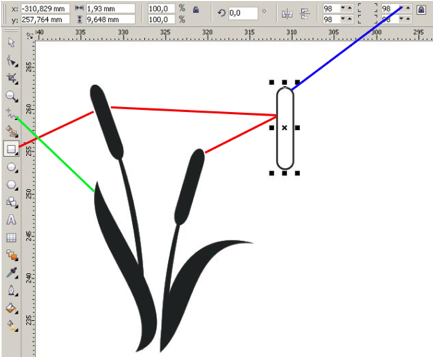
Select the Rectangle Tool to draw a rectangle. To make round corners, select the needed degree on the upper panel (blue line). Then draw leaves with FreeHand Tool.
Draw up to 10 reeds, and put them chaotically together so they look natural.
Step 3 – Place the Rush in the Composition
Select the all the reeds you have drawn and group them (Control + G – (1) as shown on the picture). After grouping select the background (main rectangle) and the reeds, and intersect them (Arrange > Shape > Intersect – (2) as shown on the picture).
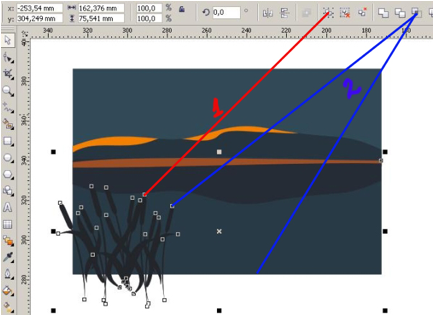
Step 4 – Draw the Sun and Reflection
Select the FreeHand Tool to draw the sun, and its reflection in the water.
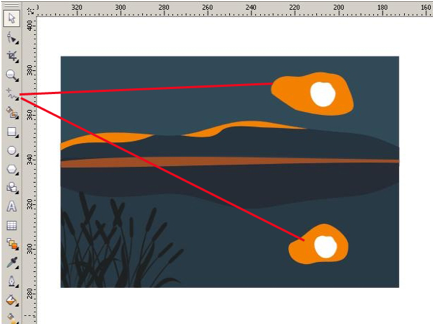
Step 5 – Draw the Grunge Effect
Select the Rectangle Tool to draw rectangles as shown on the picture below (1). Then group (Control + G) and weld them (Arrange > Shaping > Weld (2)). After welding select Eraser Tool (3) to create an object similar to the one on the picture below.
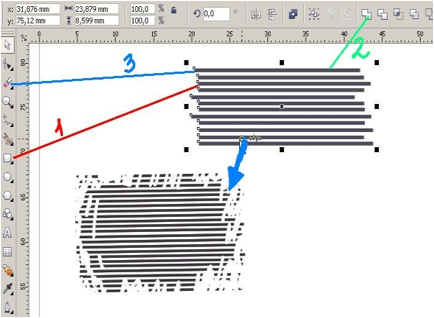
Create grunge units which would be differently shaped. Select the the colors you want to use for clouds and water
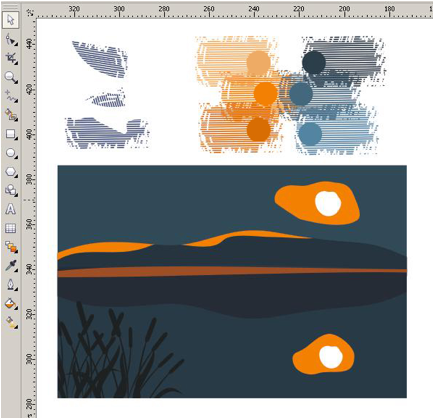
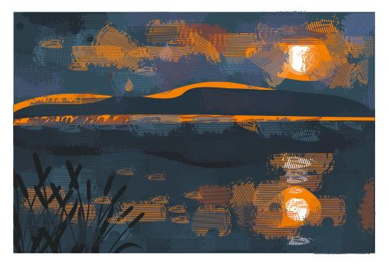
Chaotically distribute the grunge units in the picture until you get the effect of brush strokes on your image.
Step 6 – Creating Mist
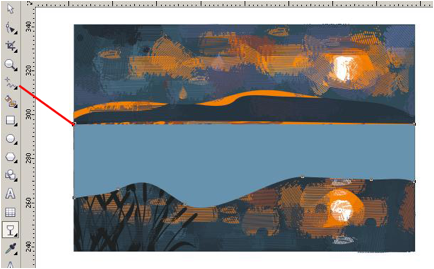
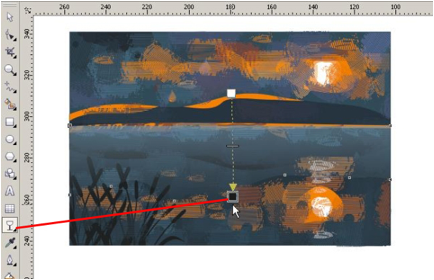
Select the FreeHand Tool to create a mist area, color it light grey or blue. Then select Interactive Transparency Tool and apply it to the mist area the way shown on the picture below.
Conclusion
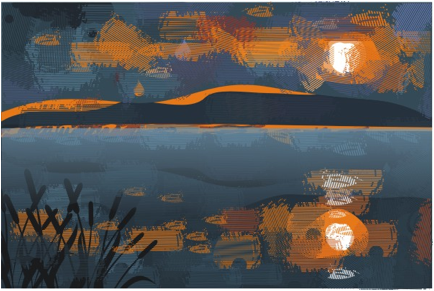
Using this technique you can create painting-like illustrations, as well as grungy banners, backgrounds, and shades. Make different shapes of the grungy units, color them differently, rotate them, and you will see how amazingly it can change your composition!