In today’s tutorial, we will create an LCD TV from scratch using simple shapes and layer styles. We will also learn how to create a seamless pattern to create the speakers and also how to create some nice indicator lights. Let’s get started!
Step 1: Create the Screen
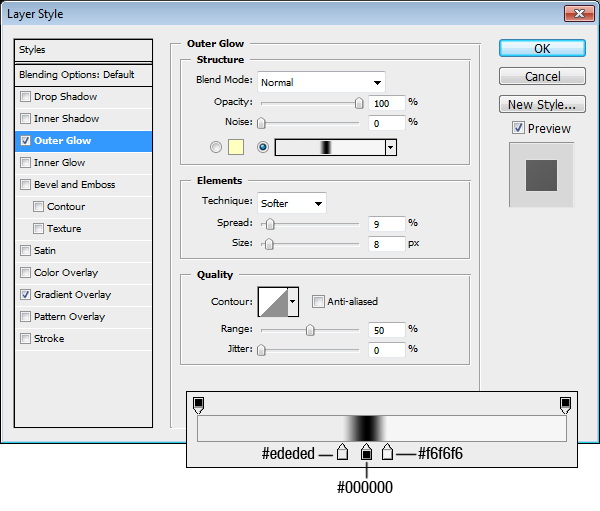
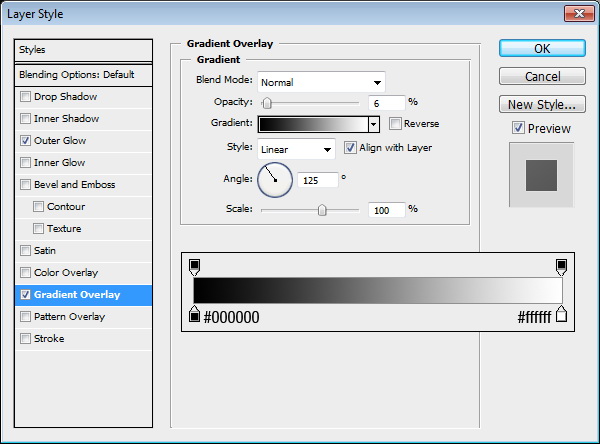
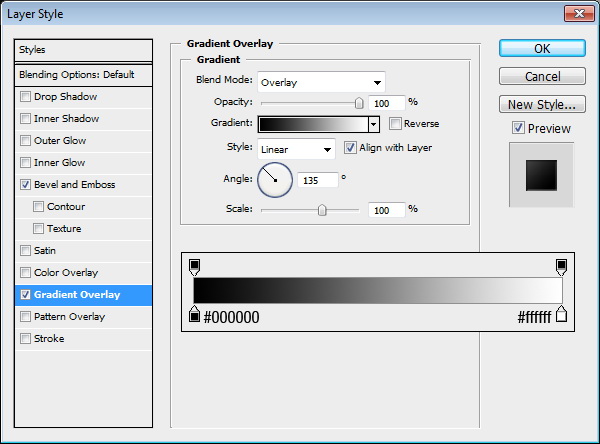
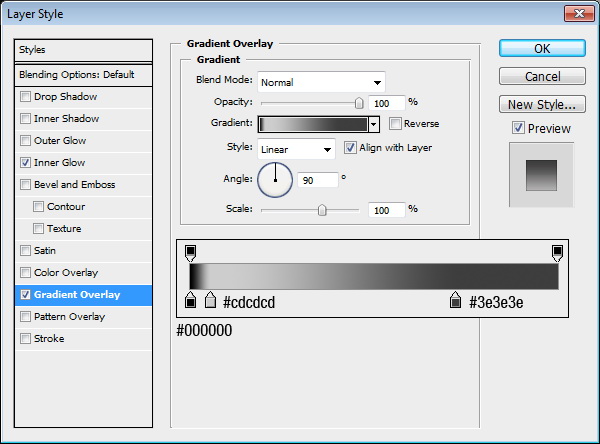
Start by creating a new file, size 2600×1700 px. In Photoshop, it’s easier to start with a big size to help us focus on the details. Using a rounded rectangle with 5 px radius, create a shape and use the following layer styles.

Step 2
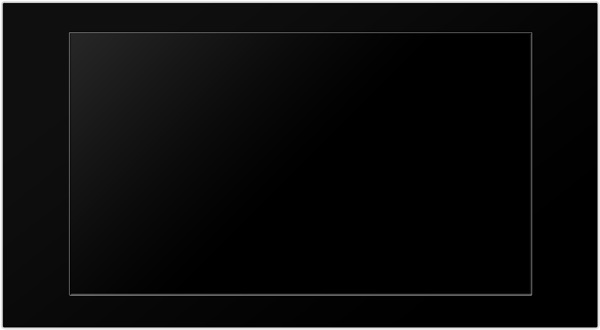
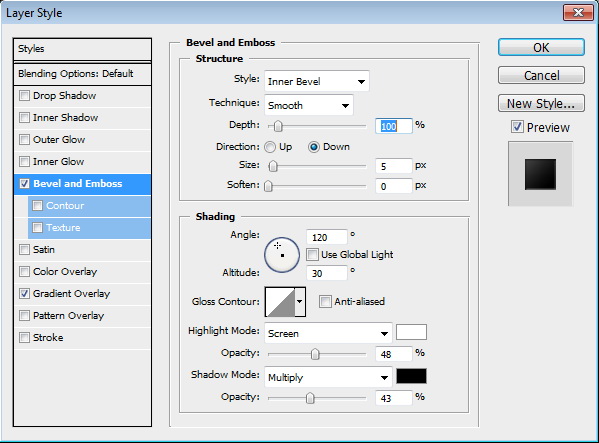
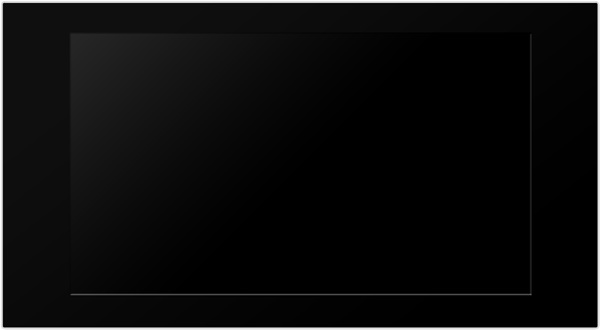
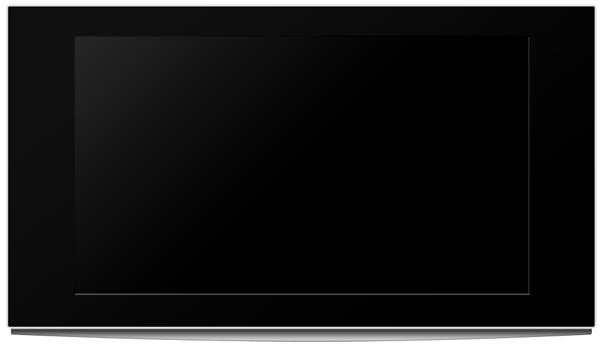
Create a smaller rounded rectangle inside previous shape to create the screen. Add the following layer styles.
Step 3
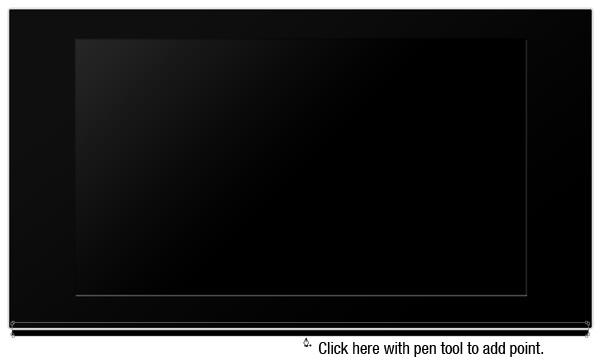
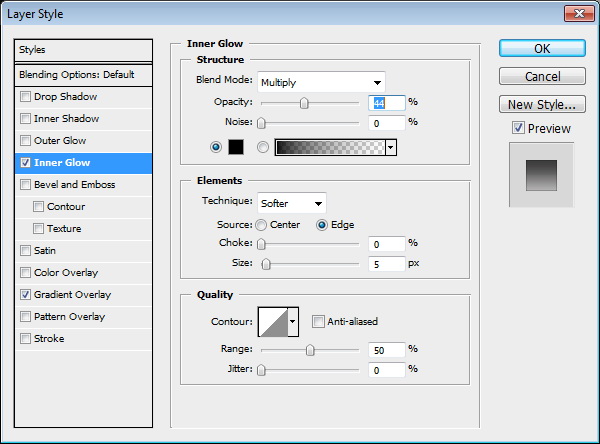
Using the rounded rectangle tool, create another shape behind the screen. Click with pen tool to add new anchor points as indicated below. Select new point with direct selection tool and move it down. Add layer styles as shown below.

Step 4: Draw the Base
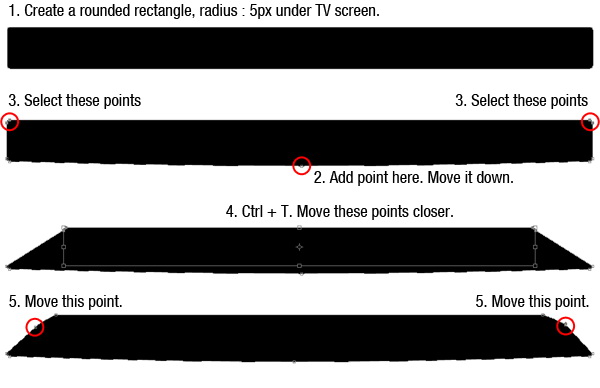
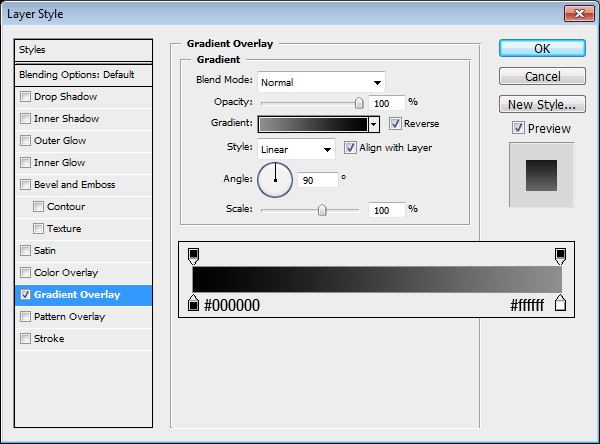
Create another rounded rectangle. This time under the TV. Add a point in the middle of lower side and move it down. Select points in the top corner, press Cmd/Ctrl + T and move them closer. Finally, move the points as indicated below. Add layer styles.
Step 5
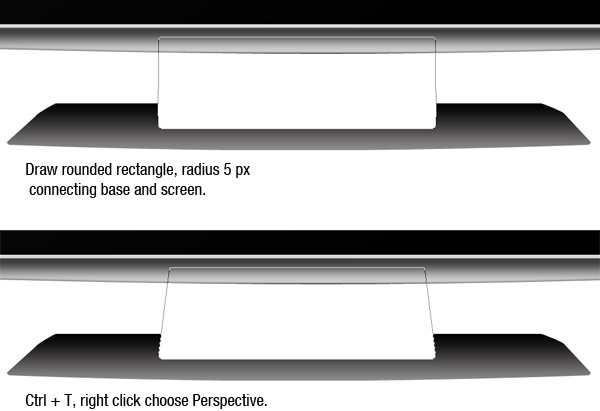
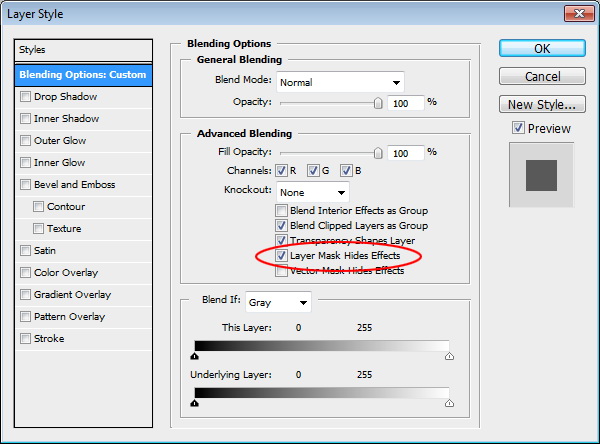
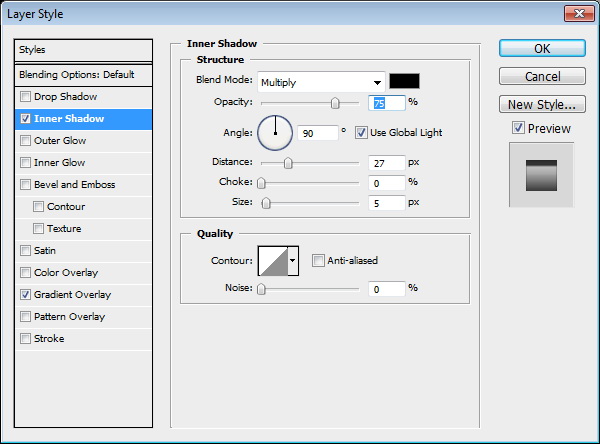
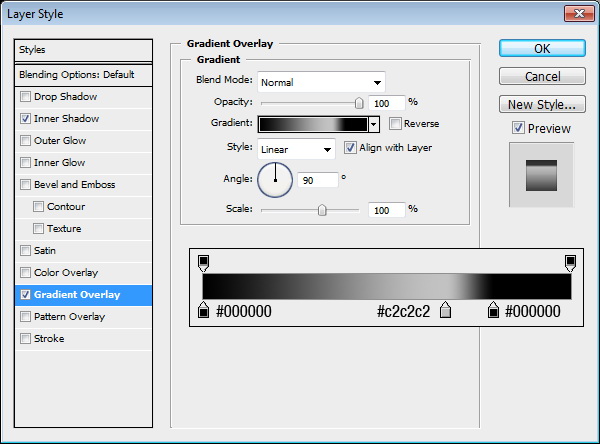
Draw a rounded rectangle connecting the base and the screen. Hit Cmd/Ctrl + T, right click and choose Perspective. Change its size, see picture below for reference. Double click layer to open Layer Style options. Activate Layer Mask Hides Effects and add the following layer styles.
Step 6
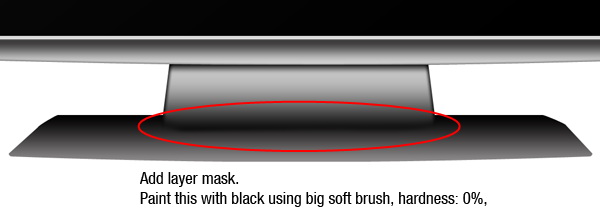
Add layer mask. Paint lower part of the shape with black until it blends into the base.
Step 7: Create Reflections
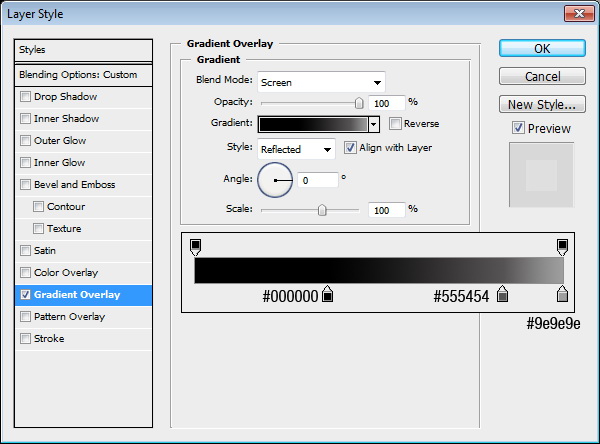
Now, we can start creating reflections. Create a shape as shown below. Add the following layer styles. Use a black to white gradient with blending mode set to Screen. Change layer’s blend mode to Screen to remove the black and leave only the lighter pixels.


Step 8
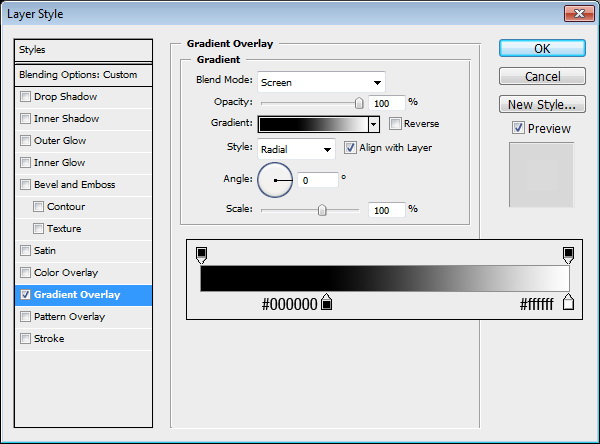
Draw another shape as shown below. Add Gradient Overlay with blending mode set to Screen. Change layer’s blending mode to Screen.


Step 9
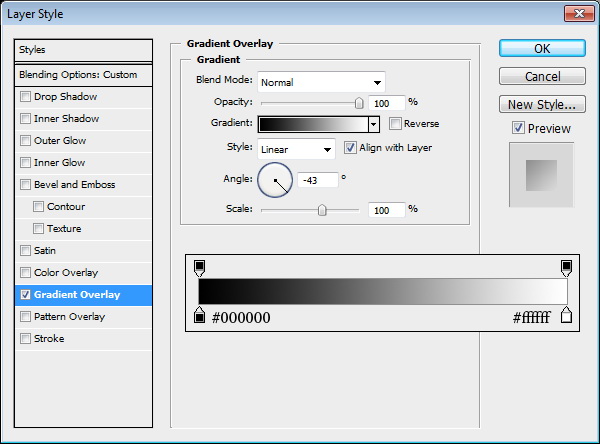
Create another shape for reflection. Add the following layer styles.

Step 10
Repeat previous step to create another reflection on the other side. Add the following layer styles but this time use the opposite direction for the angle.
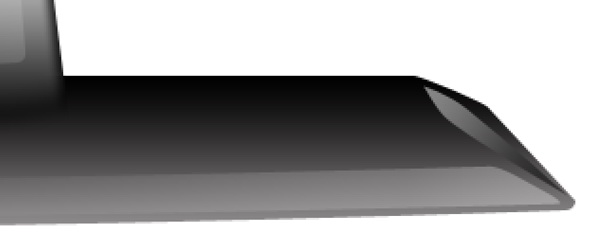
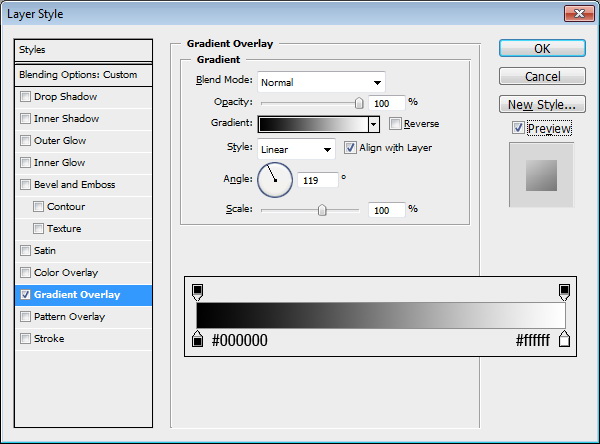
Step 11
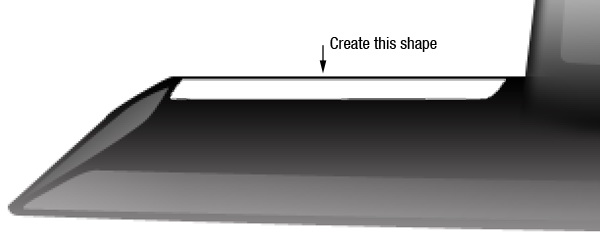
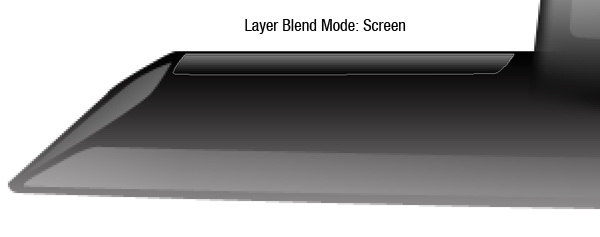
Create a shape as shown below. Add the following layer styles. Change blending mode to Screen.
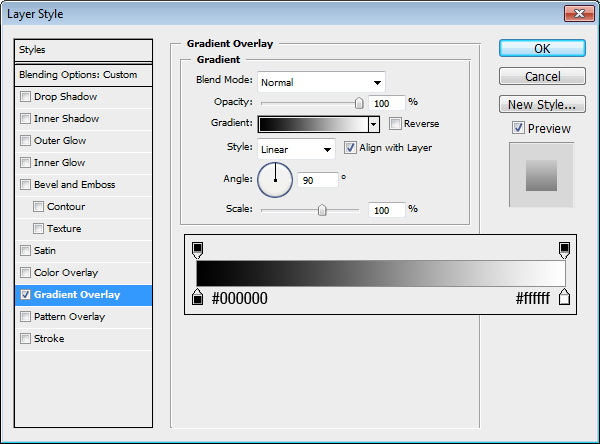
Step 12
Duplicate the reflection and place on the other side.

Step 13
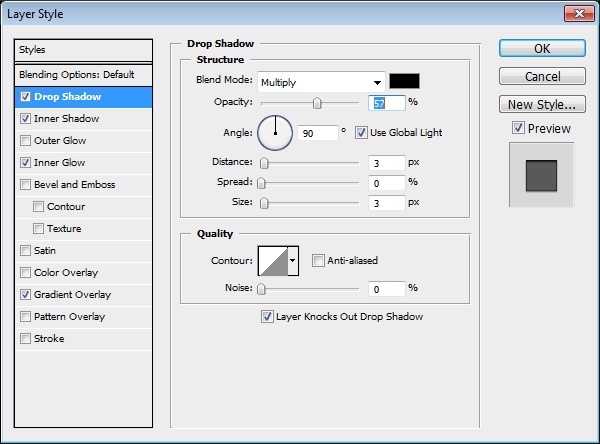
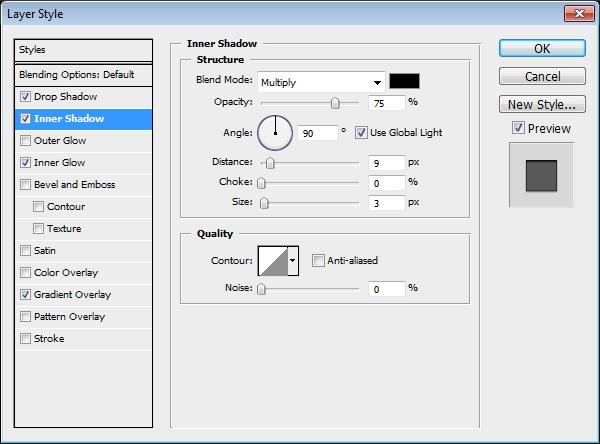
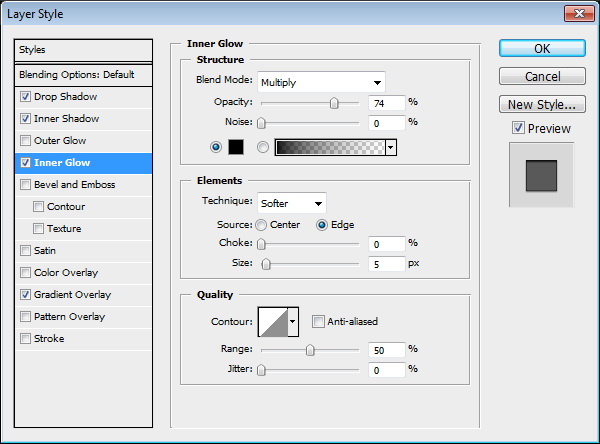
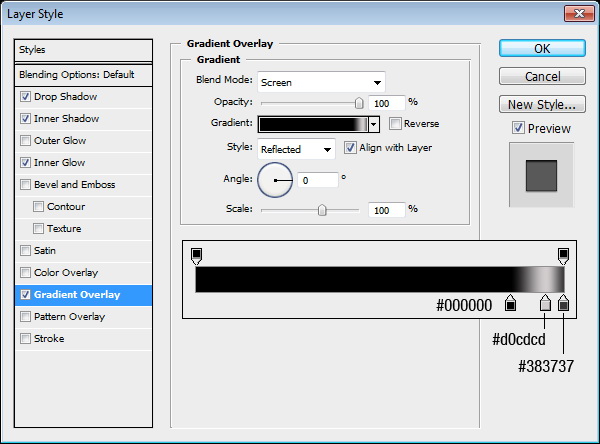
Create a shape under the base. This is the part that touches the floor. Add the following layer styles.


Step 14: Add Shadow
Let’s add a shadow on the floor. Create a new layer underneath the TV, create a rectangular selection. Add Gaussian Blur to soften it and change its opacity to 5%.


Step 15: Add Texture
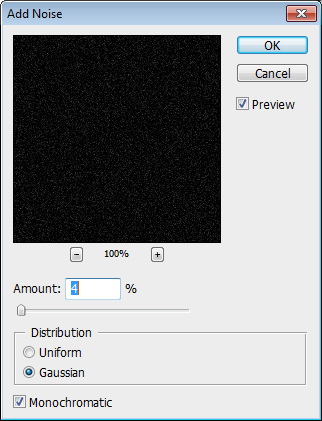
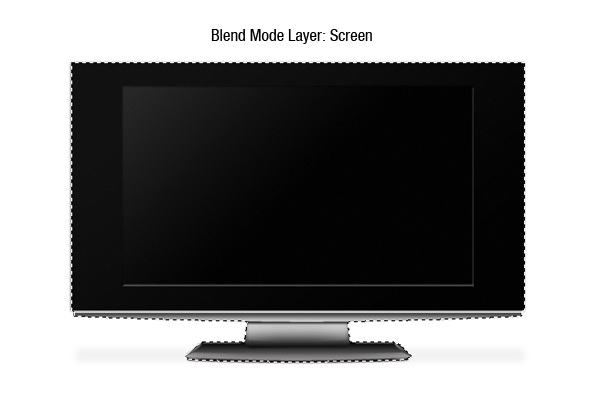
This TV is too clean and it looks unrealistic. We need to add some textures. Hold Cmd/Ctrl + Shift then click the TV and base layer’s to create a selection based on its shape. Create a new layer on top of all the other layers and fill it with black. Click Filter > Noise > Add Noise. Change layer’s blend mode to Screen.

Step 16: Add Speakers
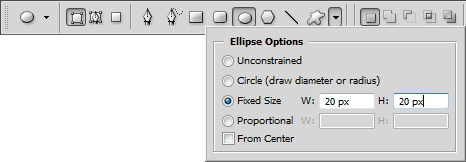
To create speakers, we need to create its pattern first. Create a new file 50 x 50 px. Activate ellipse tool. From the option bar set to Fixed Size 20 x 20 px. This setting will automatically create a 20×20 px circle shape.
Step 17
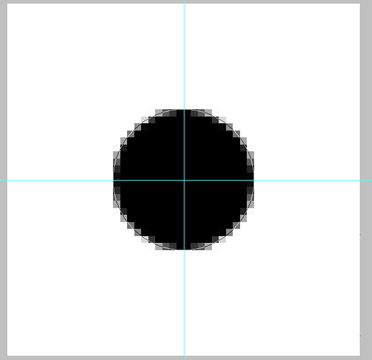
Hit Cmd/Ctrl + R to activate Ruler. Drag ruler to the center of the image to create a vertical and horizontal guide in the center. Draw a circle in the middle.
Step 18
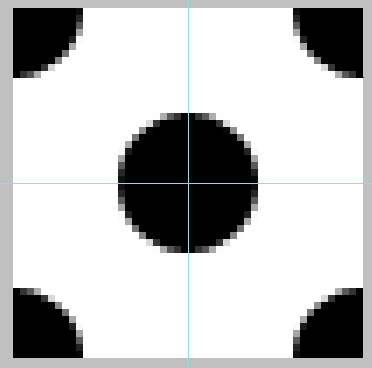
Draw another circle and place it in the middle of each corner.
Step 19
Click Edit > Define Pattern to save it as a pattern.

Step 20
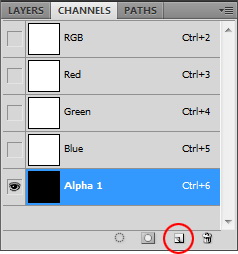
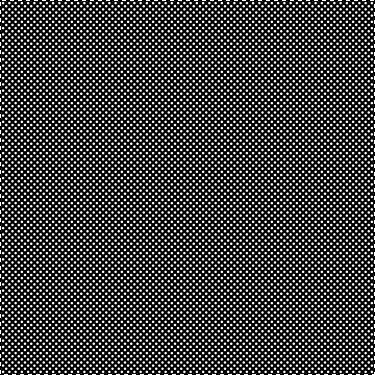
Create new file, size 3000 x 3000 px. Open Channels panel and create a new channel.
Step 21
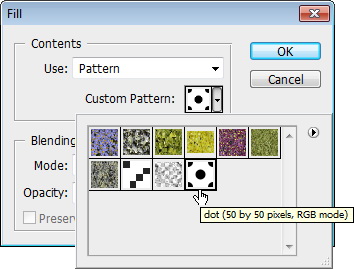
Click Edit > Fill. Use pattern we created earlier.
Step 22
Cmd/Ctrl-click channel to load it as a selection. Create new layer, fill it with black. Select all and copy (Cmd/Ctrl + C).
Step 23
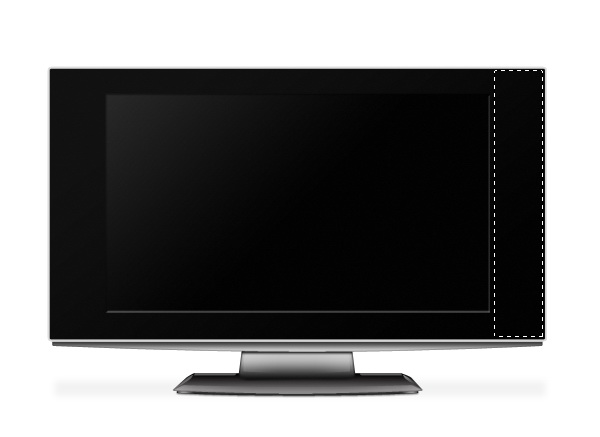
Return to your TV file. Create a rectangular selection on the right side of the screen.
Step 24
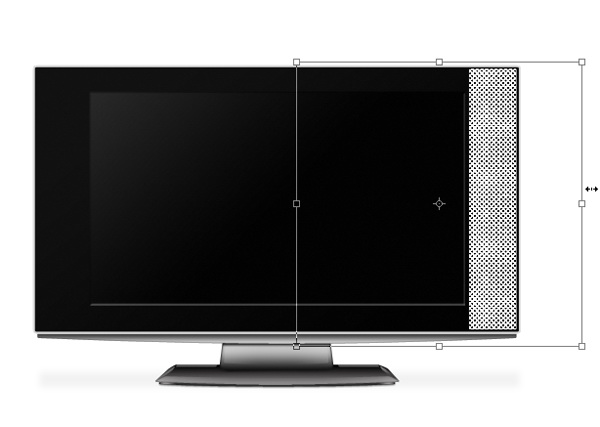
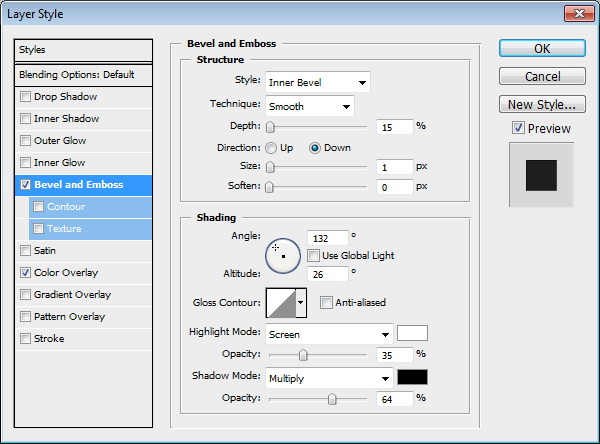
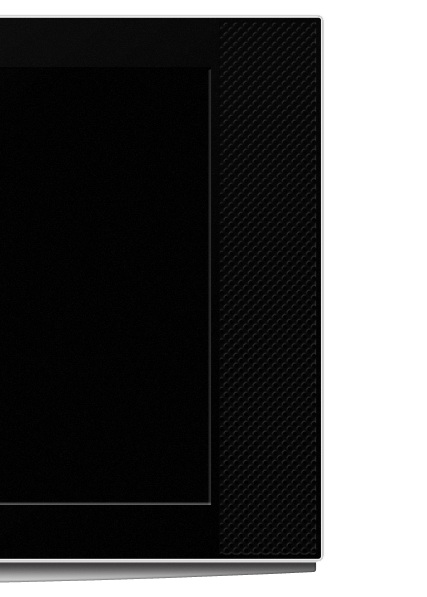
Click Edit > Paste Into. The pattern will automatically be placed inside the selection. Hit Cmd/Ctrl + T and resize it. Add the following layer styles.
Step 25
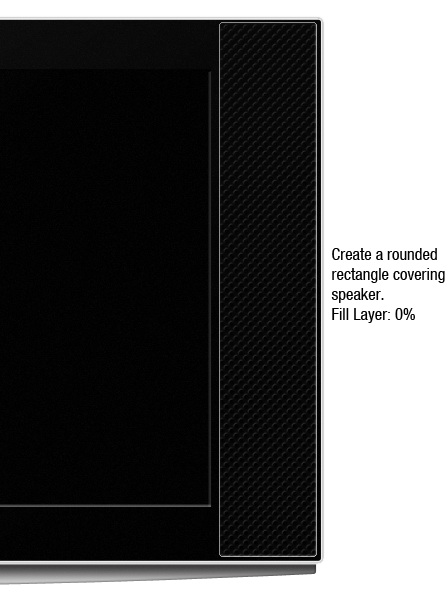
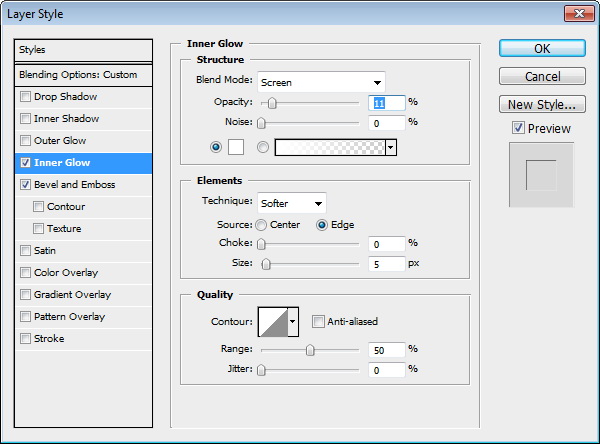
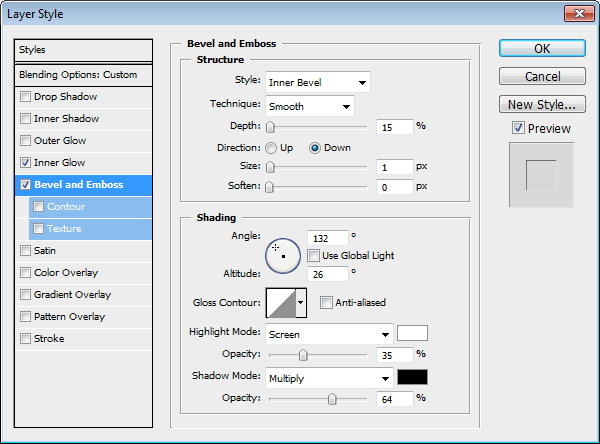
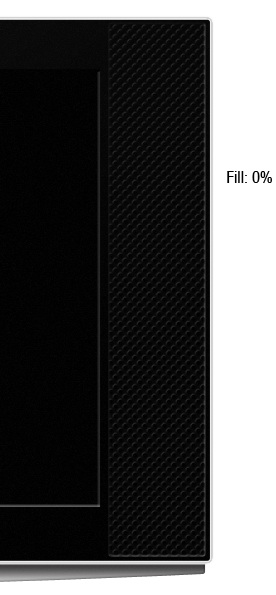
Create a rounded rectangle covering the speaker. Change its fill to 0% and add these layer styles.
Step 26
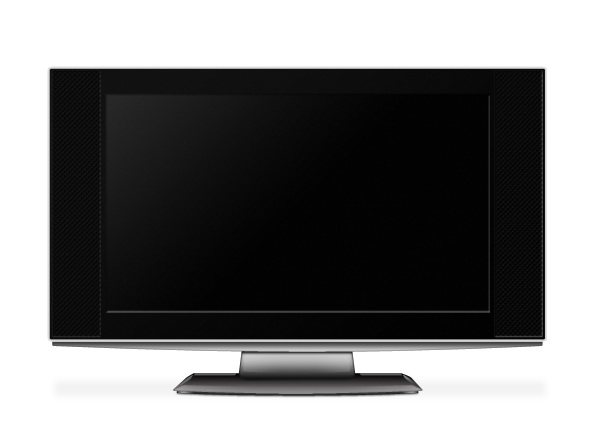
Duplicate the speaker and place on the other side.
Step 27: Add Brand
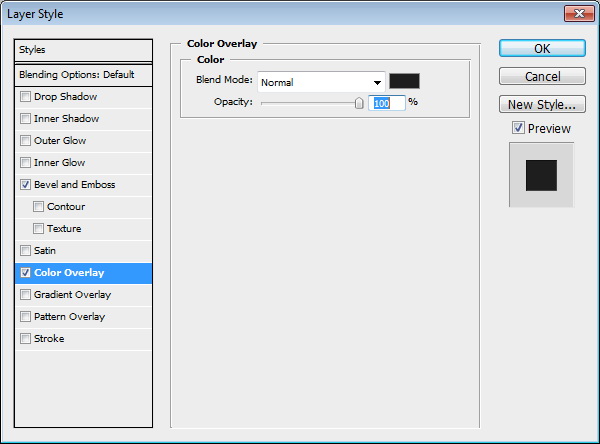
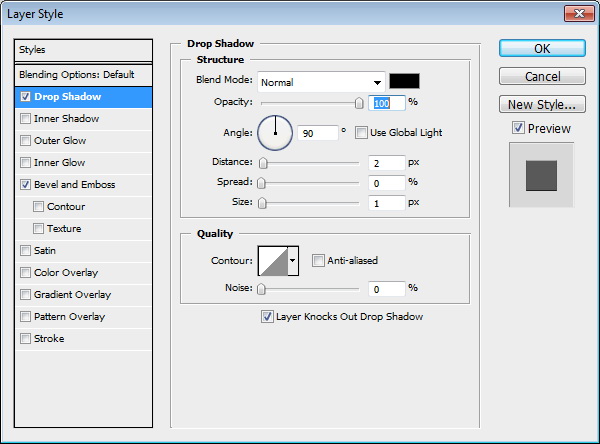
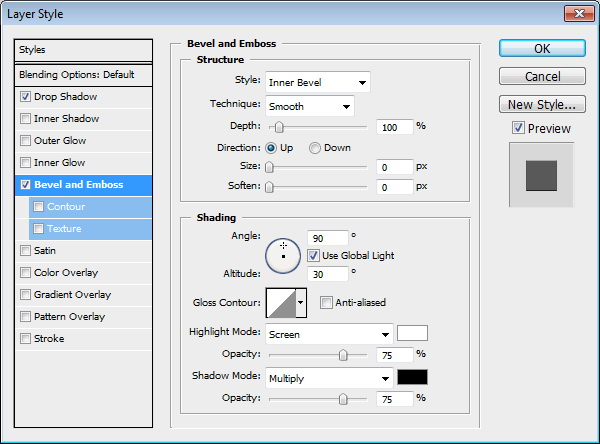
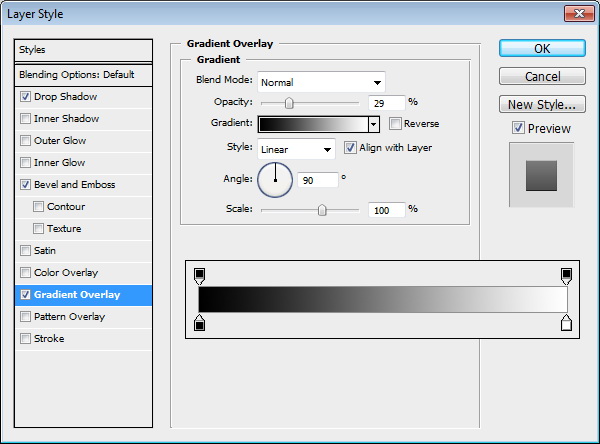
Add the TV’s brand and apply the following layer styles to give it a metallic look.

Step 28: Create Lamp Indicator
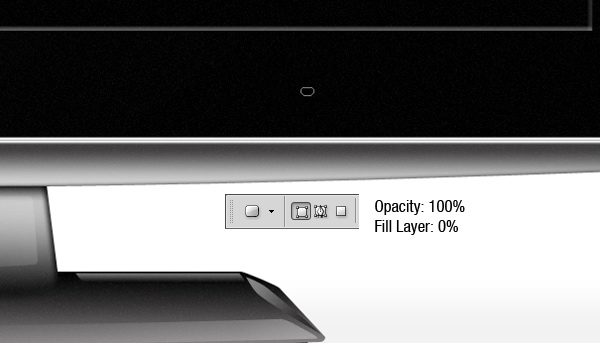
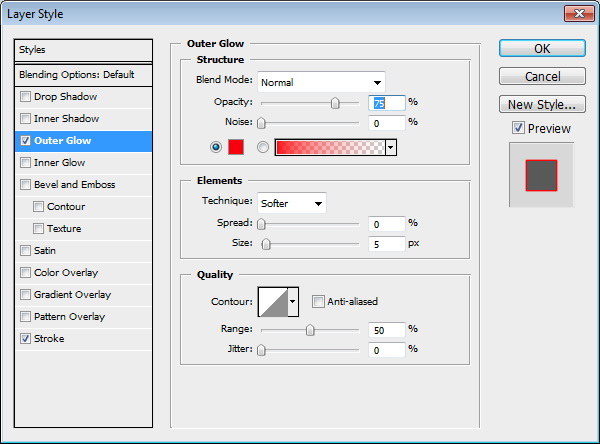
Create a small rounded rectangle shape. Make sure its Opacity is set to 100% with its Fill set to 0%. Apply the following layer styles.
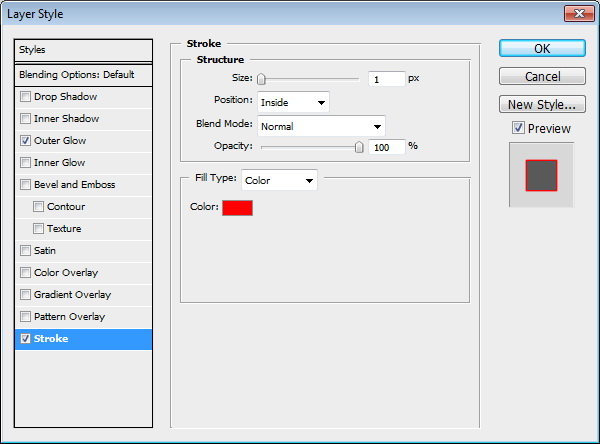
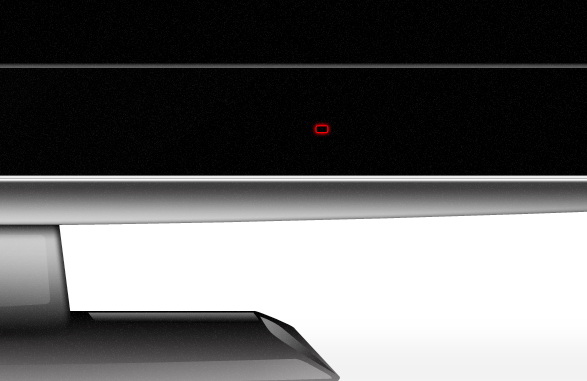
Step 29
Duplicate the shape and resize it as shown.
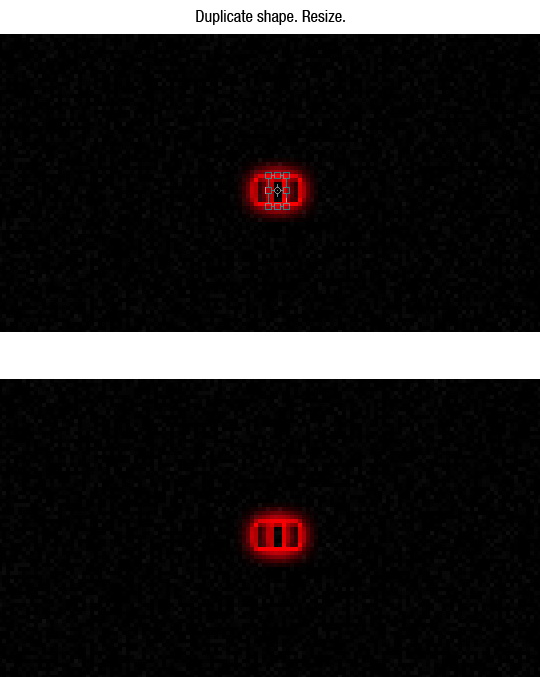
Step 30
Create another rounded rectangle. Use the same layer styles.
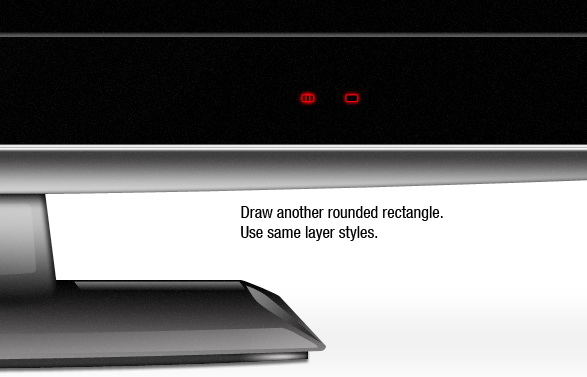
Step 31
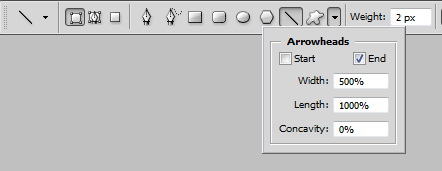
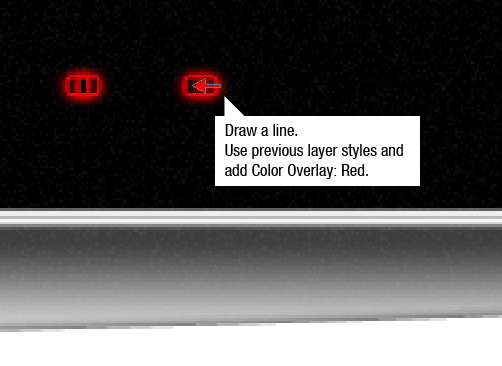
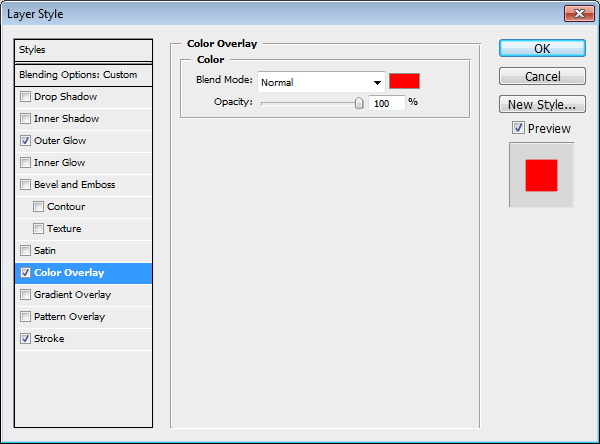
Activate the line tool. From the option bar, set Arrowheads to End. Use previous layer’s styles and add Color Overlay.
Step 32
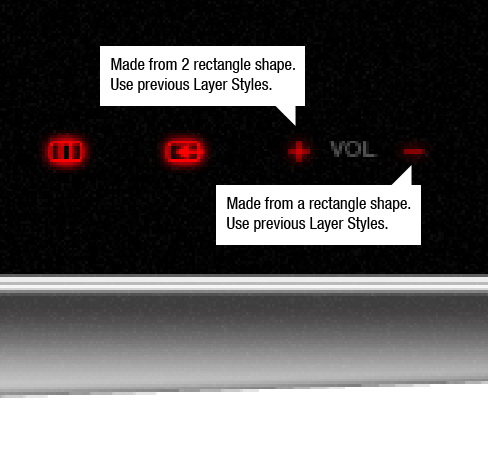
Create plus and minus sign using rectangle tool for volume indicator.
Step 33
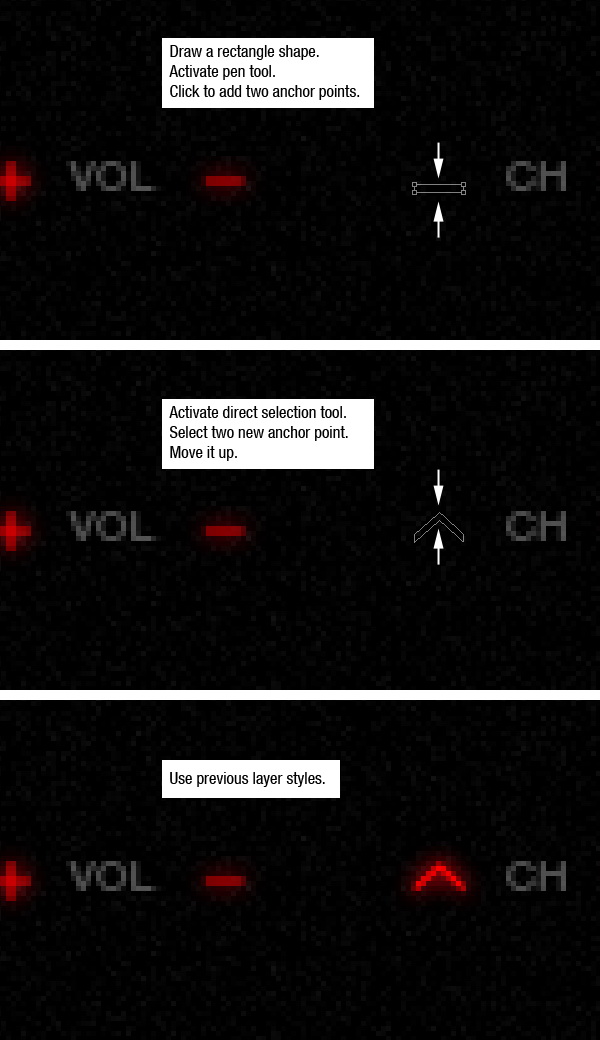
Let’s add an up and down indicator for channel. Draw a rectangle shape. Click its middle with pen tool to add new anchor points. Select and move them up. Use previous layer styles, Outer Glow, Color Overlay, and Stroke. To create a down indicator you just need to duplicate the shape and flip it vertical.
Step 34
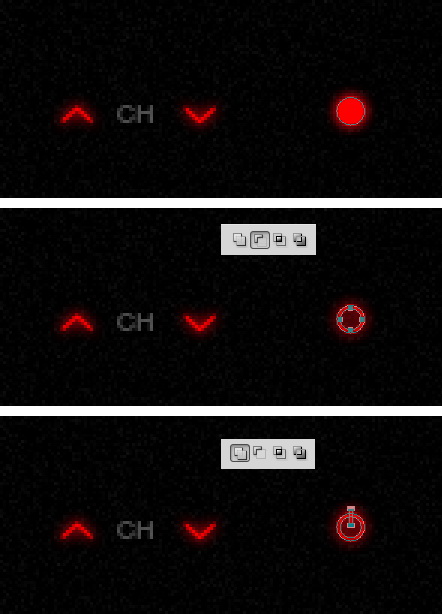
To create the power indicator we need to combine a few shapes. Start by creating a circle shape. Duplicate circle path and resize it, from option bar select Subtract. Create a rectangular path and select Add.
Step 35: Create Background and Floor
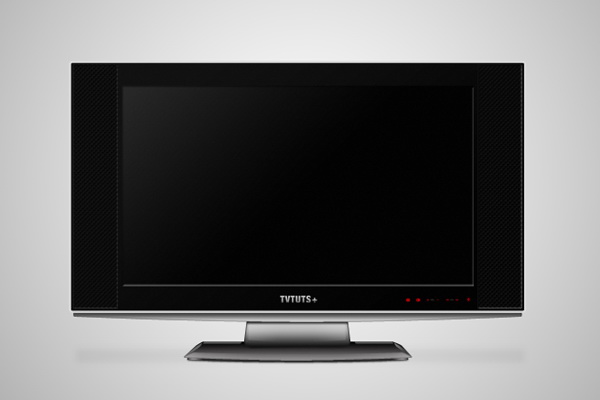
Activate the Background layer. Create a radial gradient from light gray to darker gray.
Step 36
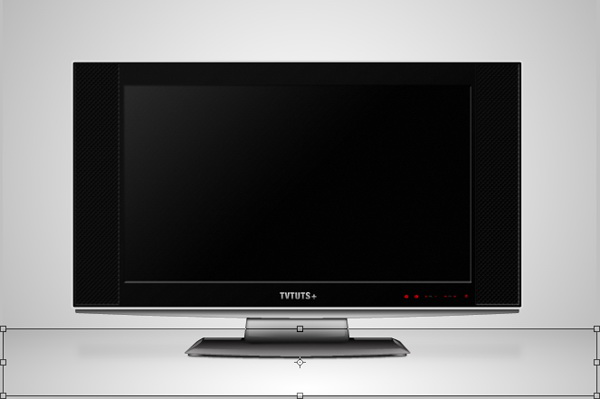
Duplicate layer and resize it. This is going to be the floor
Step 37
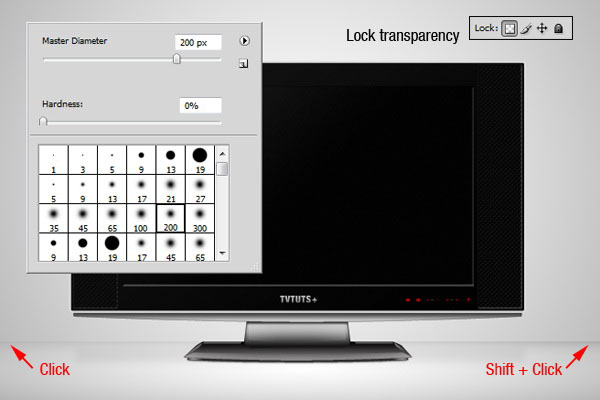
We still need to distinguish the floor from its background. Click Lock Transparency icon in Layers panel. Paint upper part of the floor. First, click on one side then Shift-click on the other side to paint a straight line.
Final Image
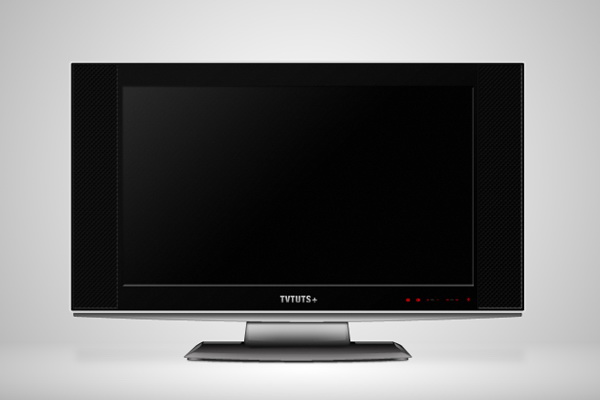
That’s it! We’re done. You can view the final image below.
