In this second tutorial of this two part series, we will add a background and enhance the image with Photoshop effects. Keep in mind that a key to succeed in following this tutorial series is to experiment. I will be teaching the basic techniques but in order to create a strong composition and attractive shapes, you will need to alter the settings, and experiment with other effects. Patience and determination are mandatory skills for any artist. So let’s finish this image!
Let’s take a look at the image we’ll be creating for this two part series (above): Part 1 on Cgtuts+ and Part 2 will be covered here on Psdtuts+ in today’s final tutorial.
Step 1
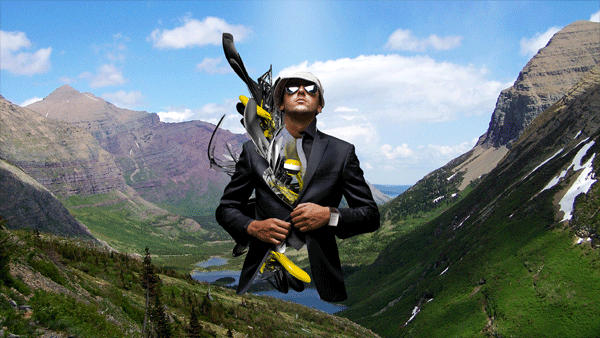
Expand the canvas horizontally, place the stock mountain image by Sara Moses in the background.
Step 2
Take the stock of the paint splash; adjust the Hue/Saturation to make it yellow and wrap it around the person.
Step 3
Repeat the previous step to achieve the following.
Step 4
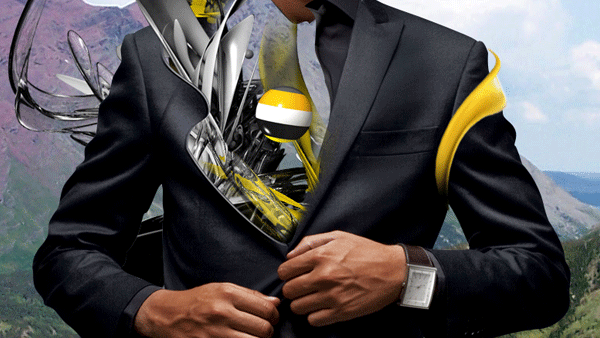
If the background is removed at this point, a nice piece can be formed already.
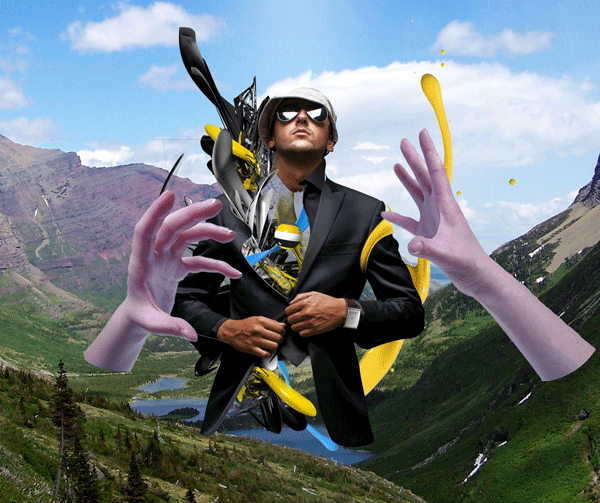
Step 5
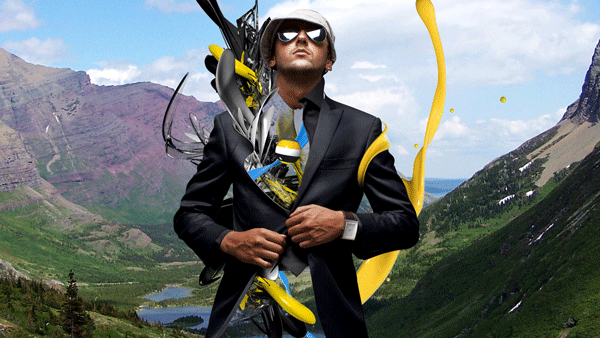
Take the stocks of the hands (hand 1 and hand 2 from Duck Dodger) and place them as shown. Merge the two layers of the hands and duplicate that layer two times.
Step 6
Desaturate the first layer; using levels, brighten the image . Then set the layer mode to Multiply.
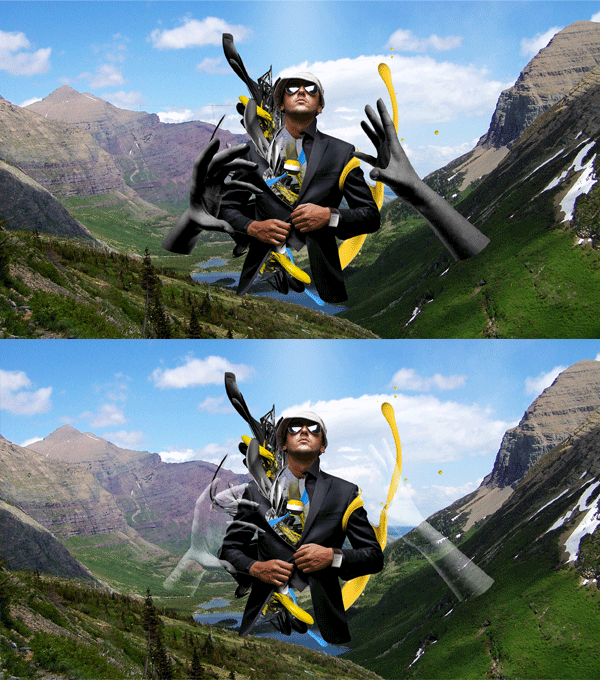
Step 7
Desaturate the image second layer; using Levels, darken shadows and brighten the highlights. Then set the layer mode to Screen.
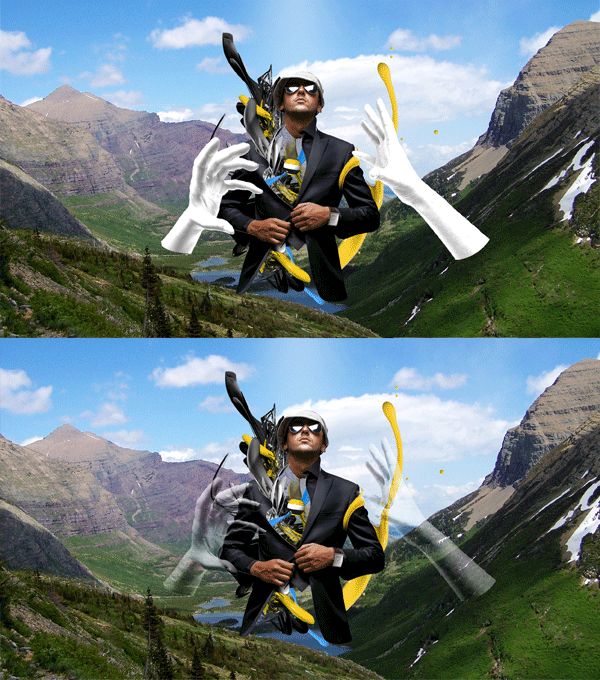
Step 8
Duplicate the “background” layer, place it right above the unaltered “hands” layer and use a layer clipping mask between the two layers. Move the background duplication so that mostly green is shown on the hands.

Step 9
Using the Liquify Filter, liquify the background duplication that it adheres to the hands’ contour.
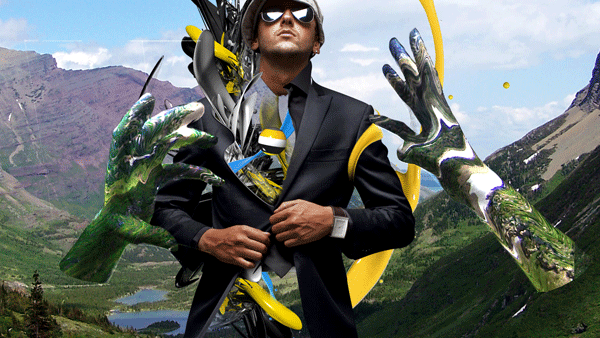
Step 10
Create a new layer and place it above the layer of the base stock (the suit). Select the “suit” layer (Command-click) and fill it with cyan.

Step 11
Selection > Modify > Feather 10 px. Slightly nudge the selection to the left, then down, then press delete.
Step 12
Repeat steps 10 and 11 for the hands.

Step 13
Create a new layer on the very top, set the layer mode to Overlay and loosely paint some parts using a large brush.
Step 14
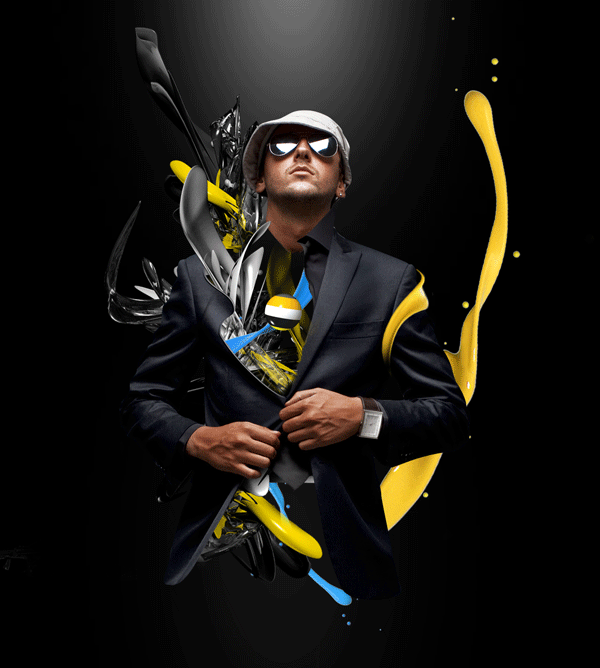
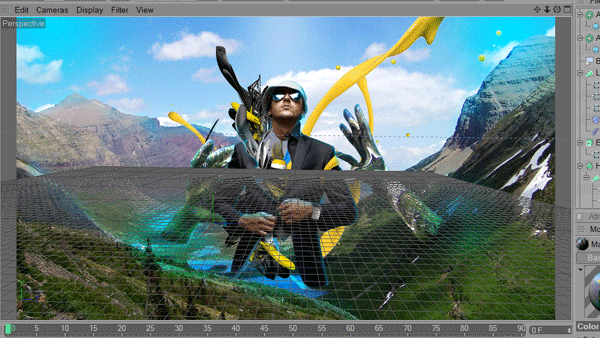
Export the image as a JPG. In C4D, create a background, apply the image to a new material and apply the material to the background. Make sure the proportion/size of the render is the same as the image exported.
Step 15
Using the spheres created in Part 1 of this tutorial, duplicate them by creating an array and altering its settings to best show the image and strengthen the focal.
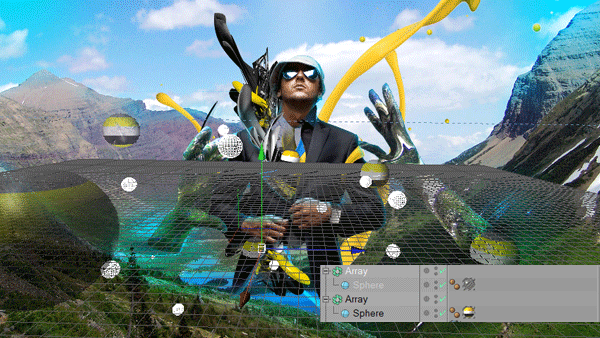
Step 16
Render the image. Go back to Photoshop; using the alpha channel, make the spheres into a separate layer and place it in the original file.
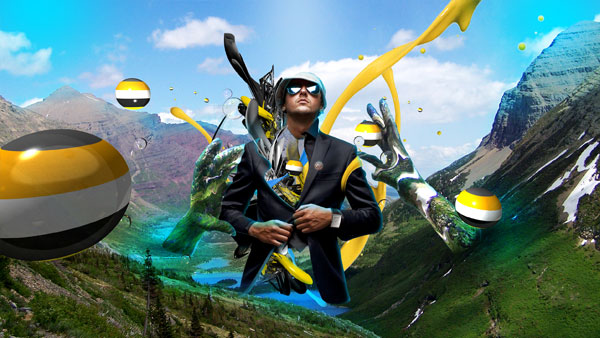
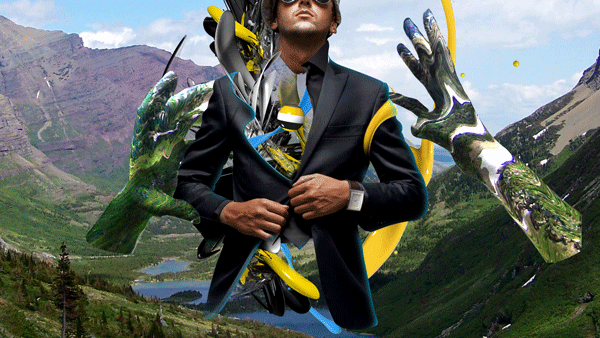
Final Image
Slightly adjust the levels of the spheres to achieve the results for this tutorial.

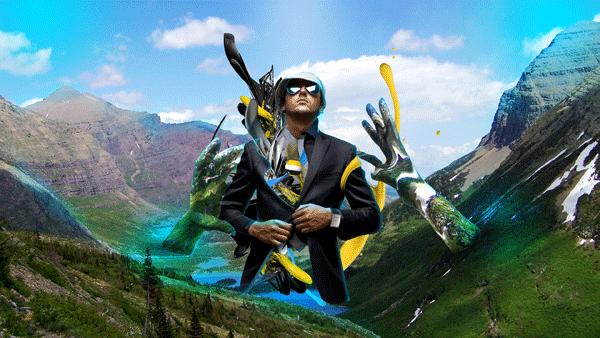
Alternative Final Image
If the background image is removed, this image can be formed; it has a totally different atmosphere and theme.

Conclusion
This is the essence of how I created my piece “lost.” Most of the techniques used are explained in this tutorial. The only method to achieve better results is time. Due to the abstract nature of this piece, a lot of experimentation must be done. The tutorial explains only the techniques used, using these techniques, you can create a result perhaps better than my original piece with determination and time.