Introduction: In this tutorial I’m going to show you how to create a portable scanner using the Rectangle Tool (M), Direct Selection Tool (A) and Envelope options, as well as some patterns and gradients to add finer details.
Step 1
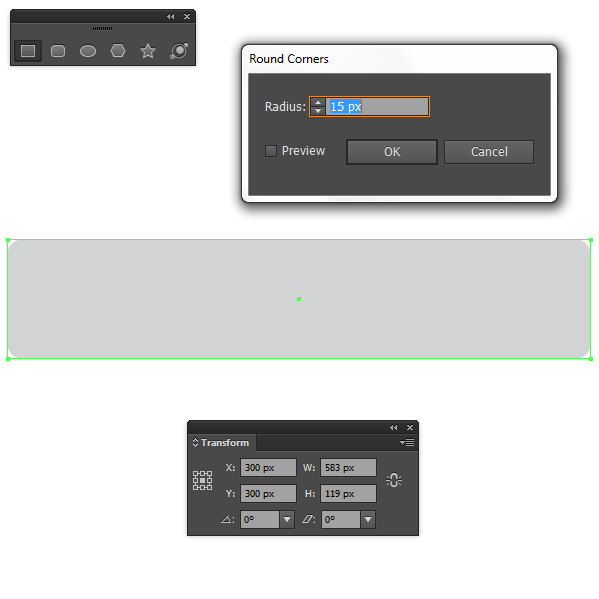
Create a New document with the size 600 x 600px. Using the Rectangle Tool (M), create a rectangle with the size 583 x 119px and Round Corners Radius of 15px.
Step 2
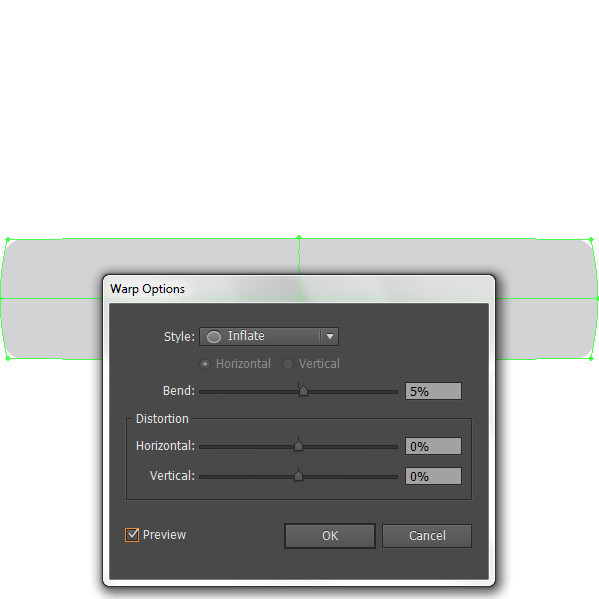
While the rectangle is selected go to Effect > Envelope Distort > Make with Warp. Use the following settings: Style is set to Inflate, Bend at 5% and click OK once done.
Step 3
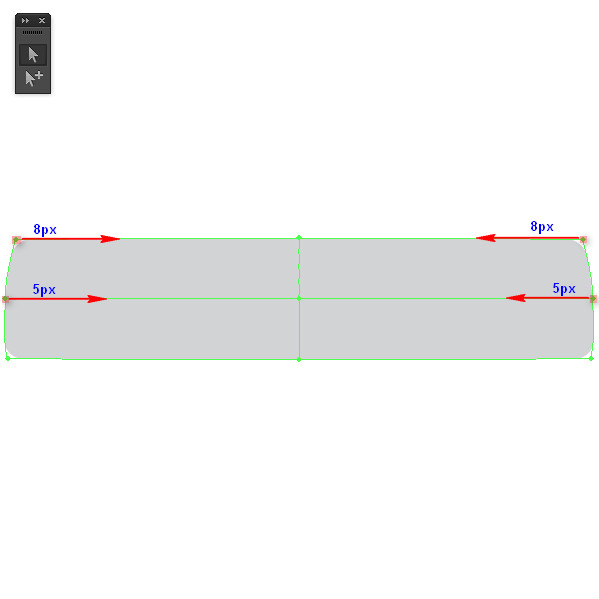
While the shape is selected, use the Direct Selection Tool (A), slide the upper right and left key point 8px inside and slide the right and left middle points 5px.
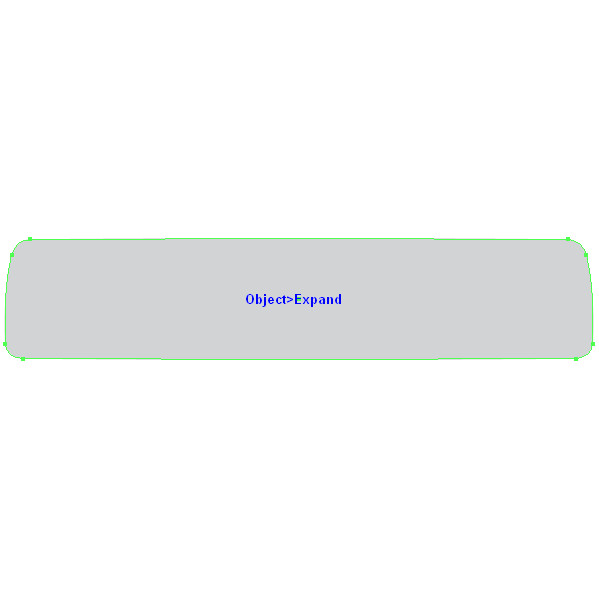
Once done, go to Object > Expand.
Step 4
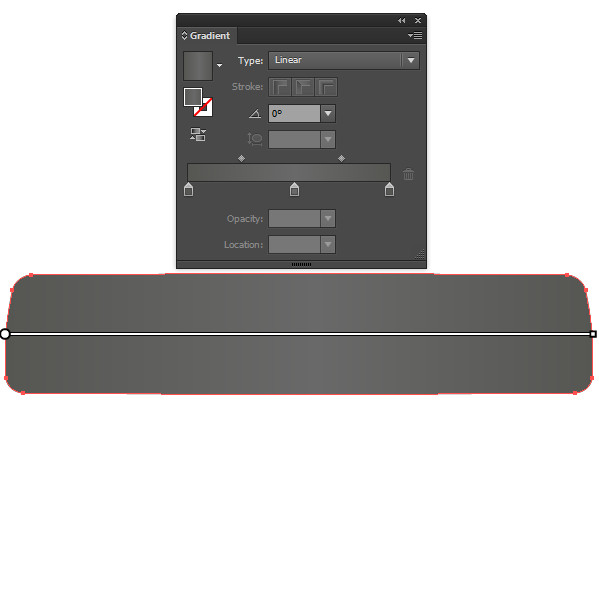
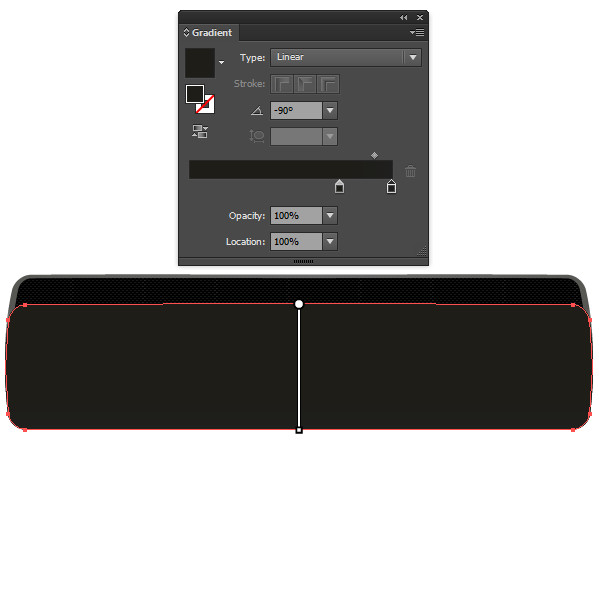
Duplicate the the shape and fill the shape with a linear gradient.
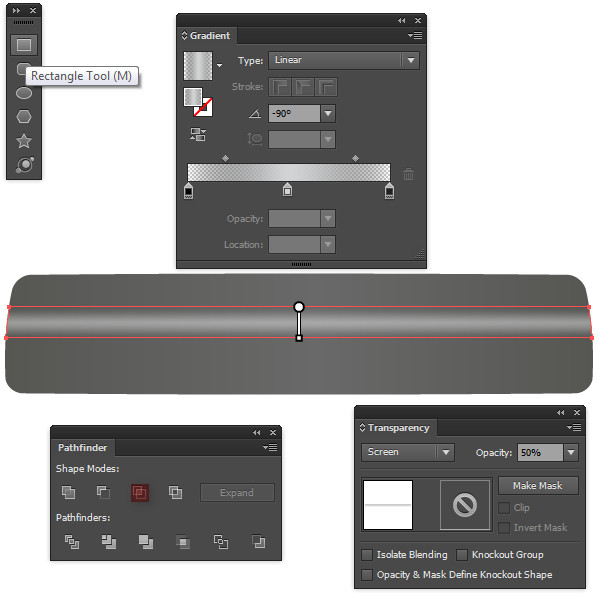
Add another rectangle across the original with the Rectangle Tool (M). Using the Pathfinder panel, select Minus Front and then fill the new shape with linear gradient as shown. Change the Blending Mode to Screen and set the Opacity to 50%.
Step 5
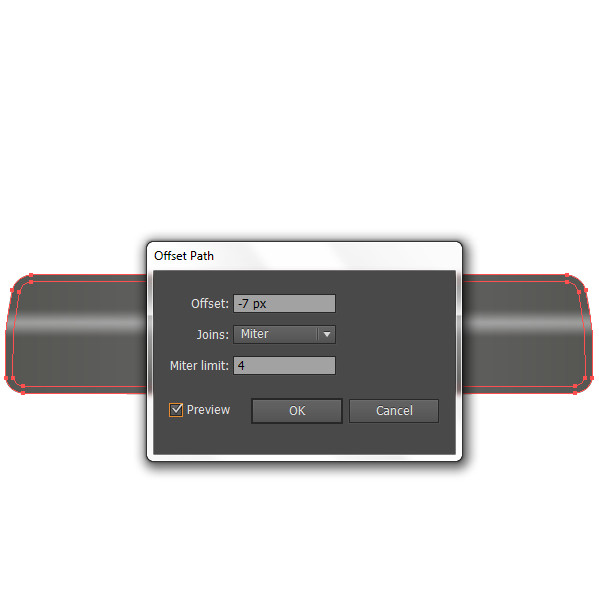
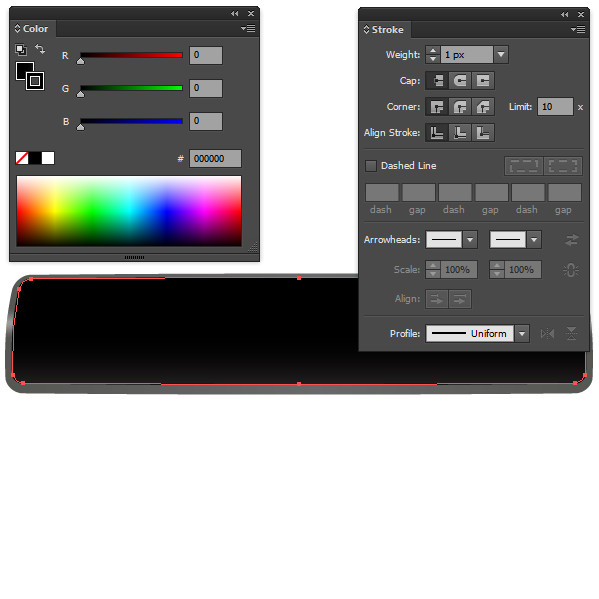
Select the rectangle you just filled with grey gradient colors and go to Object > Path > Offset Path. Set the Offset to -7px, click OK.
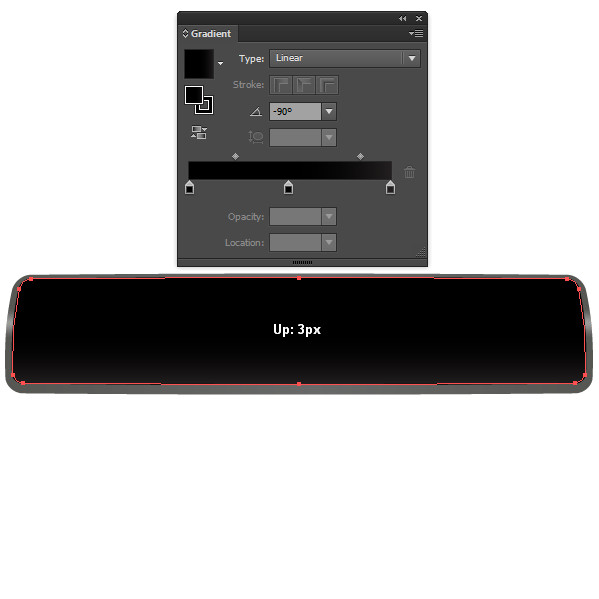
Move the shape that appeared after applying Offset on top of all the others by going to Object > Arrange > Bring to Front. Slide the shape 3px up, change the gradient’s colors with darker ones and apply Stroke Weight of 1px with black color.
Step 6
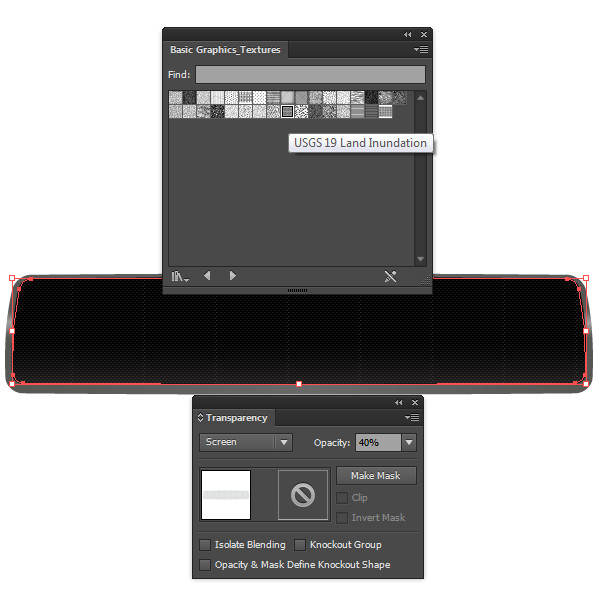
Duplicate the last shape one more time, turn off the Fill color and fill it with Pattern (USGS19 Land Inundation). Then go to Edit > Edit Colors > Invert Colors, change the Blending Mode to Screen and set the Opacity to 40%.
Step 7
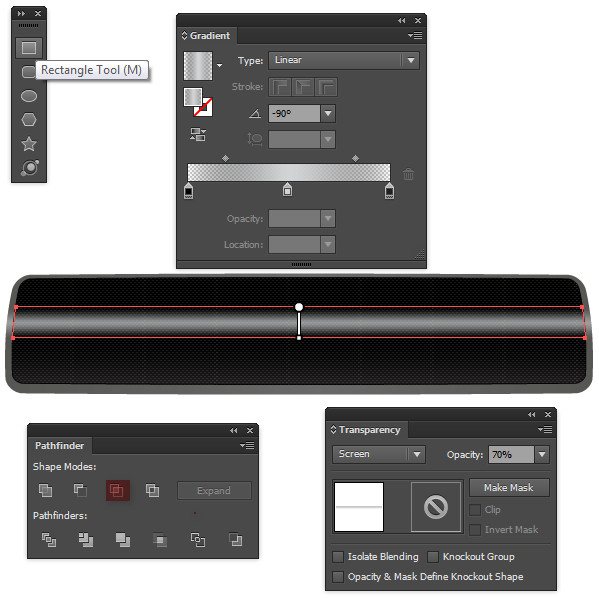
Add another rectangle on top of the last one with the Rectangle tool (M) and the Pathfinder panel, fill it with linear gradient as shown, change the Blending Mode from Normal to Screen and set the Opacity to 70%.
Step 8
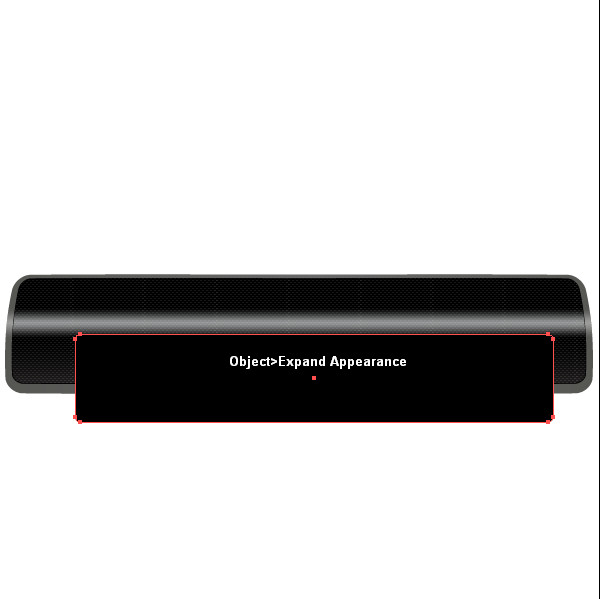
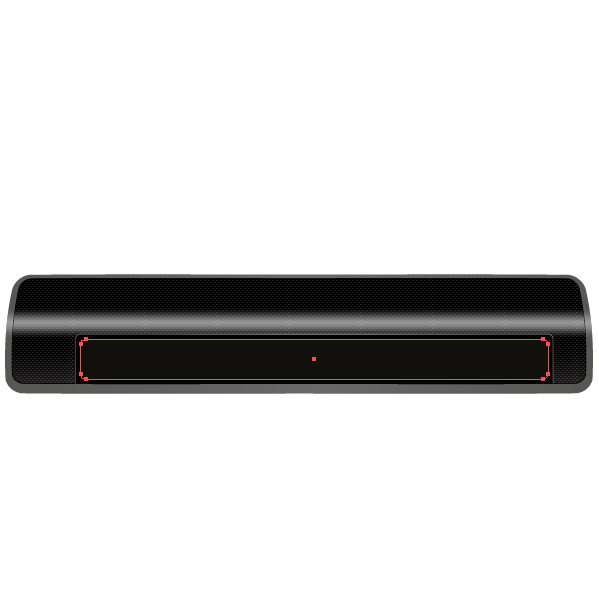
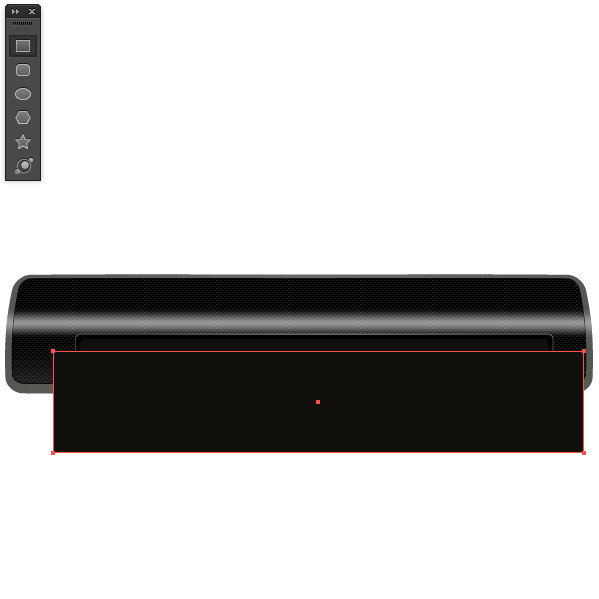
Take the Rectangle Tool (M), create a rectangle with size 478 x 88px and Round Corners with a Radius of 5px.
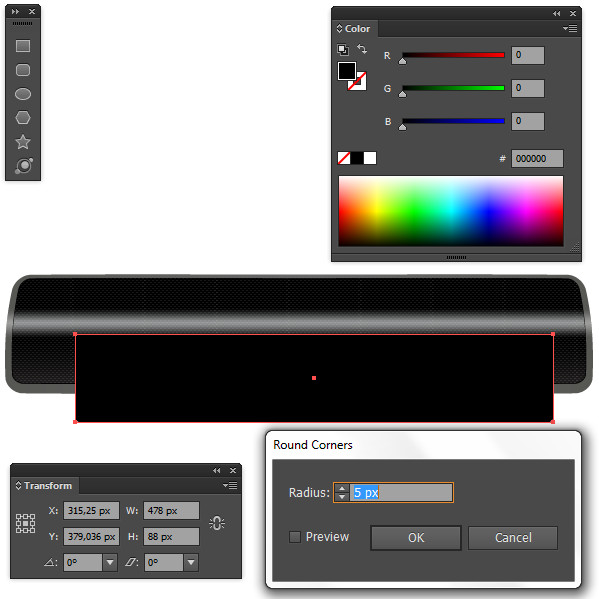
Then go to Object > Expand Appearance. Fill the rectangle with black color and place it in position as shown in the picture below.
Step 9
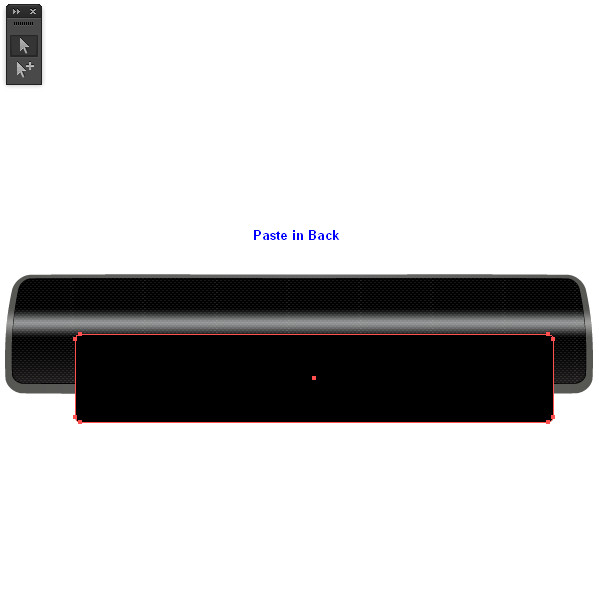
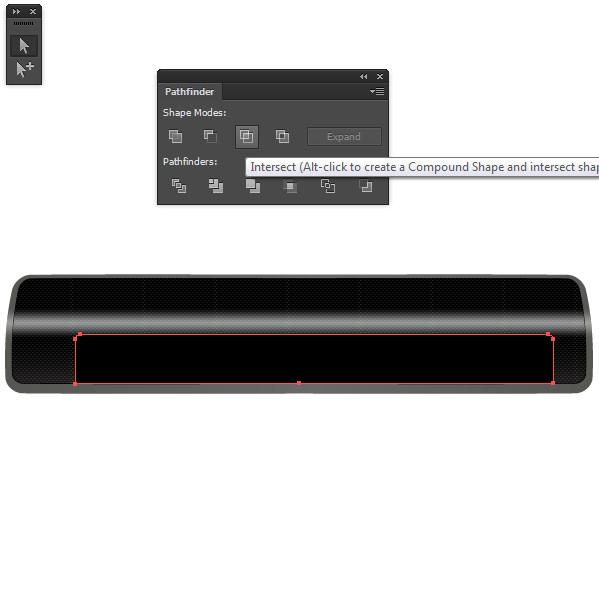
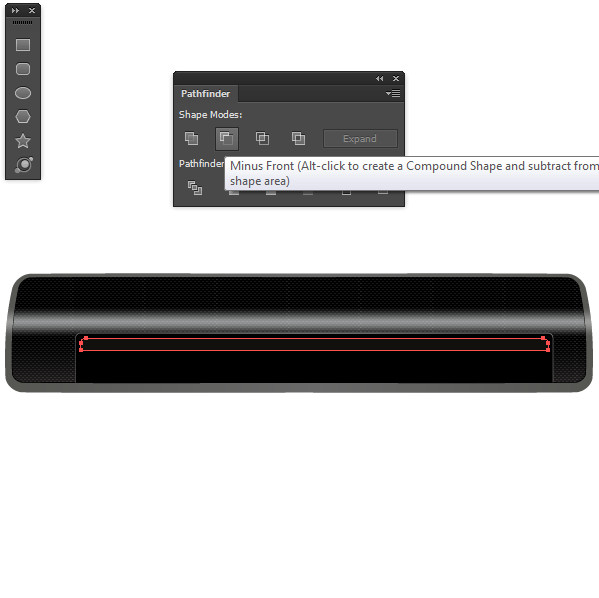
Duplicate the shape that is under the shape filled with pattern, paste it under the shape from the previous step and then select the copy from the previous step.
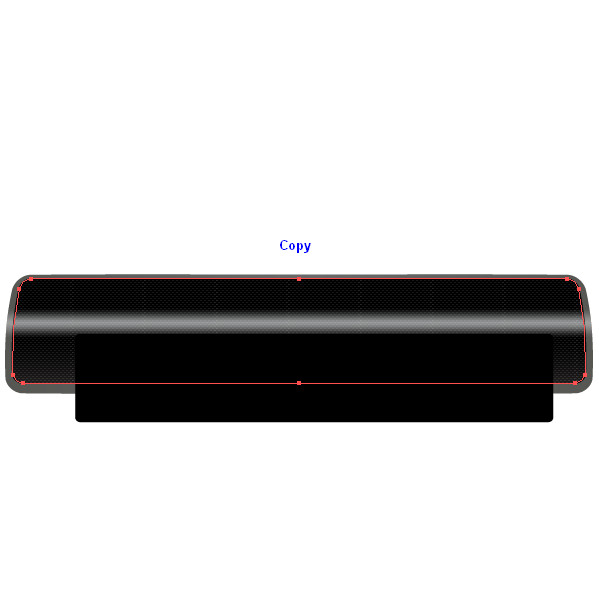
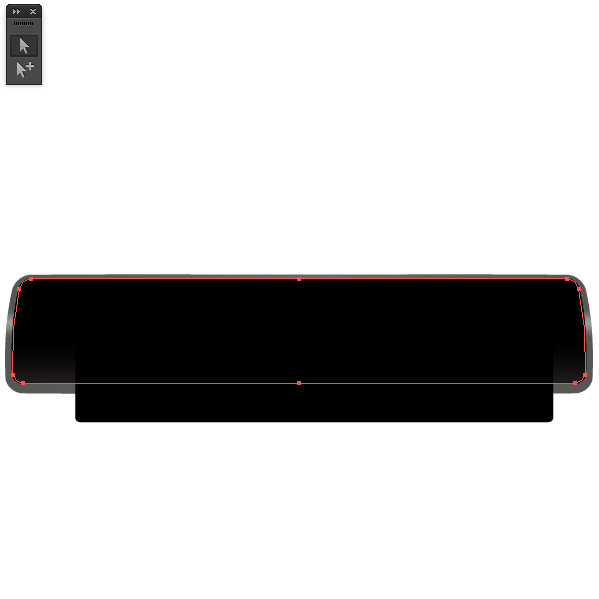
Open the Pathfinder panel and click on Intersect.
Step 10
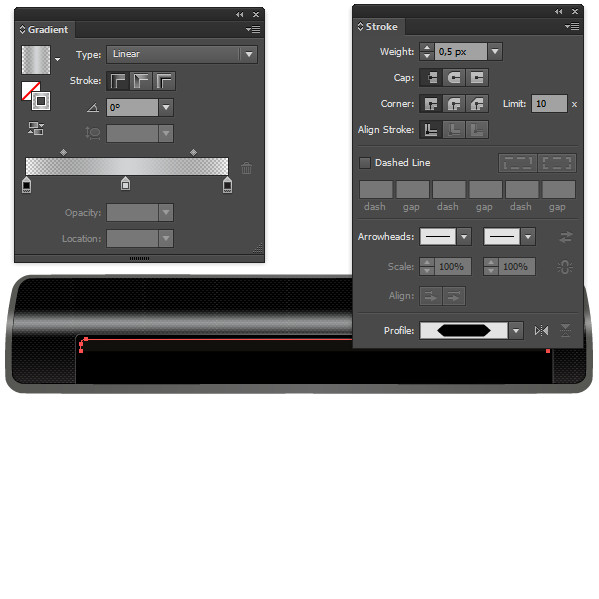
Duplicate the shape from the previous step then with the Add Anchor Point tool (+) add one key point in the lower part and then delete it.
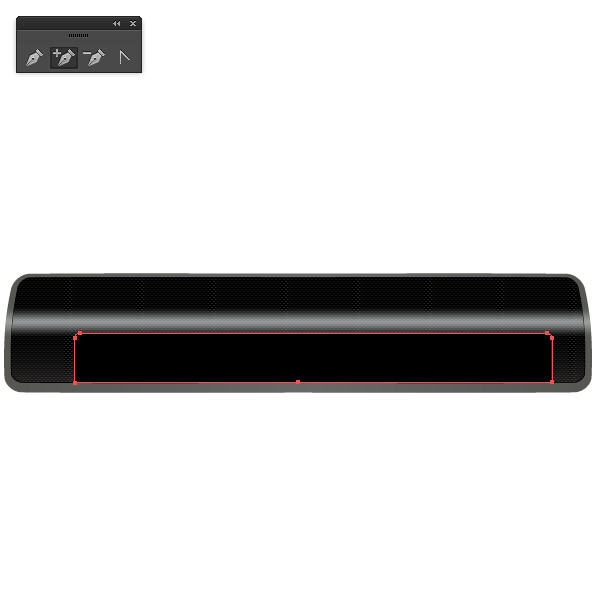
Turn off the fill color and apply a Stroke Weight: 0.5px, Profile: Width Profile 3 and linear gradient as shown below.
Step 11
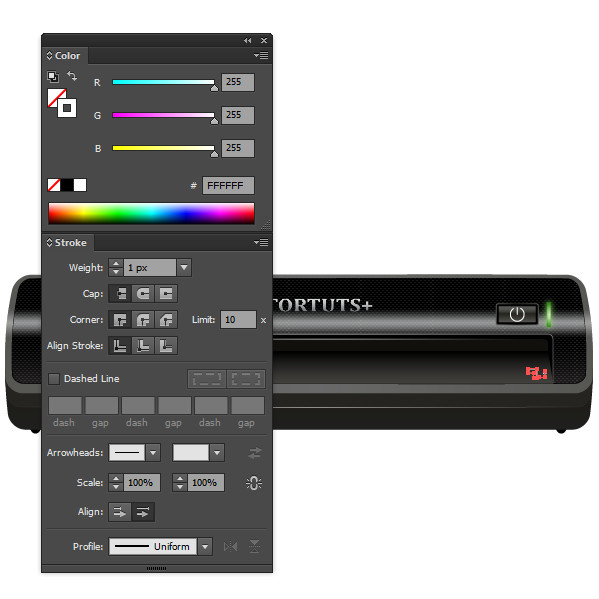
Using the Rectangle Tool (M), create a rectangle with size 467.5 x 40px, color R:17 G:16 B:13, Round Corners with a Radius of 5px.
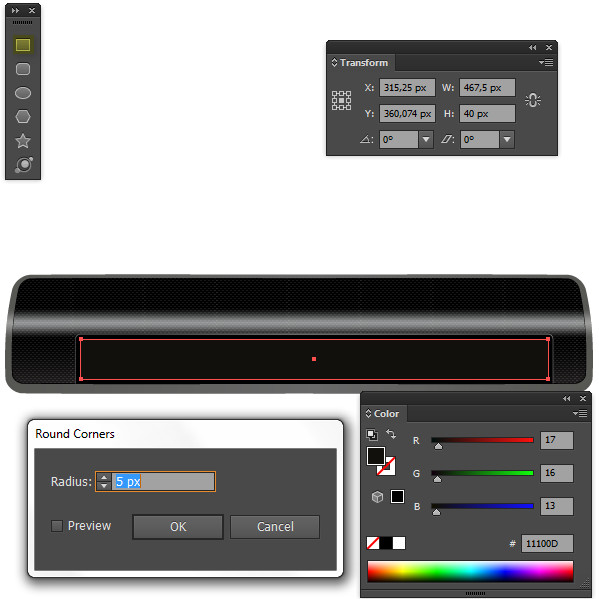
Right after that go to Object > Expand Appearance and place it in the center of the shape you filled with black color.
Step 12
Create another large rectangle over the previous one as shown below.
Then select the rectangle with rounded corners and the one you just created. Open the Pathfinder panel and click on Minus Front.
Step 13
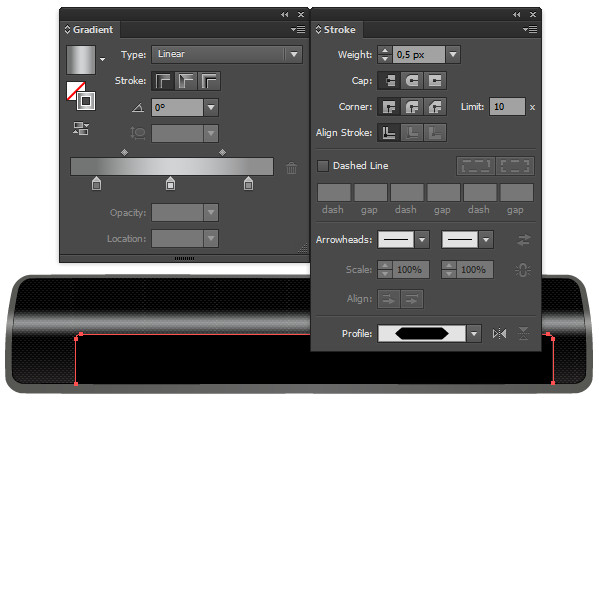
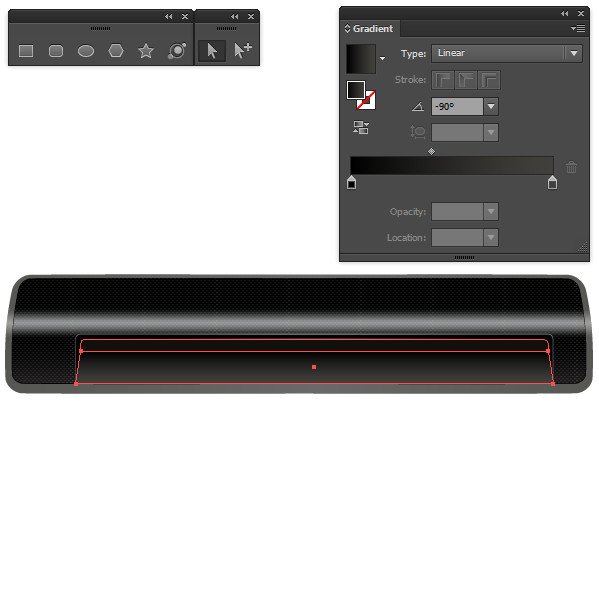
Duplicate the shape from the previous step and then with the Add Anchor Point tool (+) add another key point in the lower part of the copy and right after that delete the key point. Turn off the Fill color and apply a Stroke Weight: 0.5px, Profile: Width Profile 3 and linear gradient as shown below.
Step 14
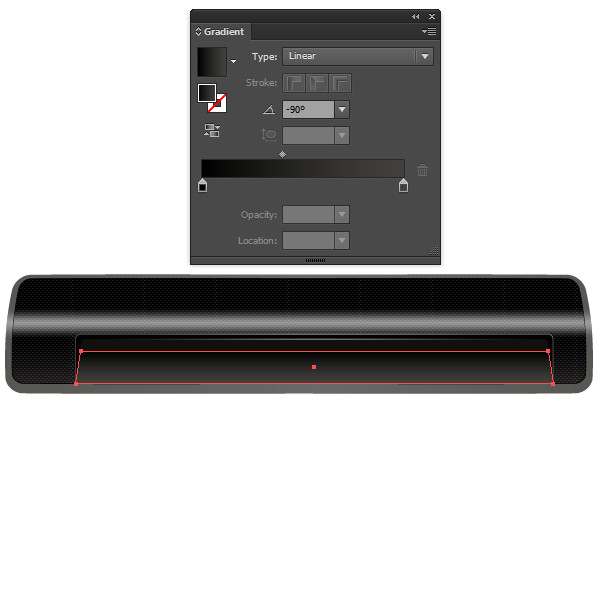
Add another rectangle in position as shown below then with the Direct Selection Tool slide the upper two points of the rectangle inside until the upper part is on the same level as the shape from the previous step and fill with linear gradient as shown in the picture below.
Step 15
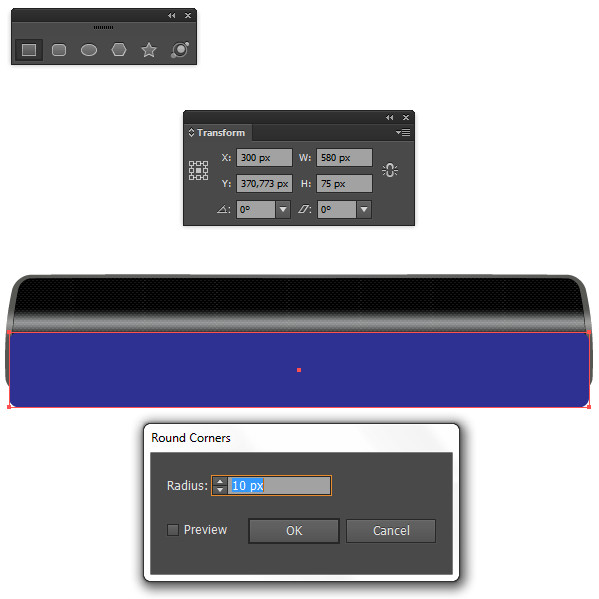
Using the Rectangle Tool (M), create a rectangle with size 580 x 75px with Round Corners Radius of 10px and place it in position as shown below.
Step 16
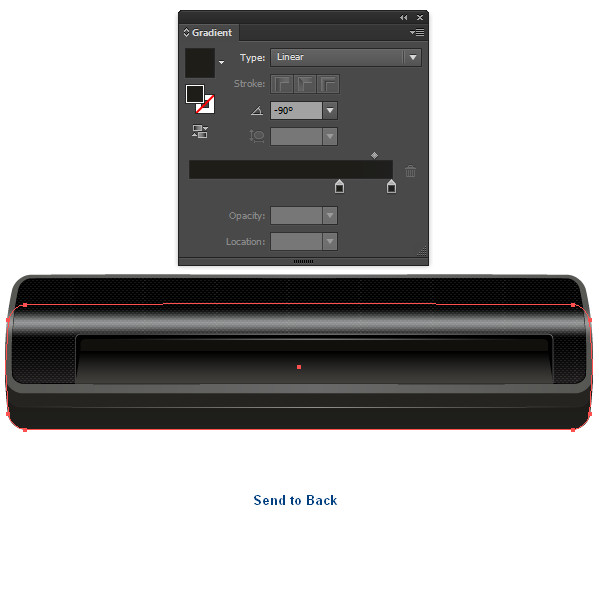
As the rectangle you rounded the corners to in the previous step is selected go to Object > Envelope Distort > Make with Warp. Do the following settings: Style: Inflate, Bend:3%, click OK and right after that go to Object > Expand Appearance.
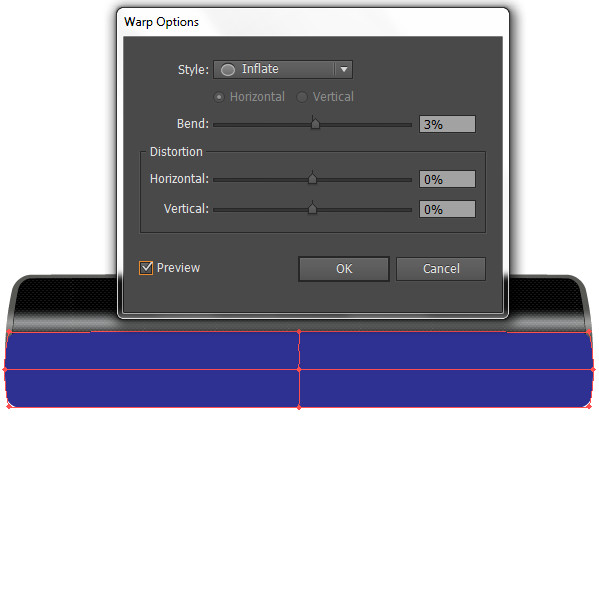
Fill the shape you just created with R:37 G:36 B:32 color.
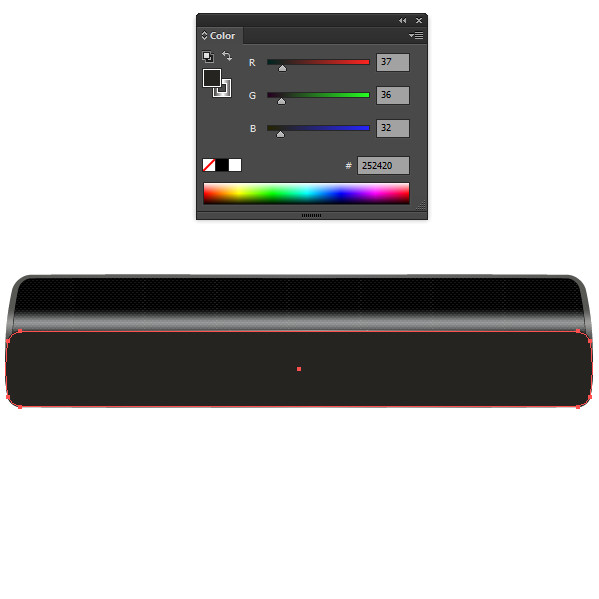
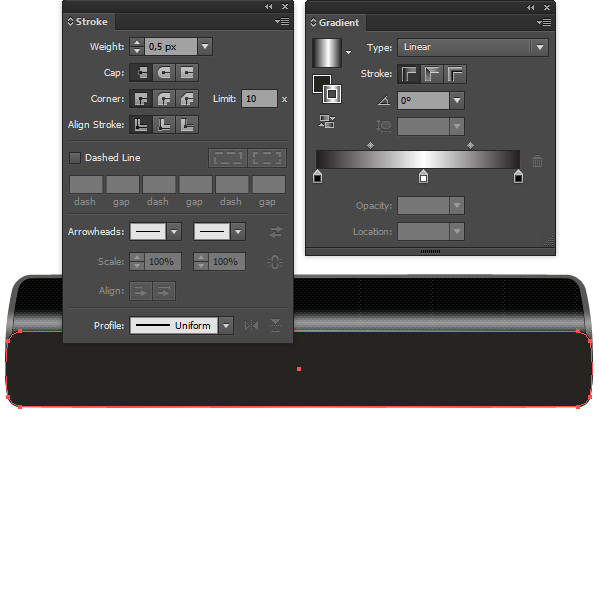
apply Stroke Color with Weight: 0.5px, fill it with linear gradient as shown below and send the shape behind all others with Object > Arrange > Send to Back.
Step 17
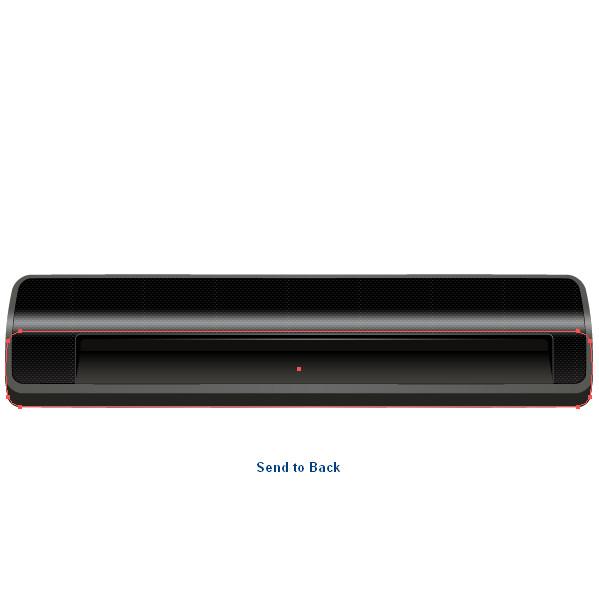
Add the lowest part of the scanner the same way, fill it with a linear gradient colors R:30 G:29 B:24 to R:31 G:31 B:31.
Send the shape behind all the others with Object > Arrange > Send to Back.
Step 18
Also add the two circles of the scanner as shown below, fill them with black color and again send them behind all the other shapes.
Step 19
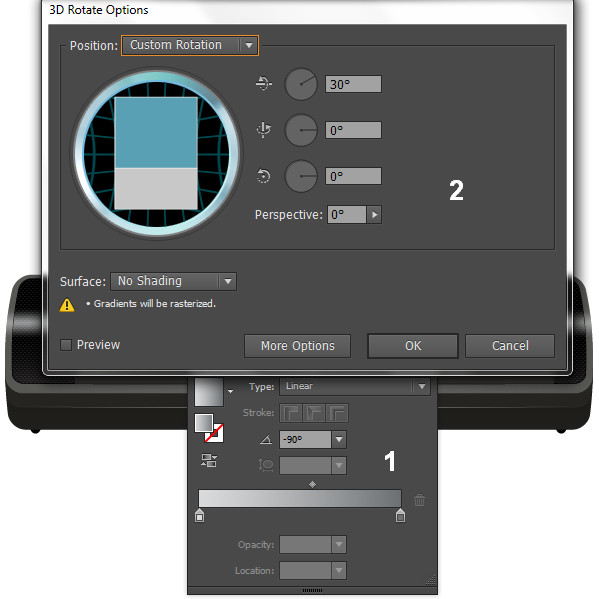
Add the necessary text on the upper part of the scanner as shown (Object > Expand).

Fill it with linear gradient then go to Effect > 3D > Rotate, do the settings as shown and click OK.
Step 20
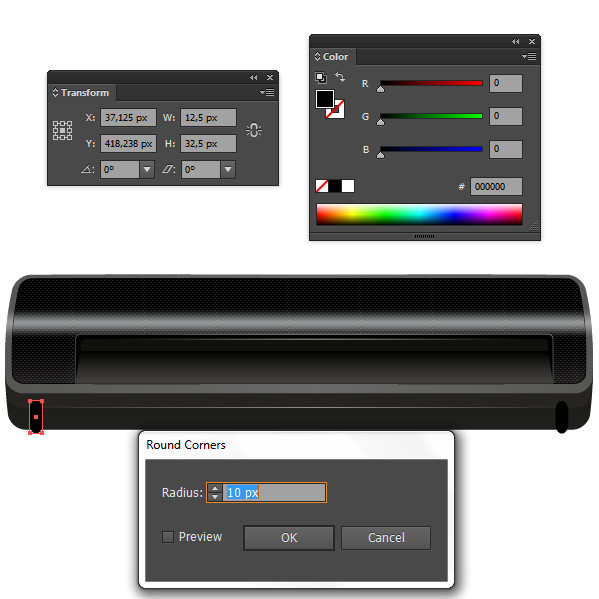
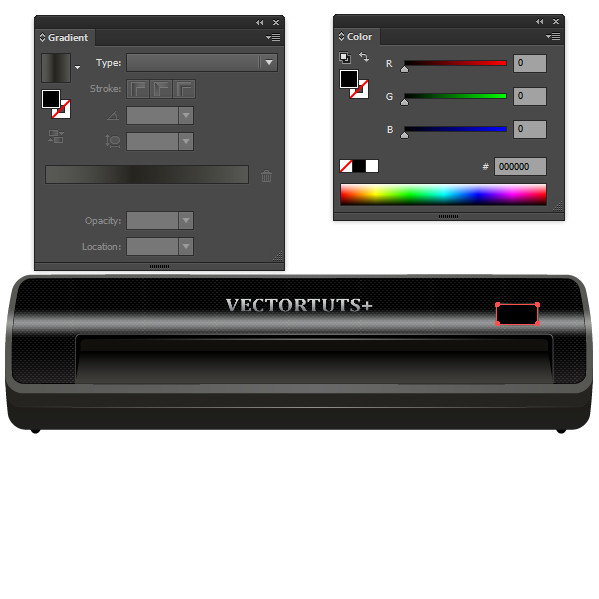
We are going to add the scanner’s button. Using the Rectangle Tool (M), create a rectangle with size 42.75 x 21.75px then round the corners by going to Effect > Stylize > Round Corners. Set the Radius to 2px, click OK and right after that go to Object > Expand Appearance. Then fill with linear gradient as shown below and place the rectangle at the right side of the scanner.

As the rectangle that you just filled with linear gradient is selected go to Object > Path > Offset Path. Set the Offset to -1px, click OK and change the color to black for the new shape that appeared after applying Offset.
As the shape that you filled with black color is still selected again go to Object > Path > Offset Path. Set the Offset to -2px, click OK and fill with linear gradient as shown below:
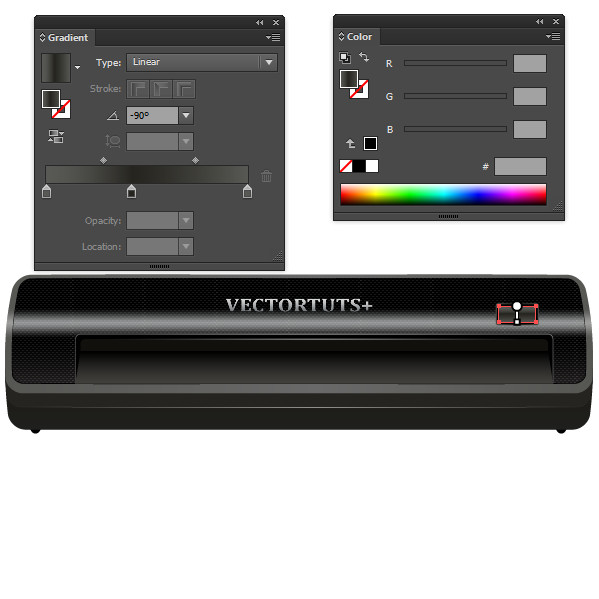
Now add the symbol you like to the button. I made a circle which I added two key points to in the upper right and left sides then I deleted the top key point, applied Stroke Color Weight 1px with white color. I also added a line in the middle of the circle with the Pen Tool (P).
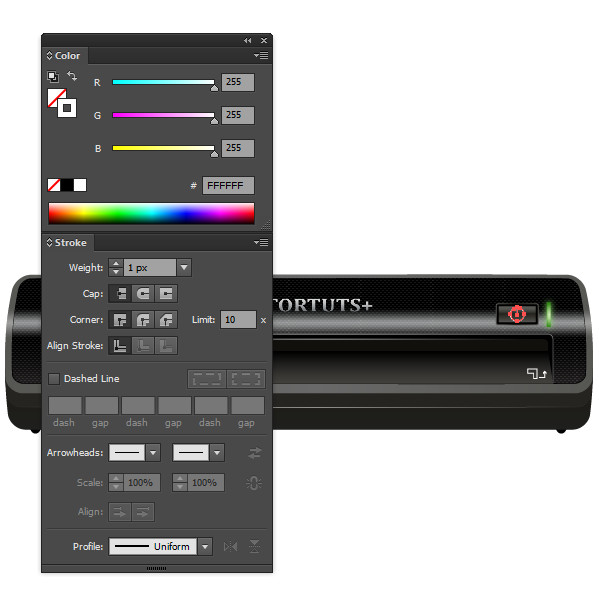
With the Pen Tool (P) add the shapes on the right side of the circle with Stroke Color Weight 1px and white color as shown below.
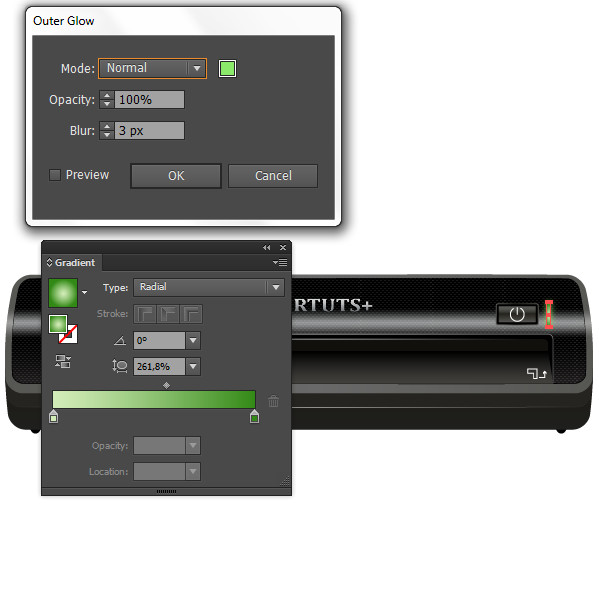
Add the lighting button with an outer glow as well. In order to do it create a rectangle in position as shown below, fill it with a linear gradient and apply Outer Glow as shown in the picture below.
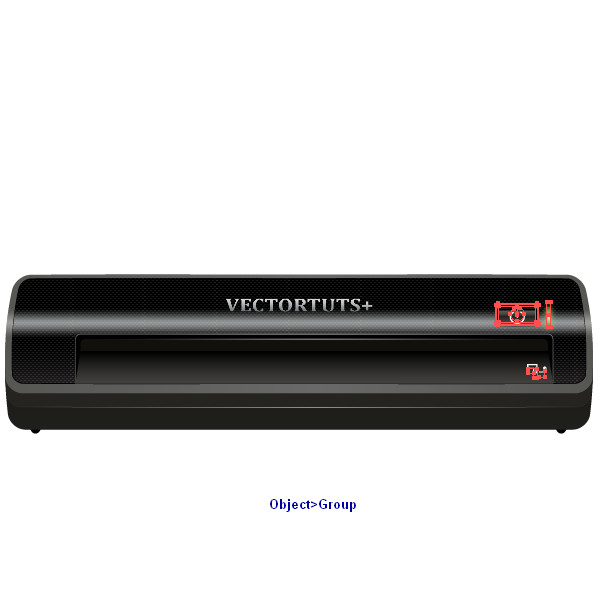
Group all the shapes you created in this step by going to Object > Group and then go to Effect > 3D > Rotate. Do the same settings you used for making the text on the scanner:
Step 21
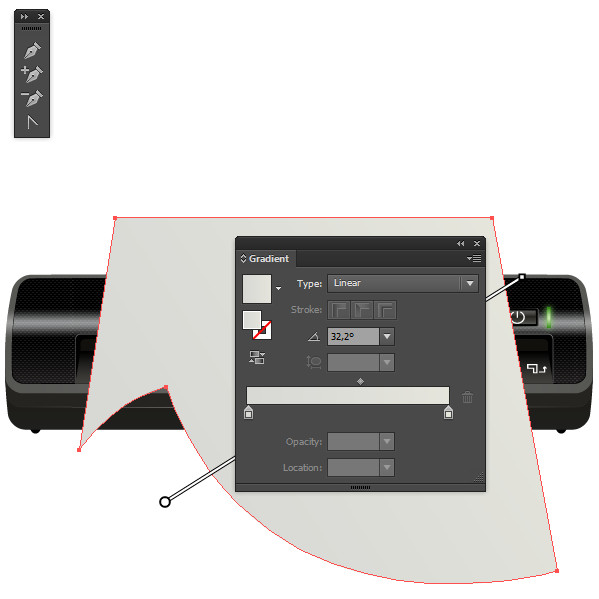
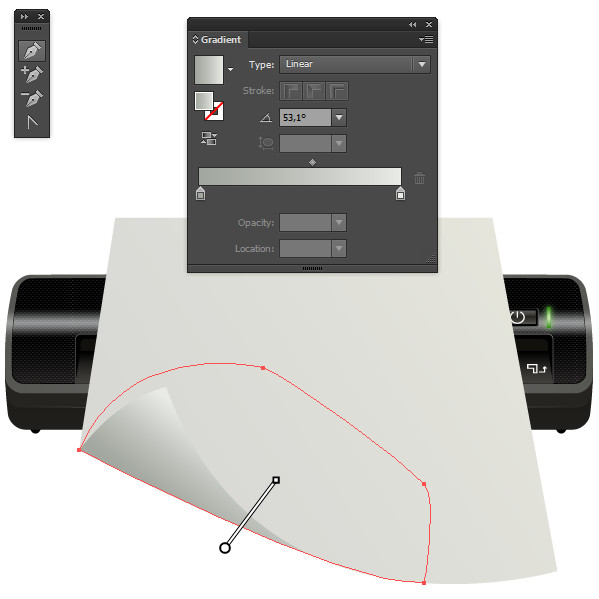
Using the Pen Tool (P), create the shape which will represent the sheet of paper and fill with linear gradient as shown below.
Step 22
Add another shape under the previous one as shown and fill it with linear gradient.
Step 23
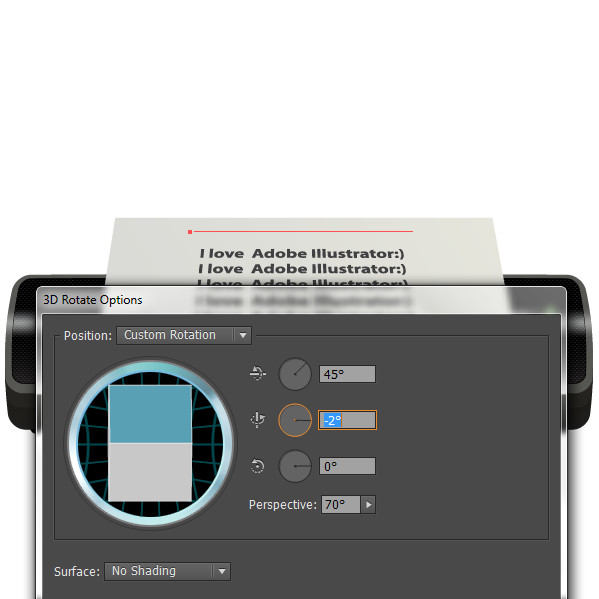
Add the desired text on the sheet of paper then go to Effect > 3D > Rotate and add perspective to the text by doing the settings as shown below.
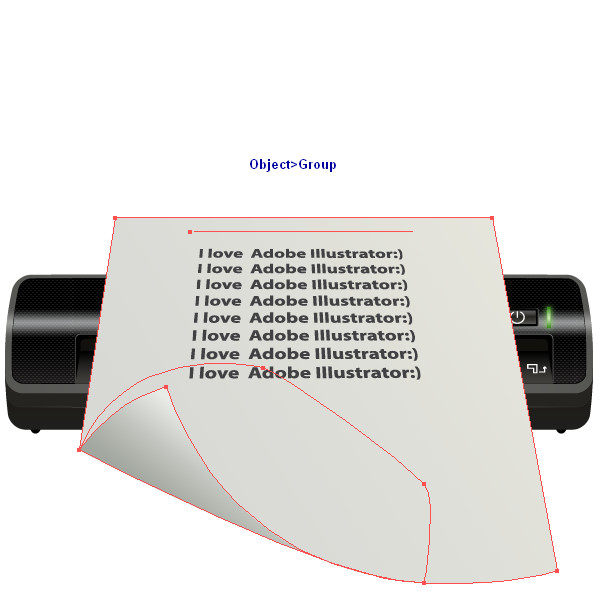
Group the shapes representing the sheet of paper and the text on it by going to Object > Group.
Step 24
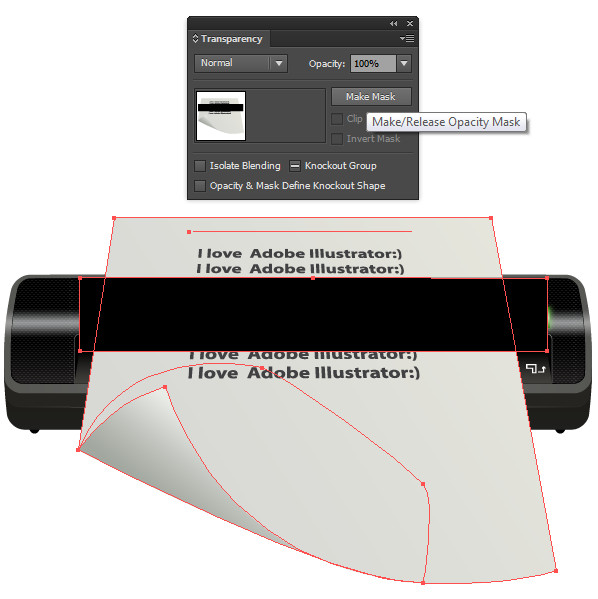
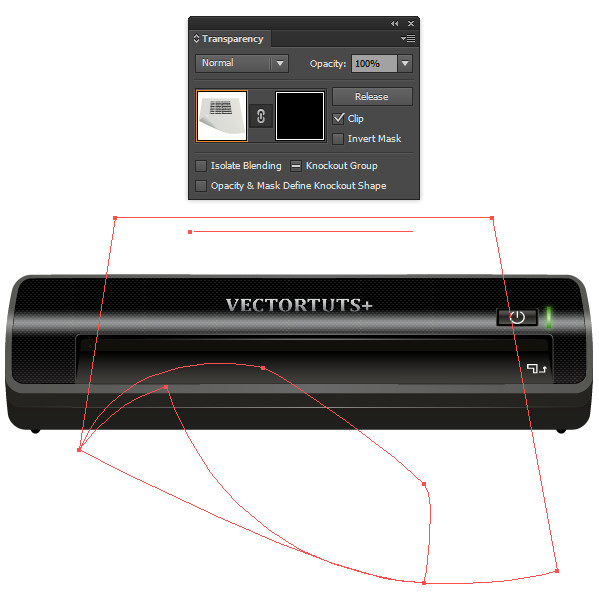
In this step we are going to add mask to hide this part of the paper that shouldn’t be visible. To do this create a rectangle with black color over this part of the sheet of paper that won’t be visible.

Step 25
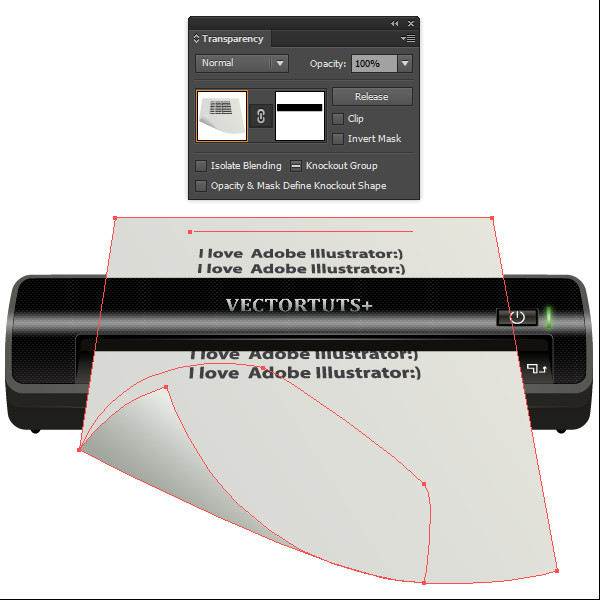
Now select the shape that will be used as a mask and the group of the sheet of paper, open the Transparency panel and click on Make Mask. Then click on the check mark next to Clip to uncheck it.
Step 26
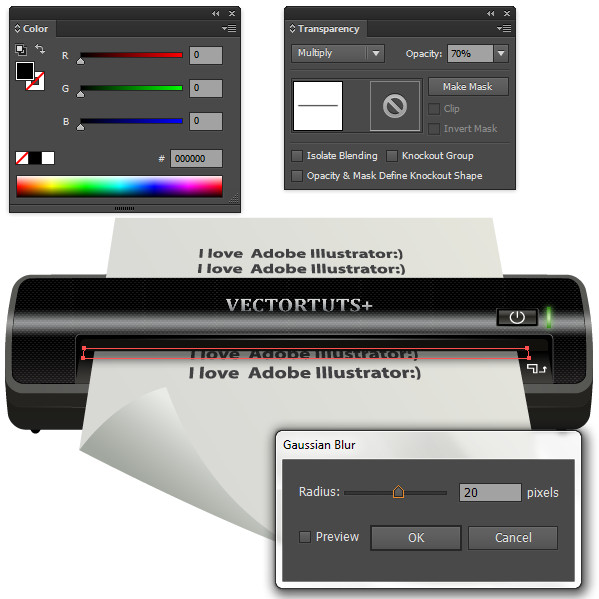
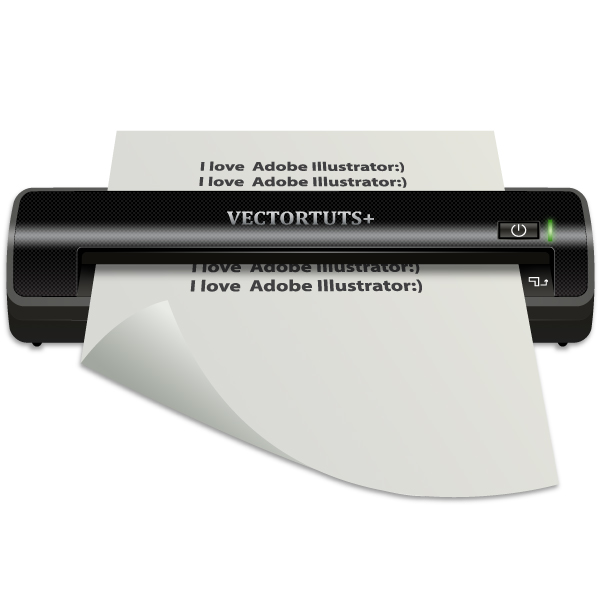
Now add the scanner’s shadow on the sheet or paper as shown below and with this we are finished.
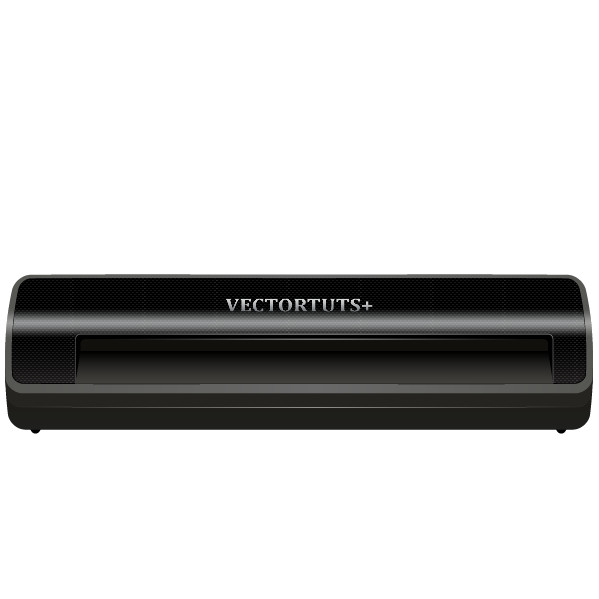
Conclusion
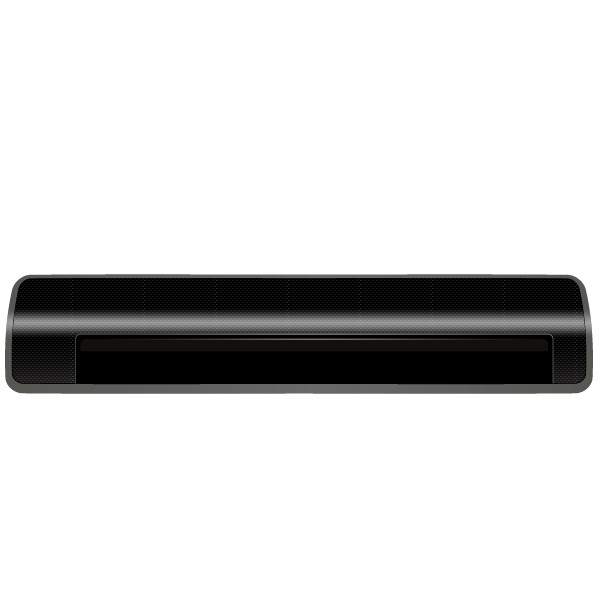
And at the end you can add background and shadow to the scanner in the way you want. Below is the final result.
{excerpt}
Read More