In this tutorial we’ll learn how to create a metallic can with it’s own barcode. You’ll create a geometric base and apply gradients to create a 3D effect, as well as using some custom made brushes to help add texture and light.
Step 1
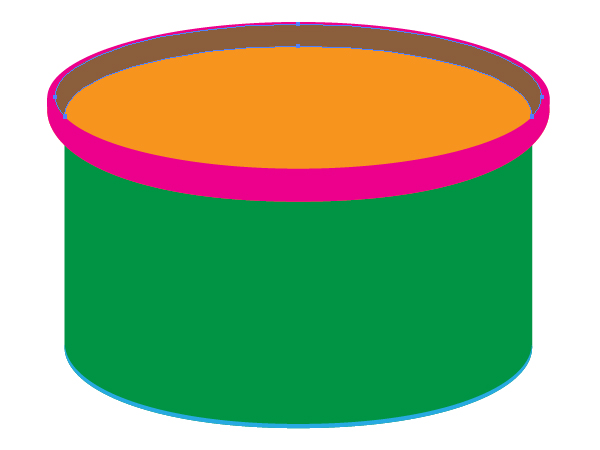
To begin with you will need to create the main geometry sketch of the can which is shown in the diagram below. This sketch is flat because it has no the light distribution, but you should create it so you can plan the final image. If you know how to achieve the main outlines of the object and its elements, go to the Step 6. If not, read the following steps carefully.
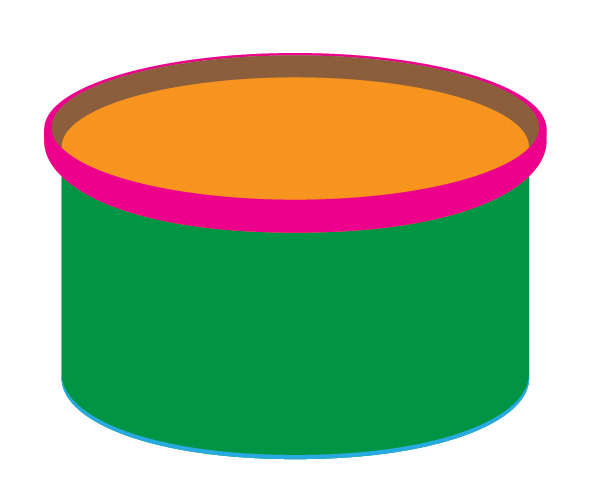
Using the Ellipse Tool (L), change the Stroke color to null and the fill color to green.
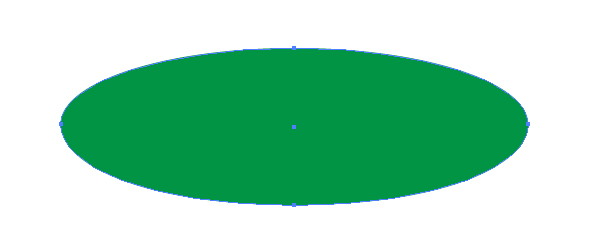
Copy this ellipse and Paste in Front (Command + C then Command + F). Move the copy downwards in order to achieve the following result.
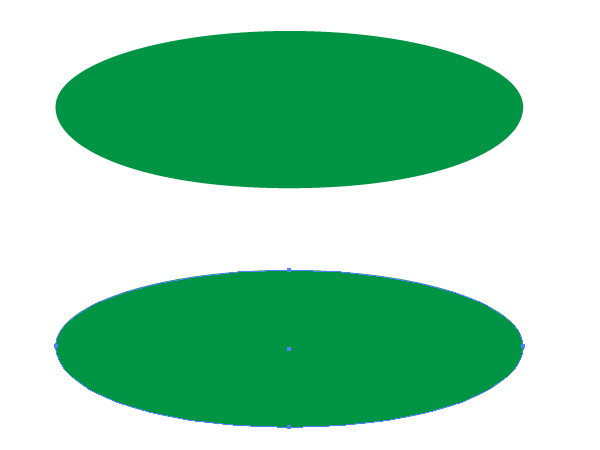
Step 2
Grab the Lasso Tool (Q), and select both inner anchor points of two ellipses.
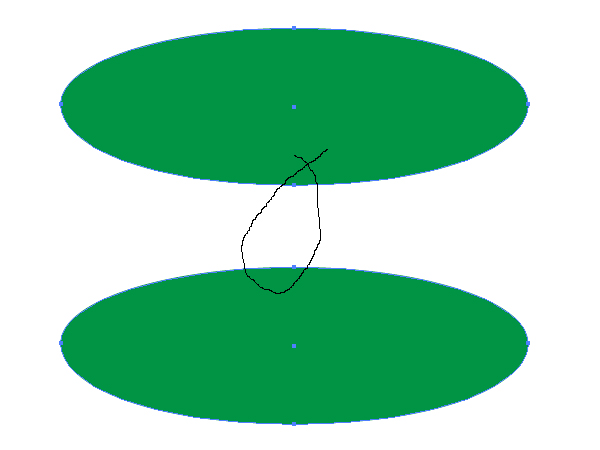
Then press the Delete button on your keyboard.
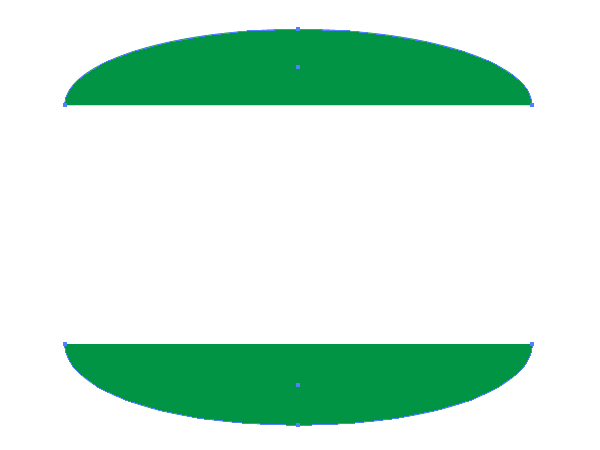
Go to Object > Path > Join (Command + J) twice.
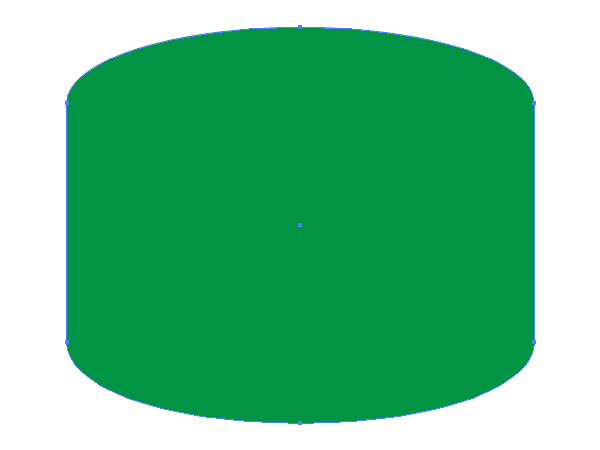
Step 3
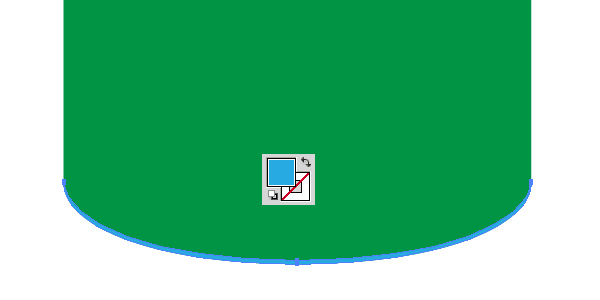
Copy this path and Paste in Front (Command + C then Command + F) twice so you have three shapes in total. Select the second copy of the green path (which is placed in the top of the Layers panel), move it slightly upwards.
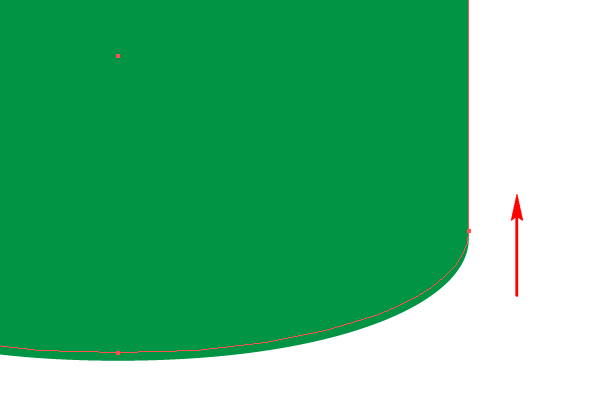
Then select both copies of the green path and go to the Pathfinder panel then use Minus Front. Or use the Shape Builder Tool (Shift + M) for this operation.
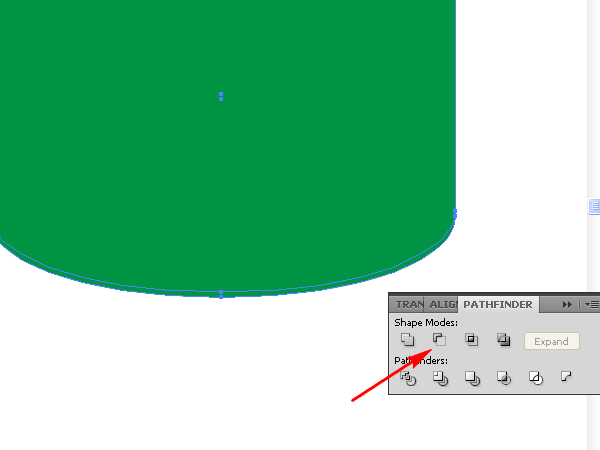
You should be left with a slim shape for the bottom of the can.
Step 4
Now to create the crimson shape around the top of the can.
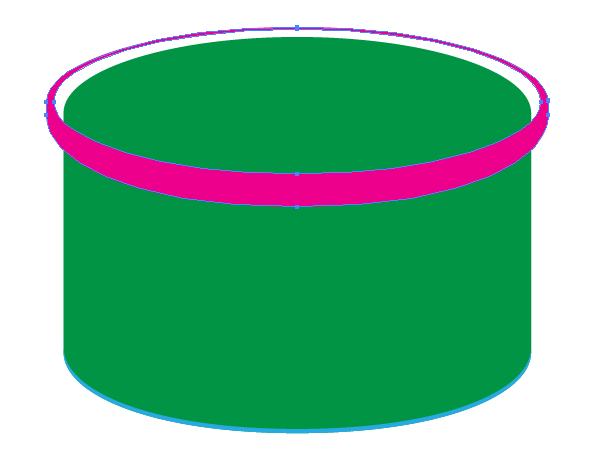
In a similar method you created the green shape of the can, create a slimmer shape for the crimson top of the can.
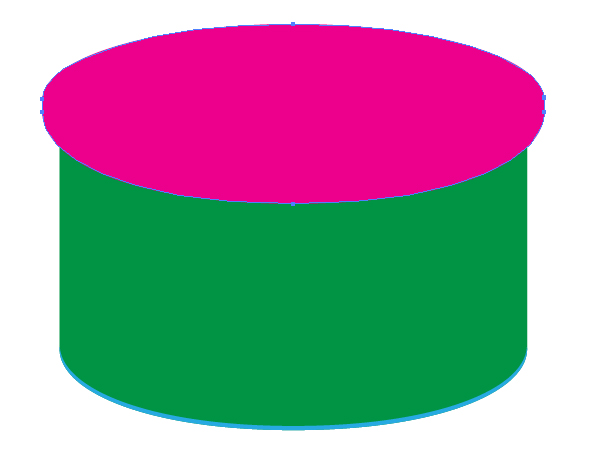
Then with the Ellipse Tool (L) draw a shape over the top of the can in the center.
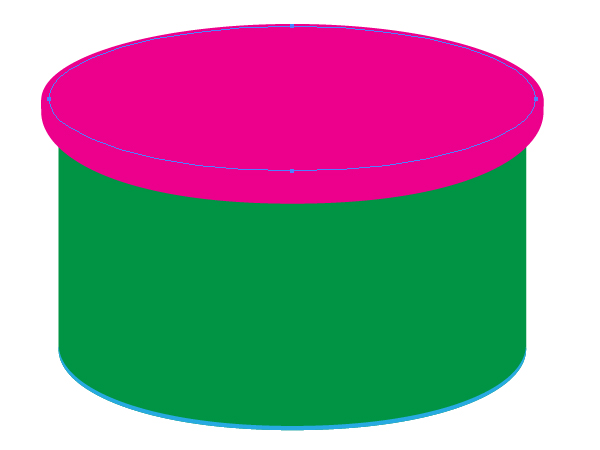
Select both paths…
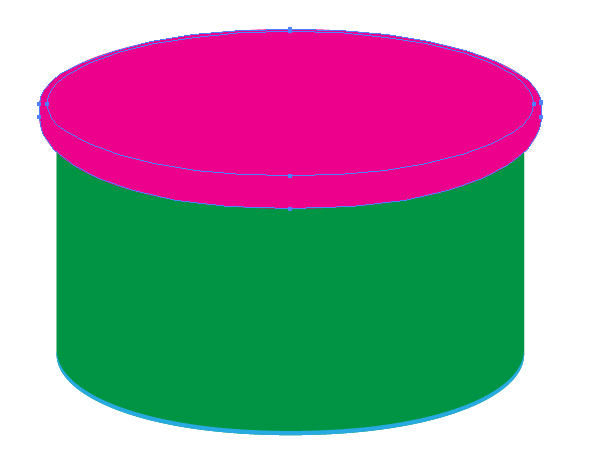
…and go to Object > Compound Path > Make (Command + 8).
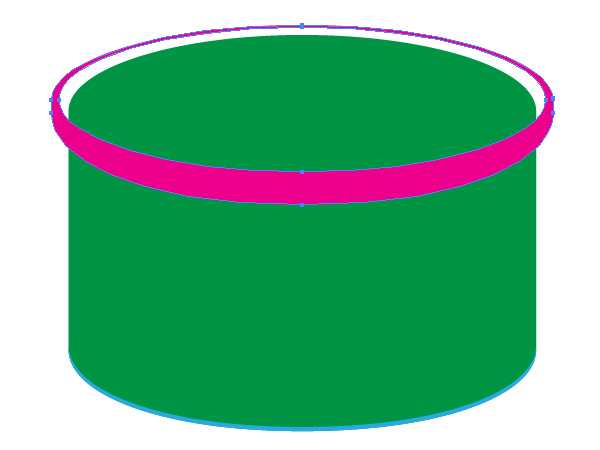
Step 5
Using the Ellipse Tool (L), draw a path which will represent the top surface of the can.
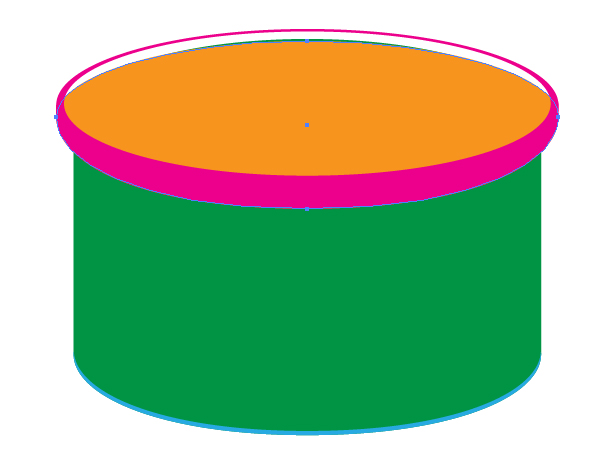
And illustrate a lateral surface of the top part of the can by using the Pen Tool (P) as shown below. Your main geometric shape is now complete.
Step 6
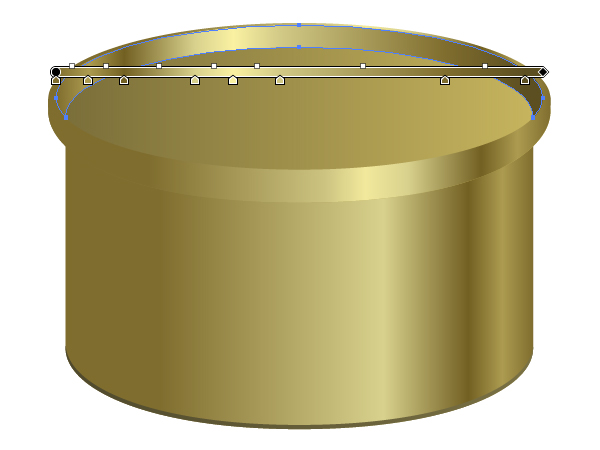
Fill the green path with a linear gradient.
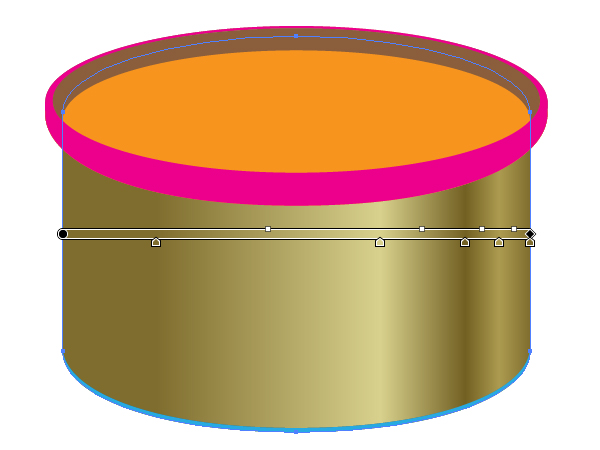
Fill the blue path with another linear gradient.
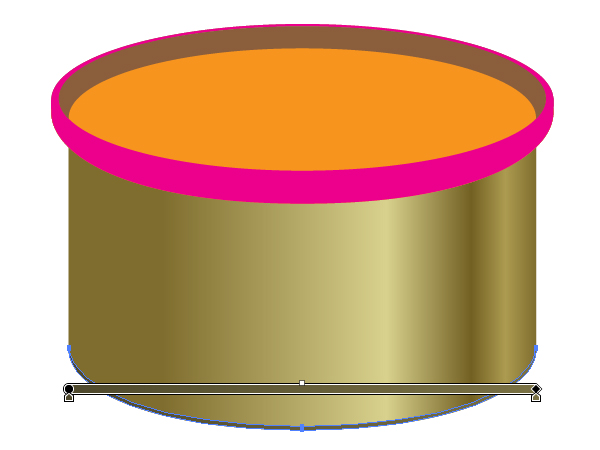
All the other paths should be filled with linear gradients as well. Follow the helpful diagrams below.
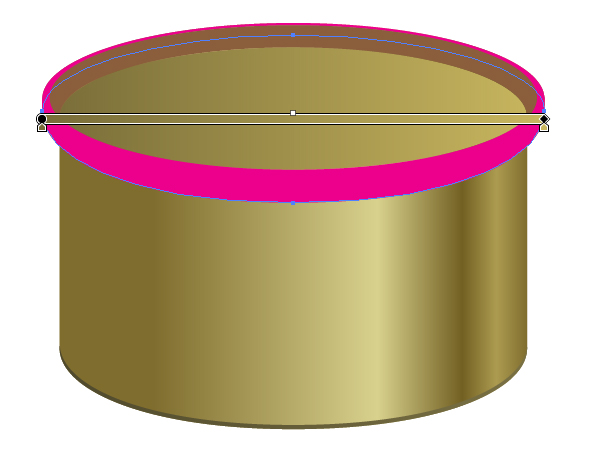
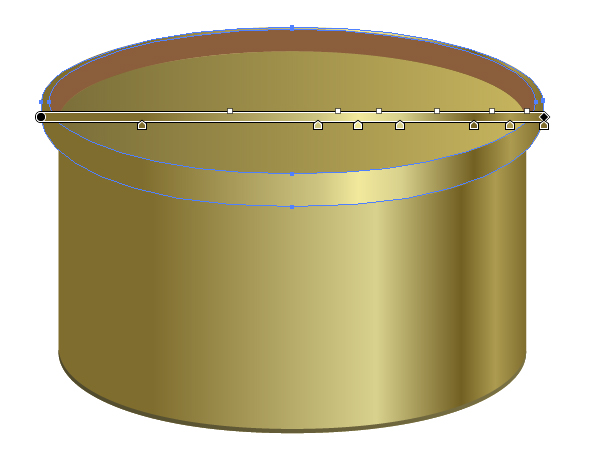
Step 7
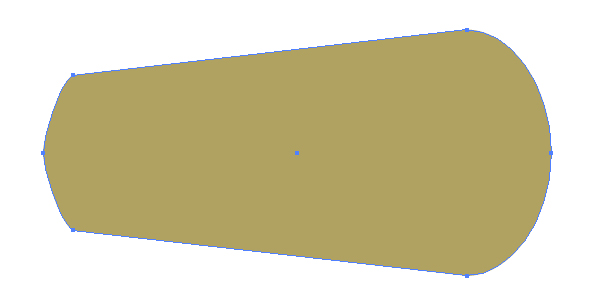
Using the Pen Tool (P), draw the following path from which the can-opener will be created.
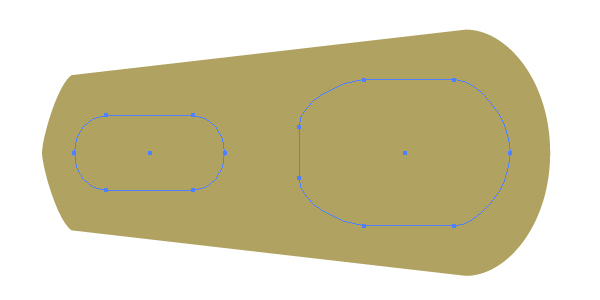
Using the Rounded Rectangle Tool and draw two paths on top of the can opener. After that use the Direct Selection Tool (A), and convert the paths to the shapes shown in the image below.
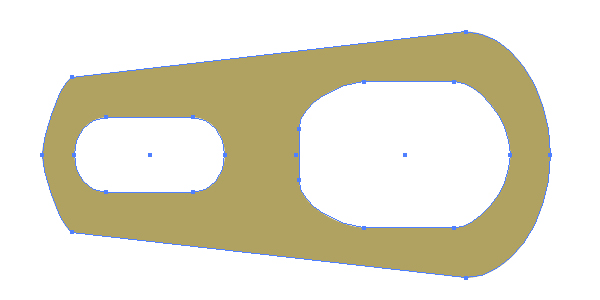
Select all the paths and make a Compound Path from them by going to Object > Compound Path > Make (Command + 8).
Step 8
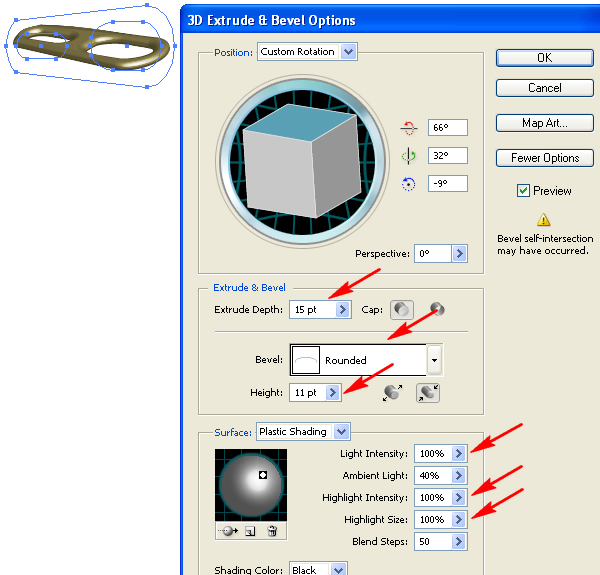
Go to Effect > 3D > Extrude & Bevel, and set the values in the opened dialog box so as to create a can-opener. Pay attention to the indicated options in order to make the light distribution on the can-opener surface. Besides, in as much as the can-opener is metallic the light intensity (indicated with arrows below) should be maximum.
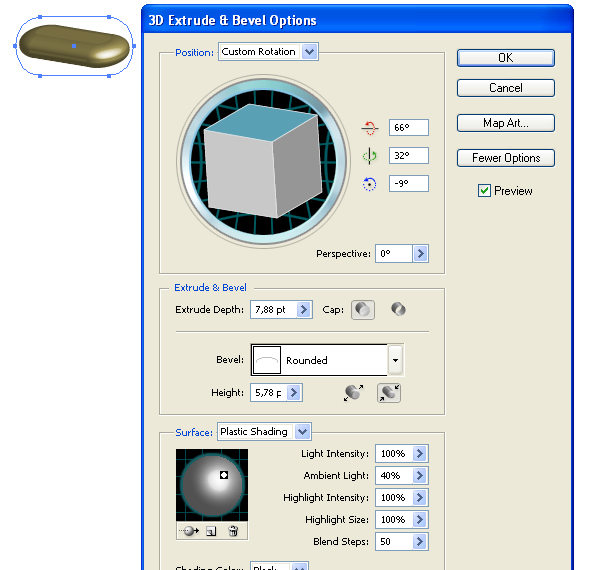
The inner part of the can-opener is made the same way. See the helpful image below.
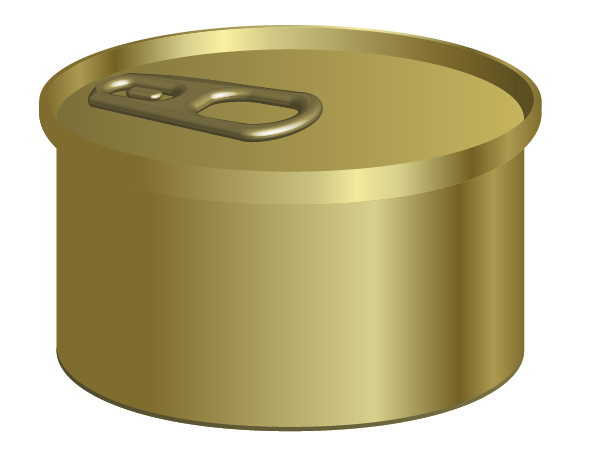
Place the can-opener on the top part of the can.
Step 9
Copy the main part of the can-opener, and Paste it in Back (Command + C then Command + B).
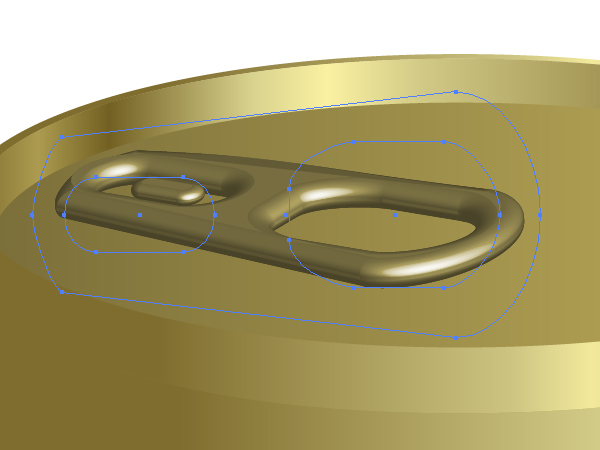
Then go to Object > Expand Appearance.
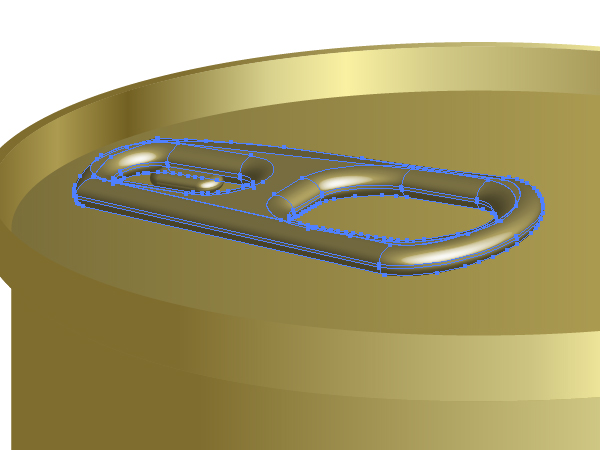
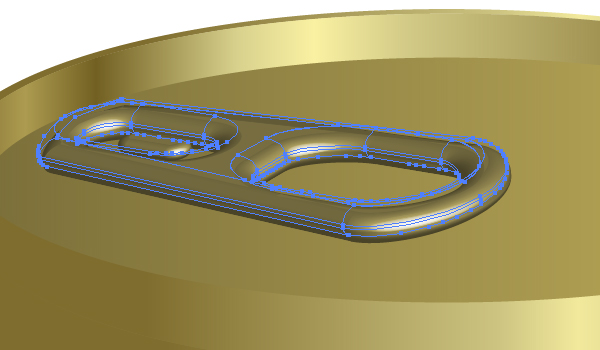
Fill the created group black and change the Opacity of it to about 10%. Move it slightly in order to create a soft shadow on the can.
Step 10
Now to create a black blend. The following steps will show you how to create this if you’re not sure.

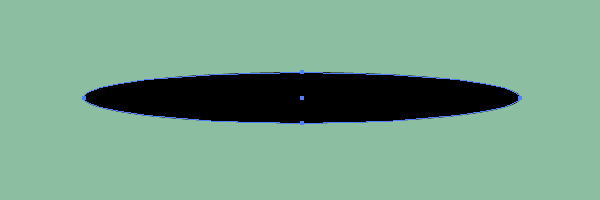
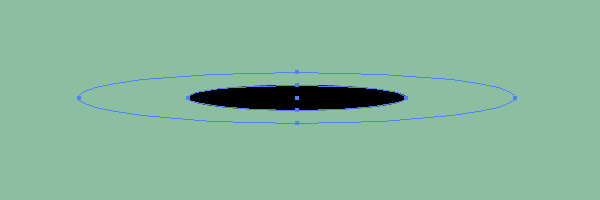
Using the Ellipse Tool (L) draw an elongated ellipse filled with black.
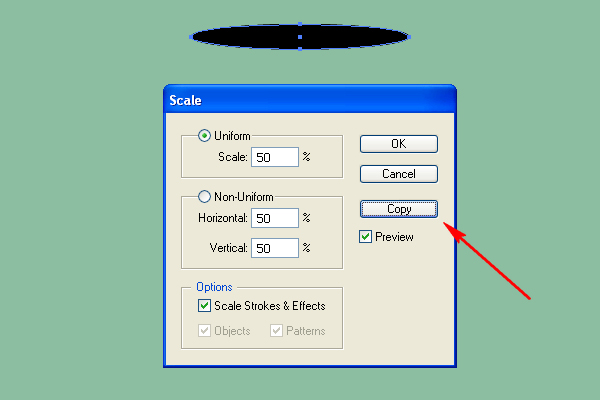
Go to Object > Transform > Scale, decrease the ellipse to 50%, and click the Copy button in the dialog box.
Change the Opacity of the biggest ellipse to 0%.
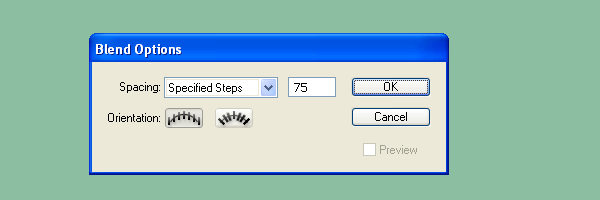
Go to Object > Blend > Blend Options, and set the Spacing to Specified Steps, and the number of steps to 75.
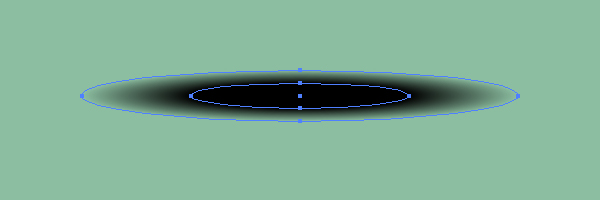
Then go to Object > Blend > Make (Command + Alt + B).
Step 11
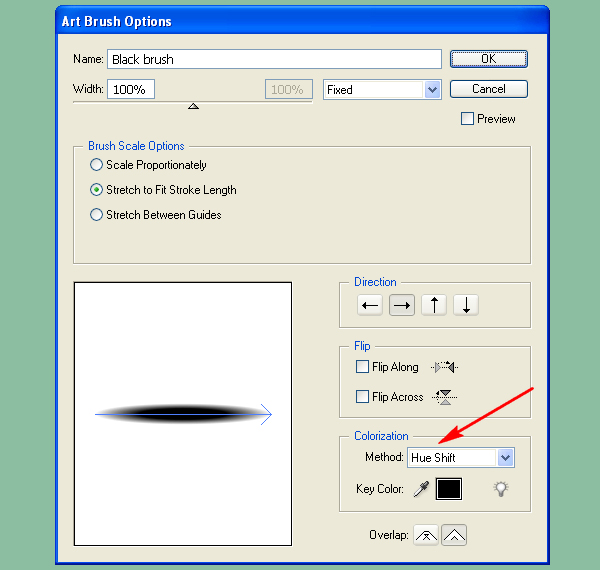
Drag and drop this blend into the Brush panel and choose the Art Brush option in the opened dialog box.
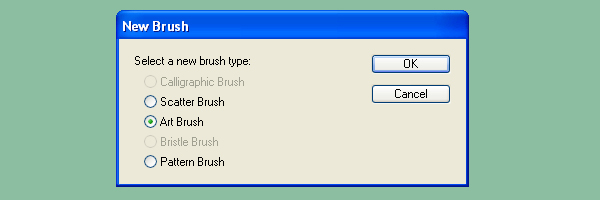
Name this brush "Black brush" and choose the Hue Shift Method Colorization so as to have the possibility to manage the brush color.
Step 12
Using the Line Segment Tool (\), draw an angled line which has the length equal to about 50px.

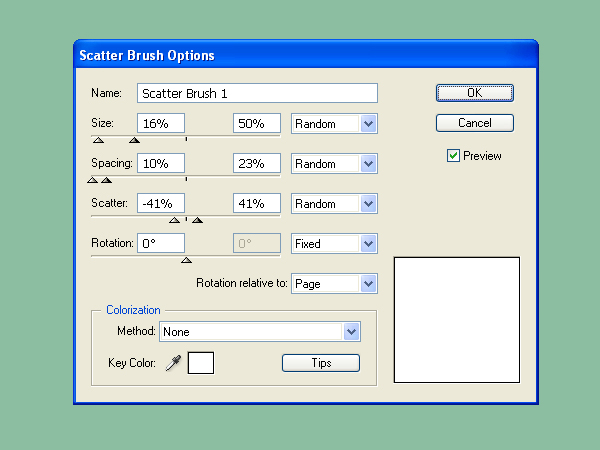
Drag and drop this segment into the Brush panel, however this time choose the Scatter Brush option in the dialog box. Name this brush "Scatter Brush 1". The other options of the brush should be specified as it is shown in the figure below.
Step 13
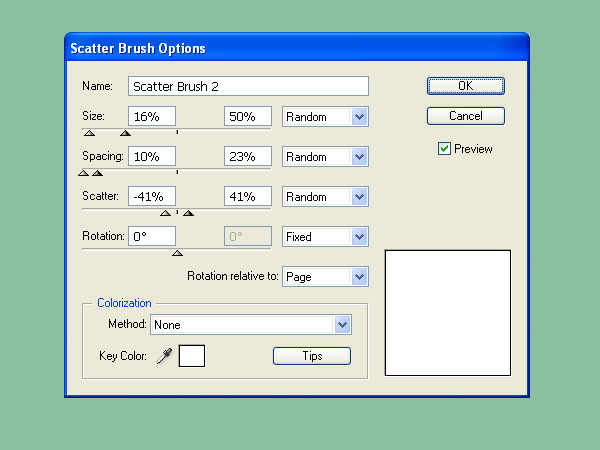
Using the Line Segment Tool (\), draw a vertical line of around 150px.

Then use this to create another Scatter Brush with the settings below.
Step 14
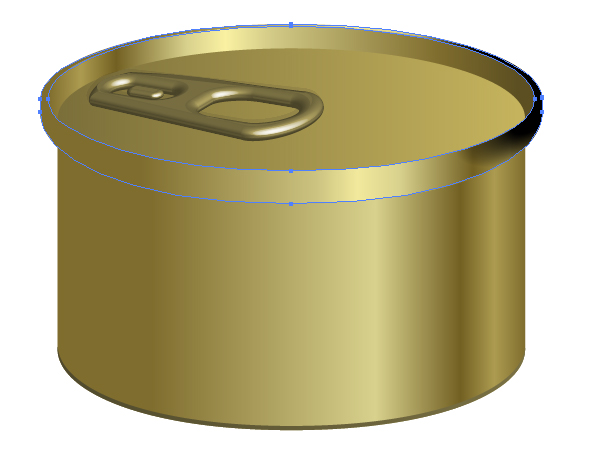
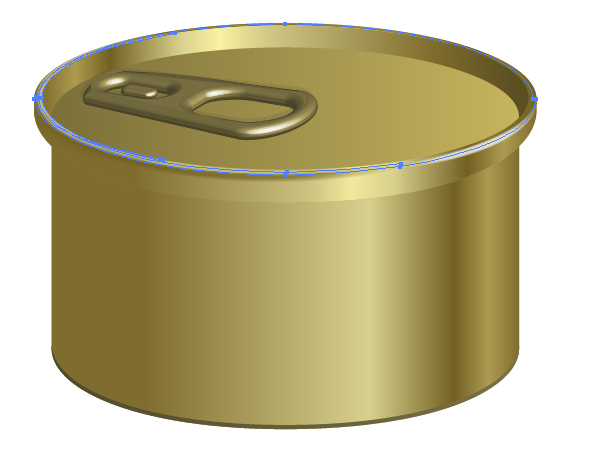
We’re going to create shadows and light using our blend based brush. Using the Pen Tool (P) draw around the rim of the can and apply the blend brush.
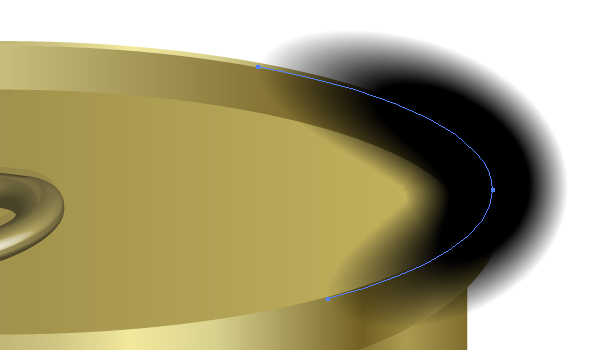
Select the rim of the can…
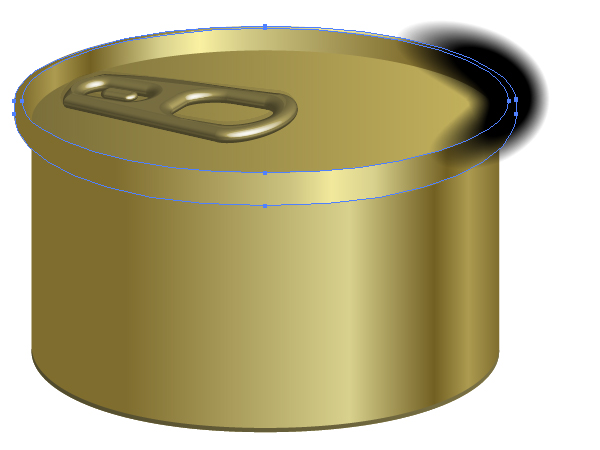
.. and then Copy it and Paste in Front (Command + C then Command + F). Open the Layers panel, drag and drop the copy into the top of it, select both: this copy, and the path to which the "Black brush" is applied, and go to Object > Clipping Mask > Make (Command + 7).
Step 15
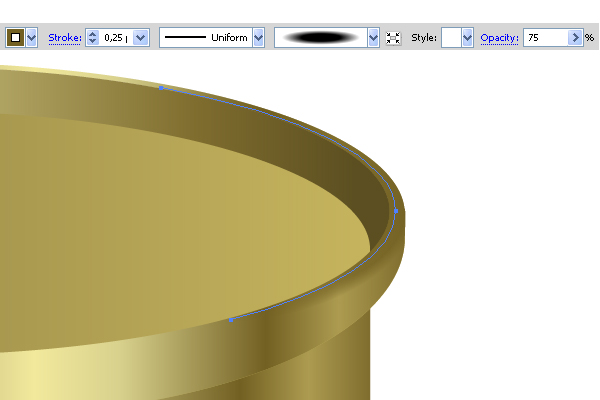
Select the path to which the "Black brush" is applied.
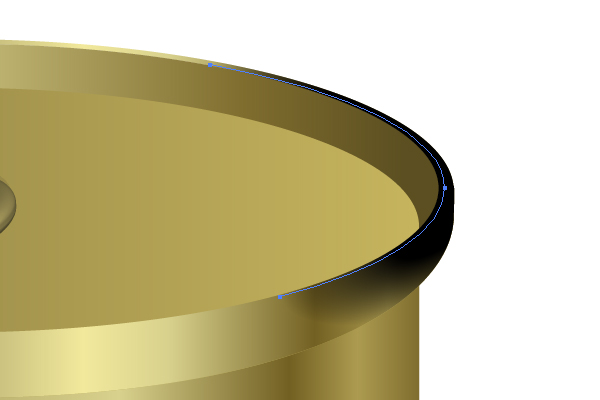
Change the Stroke color, Stroke Weight, and the Opacity of the path with the following settings.
Step 16
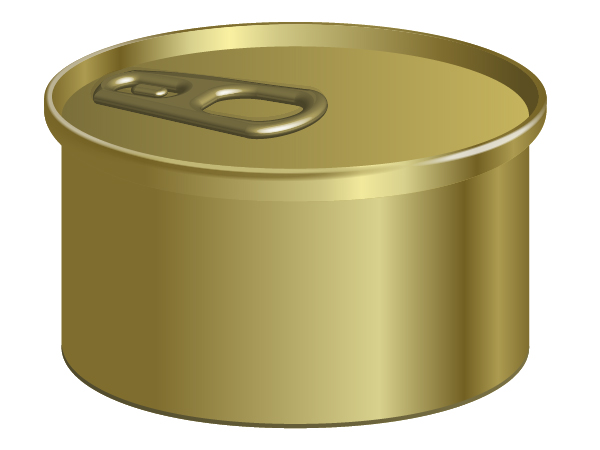
Repeat the process to add highlights to the rim of the can in the same manner.
Step 17
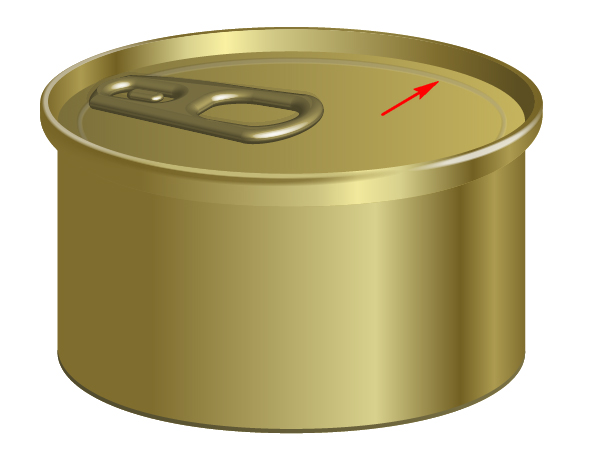
Now to create the edge of the lid on the top of the can. This is created by applying the "Black brush" to a path. In addition, it consists of two other paths. One of them has the white Stroke color. The other has the black Stroke color.
Step 18
Now to add further highlights and shadows to the top surface of the can.
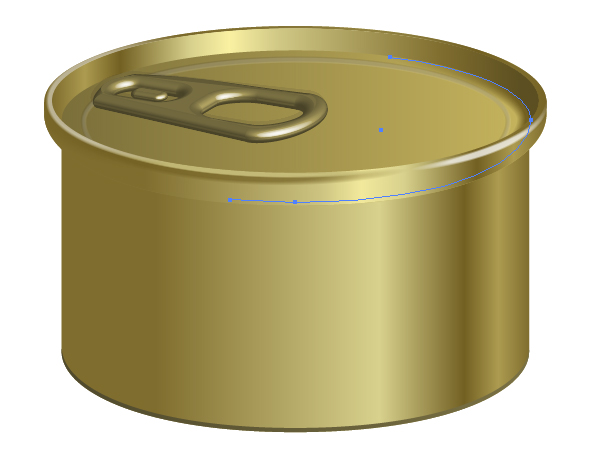
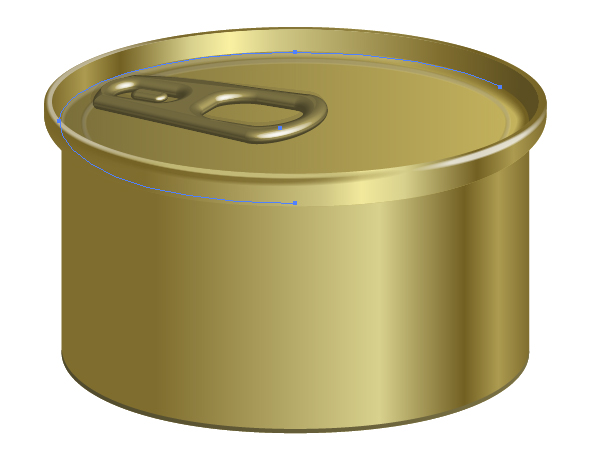
Add a shadow underneath the lid using the blend brush.
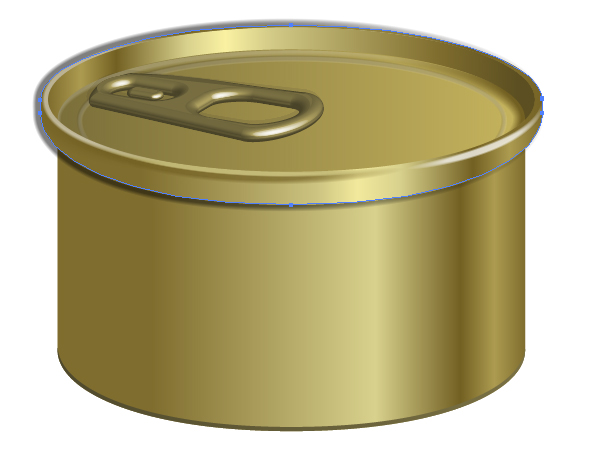
And crop it with a Clipping Mask (Command + 7).
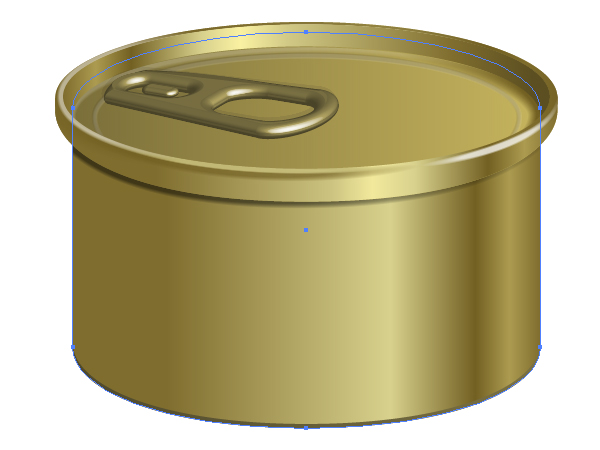
Step 19
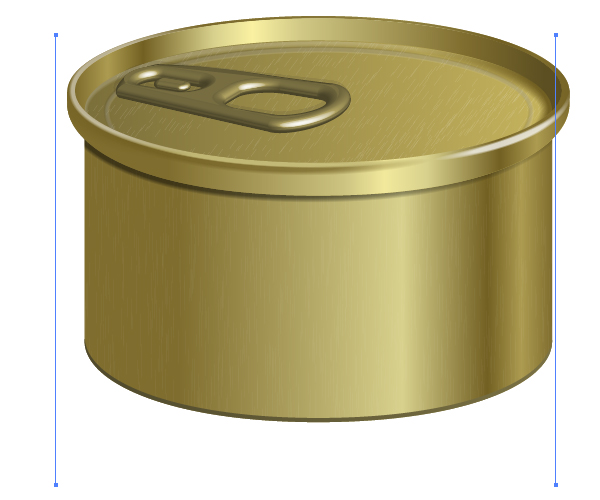
Using the Paintbrush Tool (B) to apply the "Scatter Brush 1" over the top part of the can. Change the Stroke Weight and the Opacity of the path. This will create a brushed metal effect.
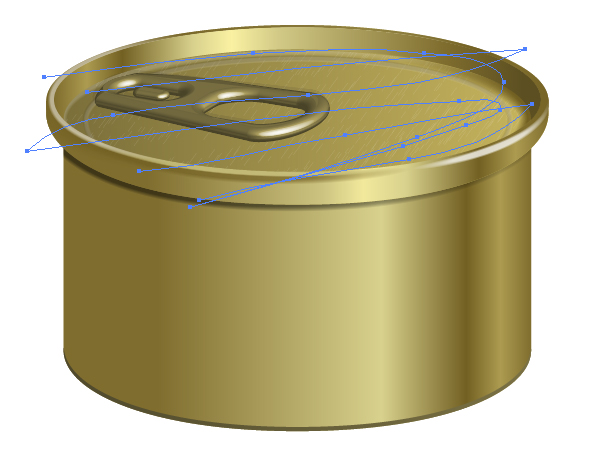
Create a Blend from two vertical semitransparent white line segments on the lateral surface of the can as it is seen in the figure below. Once created, add the blend to a Clipping Mask (Command + 7).
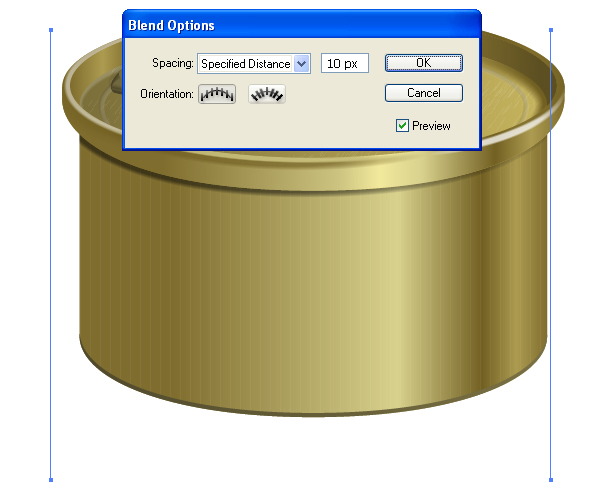
Apply the "Scatter Brush 2" to both paths of the blend to create the brushed metal effect.
Step 20
Draw a label on the can by using the Pen Tool (P), and fill it with an angled linear gradient.
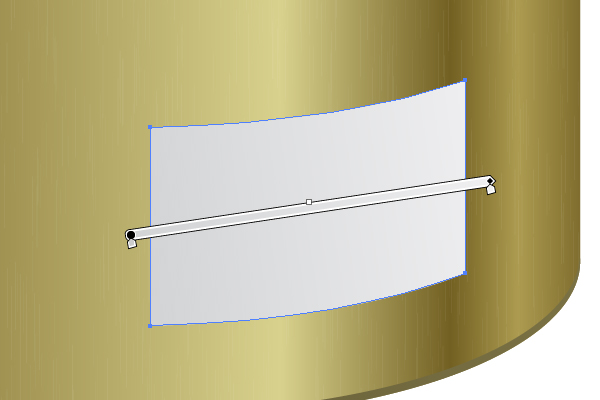
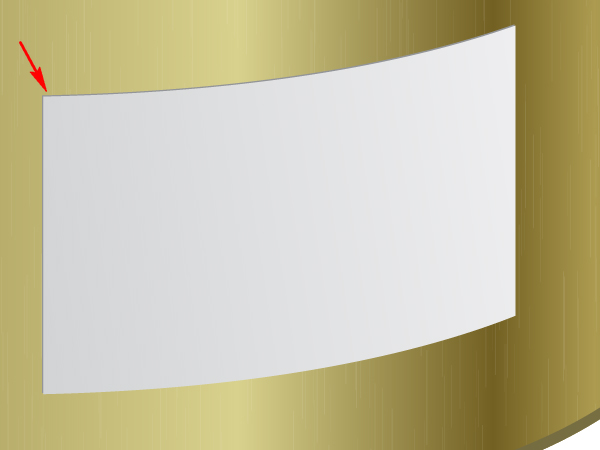
As the label as a small thickness to it, we’re going to add some subtle depth to it. So, Copy the label and Paste it in Back (Command + C then Command + B). Move it slightly, and fill it with gray.
Step 21
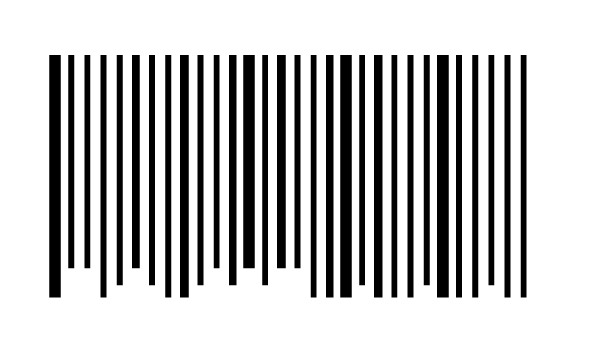
Let’s create a bar-code over the label. In order to do this the interesting way, take the Column Graph Tool (J), and create a graphic similar to the shown one.
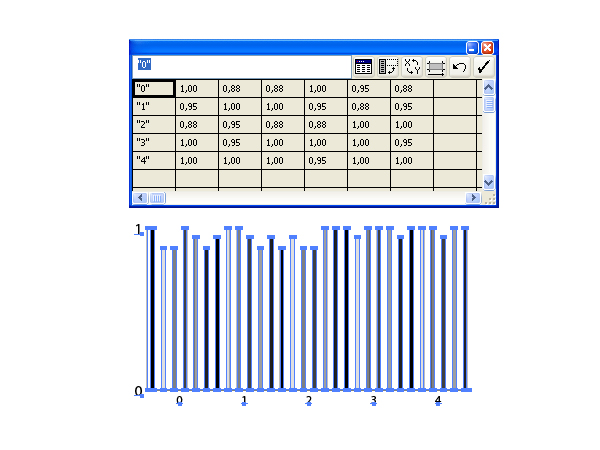
Choose 2 or 3 values for the columns only. Besides they should be close to each other. I use 0.88, 0.95, and 1.00 in my artwork. Go to Object > Ungroup, and click the "Yes" button in the dialog box.
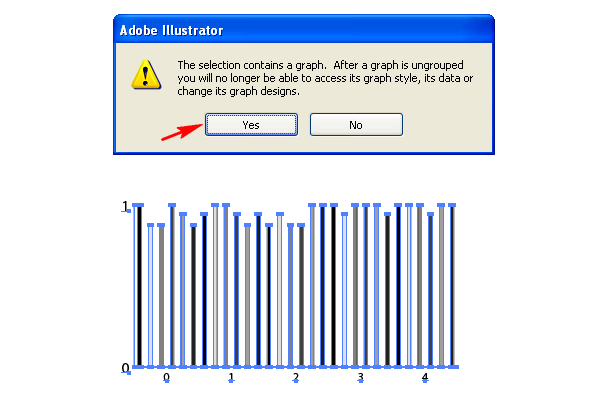
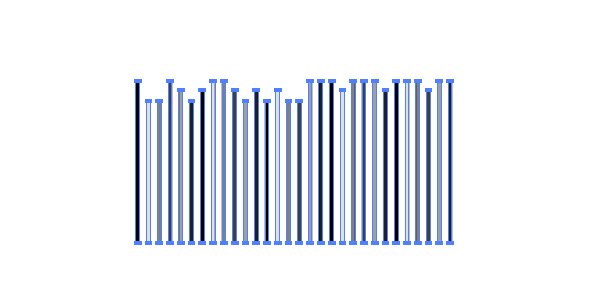
After that delete the axes and the graph legend.
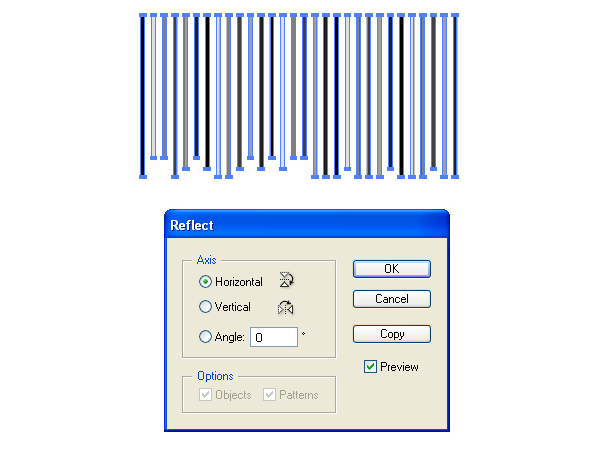
Go to Object > Transform > Reflect, as a bar-code has downward orientation.
Step 22
Change the Stroke color to null, and the Fill color to black. Select any rectangle and make it wider by going to Object > Transform > Scale. Repeat these actions with the rectangles chosen by chance. See the image below.
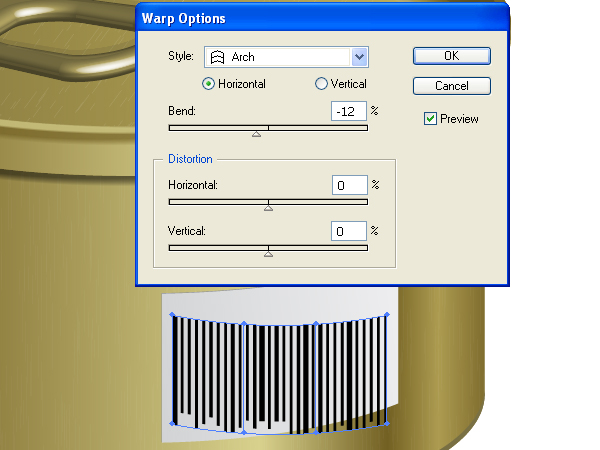
Place the graphic on the label. Go to Object > Envelope Distort > Make with Warp (Command + Alt + Shift + W), and apply the appropriate values of distortion.
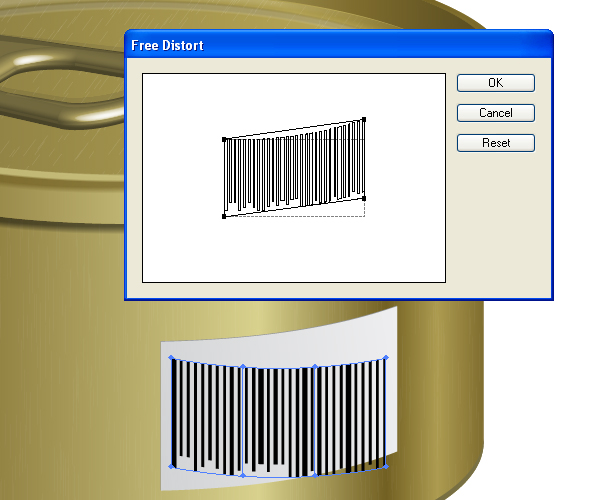
And go to Effect > Distort & Transform > Free Distort.
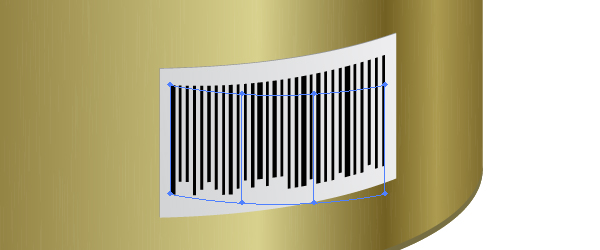
Conclusion
The final image is below. Use the techniques you’ve learned here in your own artworks. I hope you’ve enjoyed this tutorial.
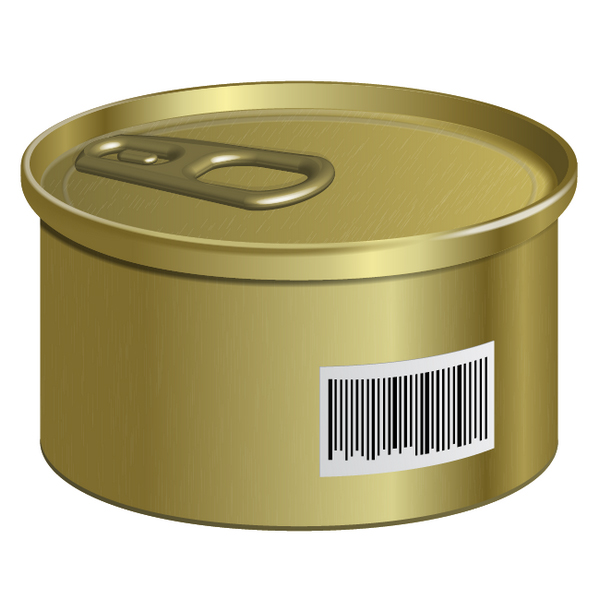
{excerpt}
Read More