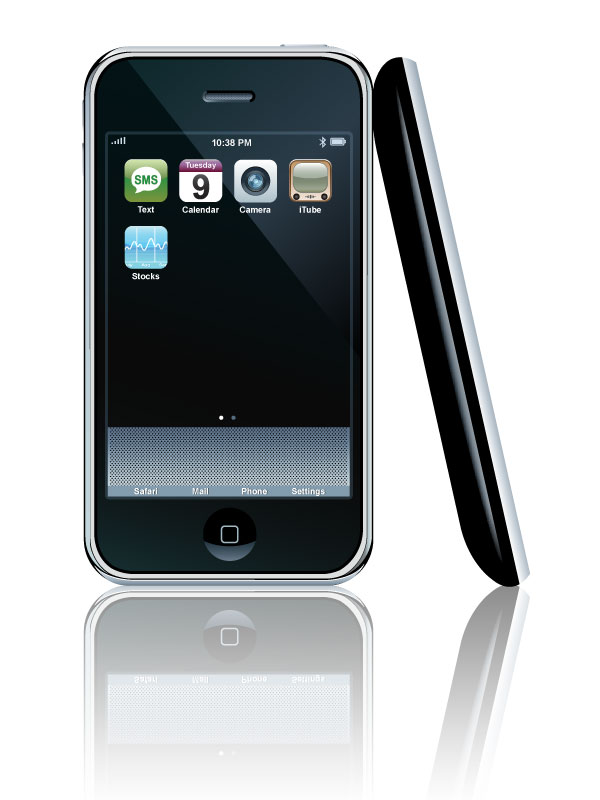
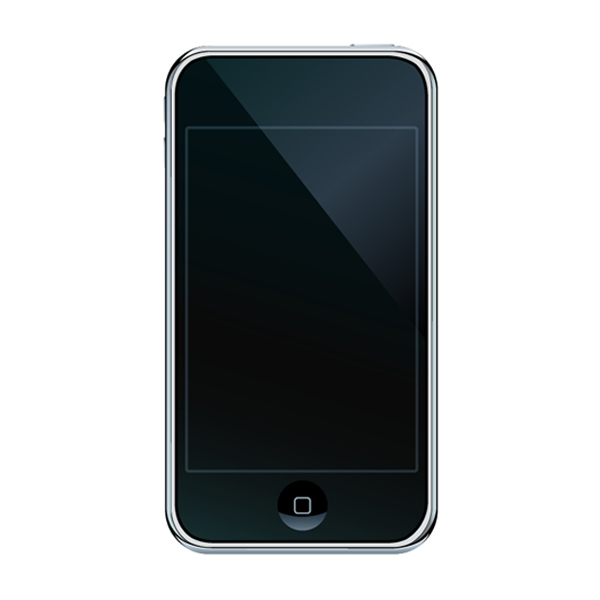
In this tutorial you will learn how to create a photo-realistic iPhone illustration and every single icon you can find on the iPhone touch screen. That’s 18 icons! With so many fantastic tips and tricks we’ve broken the tutorial into two parts, in part two you will learn how to make the remainder of the icons and finish your illustration. Let’s get started!
Step 1
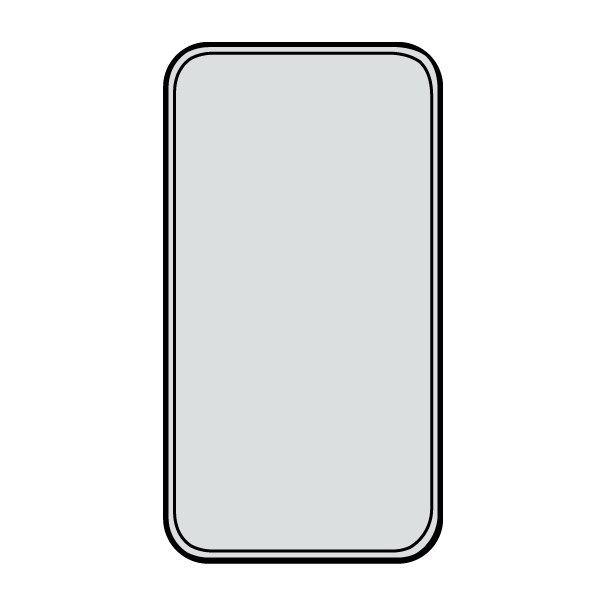
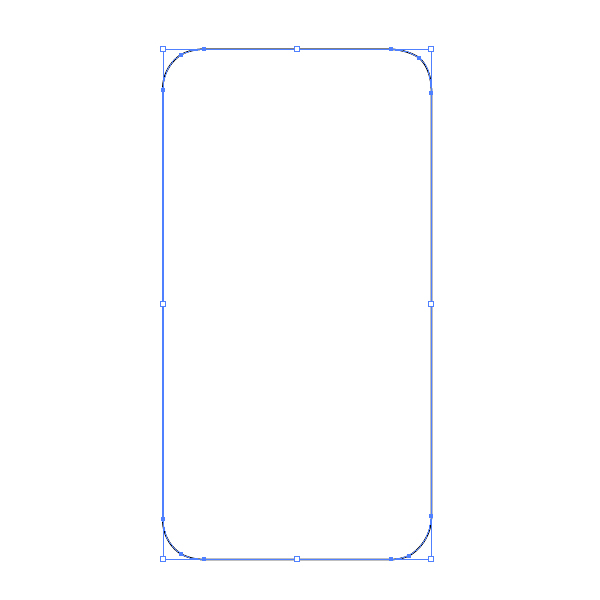
Open up a new document, then create a new layer and name it "Camera Body". With the Rectangle Tool (M), create a rectangle, and that will be a front panel of the phone. To get the rounded edges of the rectangle, in the Appearance Panel go to Add New Effect > Stylize (Illustrator Effects) > Round Corners and enter 30 px in the Radius text box.

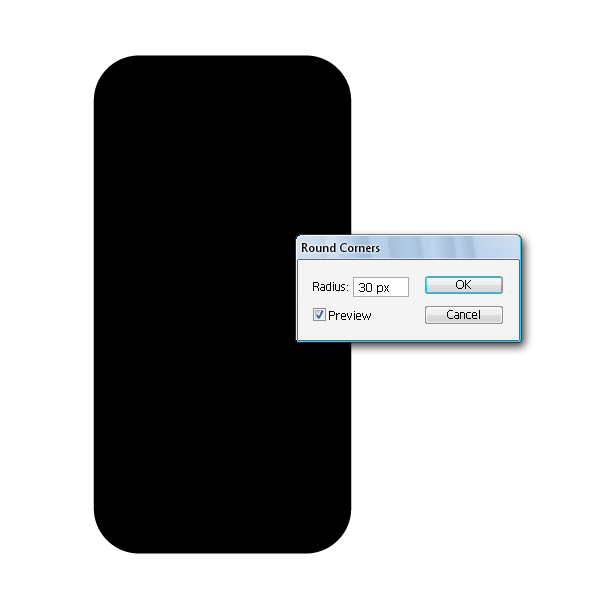
Step 2
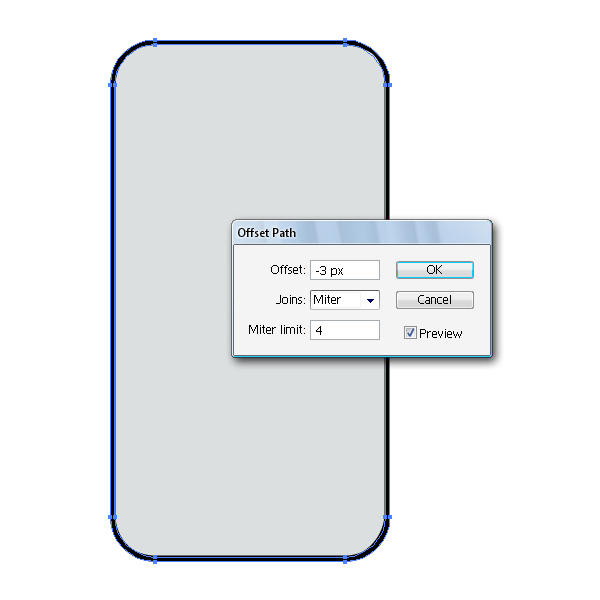
Now select the object and select Object > Path > Offset Path, and set the Offset value to _3 px. That way, we got a resized copy of the shape, and just add a grey color to it.
Step 3
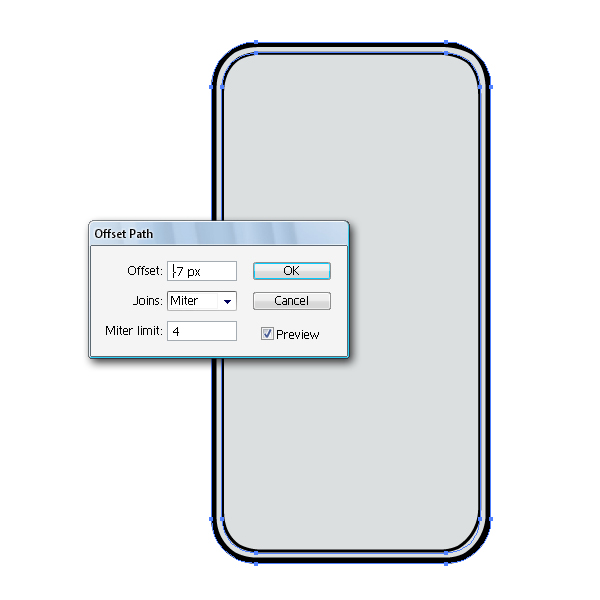
Resize the same object again, but now change the Offset value to -7 px. You don`t have to fill the object, but just add the black stroke to the path.
Step 4
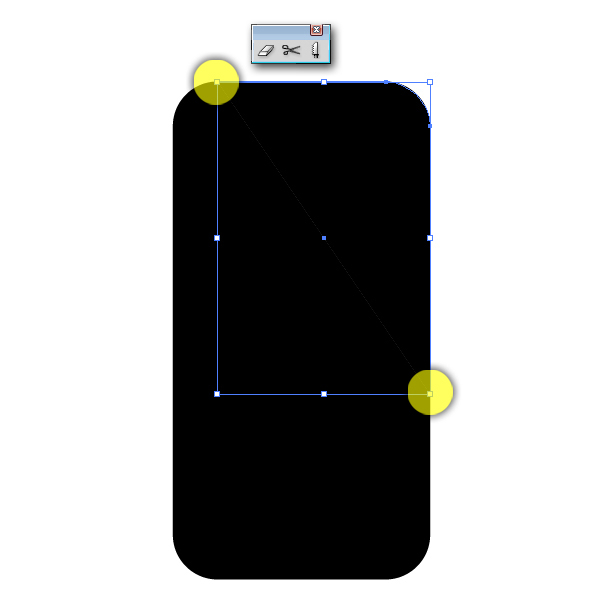
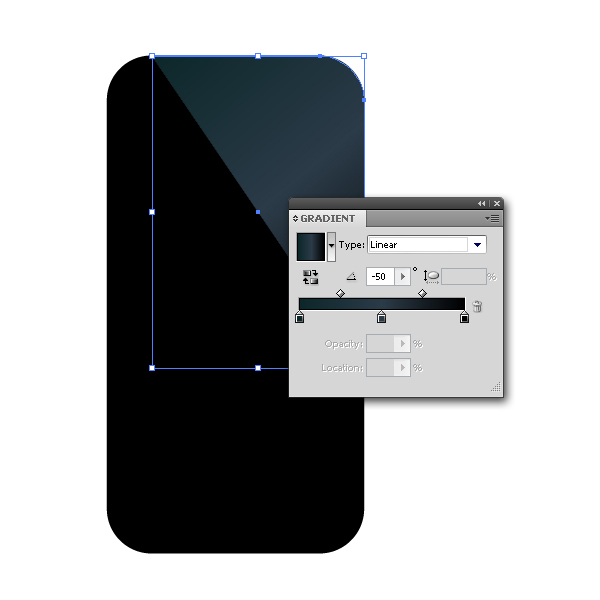
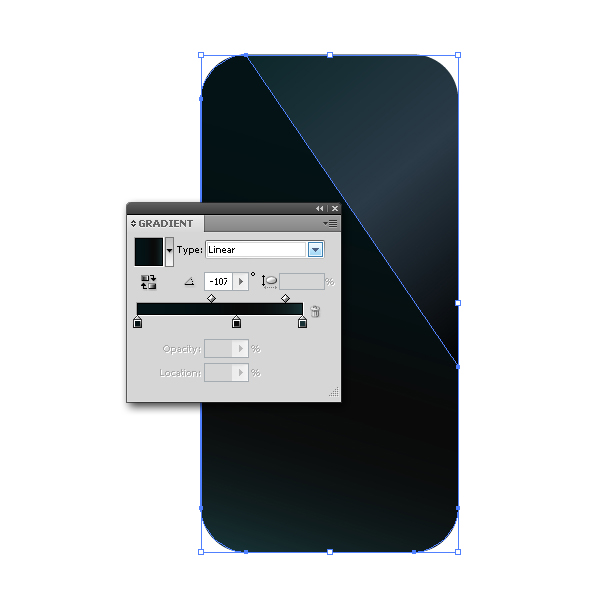
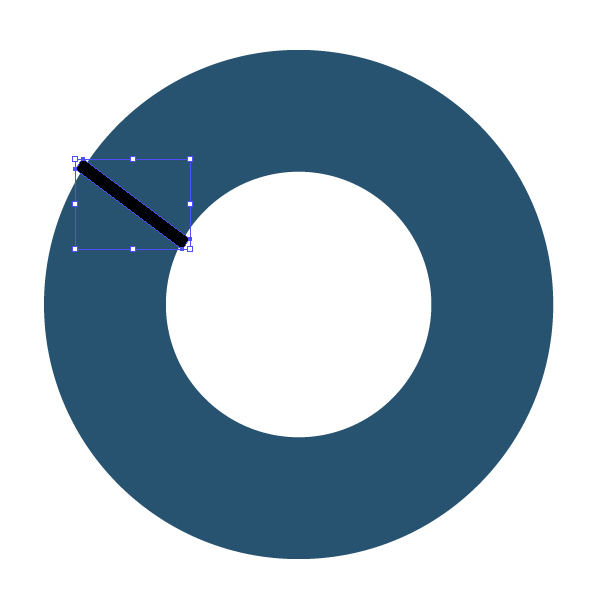
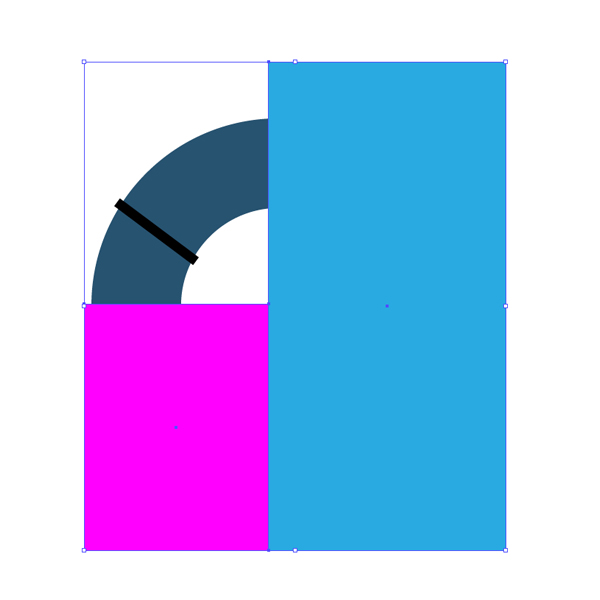
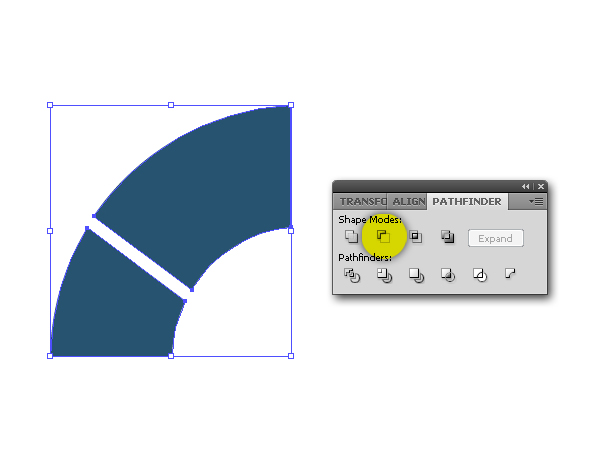
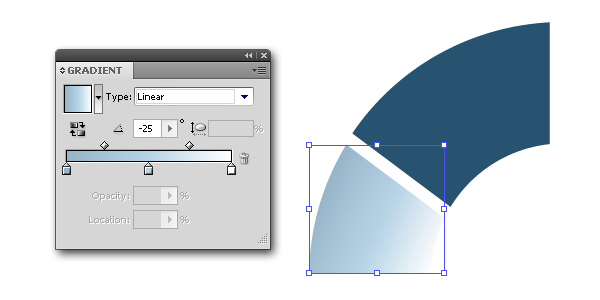
Now, create another rounded rectangle and select the Scissors Tool (C). You`ll need to click on the edges of the object twice (see the image below), and that way, you`ll get two divided surfaces. Add gradients to each surface and close the paths. Place the object on its position.
Step 5
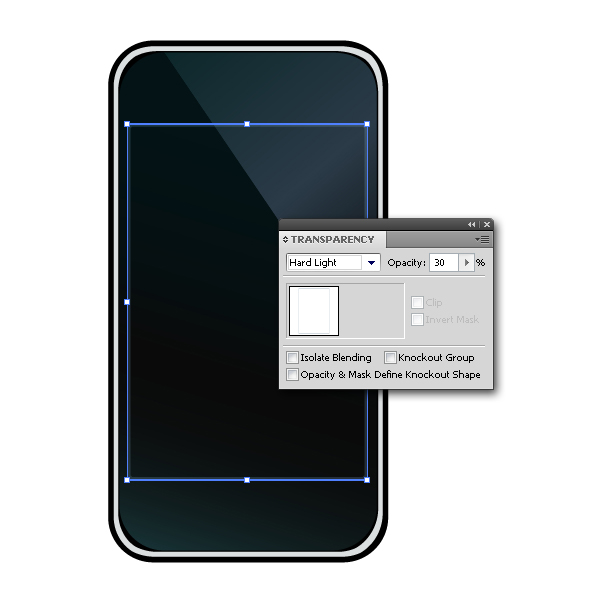
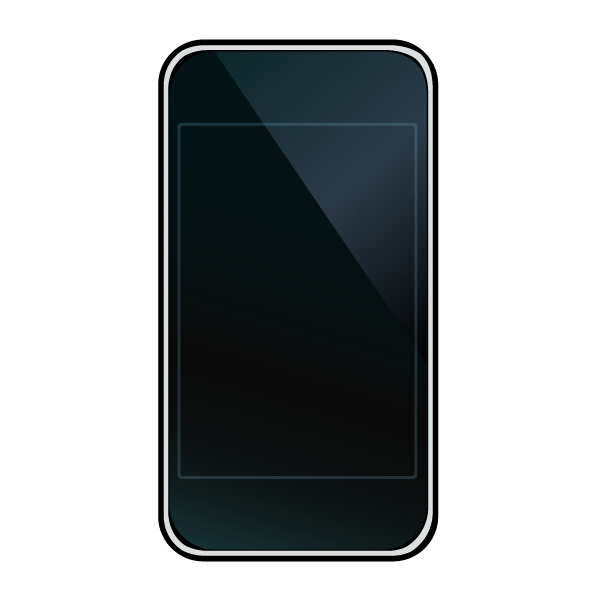
Using the Rectangle Tool (M) create a rectangle and color it with a light blue color. In the Transparency Panel, change the Blending Mode to Hard Light (Opacity 30%).
Step 6
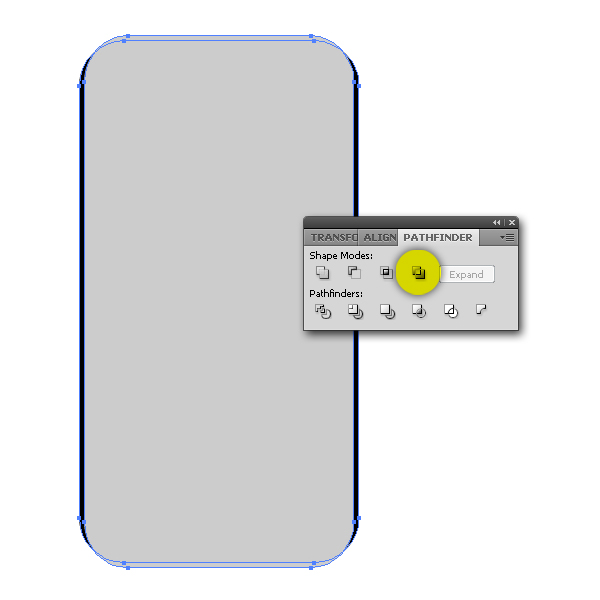
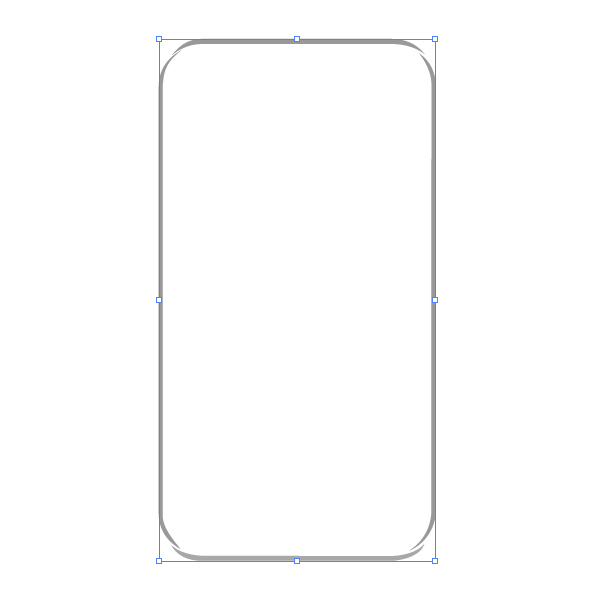
Create two rectangles and place one above the other. Once You have created those overlapping objects, select both objects and go to the Pathfinder Panel (Shift+Ctrl+F9) and choose Exclude. You should get something like on the image below.
Step 7
Now just simply add the gradients to the shapes, but you`ll need to ungroup (Shift+Ctrl+G) the objects, or use the Direct Selection (A) instead. It`s up to you.
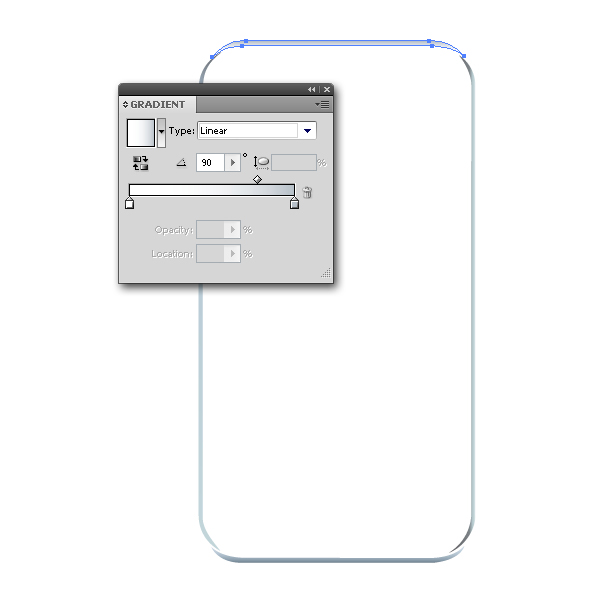
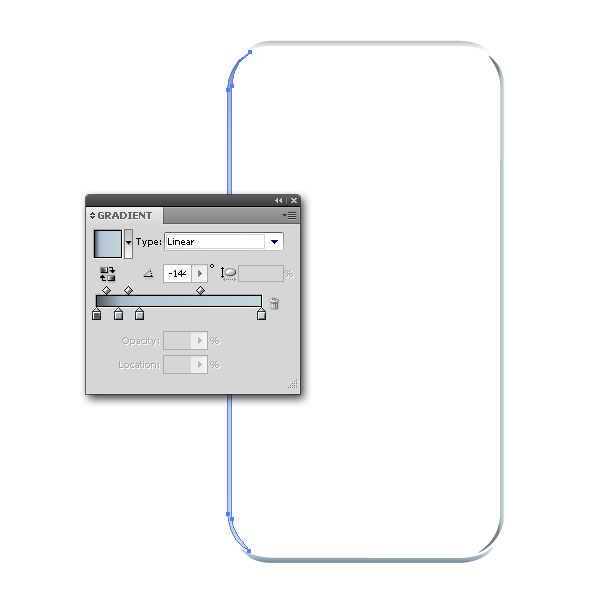
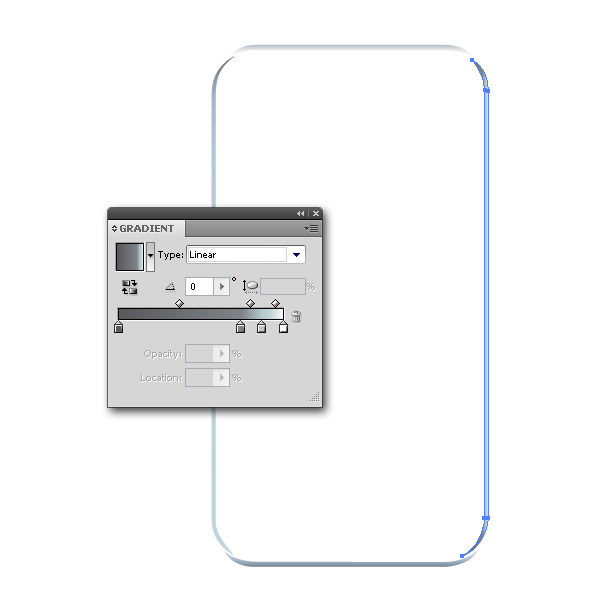
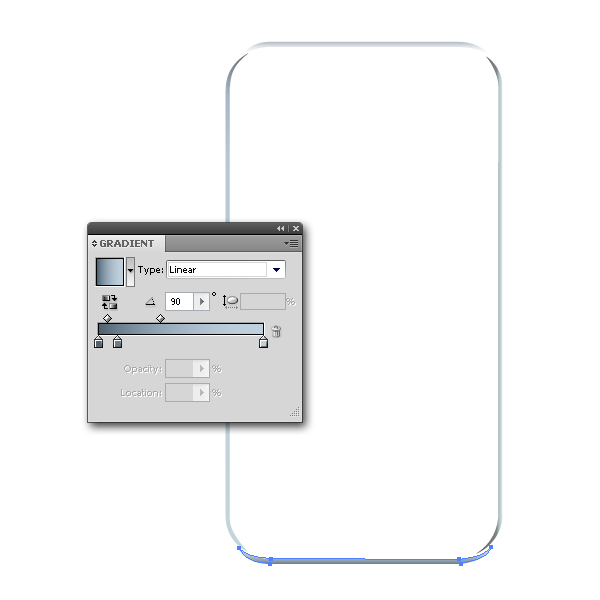
Step 8
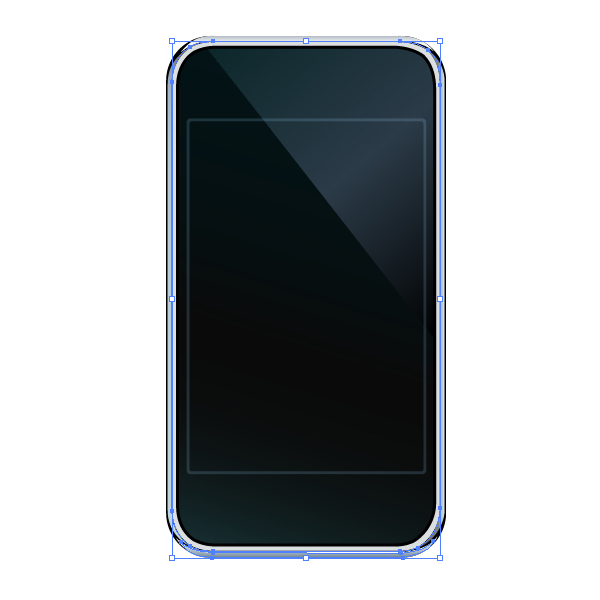
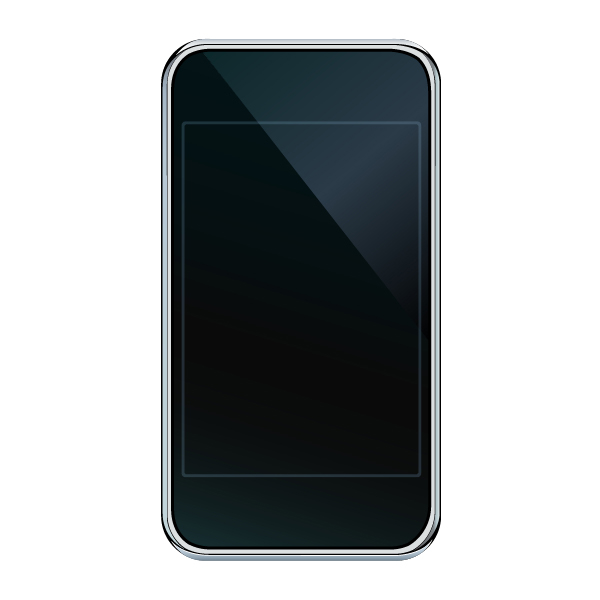
To create a more realistic phone body, draw a rectangle once more, color it with black, and apply strokes to it (no fill). Now place it above everything.
Step 9
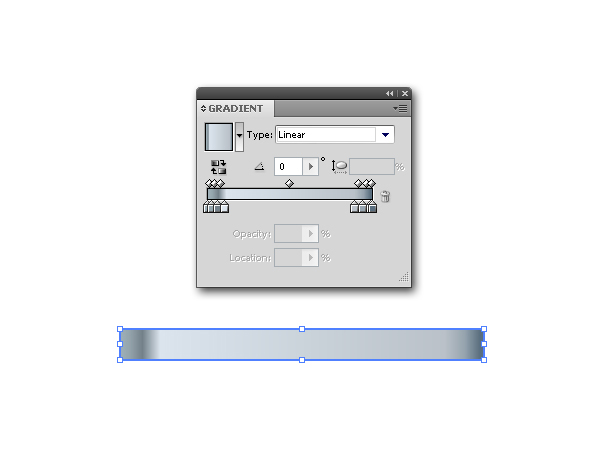
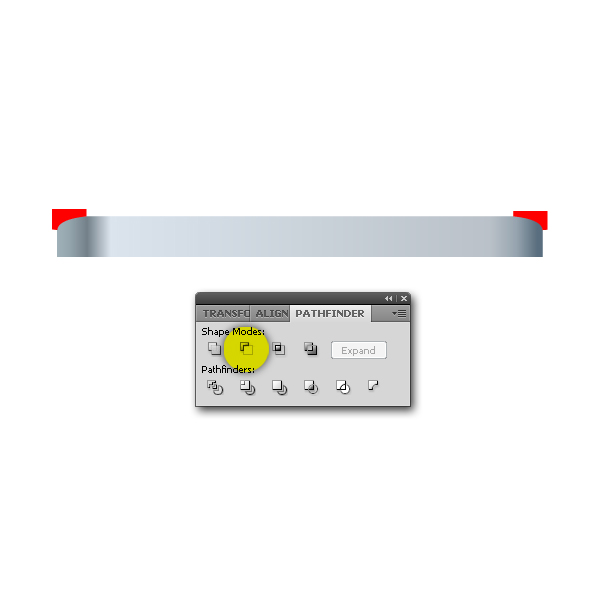
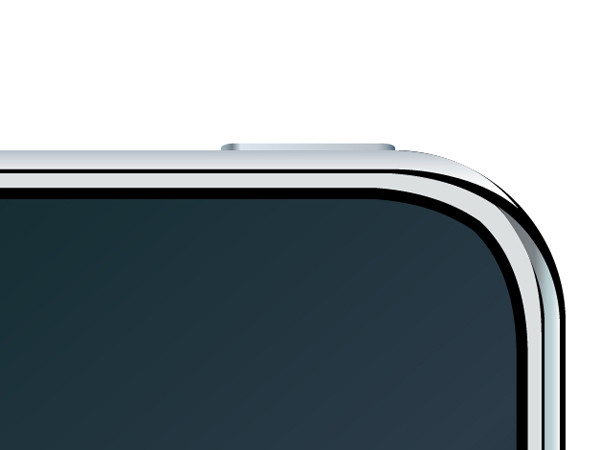
Now, we will create the first phone button and place it in the upper right corner of the phone. Create a rectangle and add linear gradients with 8 gradient stops (8 colors). Then, using the Pen Tool (P) create two identical shapes and put one on each side of the object. Select all objects, and in the Pathfinder Panel (Shift+Ctrl+F9) choose Minus Front. Using that action, we can cut off the edges of the object below, and, therefore, we can get the round edges.
Step 10
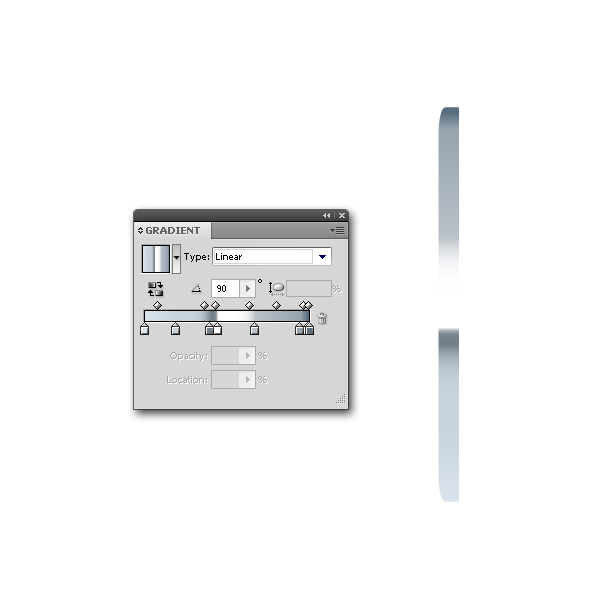
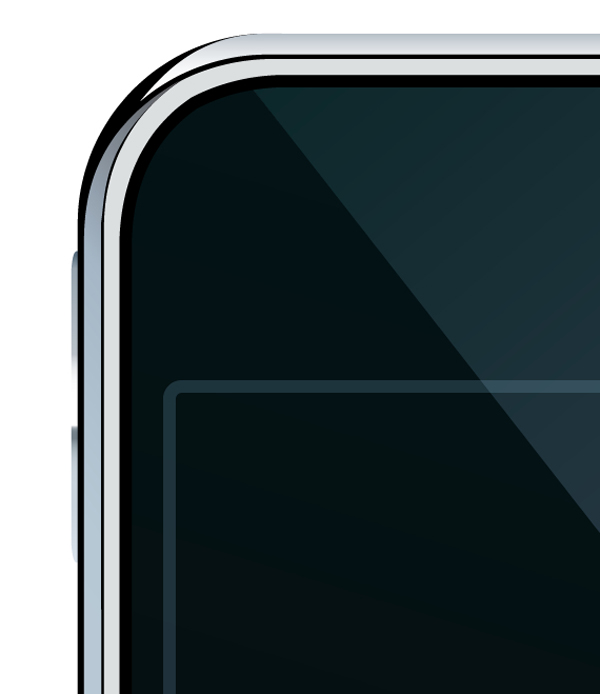
Repeat the previous step, add 8 gradient stops, and place the object as shown below.
Step 11
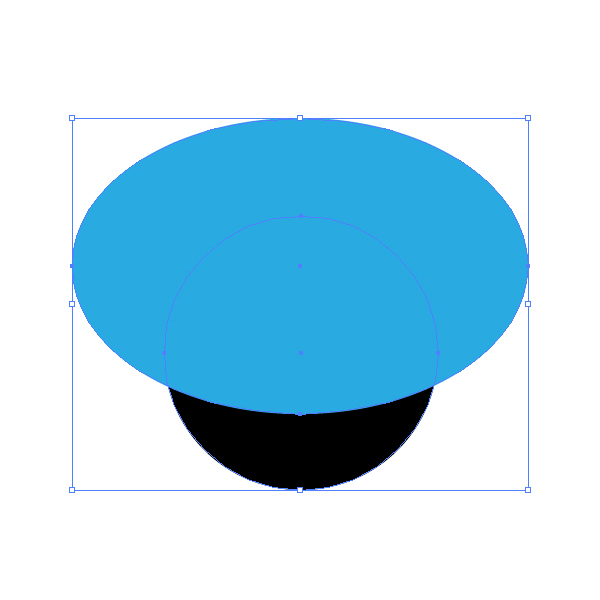
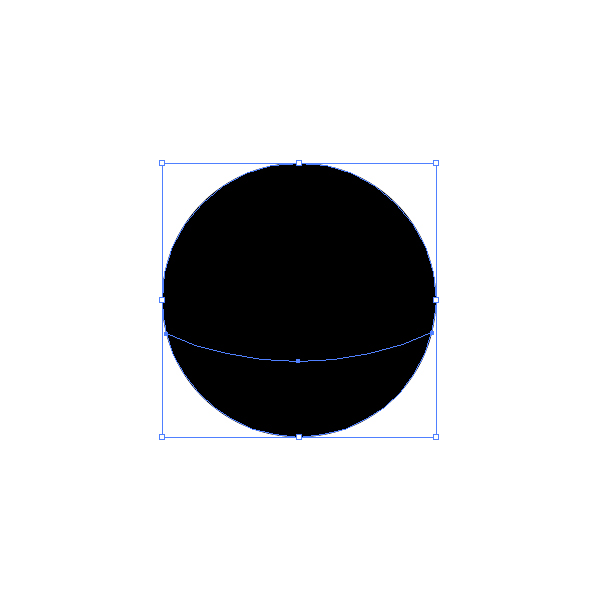
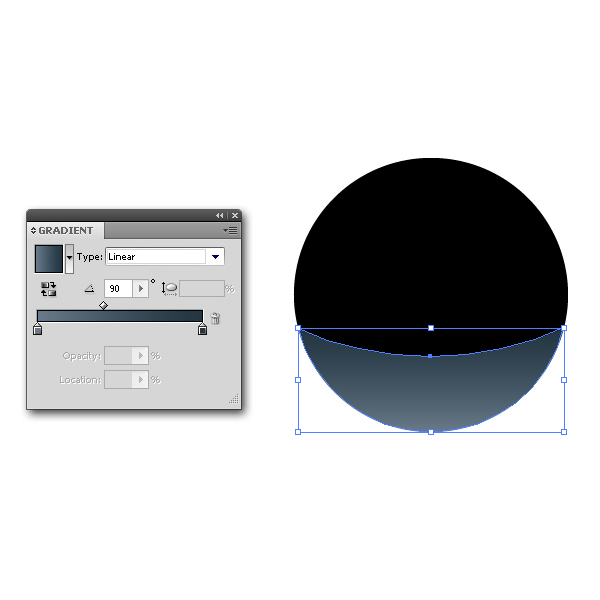
Grab the Ellipse Tool (L) and draw a perfect circle (hold Shift to Constrain) and add black color. Now draw another ellipse above the first one, select the object, and go to Object > Path > Divide Objects Below. This is another method how to get two divided surfaces. The upper surface should remain black, and add gradient colors to the lower one (2 gradient stops).

Step 12
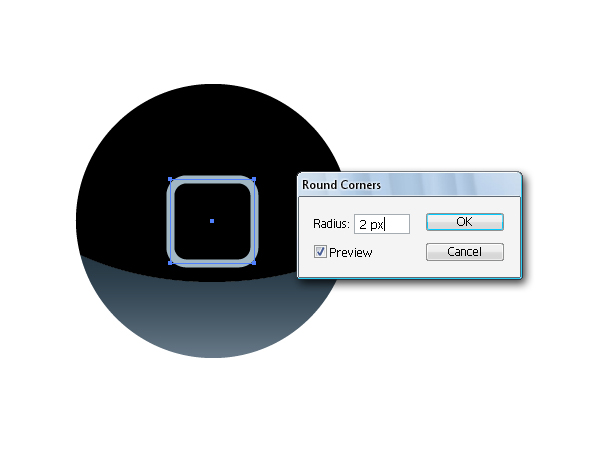
Make a rectangle and put it inside the circle and go to Add New Effect > Stylize (Illustrator Effects )> Round Corners. Set the Radius to 2 px.
Step 13
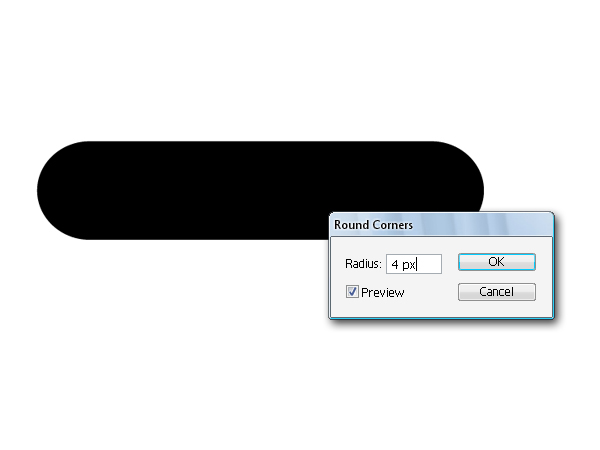
Now we are going to create a receiver. Use the Rectangle Tool (M) and create a rectangle and apply Round Corners effect again, but now with different values. Select the rectangle and go to Object > Expand Appearance to expand the object. Now You can modify anchor points until you’re satisfied.
Step 14
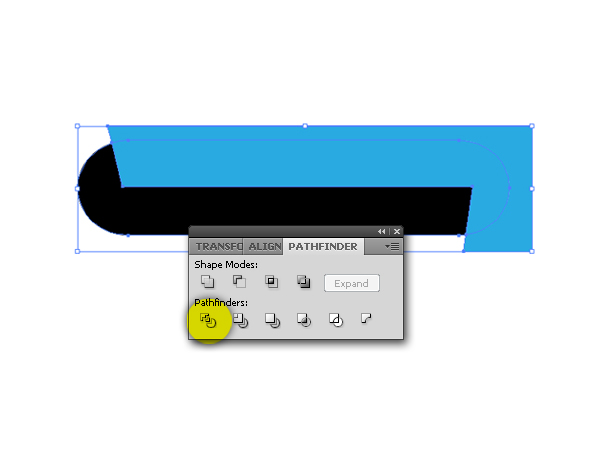
With the Pen Tool (P) draw a shape as shown on the image below and put the object above the rounded rectangle. Select both, and in the Pathfinder Panel select Divide. Use the Direct Selection (A) and get rid of the parts you don`t need.


Step 15
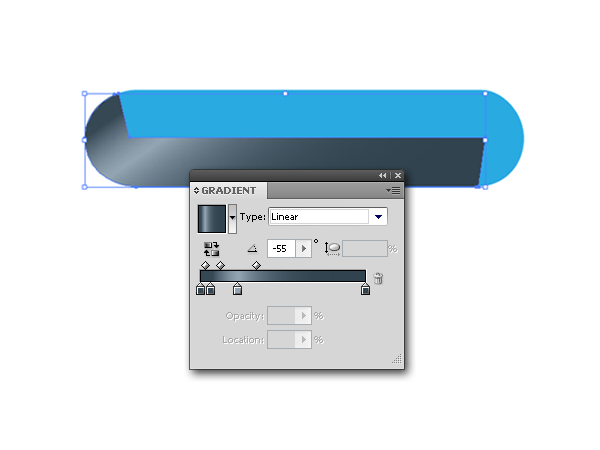
In the Gradient Panel, add linear gradients with 4 colors (stops) and apply them to the object. The second object should be colored in black.
Step 16
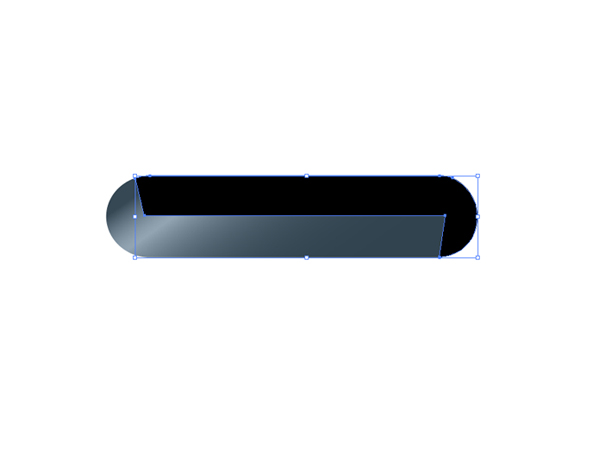
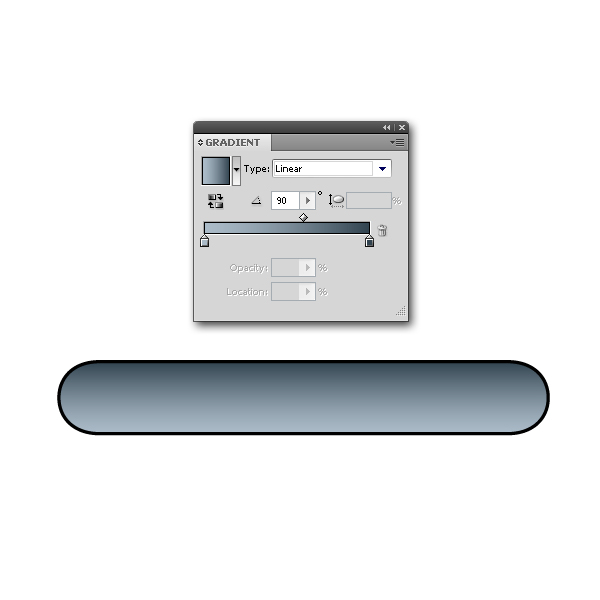
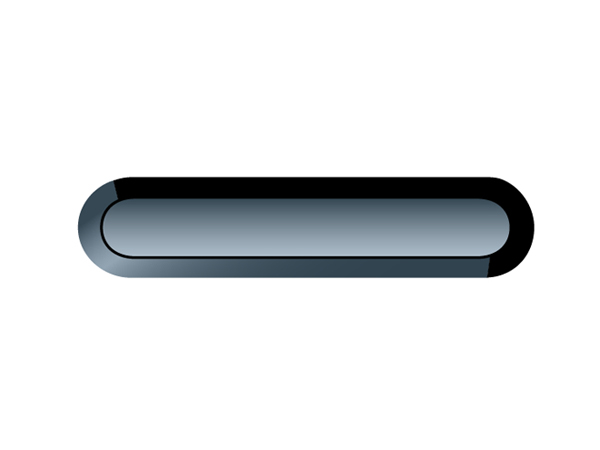
Use the Rounded Rectangle Tool and create an object. Once created, you can add a black stroke and fill it with gradient colors. Place them as shown.
Step 17
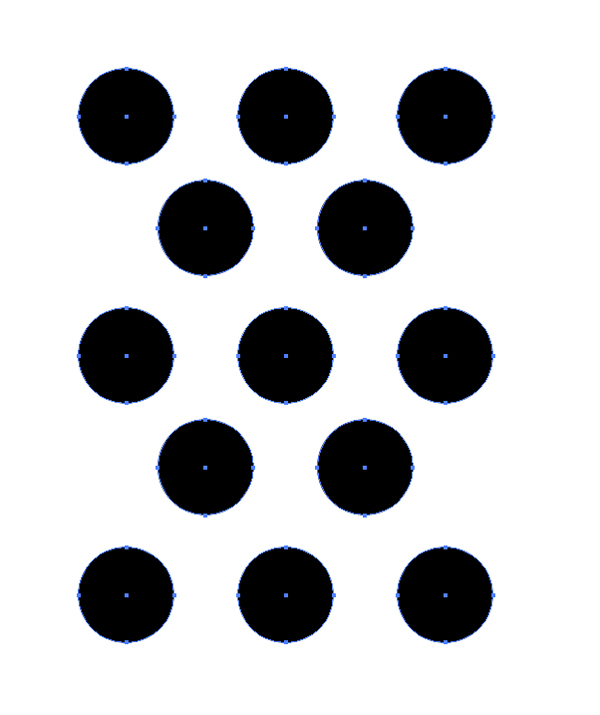
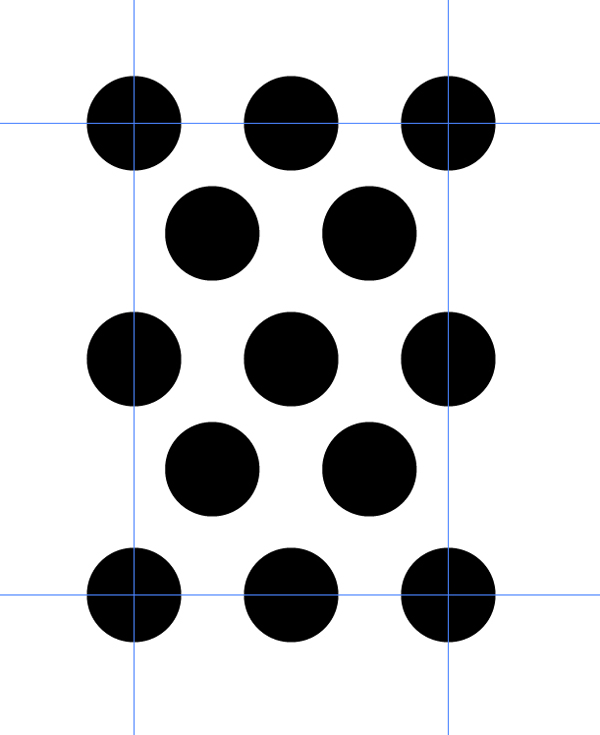
Now, we will create a simple seamless dot pattern. Use the Ellipse Tool (L) and create a perfect circle and copy it as much as necessary. Then, arrange them as shown below.
Step 18
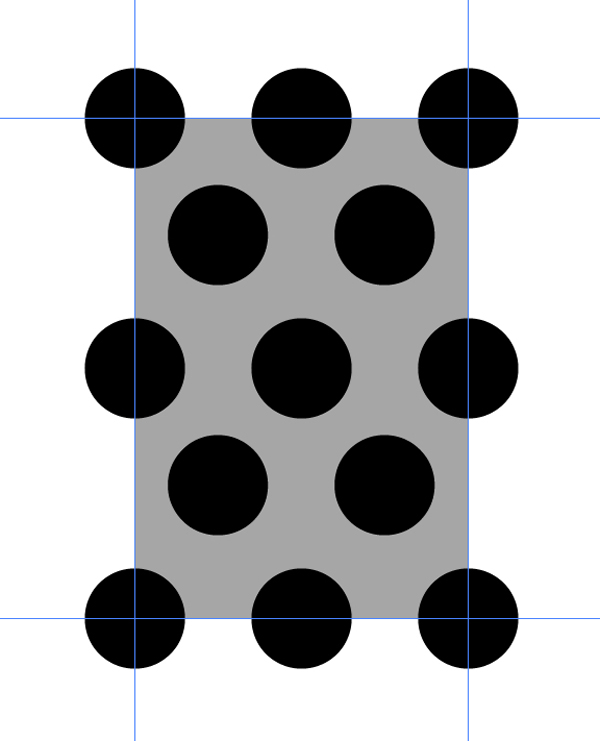
Drag two vertical and two horizontal guides the way You can see on the image below. To find the center point of the outer circles use Smart Guides (Ctrl+U). Now create a rectangle within the guide borders, and send it back. The Opacity of the rectangle should be reduced to 0%. Select all and go to Edit > Define Pattern… and name it "Dot Pattern".
Step 19
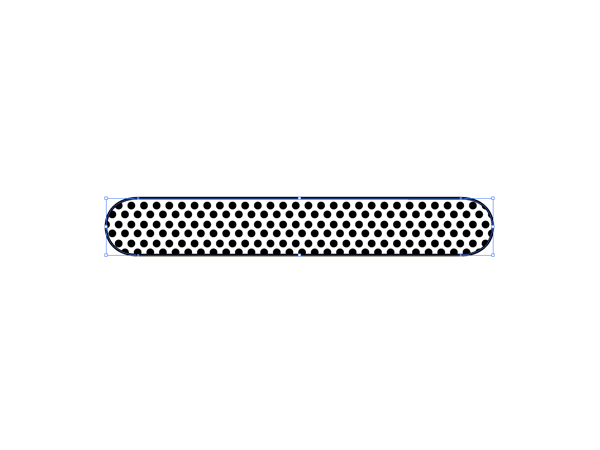
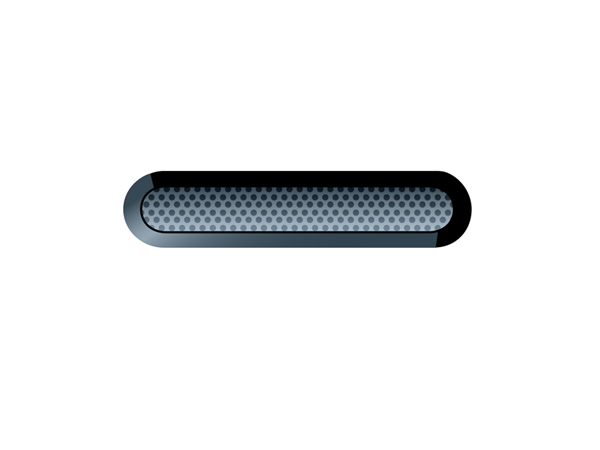
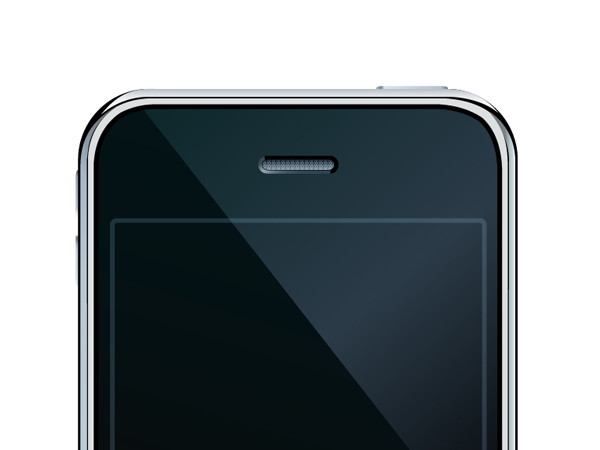
Copy the object You have created in Step 16, and apply a new pattern to it. Place the object on the top and, in the Transparency Panel, change the Blending Mode to Soft Light (Opacity 100%).
Step 20
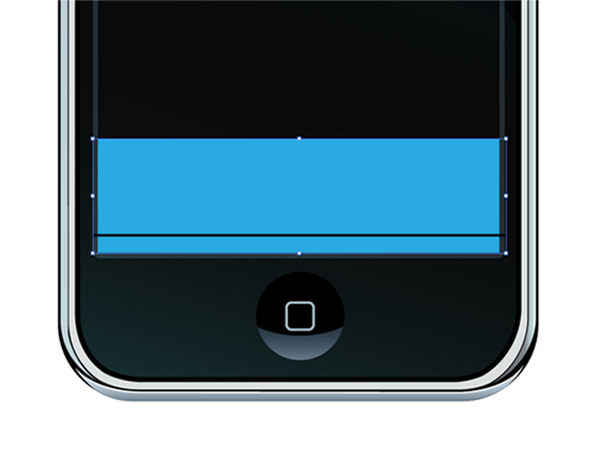
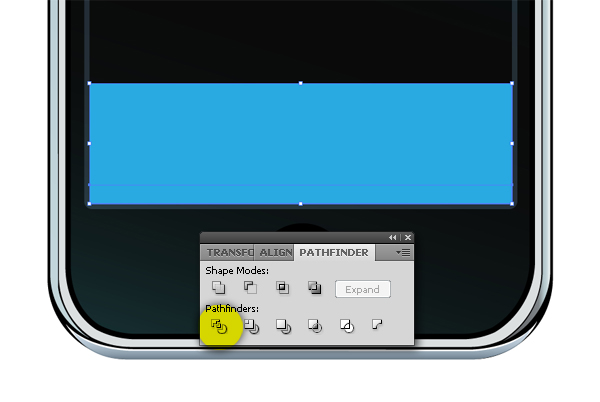
Make a rectangle and draw a straight horizontal line in the lower part of the object. Select both and in the Pathfinder Panel (Shift+Ctrl+F9) choose Divide.
Step 21
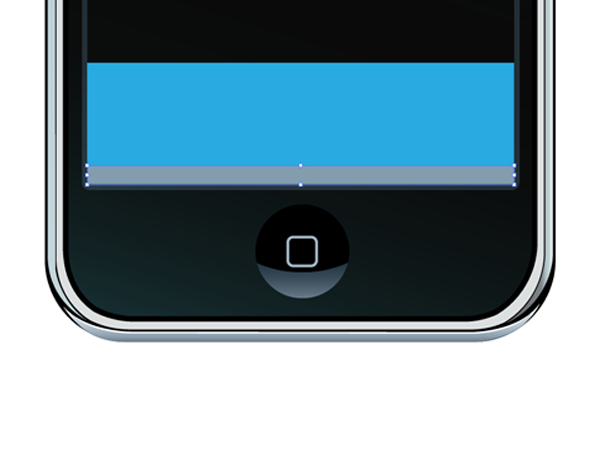
Now You can use the Gradient Panel (Ctrl+F9), where you create 4 gradient sliders (stops).
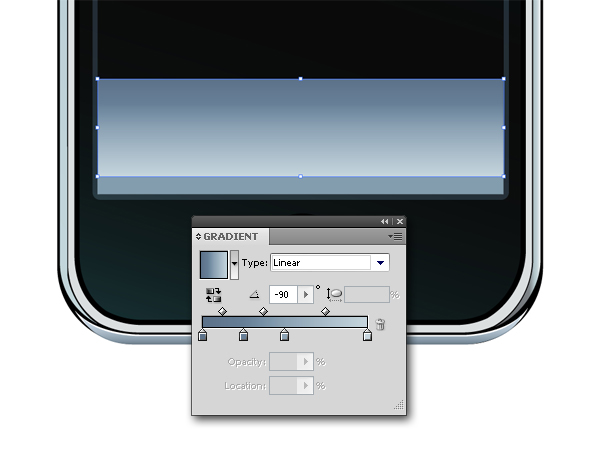
Step 22
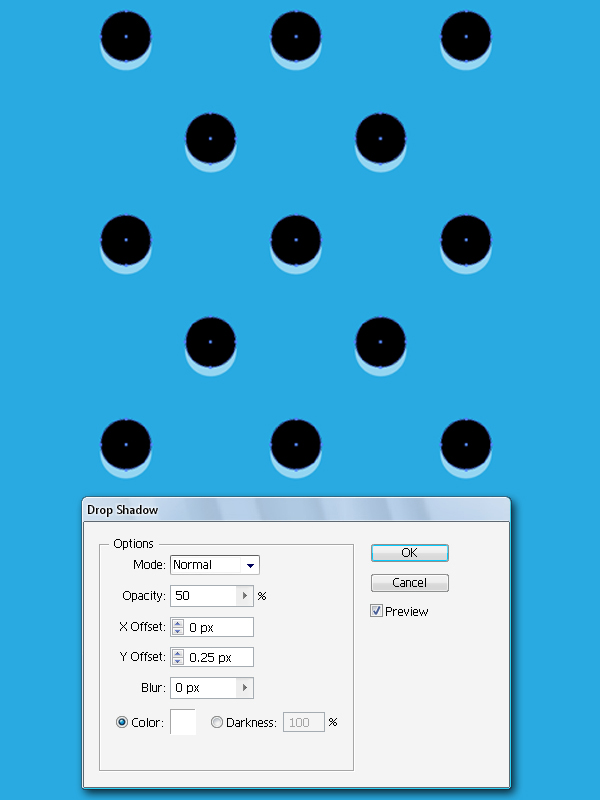
We`ll create another dot pattern, but first you should repeat the process explained in the Steps 17_18. Then, select all and go to Effect > Stylize > Drop Shadow…, and set the values as you can see on the image. You can define another pattern now.
Step 23
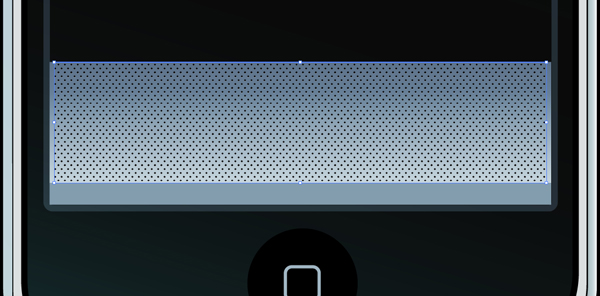
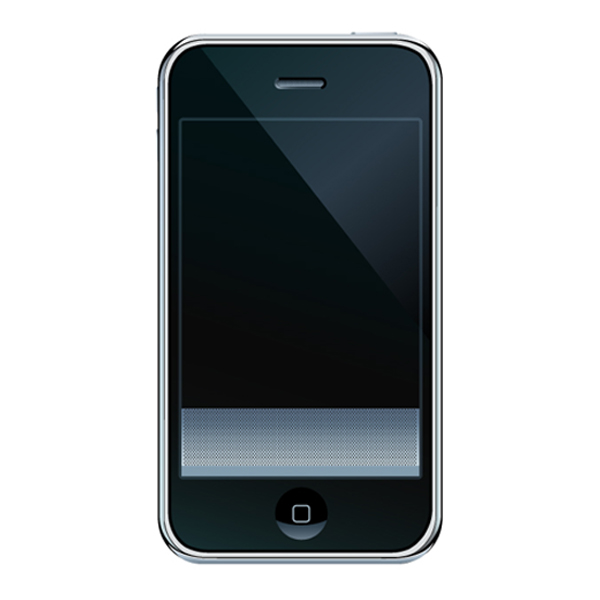
Draw a rectangle and in the Swatches Palette, click on the new pattern, and make sure it is the top object.

Step 24
Create another rectangle and rotate it (Object > Transform > Rotate ). This will be a side view of the phone.
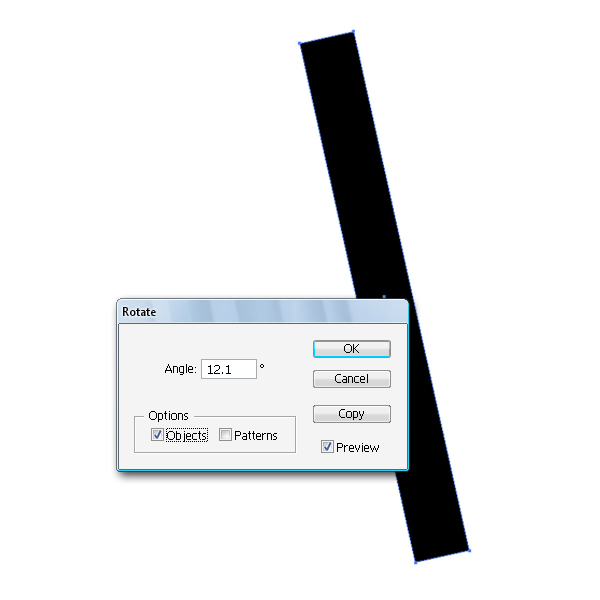
Step 25
Using the Pen Tool (P) create two shapes and put one on each side of the object. Select the objects and in the Pathfinder Panel go to Minus Front.
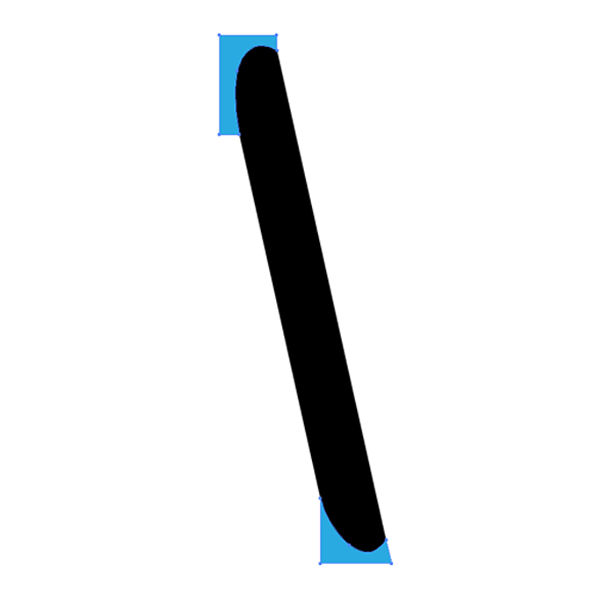
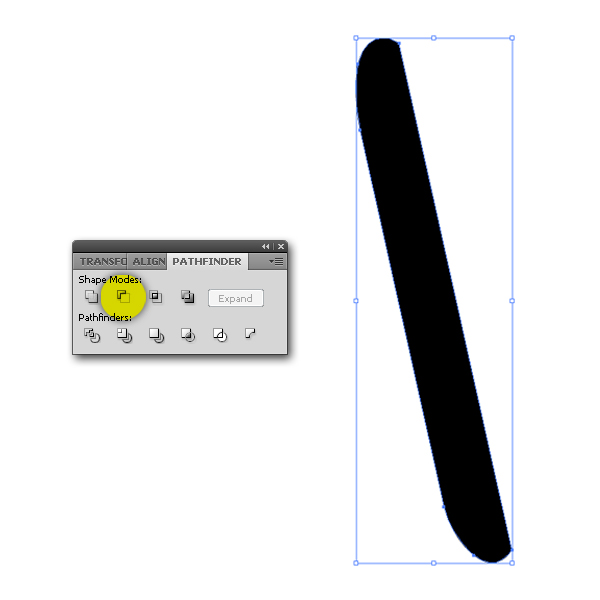
Step 26
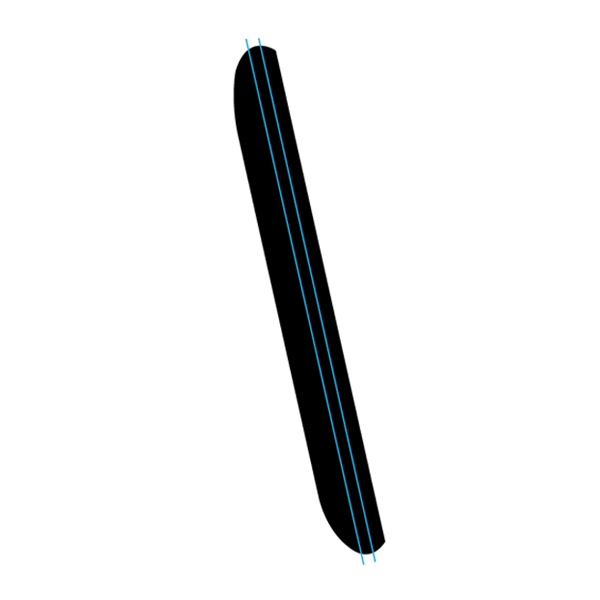
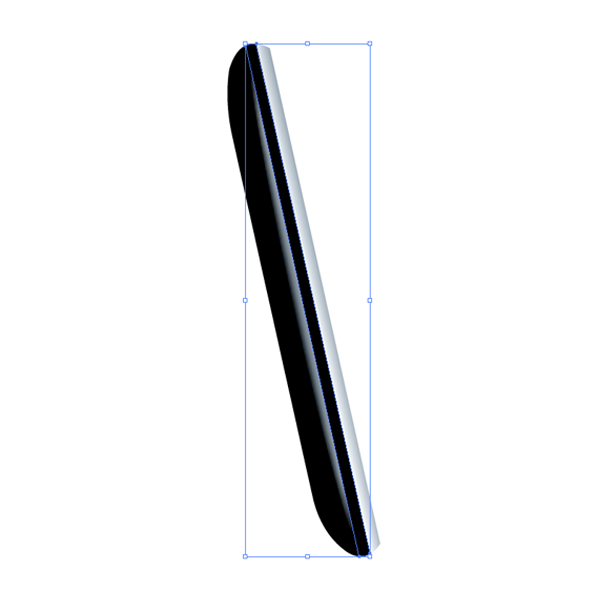
Select the Line Segment Tool (\) and draw two parallel lines as You can see on the image. Select those two lines and the object below, and in the Pathfinder Panel use Divide option. You have created three divided objects here.
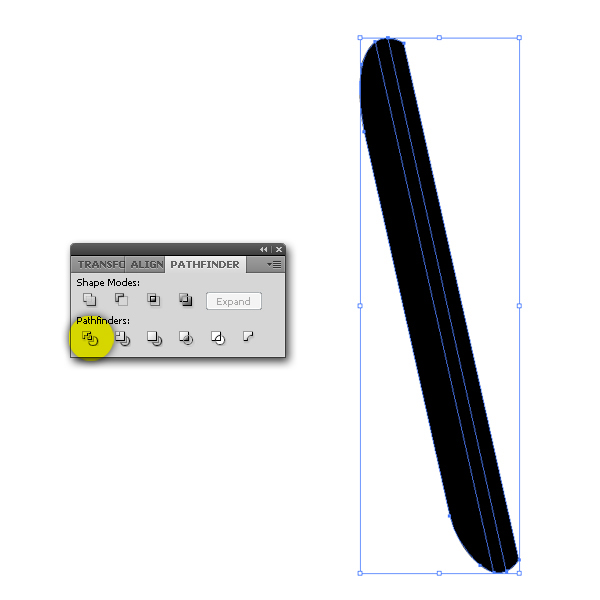
Step 27
Select the first object and apply the gradient colors to it.
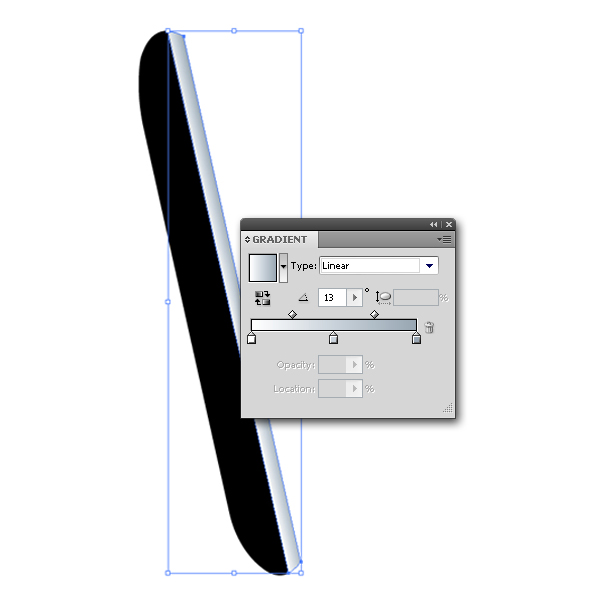
Step 28
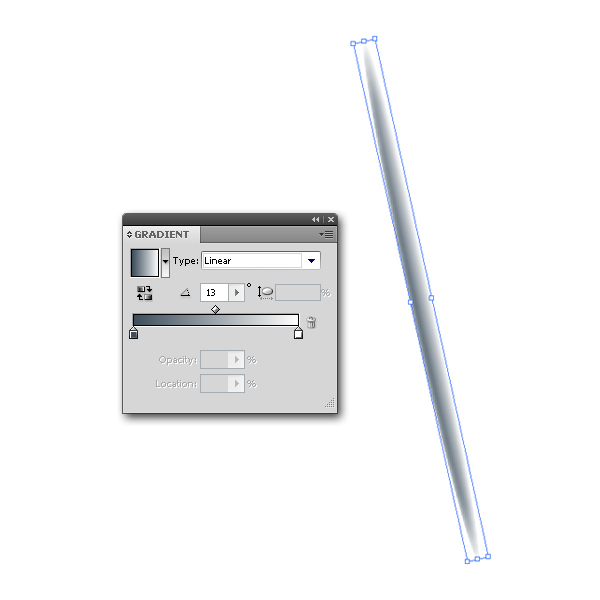
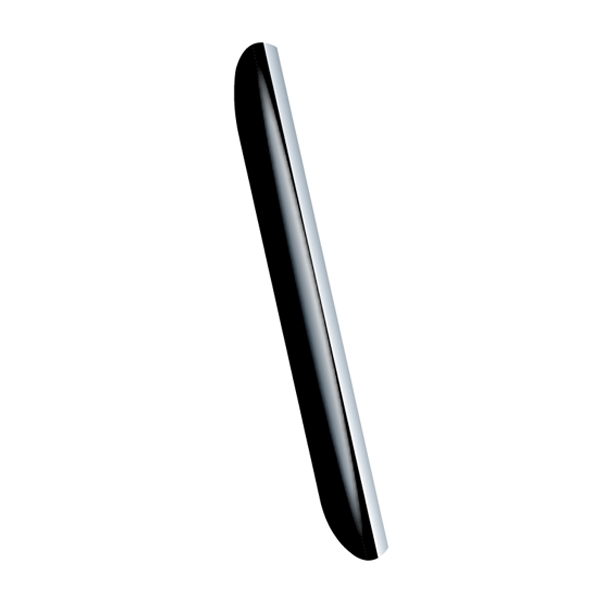
Create a thin ellipse, rotate the object and color it. To color this ellipse, You will need 2 gradient stops. As you know, we got three divided objects in Step 26. A new object (ellipse) needs to be located behind the middle (black) object, and, to do that, select the ellipse and go to Object > Arrange > Send Backward (Ctrl+[). We have now completed the front and side view of the phone body.
Step 29
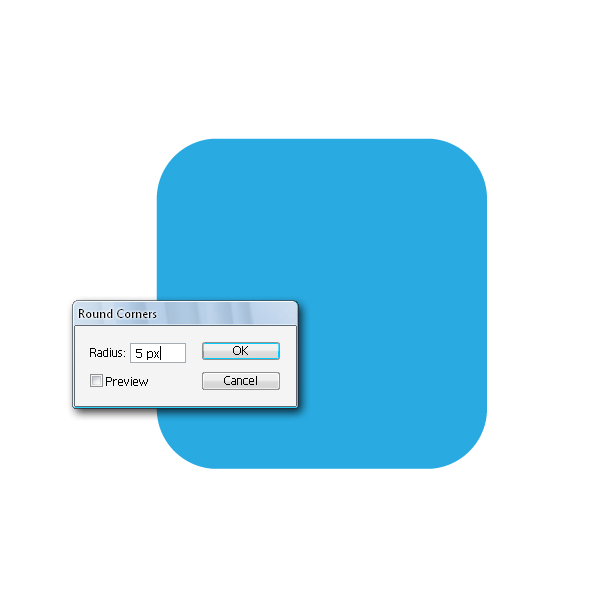
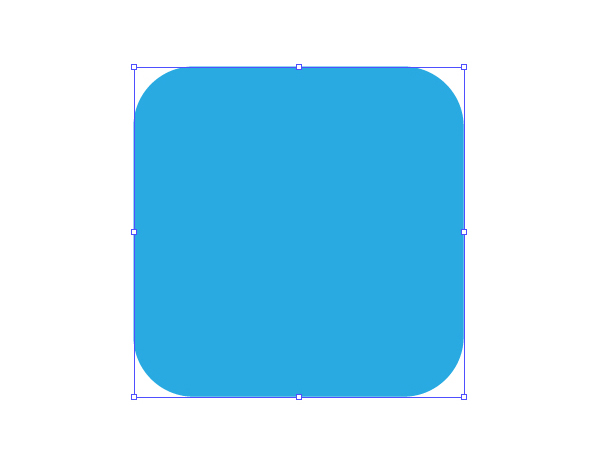
Select the Rectangle tool (M) in the toolbox and create a perfect square (hold Shift to constrain the proportions). In the Appearance Panel select Add New Effect > Stylize (Illustrator Effects) > Round Corners and enter 5 px in the Radius text box.

Step 30
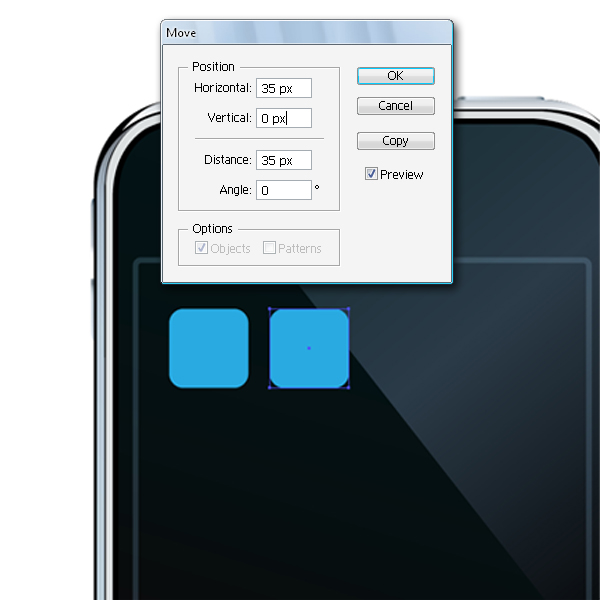
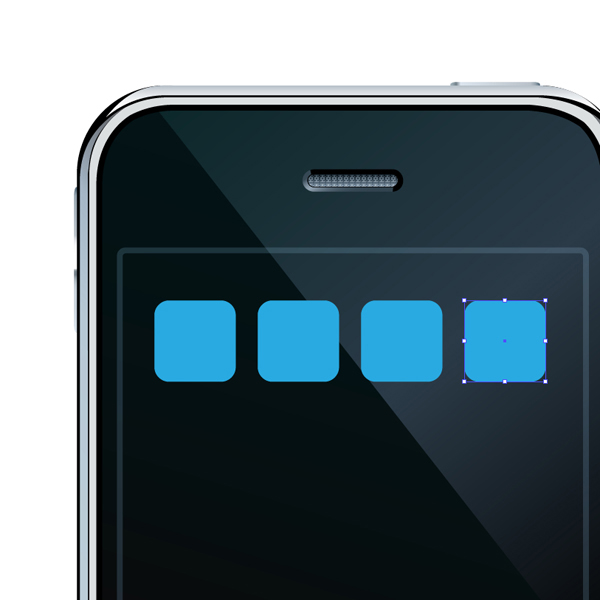
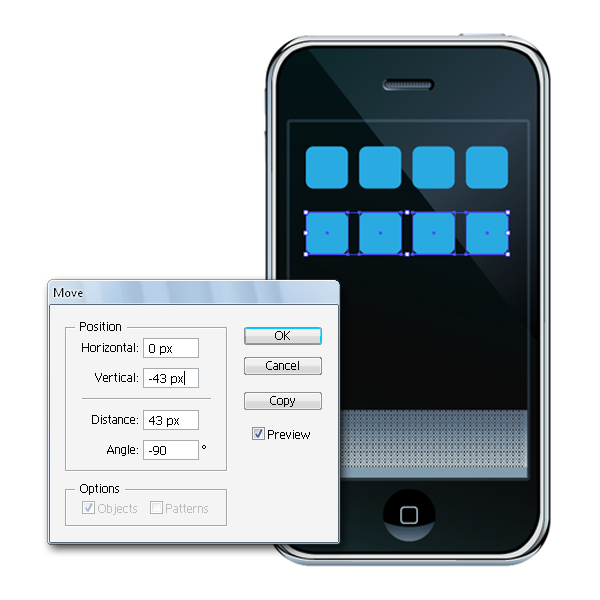
Then, select the object and go to Object > Transform > Move… and set the values as shown, and then click copy. To get the instant copy of the object again, just choose Object > Transform > Transform Again (Ctrl+D) and repeat it twice.
Step 31
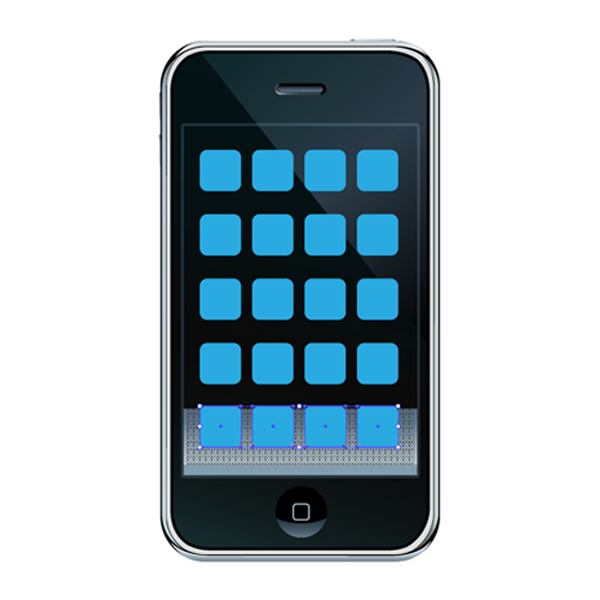
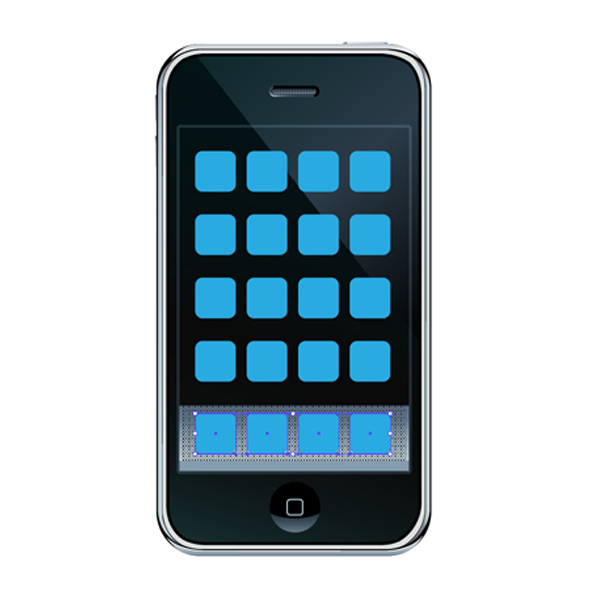
Select all squares and repeat the same process again, but now with different values. Using the Transform Again (Ctrl+D) feature copy the objects three times.
Step 32
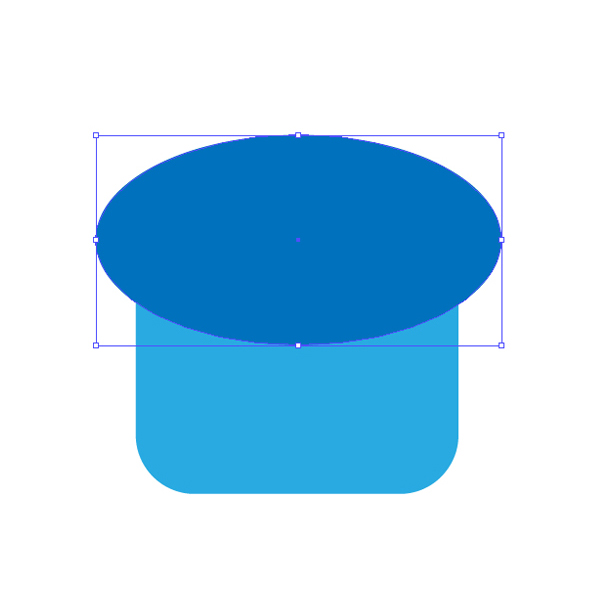
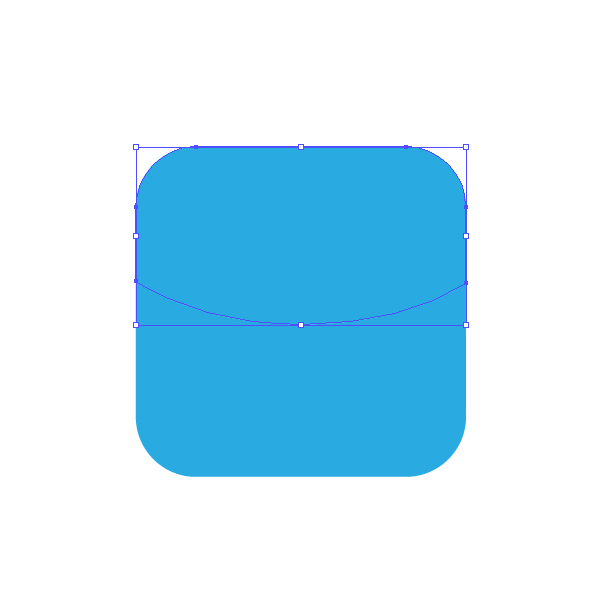
Draw an ellipse above the first square, and then go to Object > Path > Divide Objects Below. You should expand the appearance of the square to get the result you want by going to Object > Expand Appearance.
Step 33
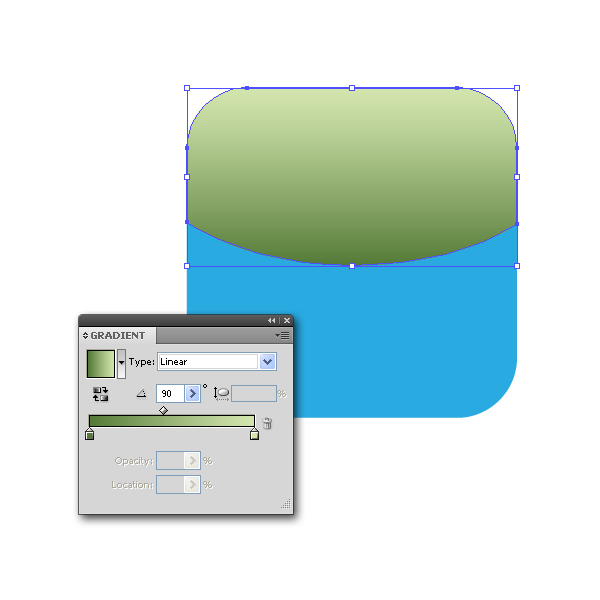
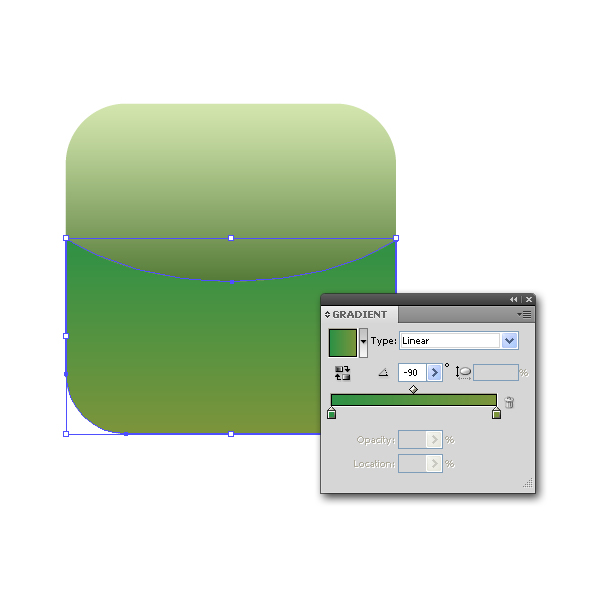
Use the Direct Selection Tool (A) and you can select an individual object in a group for editing without ungrouping the objects. Now add gradients to both objects.
Step 34
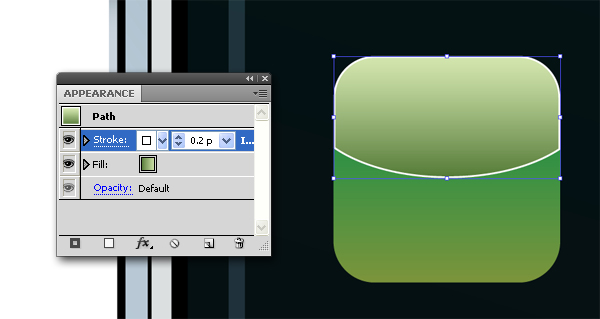
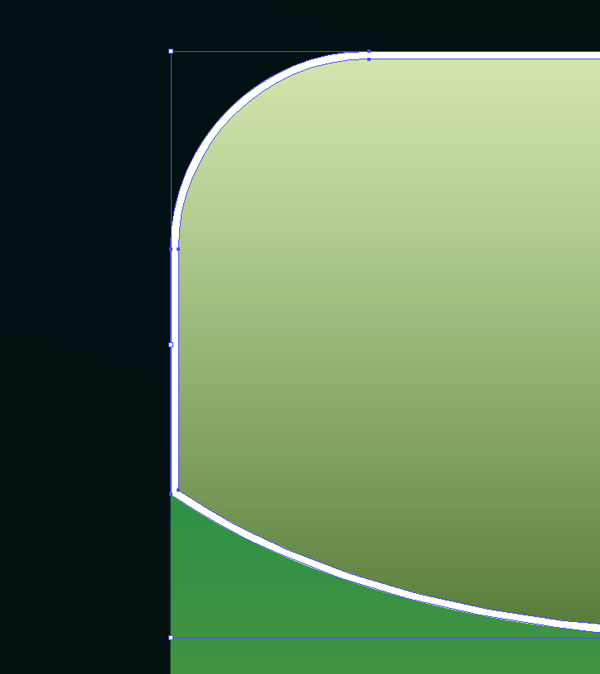
Select the upper object and in the Appearance Panel add white stroke to it. Now select Object > Path > Outline Stroke and convert a stroke to a compound path. That way, you can modify the outline of the stroke (add gradients to a stroke, create a stroke with a varied width etc.).
Step 35
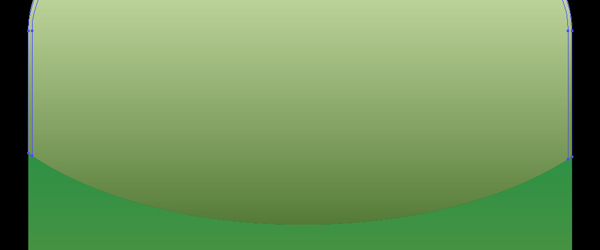
By using the Direct Selection Tool (A) select two anchor points in the middle of the object and delete them. Just close the paths now. Remember that only the top of the object should be visible, so hide other parts (send them back).

Step 36
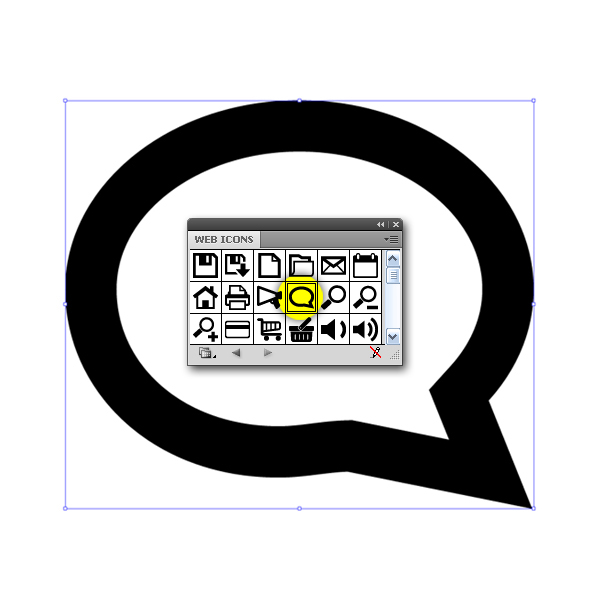
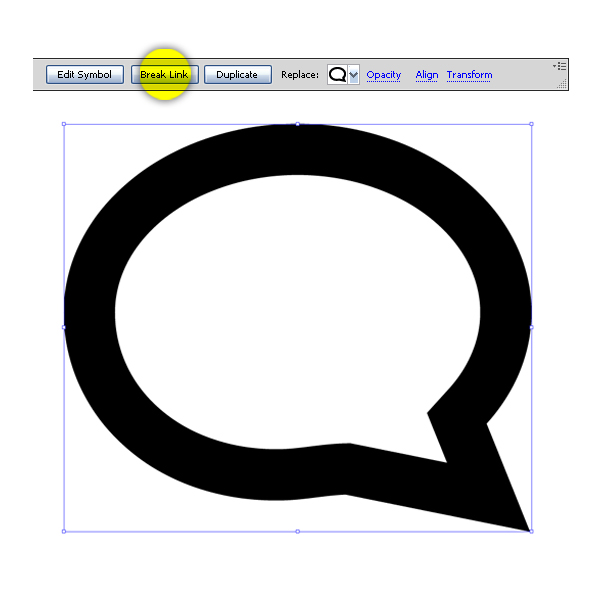
In the Symbol Palette, go to the Web Icons and find a speech balloon. Drag the object to the Artboard and break the link to modify the object. Now select the inner anchor points and delete them. Reflect the object by 90 degrees and modify it the way you can see on the image below. Select the Type Tool (T) and add some text.



Step 37
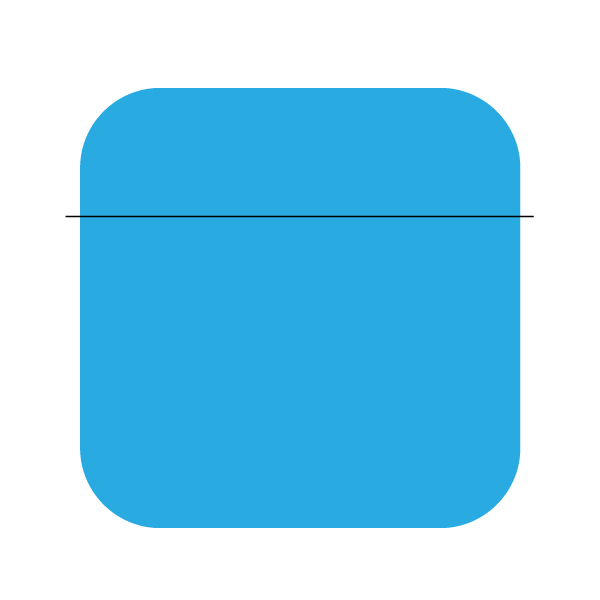
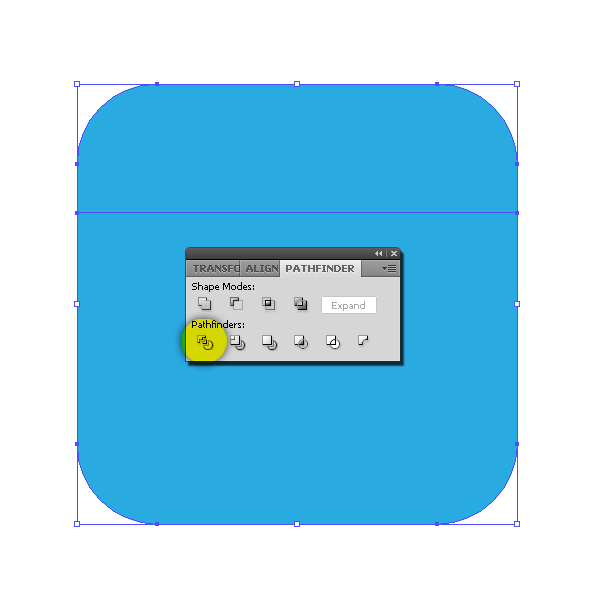
Draw a straight thin horizontal line that goes across the second square. Select both shapes and in the Pathfinder Panel use Divide option.
Step 38
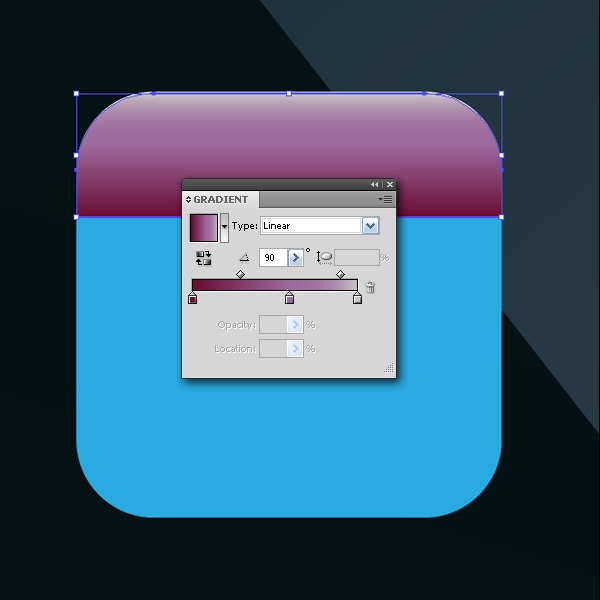
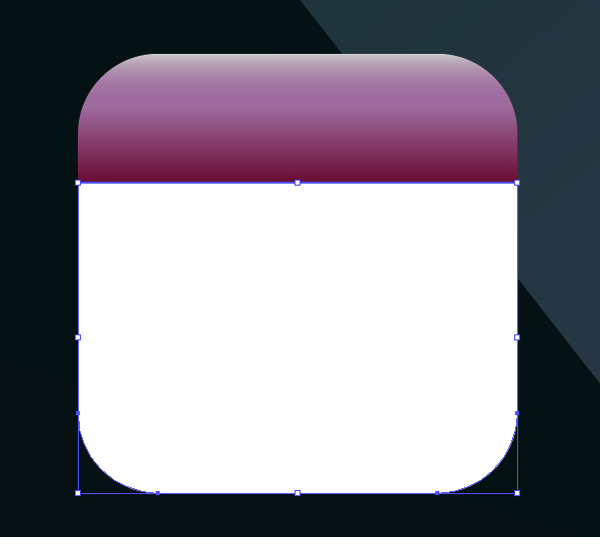
In the Gradient Panel add linear gradients to the first objects (3 gradient sliders), and add a white color to the second one.
Step 39
Repeat the Steps 34_35 where just the top of the object should be visible.
Step 40
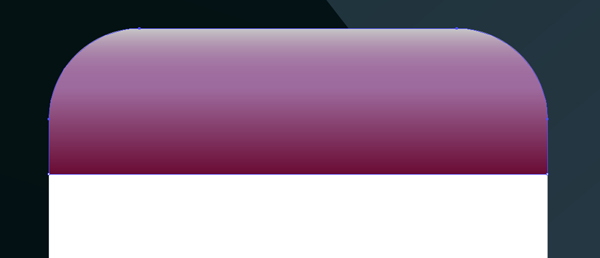
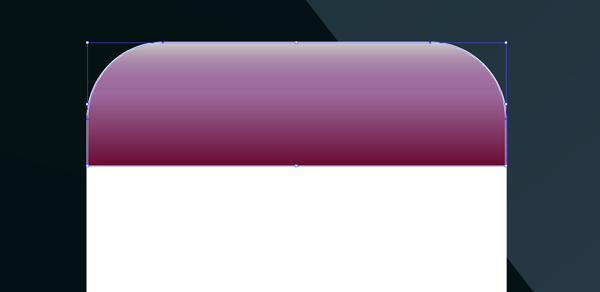
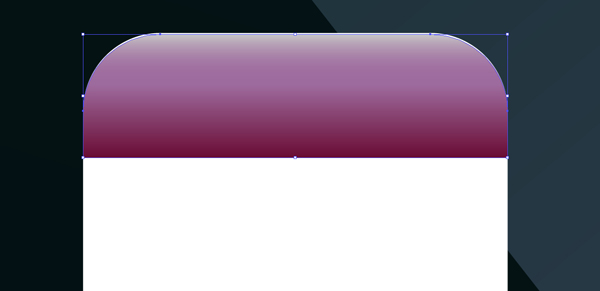
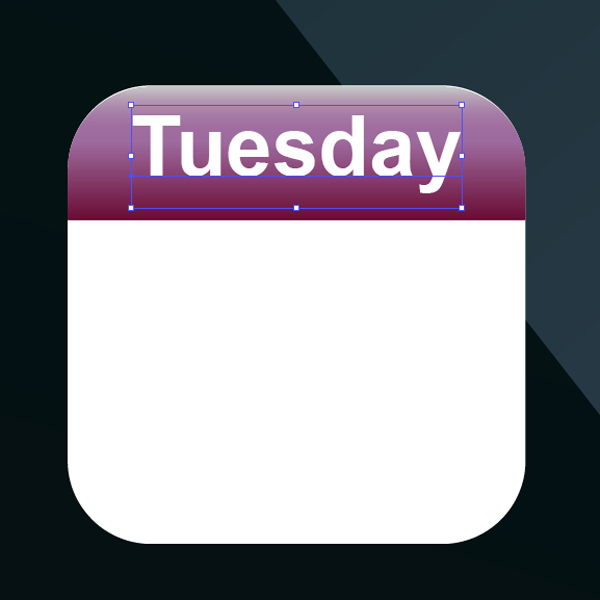
Using the Type Tool (T) write something. Then, write a number "9", right-click on the object and press Create Outlines (now you can add gradients).
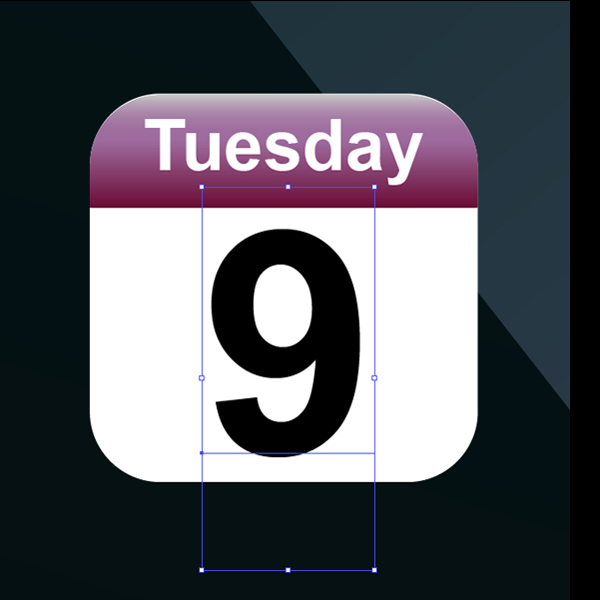
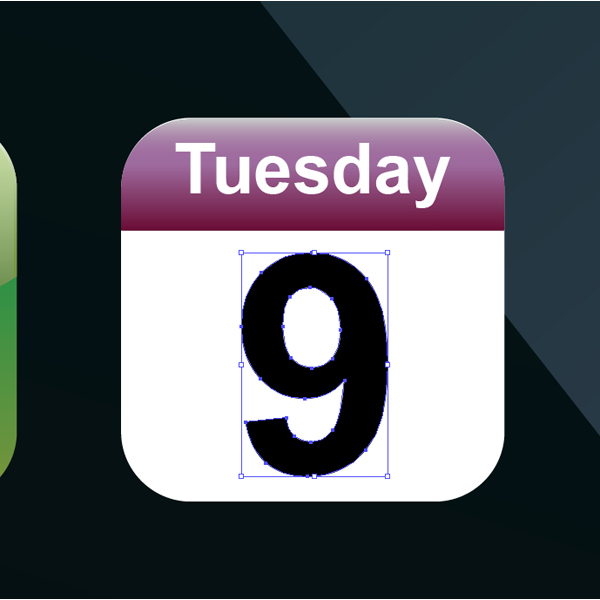
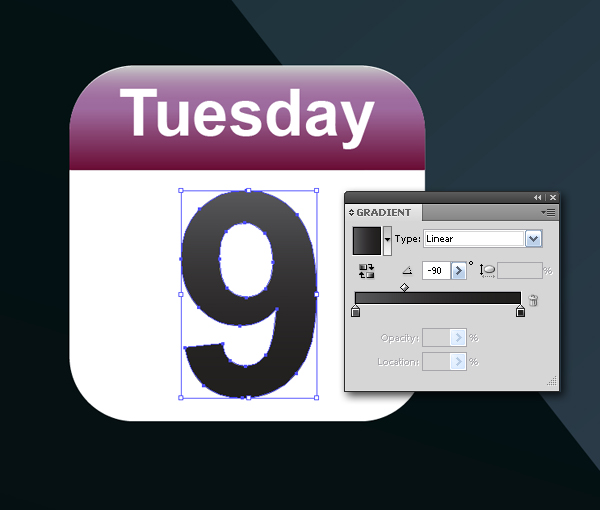
Step 41
Here, we will create another phone icon. Go to the third square and apply linear gradients to the object.
Step 42
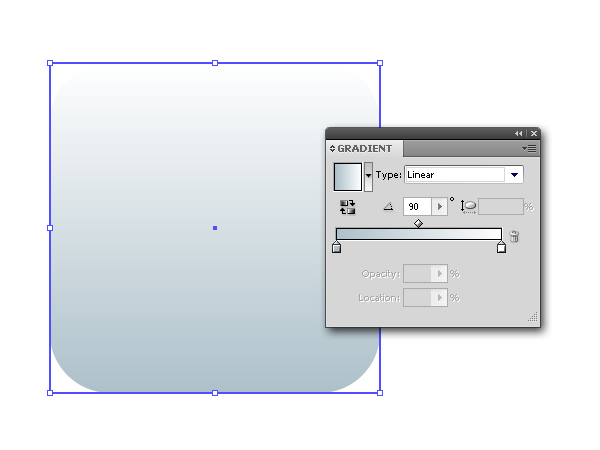
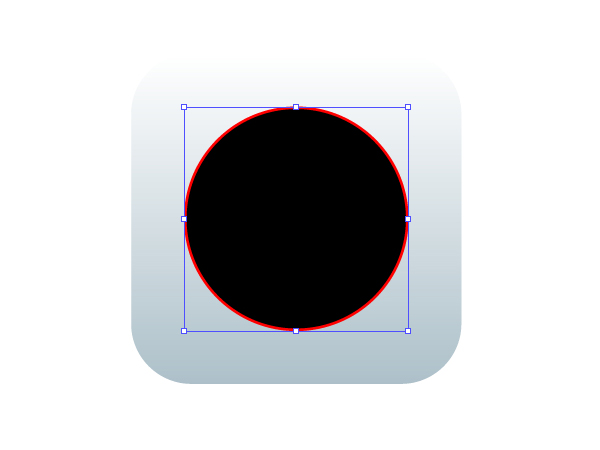
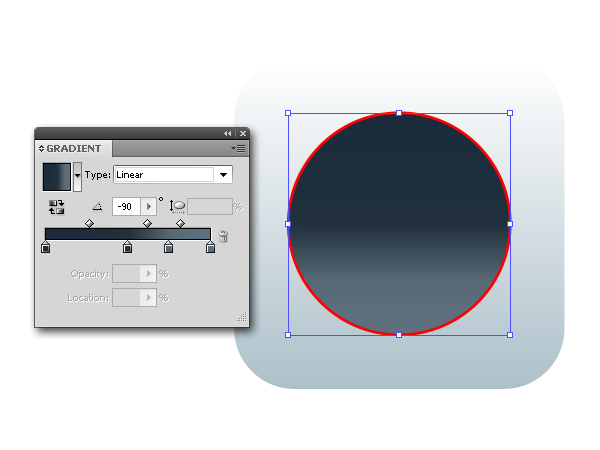
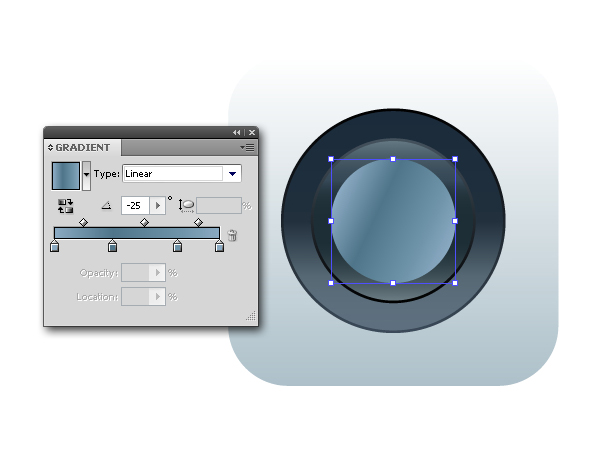
Create a perfect circle and add a stroke. Use the Gradient Panel to fill the object, and go to Object > Path > Outline Stroke, and apply the gradients to the stroke, too.
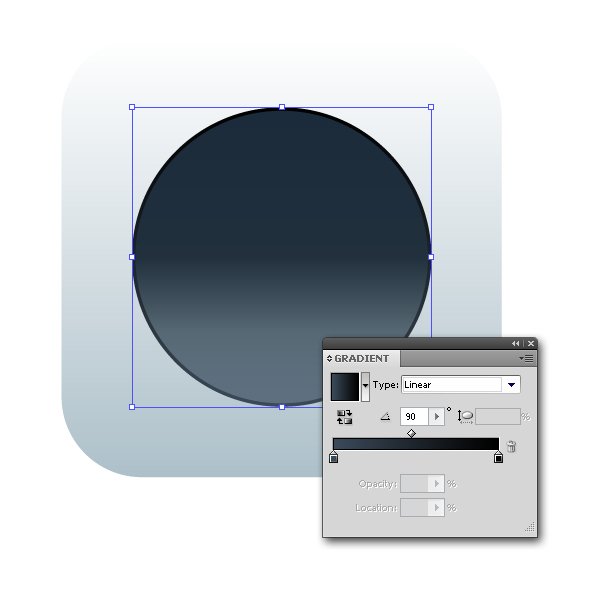
Step 43
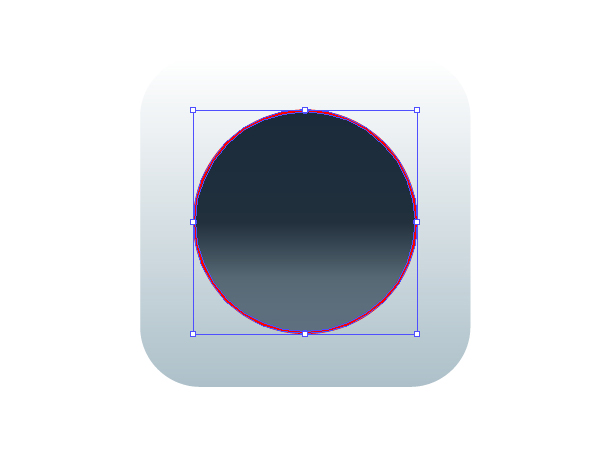
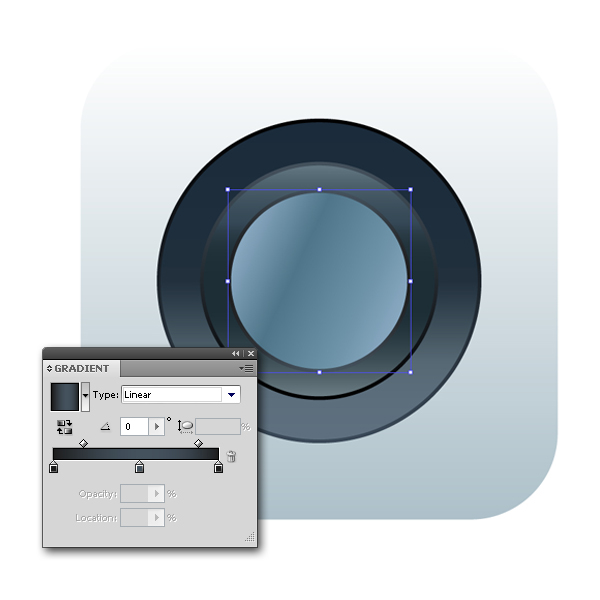
Select the object and go to Object > Path > Offset Path and resize the object until You are satisfied. To fill the circle, You`ll need 4 gradient colors, and to fill the stroke use 2 gradient colors.
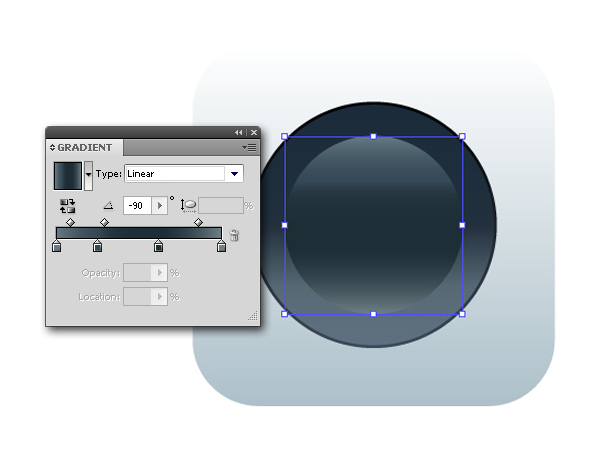
Step 44
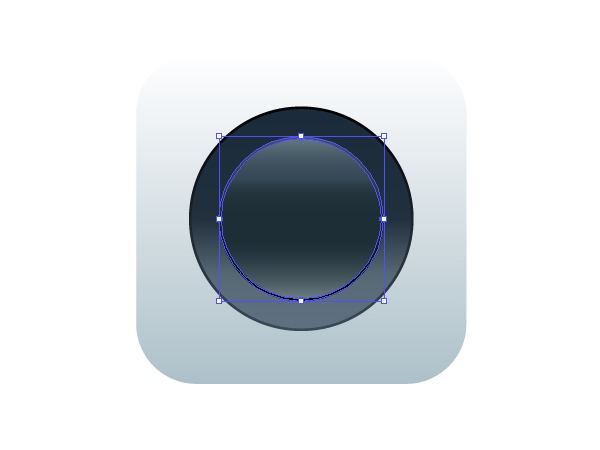
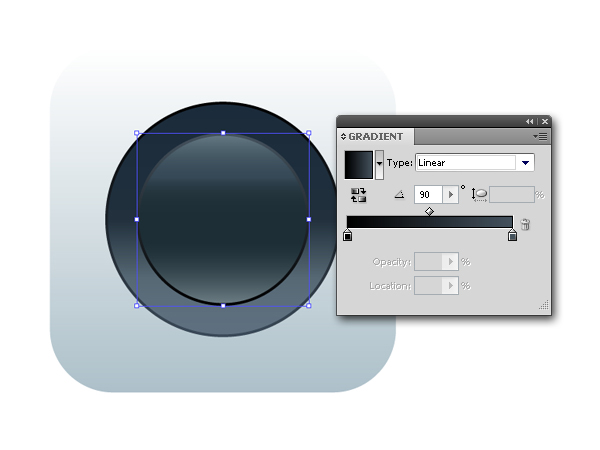
Duplicate and reduce the size of the same object and fill the copy with some light gradient colors (4 gradient stops). A new stroke should be colored with dark gradient colors (3 stops).

Step 45
Grab the Ellipse Tool (L) and draw a perfect circle again, but add only a stroke (no fill color). Lower the Opacity to 75%.


Step 46
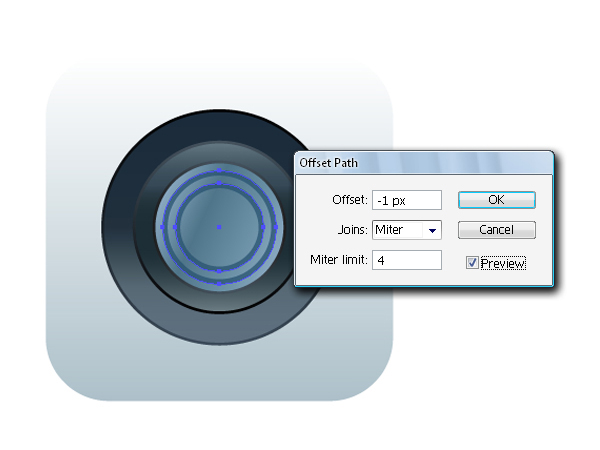
Select the last object and go to Object > Path > Offset Path… and set the values as shown. Increase the size of the Stroke Weight and set the Opacity to 85%.

Step 47
Draw another circle and outline the object again.


Step 48
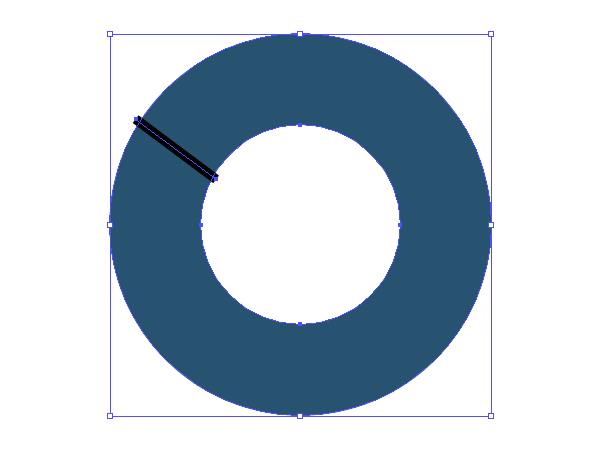
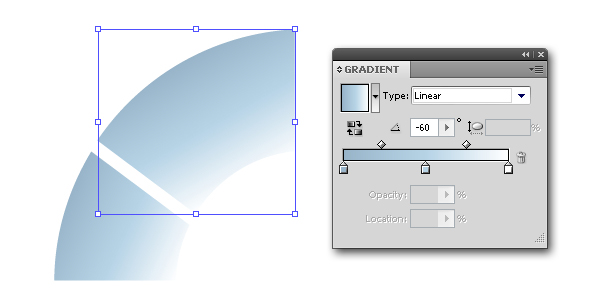
You will need the Line Segment Tool (\) to draw a straight line. Use the Outline Stroke once more, and draw two rectangles with different sizes and put them on the top, as you can see on the image below. Select all and choose Minus Front in the Pathfinder Panel. You should get something like this. Color both objects, but with a different gradients and change the Blending Mode to Screen (Opacity 75%). Place them on their positions.

Step 49
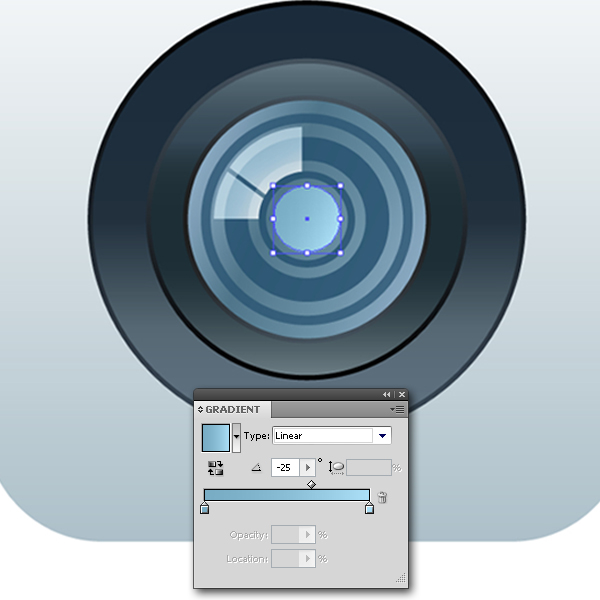
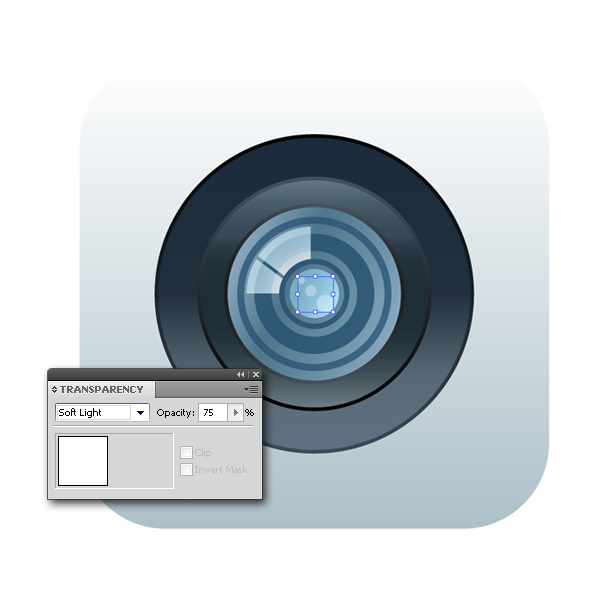
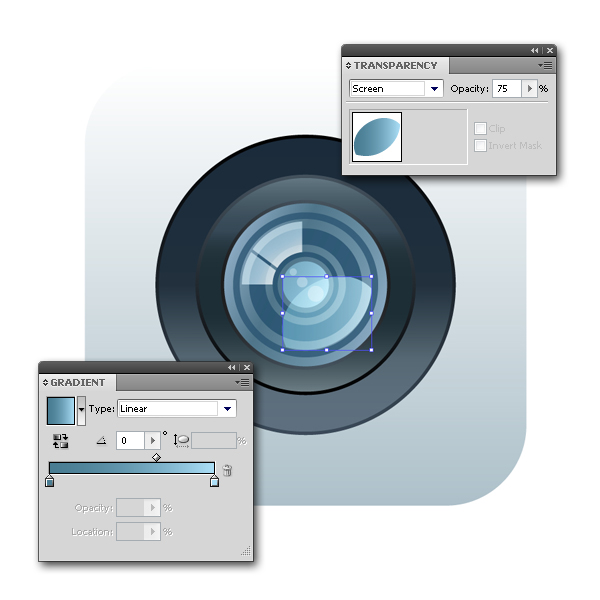
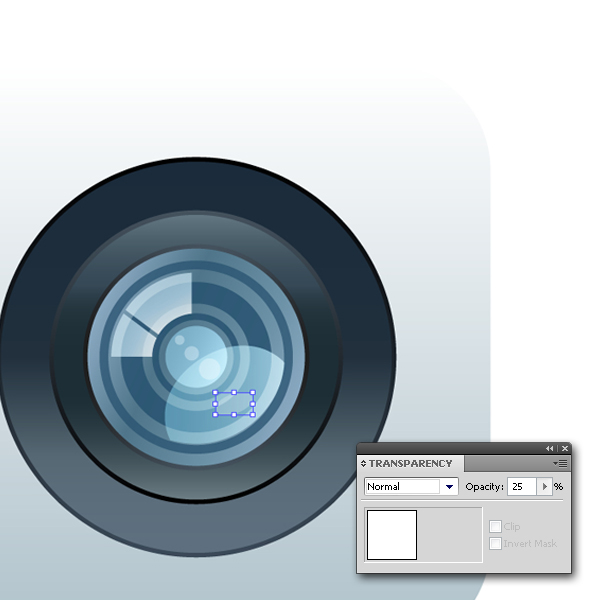
Create the last circle and use the Gradient Panel to color it. Draw various shapes and set the values as shown (Colors, Opacity).


Step 50
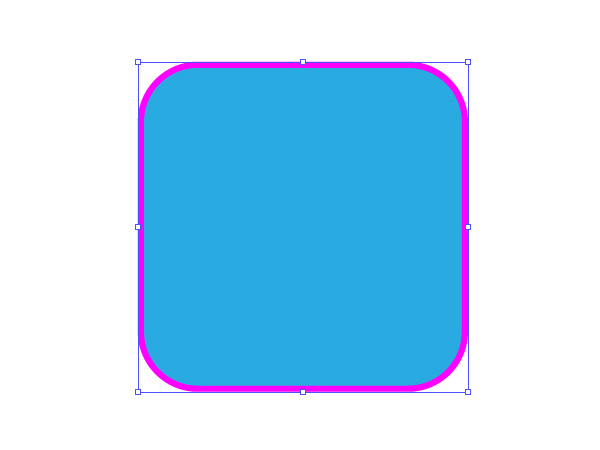
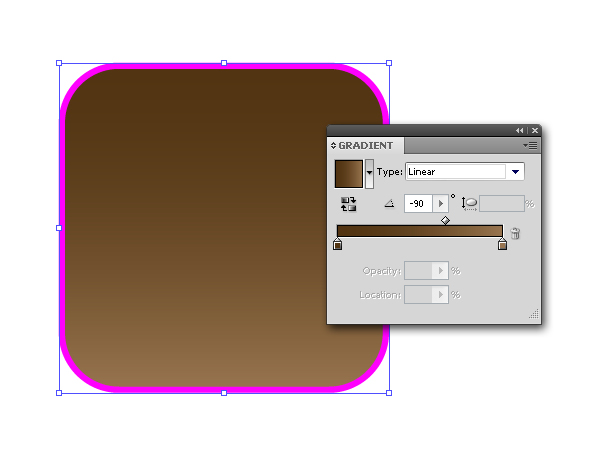
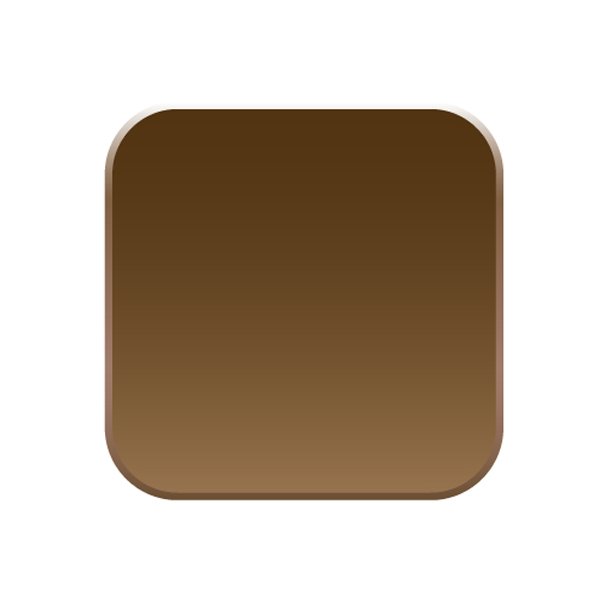
Select another square and go to Object > Transform > Scale… and resize the object a bit and click Copy. You will need 2 gradient colors for the inner square, and 4 gradient colors for the outer square.
Step 51
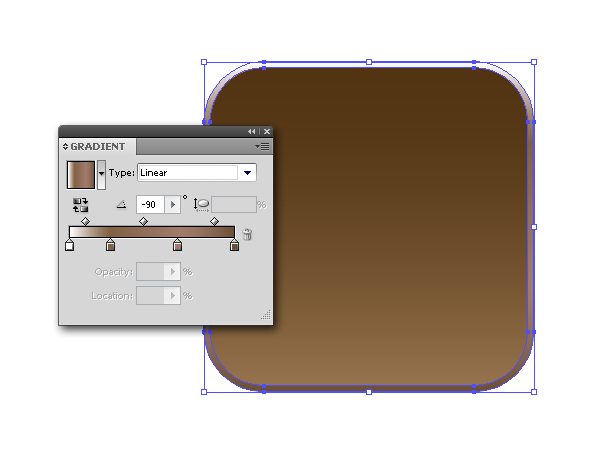
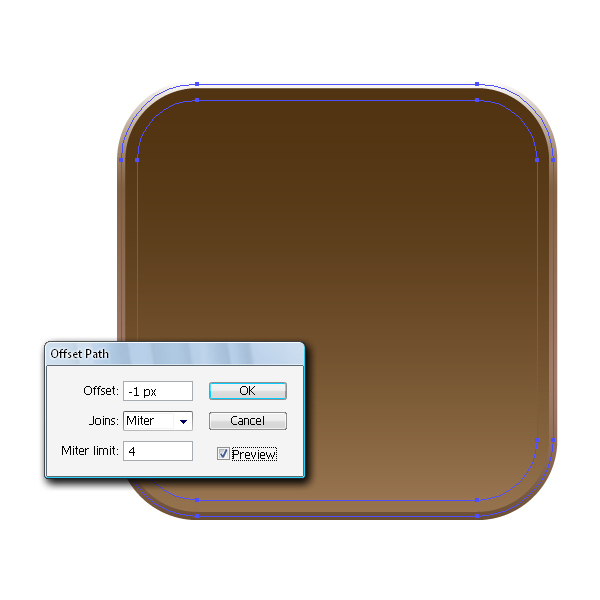
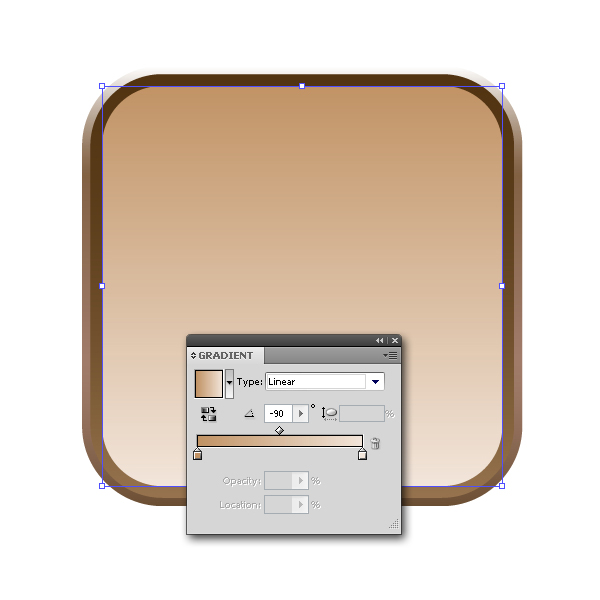
Select the inner square and go to Object > Path > Offset Path… and set values as shown (change the colors again).
Step 52
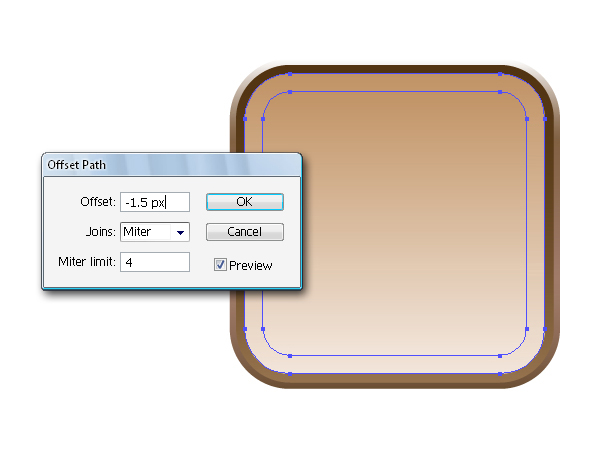
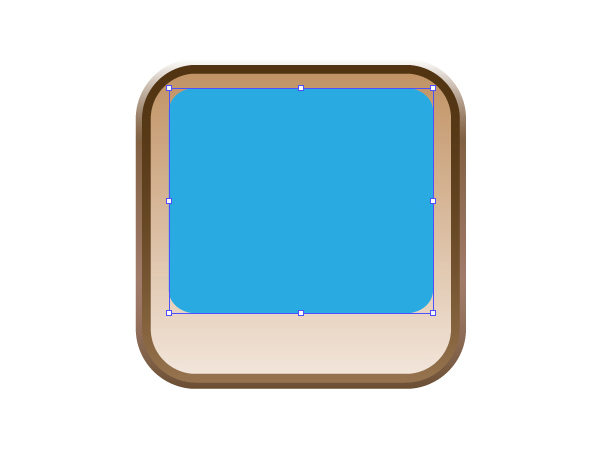
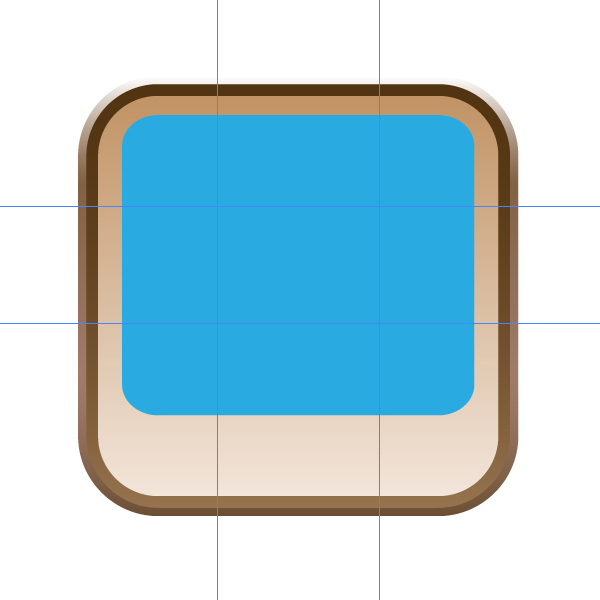
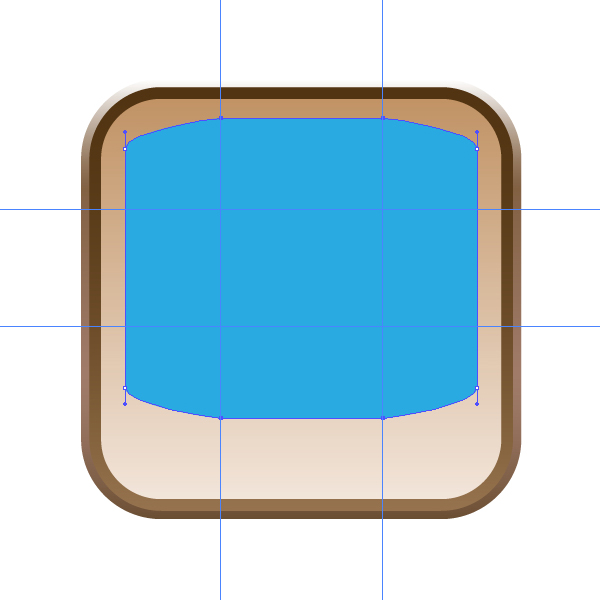
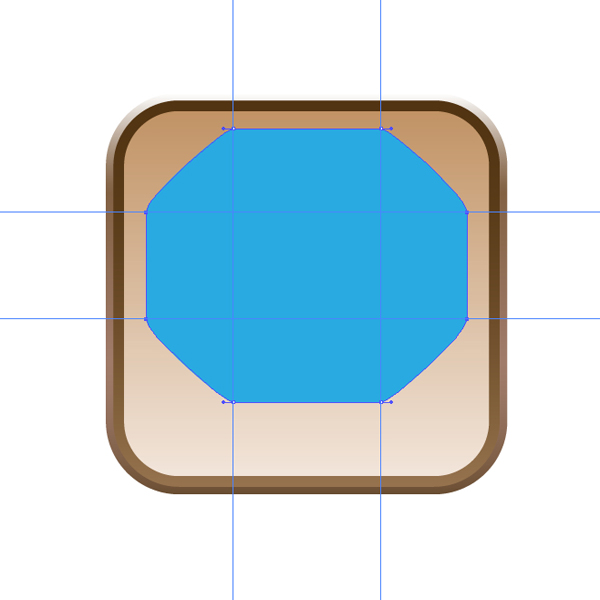
Resize the object again and move the bottom edge up. Use guides and change the position of the anchor points as shown below. Drag a direction line to the left (hold Shift to constrain the right angle) until you get a rounded left upper corner. Do the same with other corners.
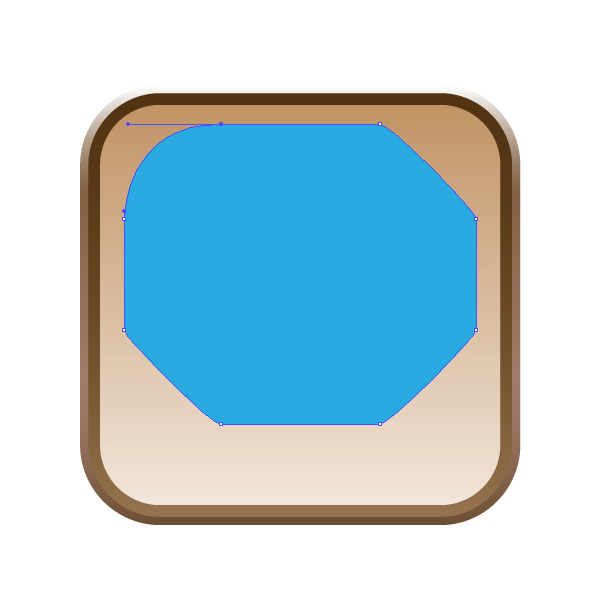
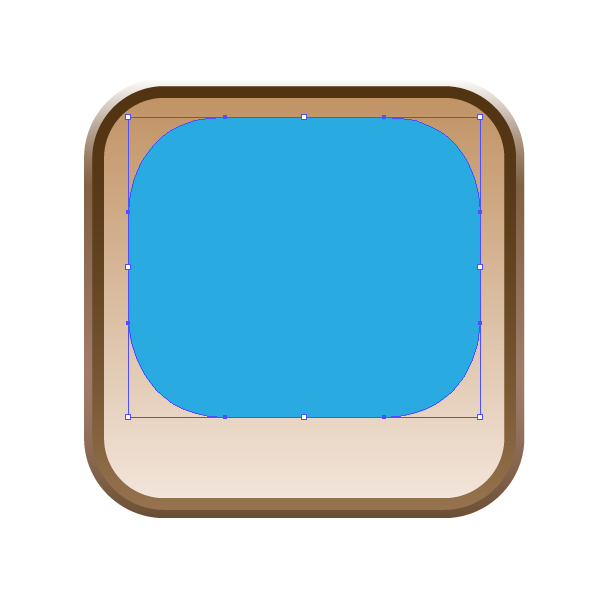
Step 53
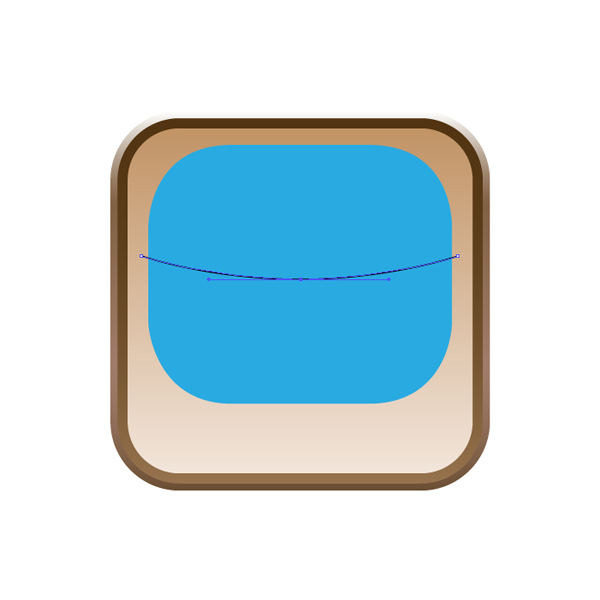
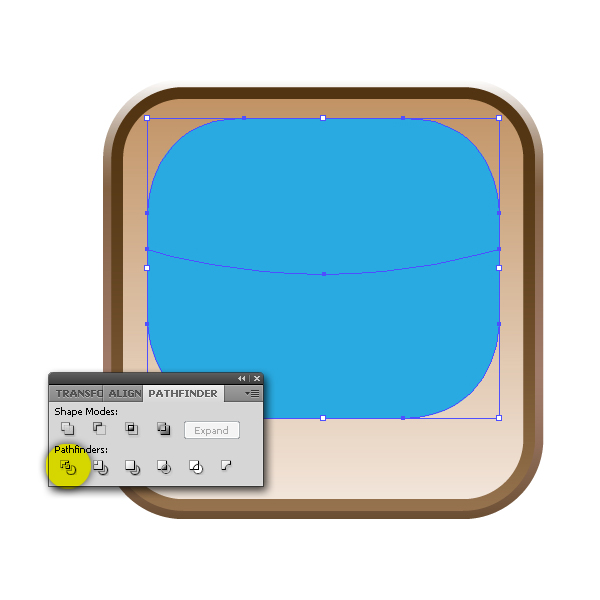
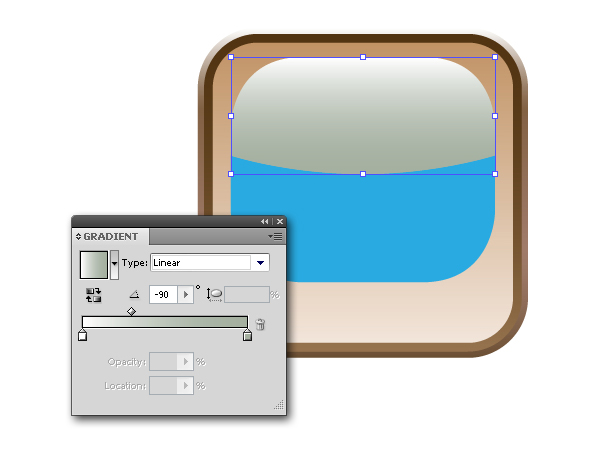
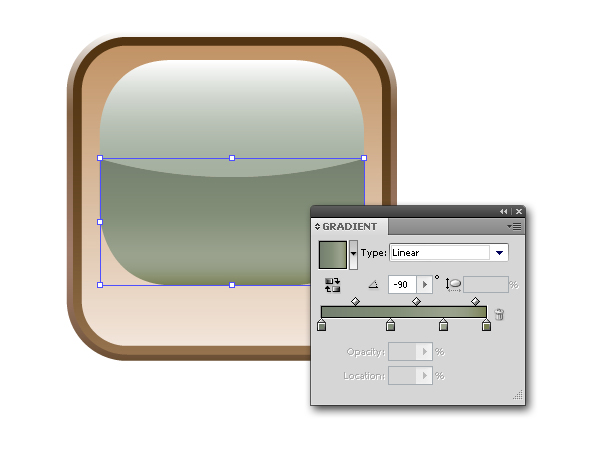
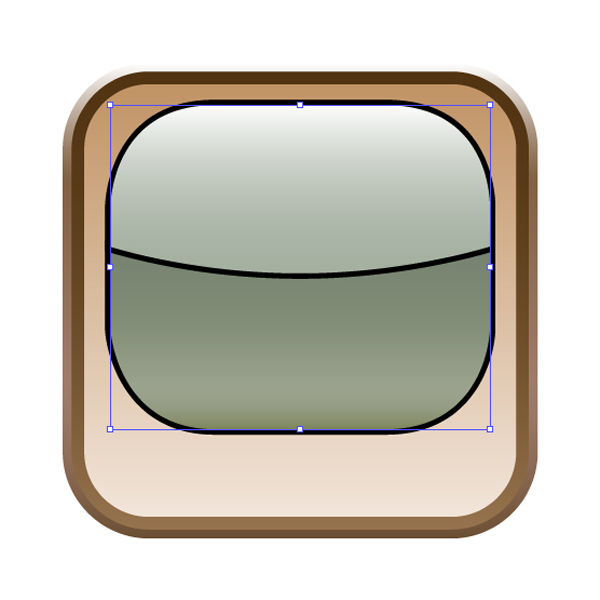
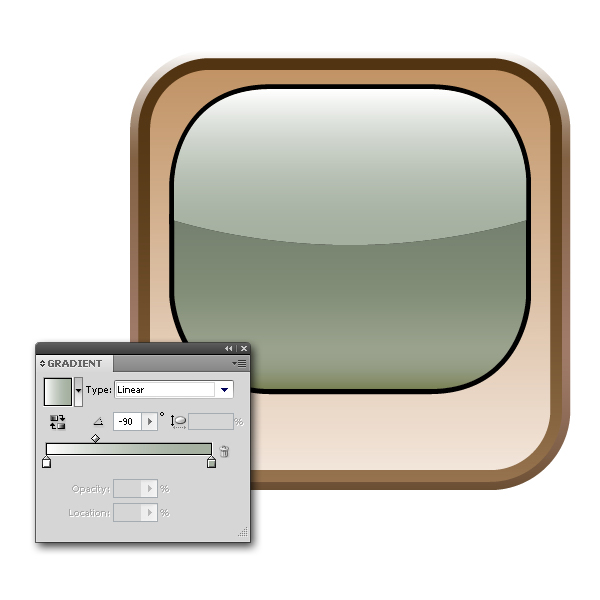
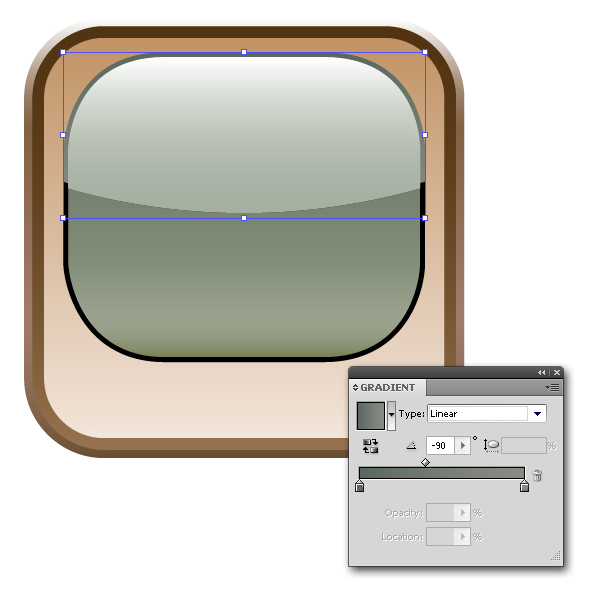
Take the Pen Tool (P) and draw a straight line across the rounded rectangle. Add another anchor point at the line center, select the anchor point and click Convert selected anchor points to smooth. Once you get direction lines, move the central anchor point down just a bit. Select both and in the Pathfinder Panel click Divide. Start adding gradient colors to the objects.
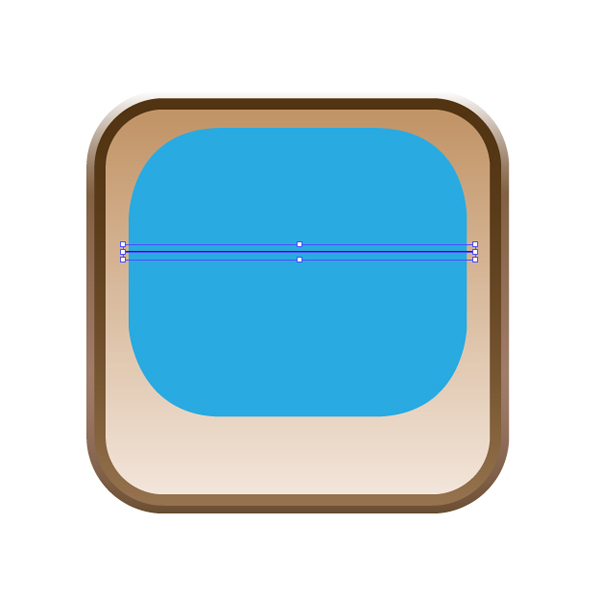
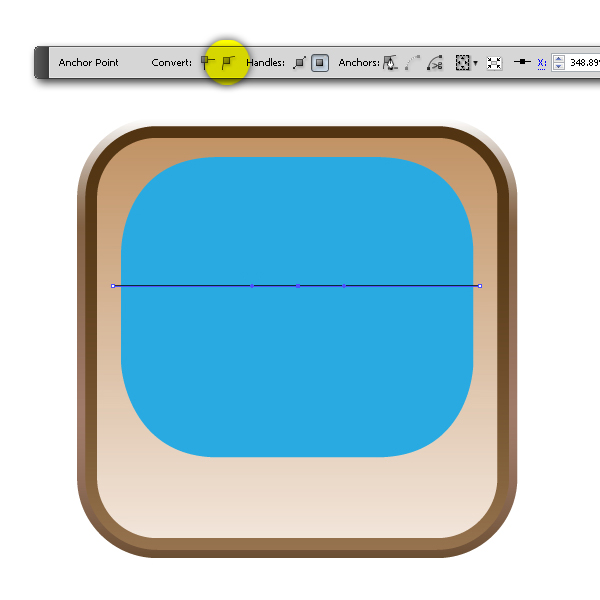
Step 54
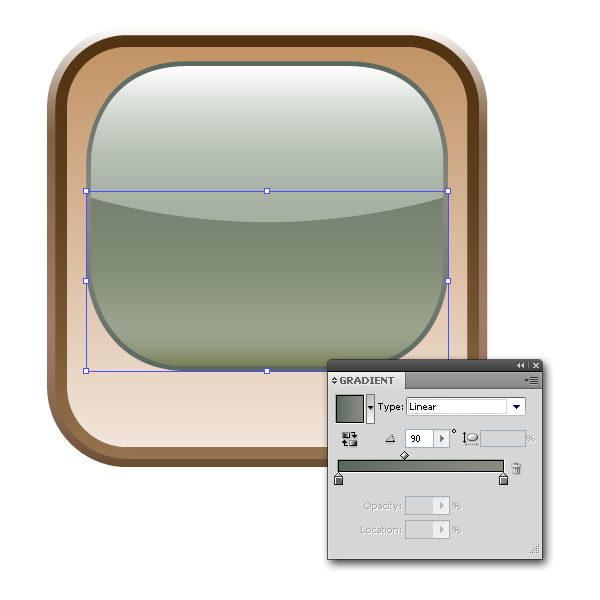
Add thick black strokes and go to Select Object > Path > Outline Stroke and convert the strokes to a compound path. Color them and delete the central horizontal stroke.
Step 55
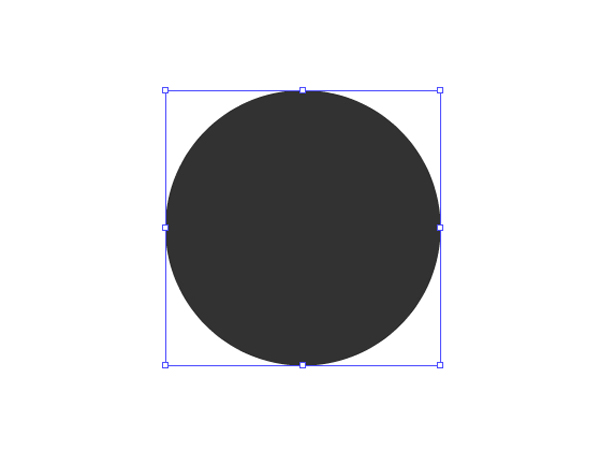
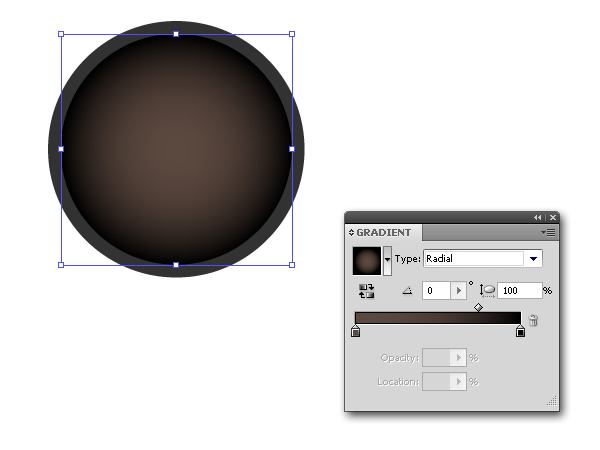
Create a perfect circle (hold Shift to Constraint) and add a solid color. Create another circle (scale it down) and use radial gradients.
Step 56
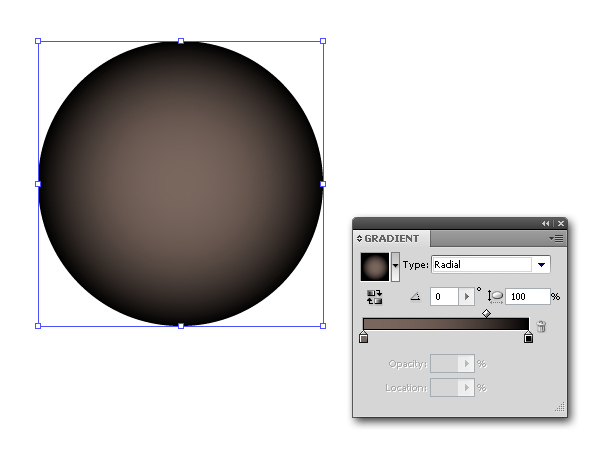
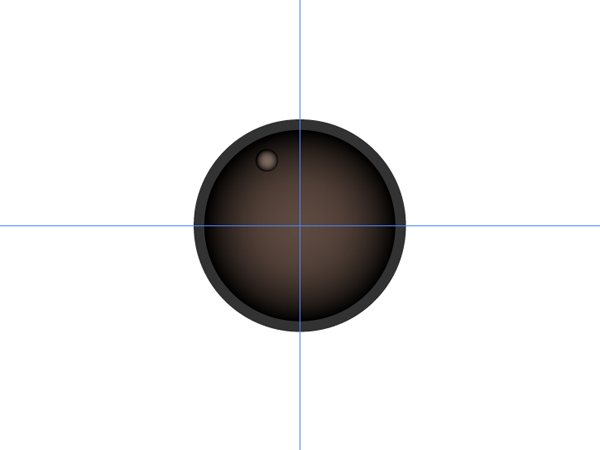
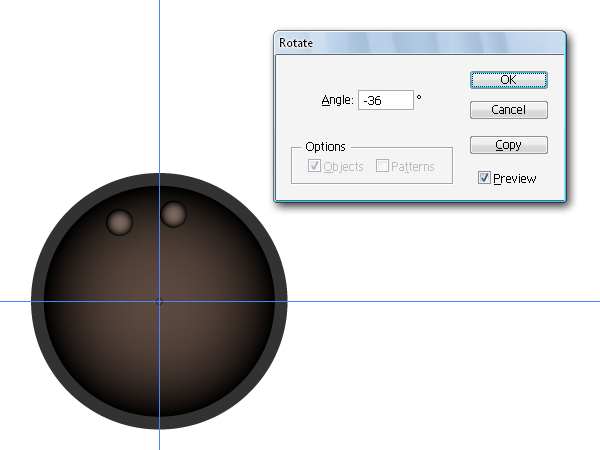
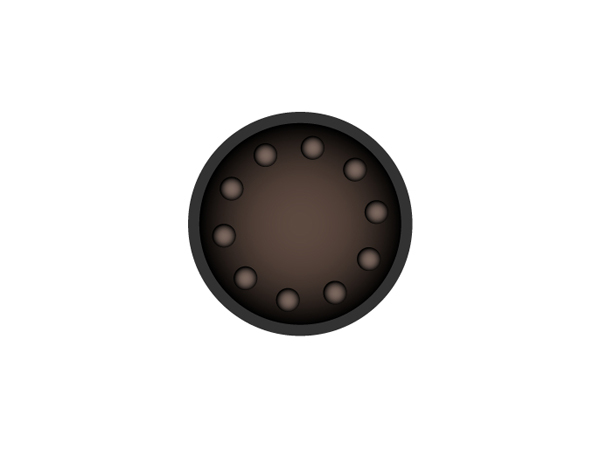
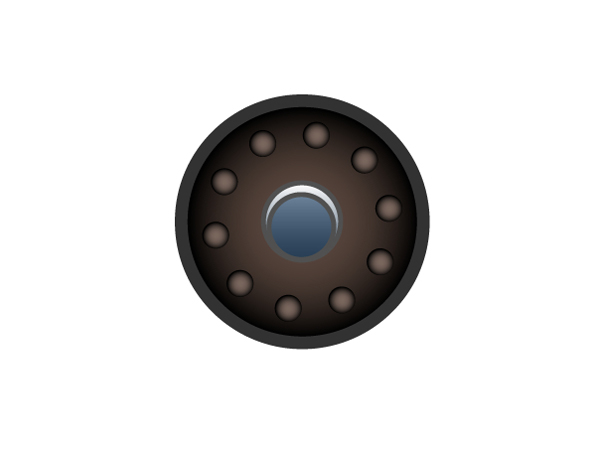
Draw a new circle, apply the gradients, and place it as shown. Find the center of the first circle (use guides for this purpose). Select the last circle and use the Rotate Tool (R). Press the Alt key and hold it down, and click in the center of the circle – a rotate panel will appear. Use the values as shown below and click copy. To repeat the action just choose Object > Transform > Transform Again (Ctrl+D).
Step 57
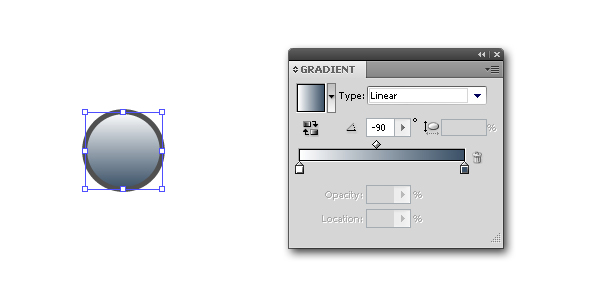
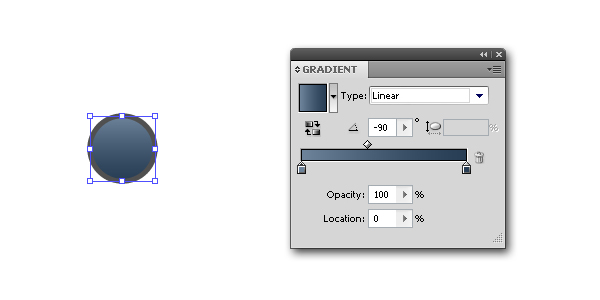
Draw another two circles and color them. Then, put one above the other and group the objects (Ctrl+G). Place them as You can see on the image below.
Step 58
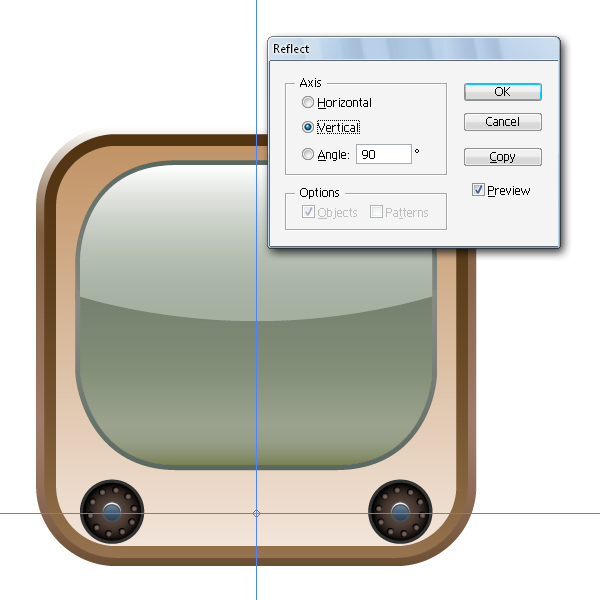
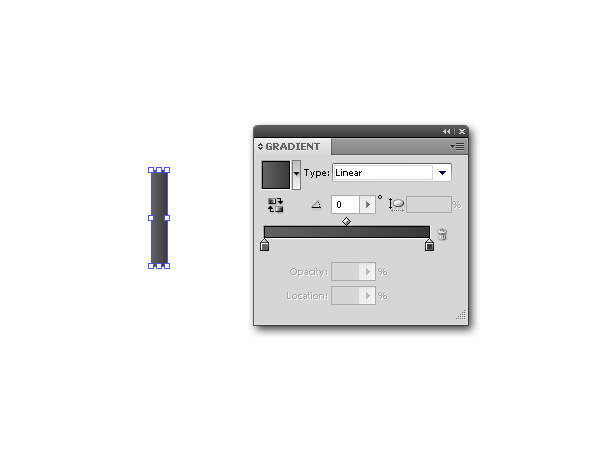
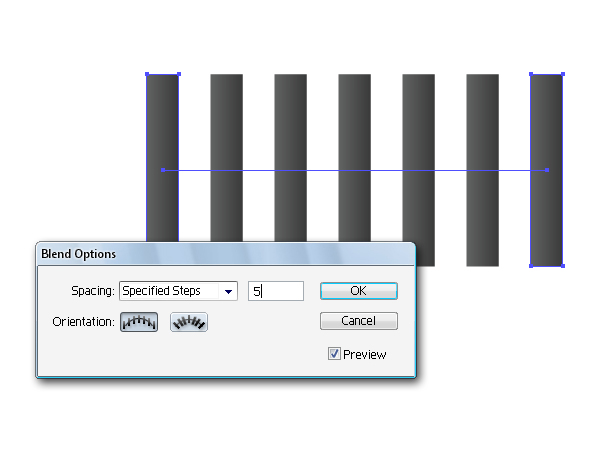
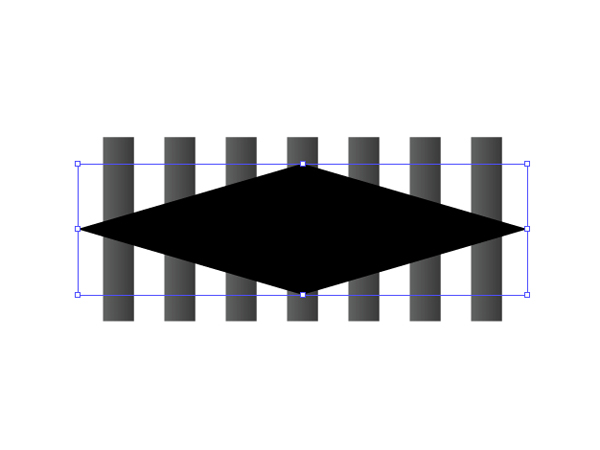
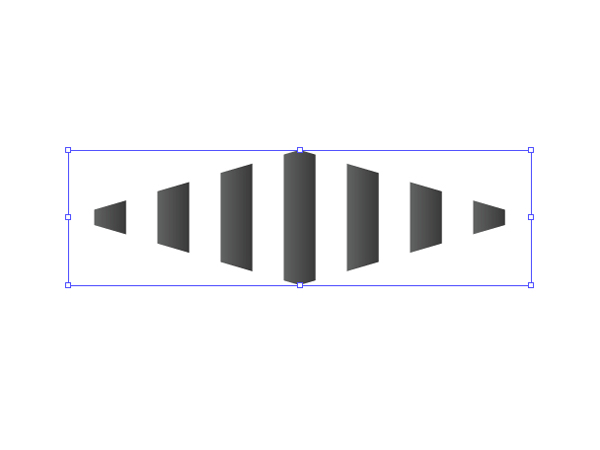
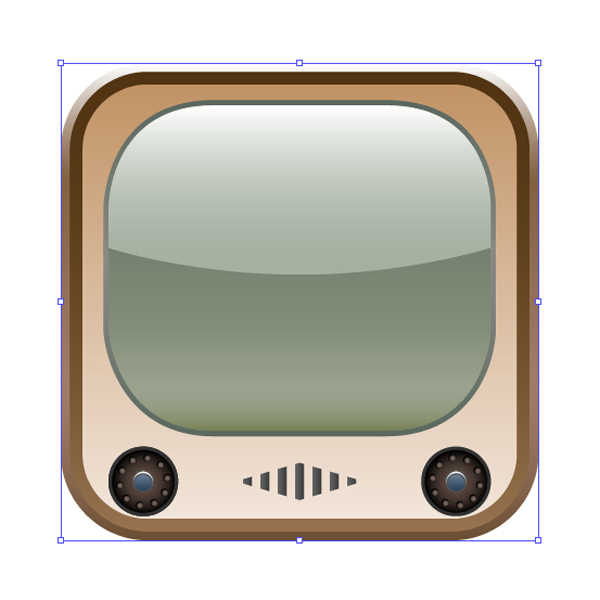
Select the object and use the Reflect Tool (O) now. Hold Alt key pressed and (while holding) click precisely in the center point (use guides) and set values as shown. Draw two identical rectangles (make the distance between them) and make a Blend (Ctrl+Alt+B), or just use the Blend Tool (W) (click anywhere on each object you want to Blend, but avoid anchor points). Use the Pen Tool (P) and create a rhombus shape (put it above the blended objects). Select all and go to Object > Clipping Mask > Make (Ctrl+7). You’ve got a masked object now.

Step 59
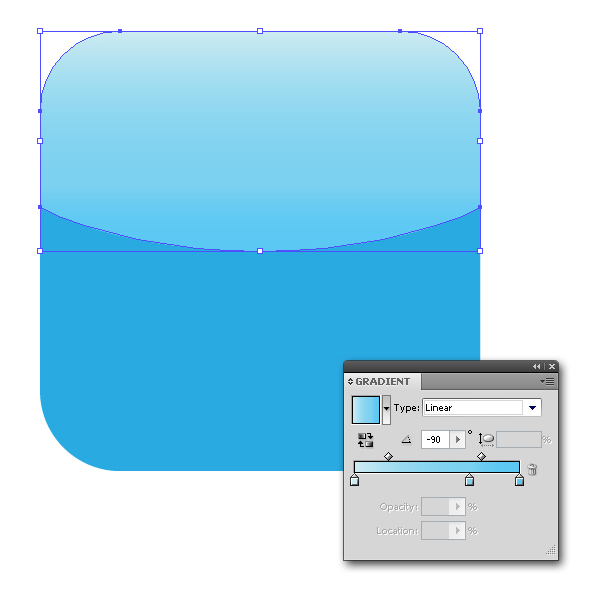
Go to another square, divide the object into two surfaces and color them.
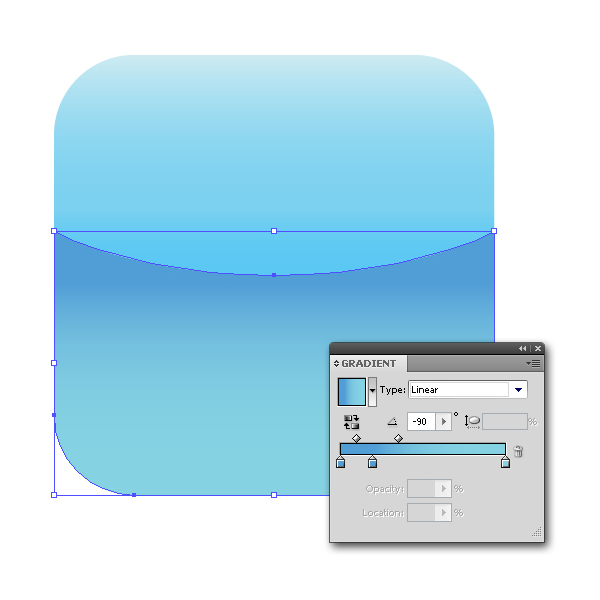
Step 60
Grab the Line Segment Tool (\) and draw three straight lines.
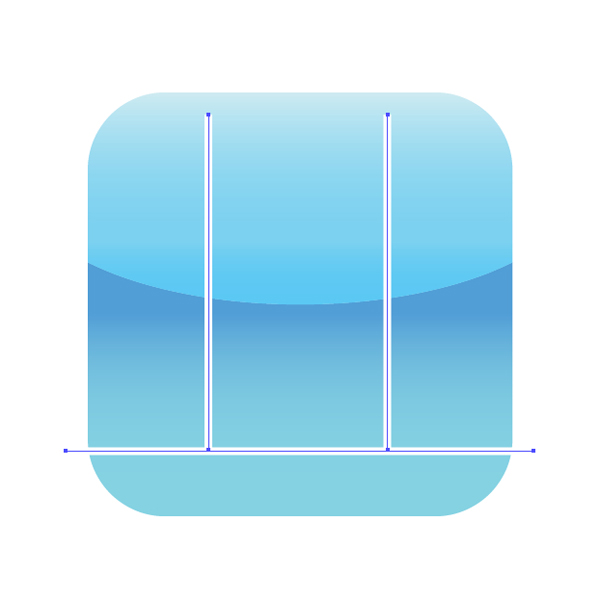
Step 61
Then, draw two more lines and color them with different colors (lower the Opacity of the lower line to 0%). Use the Blend Tool (W) again and, then, change the Blending Mode to Screen (Opacity 75%).

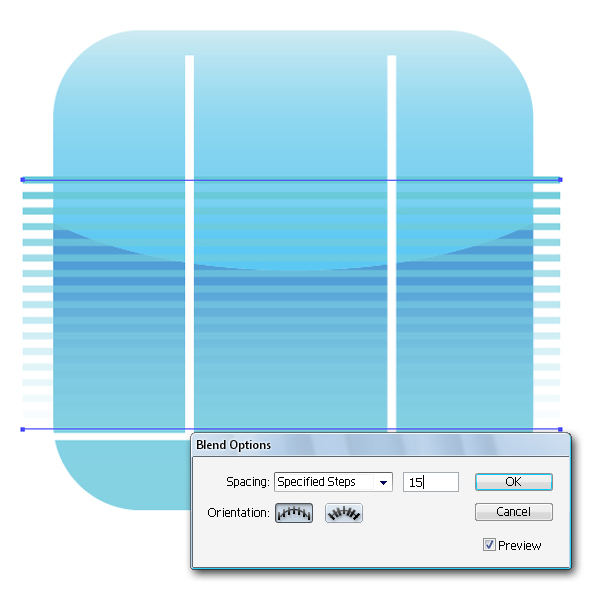
Step 62
Create a straight horizontal line and fill it with white. In the Appearance Panel go to Add New Effect > Distort & Transform > Zig Zag… and set the values. Select the object again and go to Object > Expand Appearance and modify the object as shown. Now place the white line above the blended object.
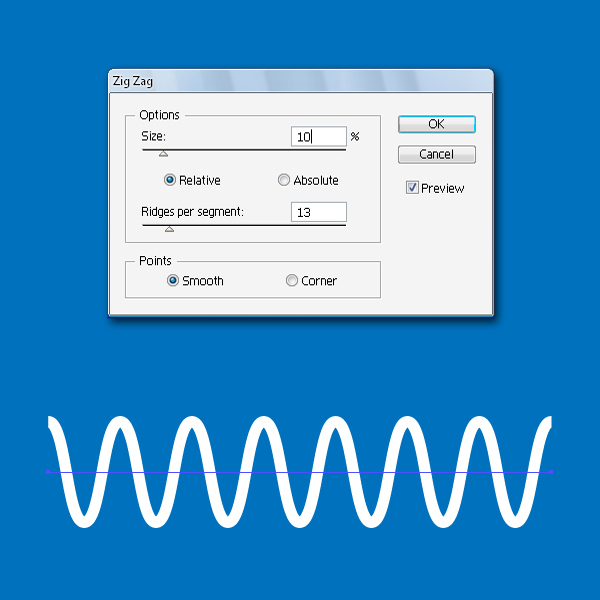


Step 63
Copy that modified line and keep it for later. Select both objects and go to Object > Clipping Mask > Make (Ctrl+7). Now bring the white line that you copied and put it on the top.


Step 64
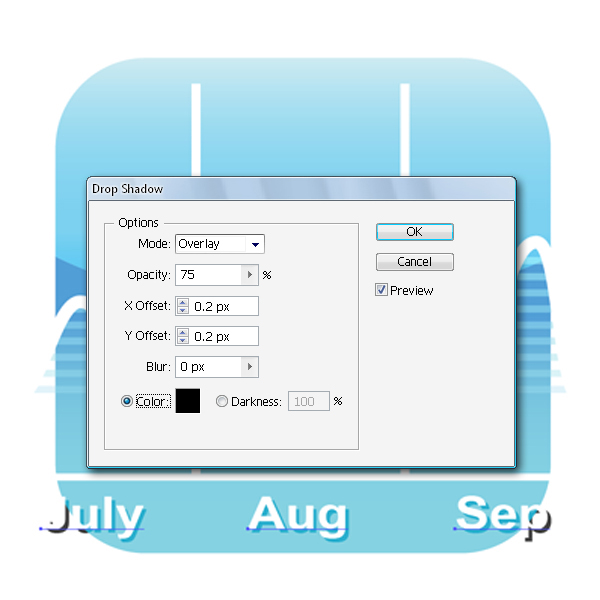
Now, add a new text, and apply a Drop Shadow effect. You can see the final effect on the image below.

Step 65
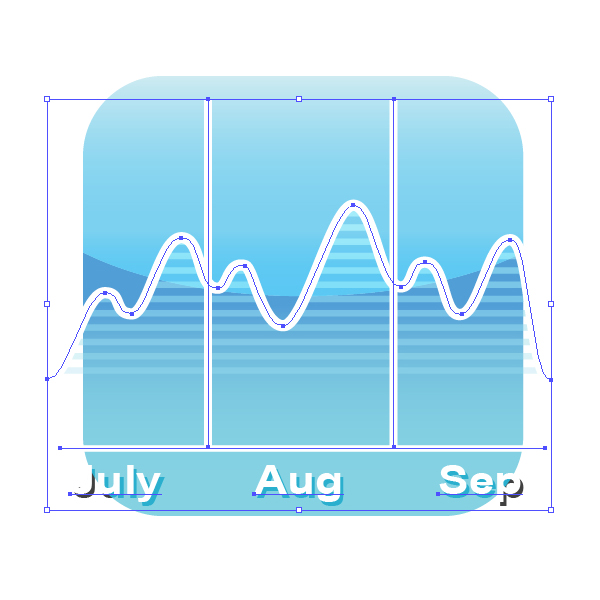
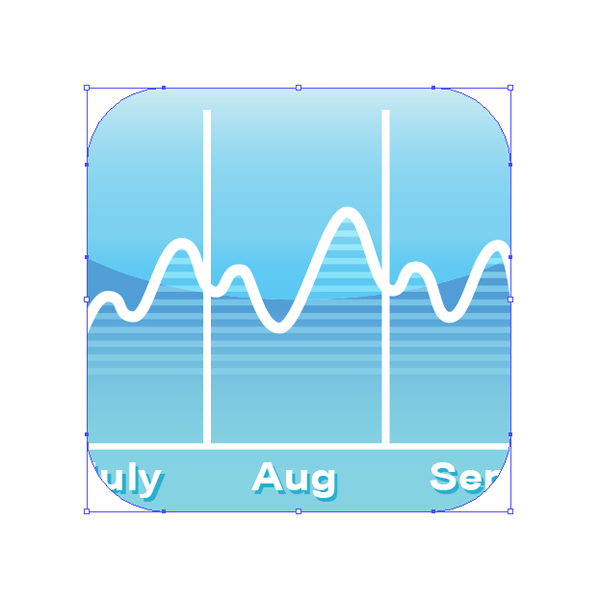
Create another square the same size as the background square, and bring it to front. Then, select every object that extends beyond the mask boundaries and make a mask.

Conclusion
So there you have it, you should now have an iPhone and five pretty good looking icons. In the next installment of this tutorial we will make the remainder of the icons and finish off our illustration.
