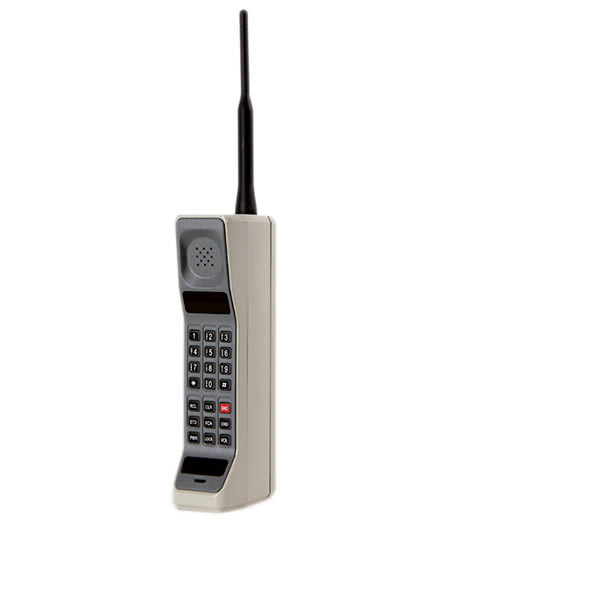
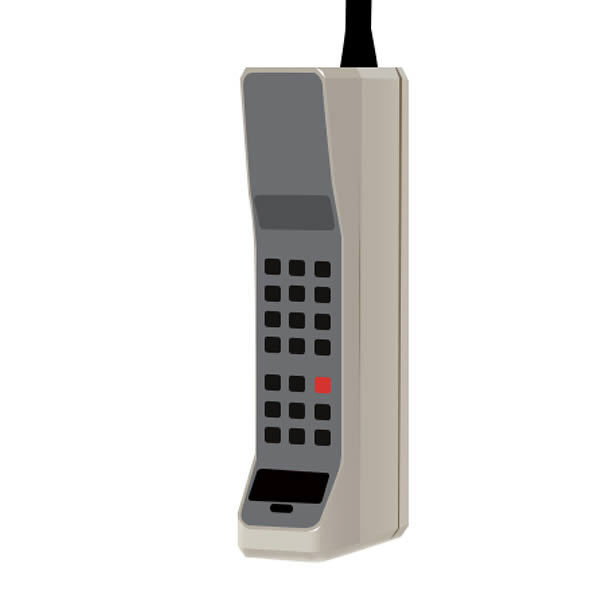
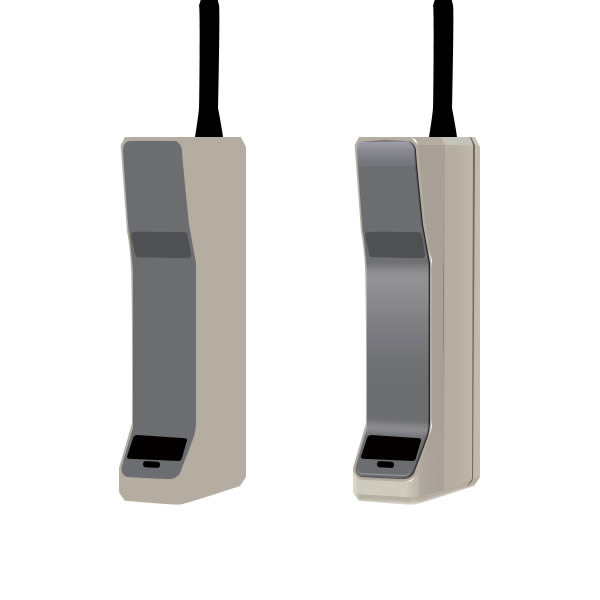
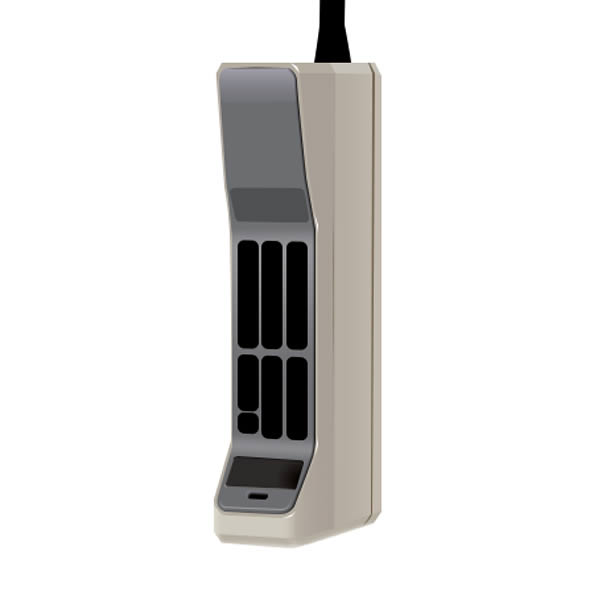
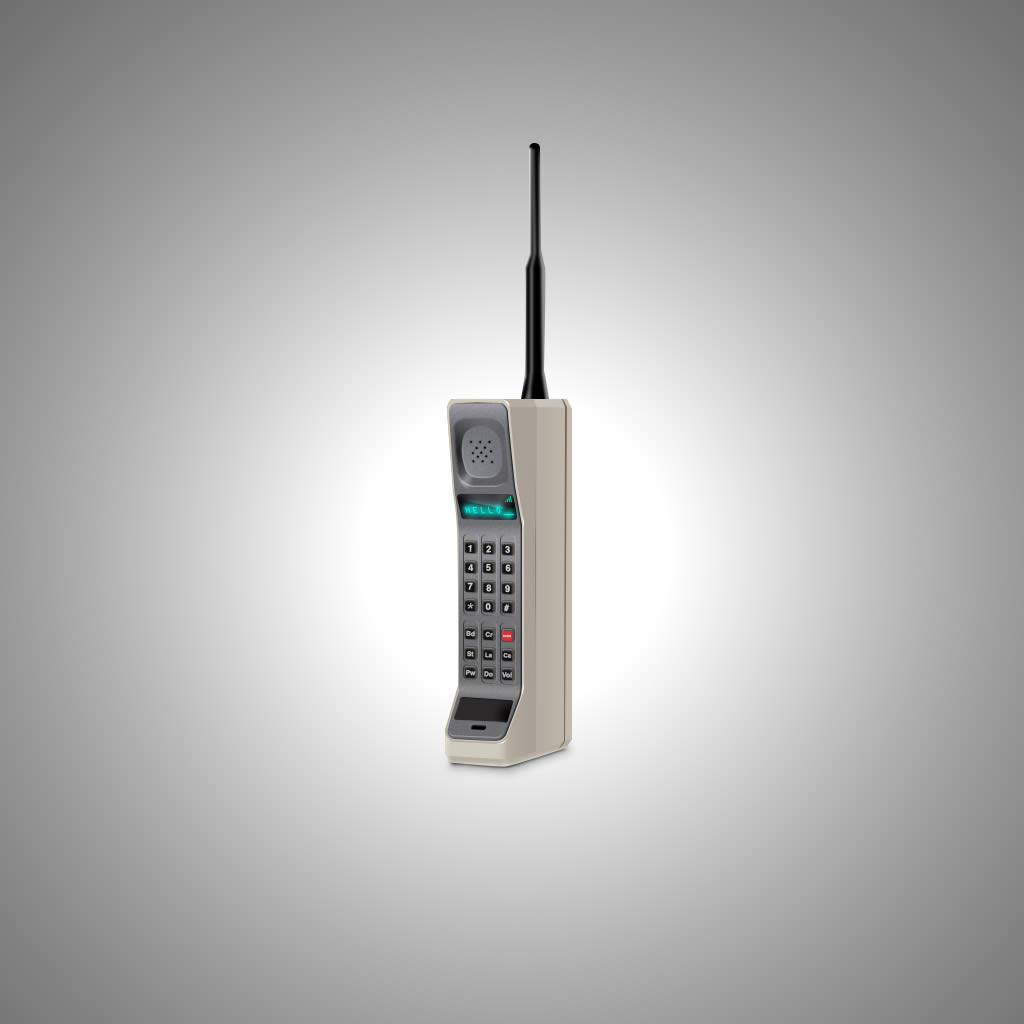
In this tutorial we will explain how to create a 1990′s era mobile phone icon in Photoshop using a photo as a reference. Let’s get started!
Tutorial Assets
The following assets were used during the production of this tutorial.
Step 1
Let’s start with a new document in Photoshop with the following settings. I used a 1024×1024 pixel canvas.

Step 2
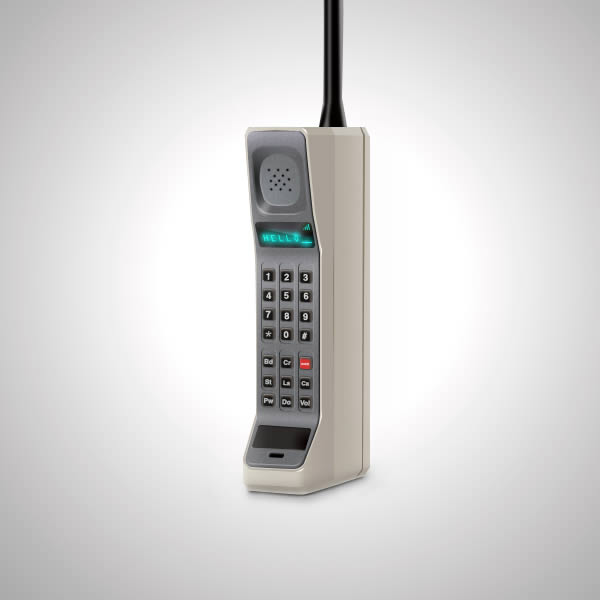
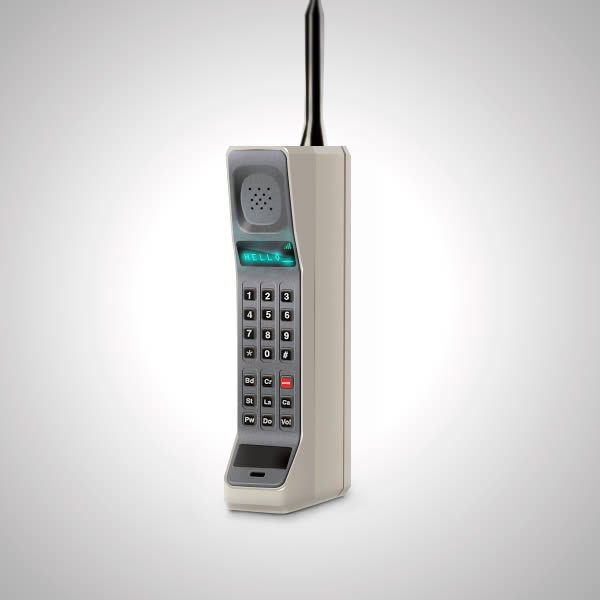
The first thing to do is to drag and drop the image reference inside the canvas. We’ll use it to draw the basic shapes of the icon.
Step 3
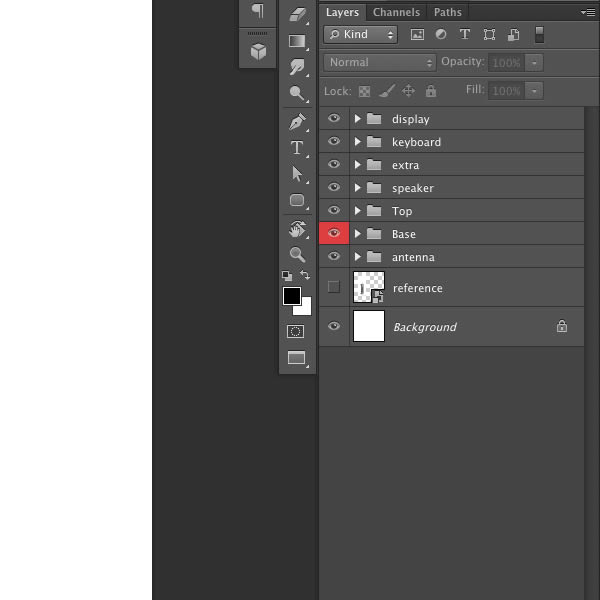
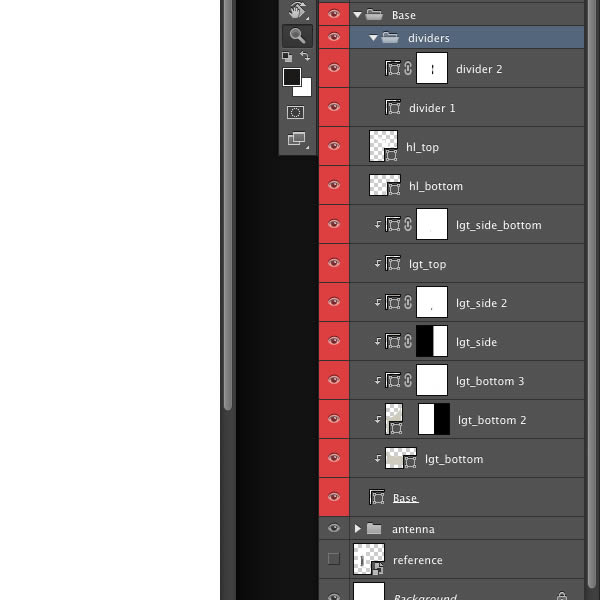
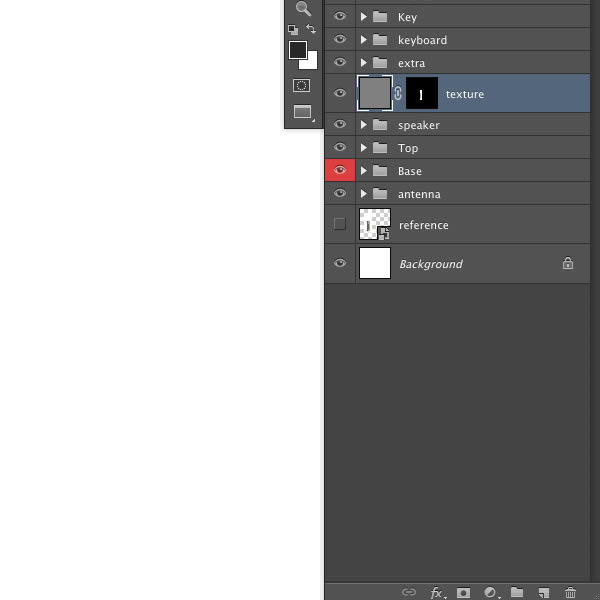
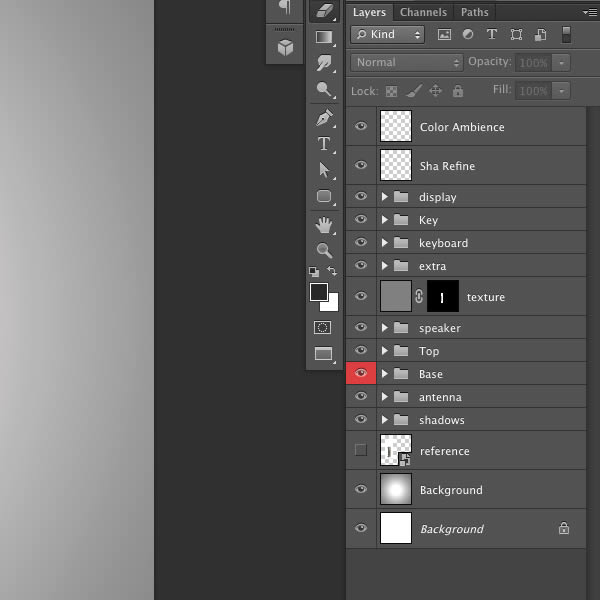
Select the Pen Tool (P), start to draw the pieces of the phone in separate shape layers. Tip: Stay organized by adding the shape layers in groups.
Step 4
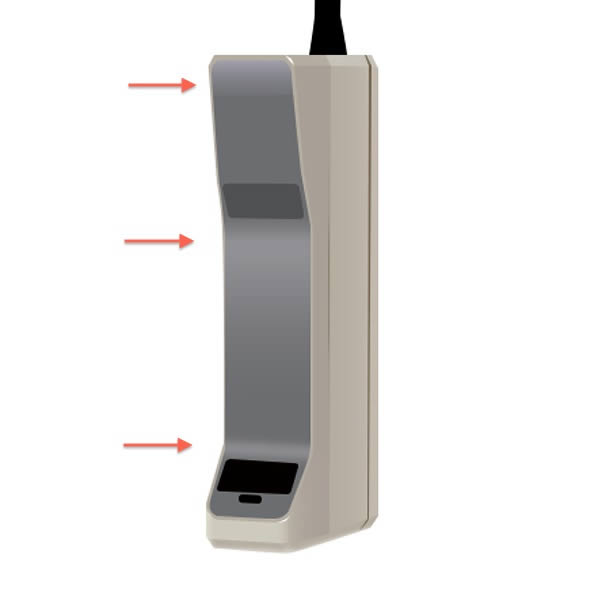
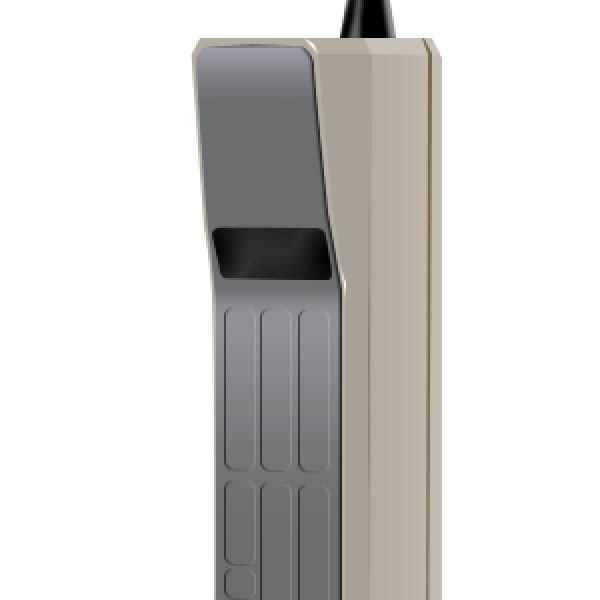
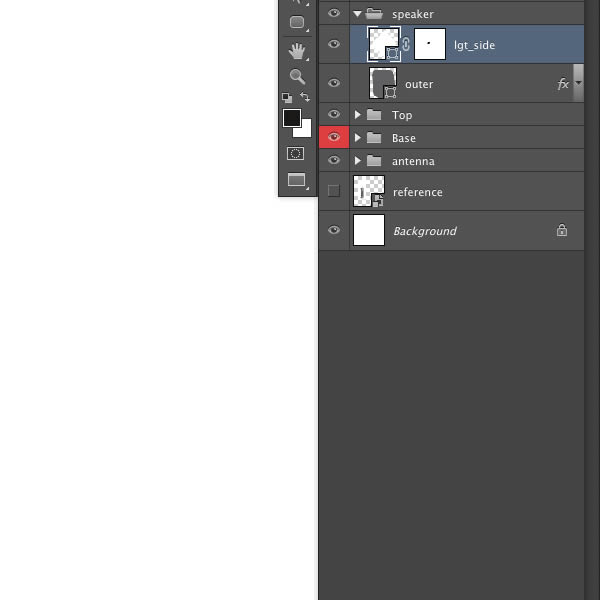
Add highlights and shadows to the right side of the icon. Draw two rectangular shapes with the Pen Tool (P). Apply the shapes as clipping masks by clicking on the thin divider line between the two layers in Layers Palette while pressing Alt on the keyboard. Use #c6beb2 and #a9a096 colors. Tip: use a layer masks in this way you can hide unwanted shape parts.
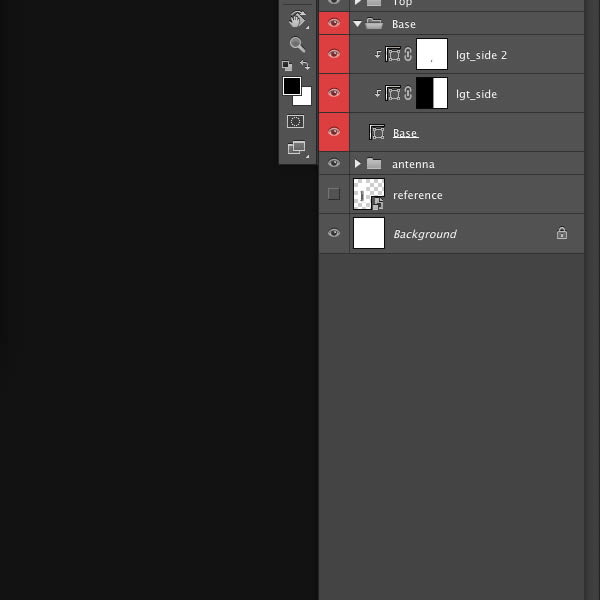
Step 5
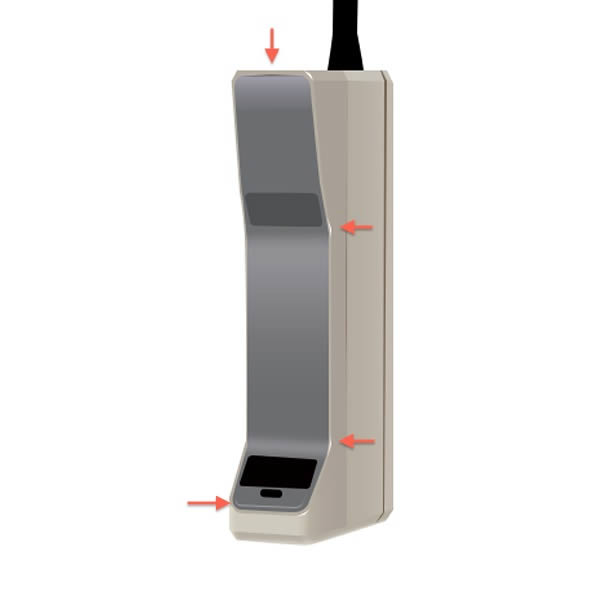
Repeat Step 4 method and add two shapes on top and bottom of the phone. Use lighter colors than the base shape layer.

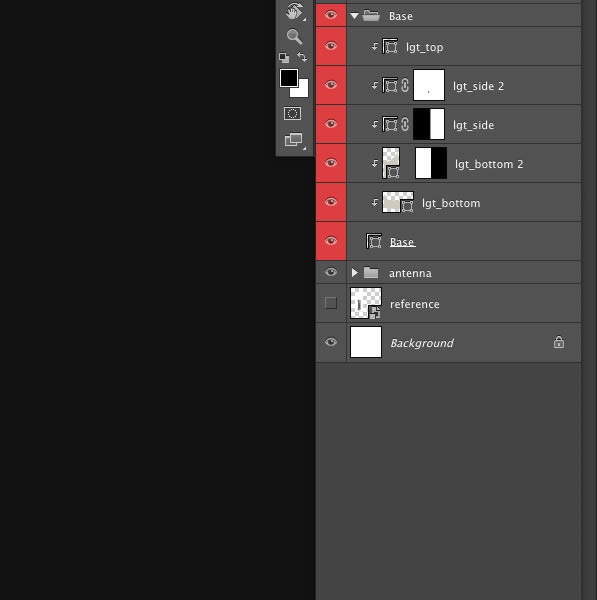
Step 6
Add more details to the phone. Create new shape layers inside the base layer, and apply layer masks to smooth the final effects. As you can see I added two tiny highlights with the Pen Tool on top and bottom corners.
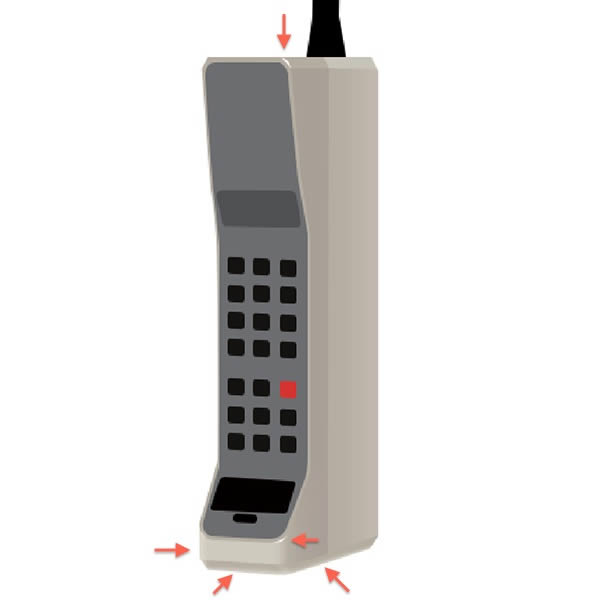
Step 7
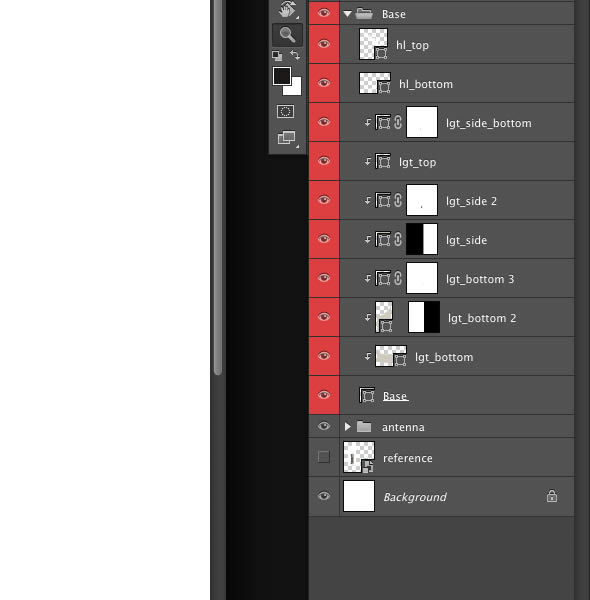
With the Pen Tool, add two thin lines using a dark brown color. Add a layer mask to refine the divider on the left side.
Step 8
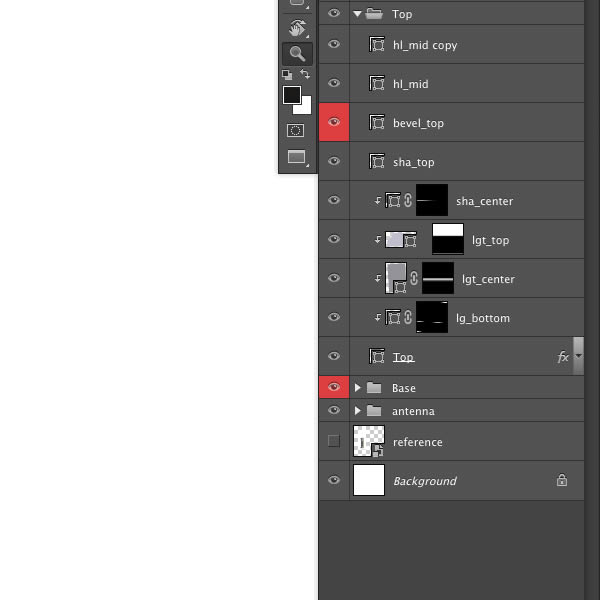
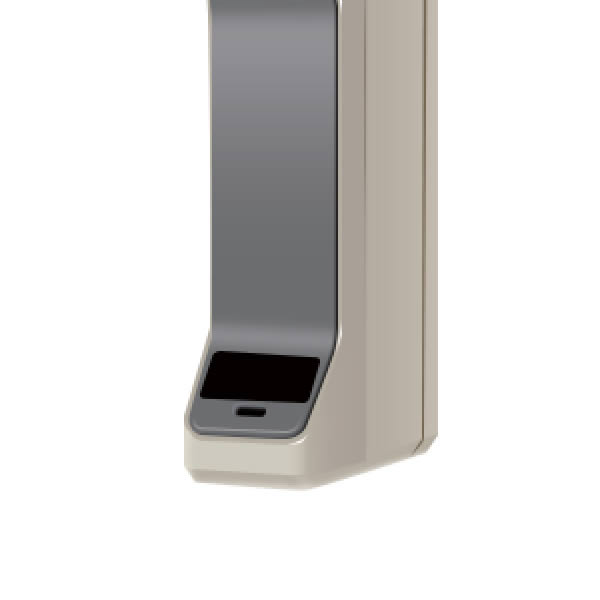
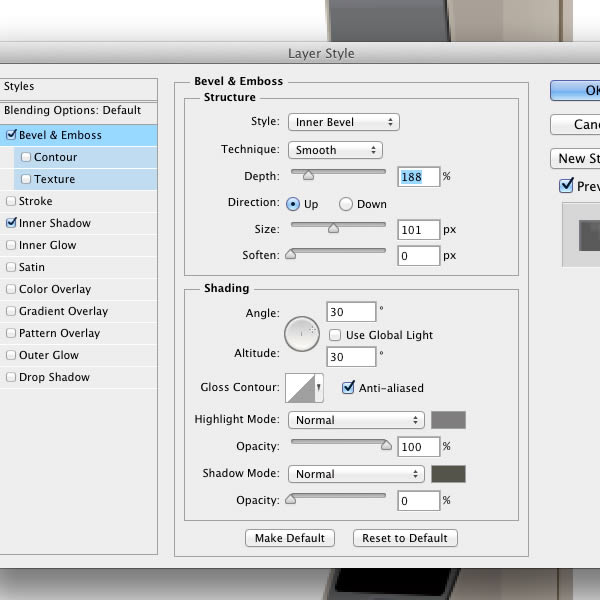
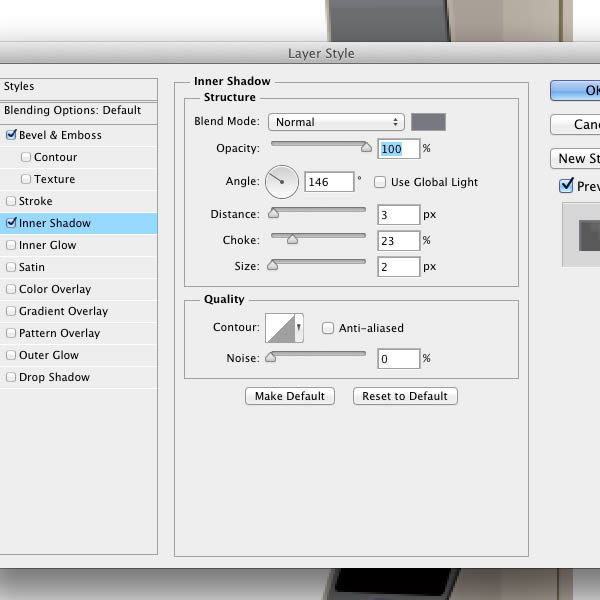
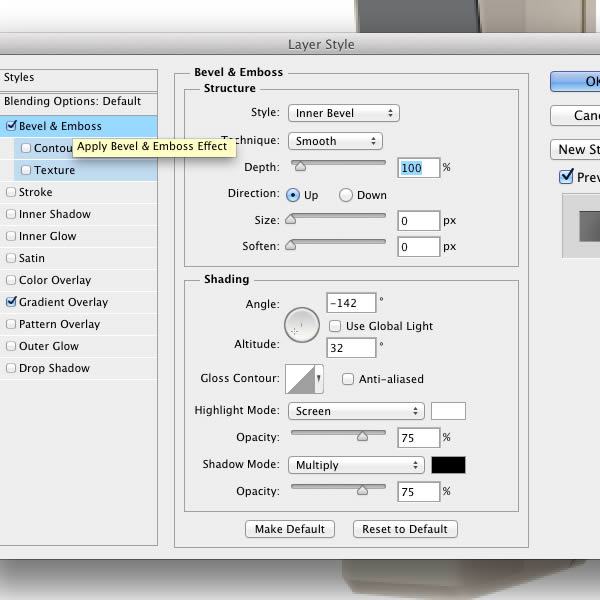
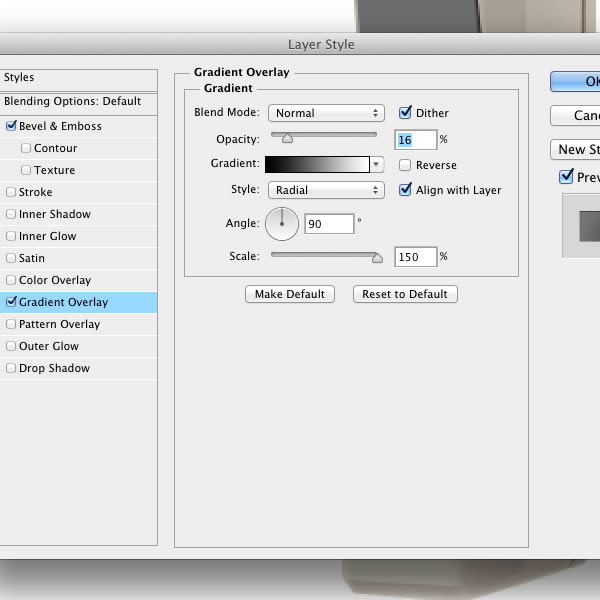
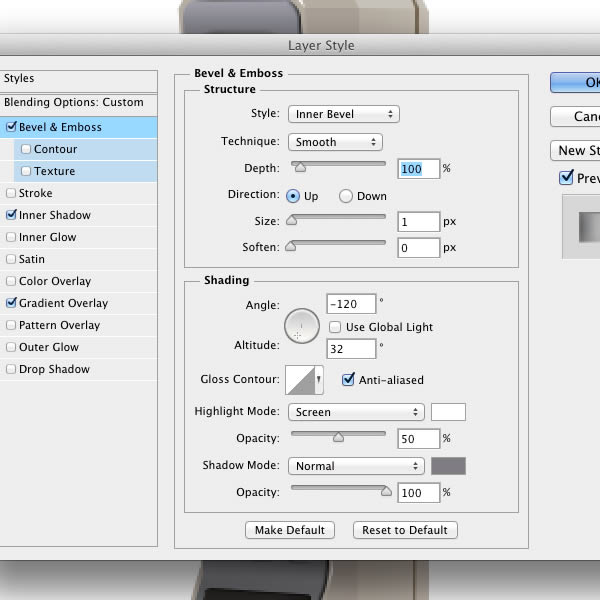
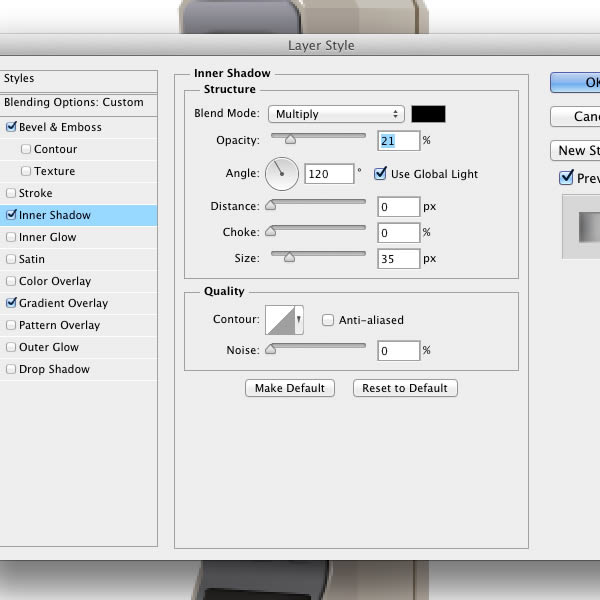
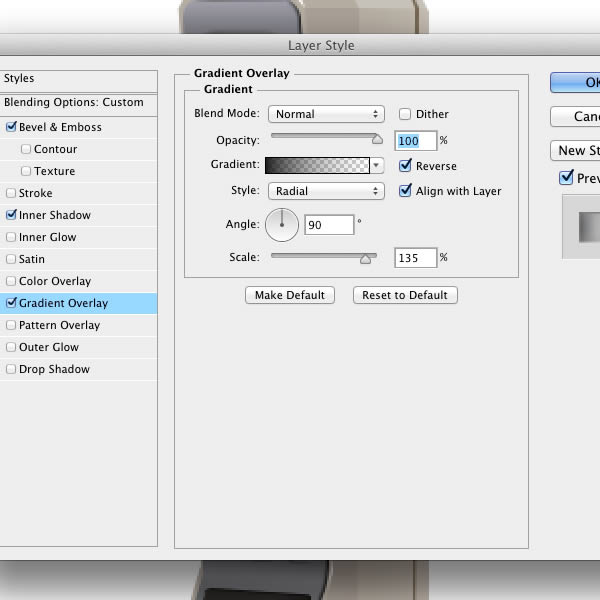
Same process for the top part. (I disabled the visibility of the key layers). Select a lighter color than the base, add the shapes with the Pen Tool (P) and finally refine the shapes edges with a Layer Mask. Use the screenshot below as a reference. I also added some small details like highlights in new shape layers as before. Finally apply this Layer Style to Top layer.

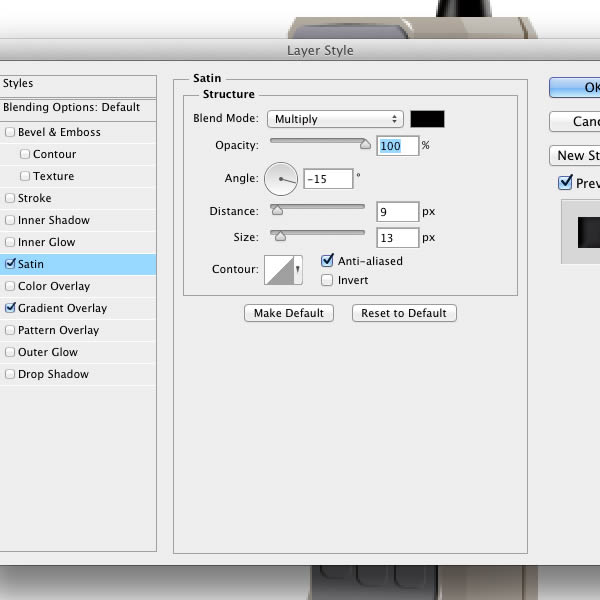
Step 9
Add this Layer Style to the microphone shape layer.
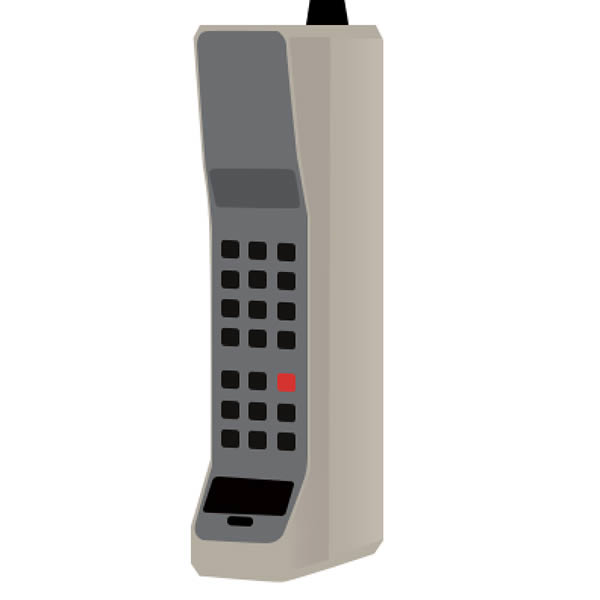
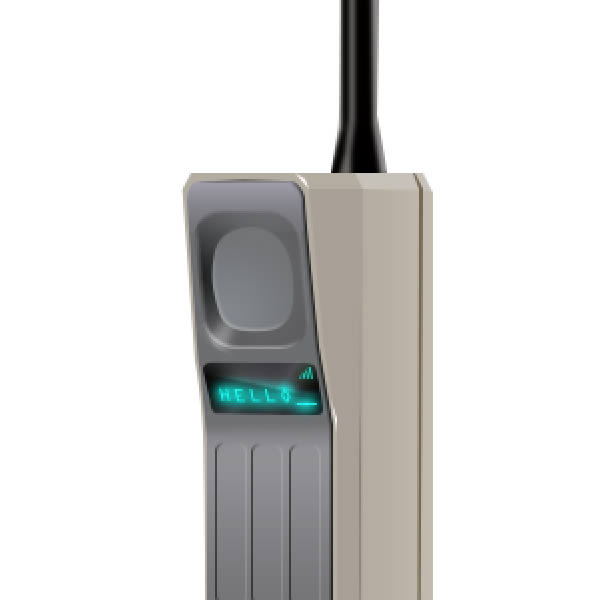
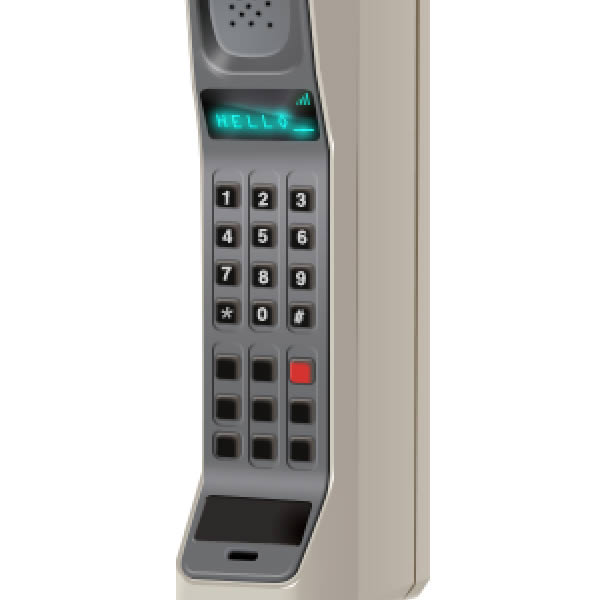
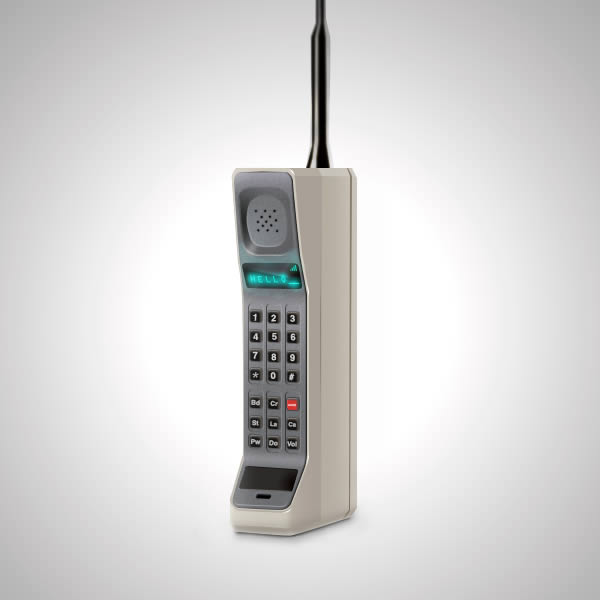
Step 10 – 100% View
Quick Before/After preview
Step 11
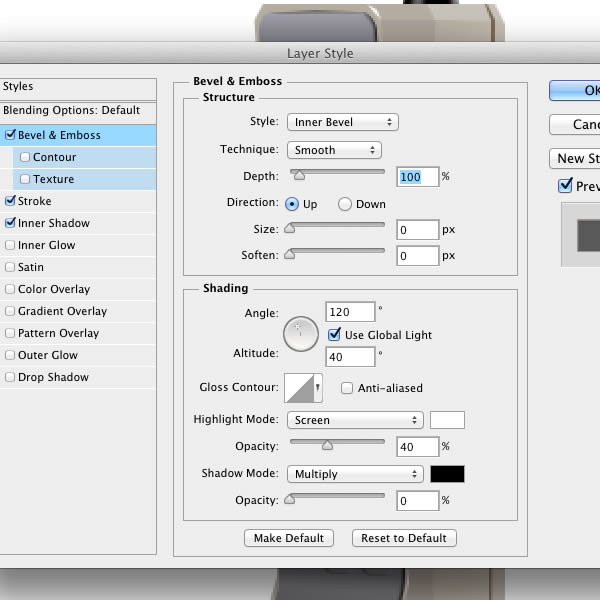
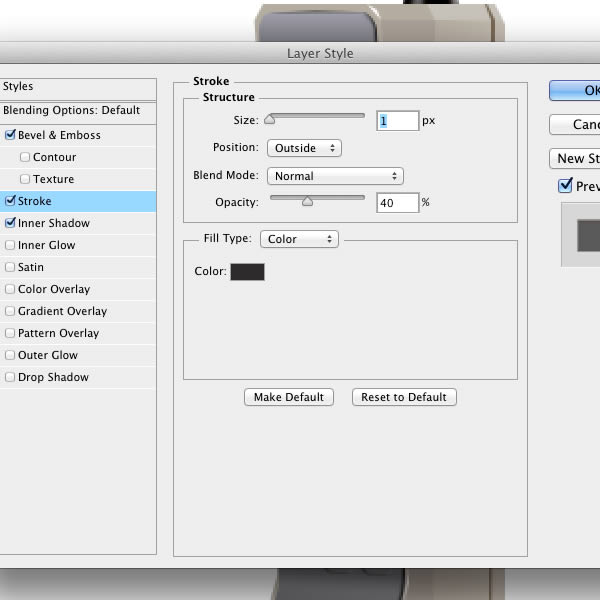
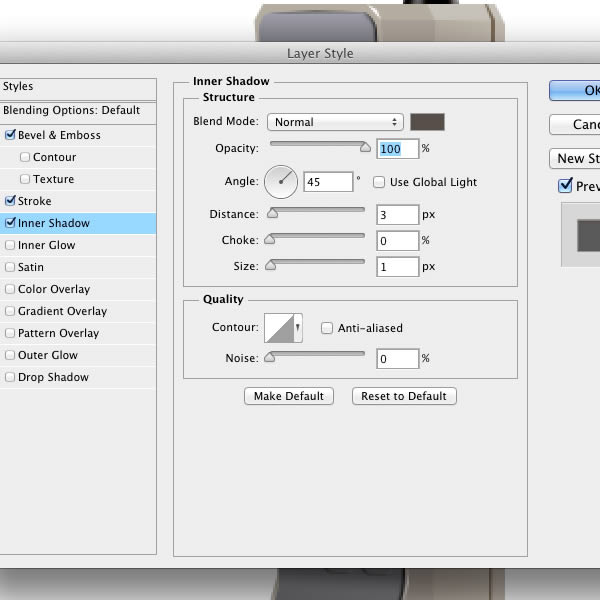
Add this Layer Style to the Inset shape layer. Set the fill to 0%
Step 12
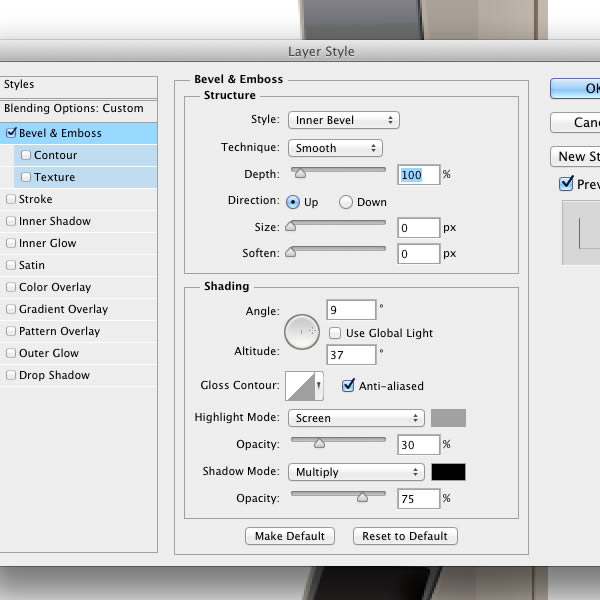
Draw the key’s emboss by adding new rectangular shapes with the Rounded Rectangular Shape Tool (U) with a 2px radius, then Skew them with Cmd/Ctrl + T. Apply this Layer Style and set the fill to 0%.
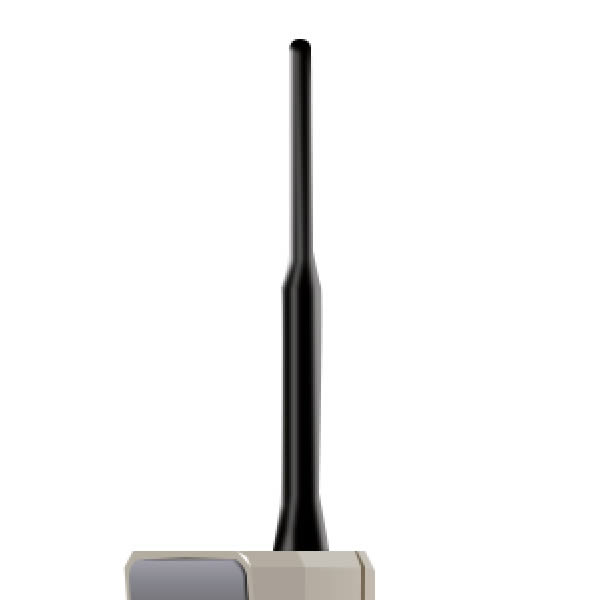
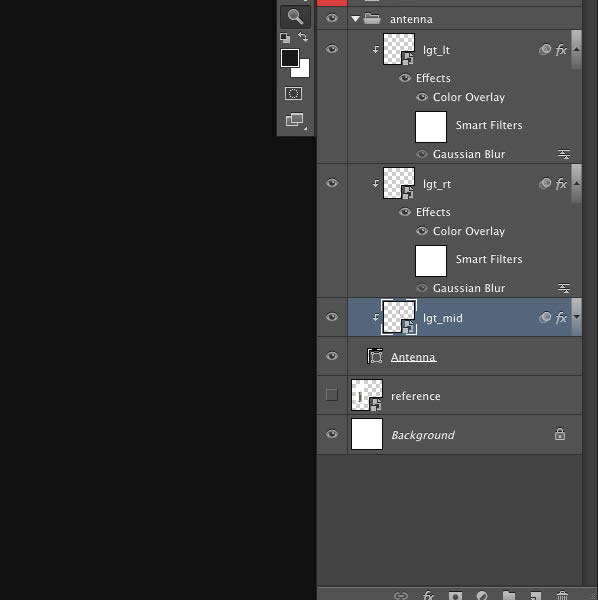
Step 13
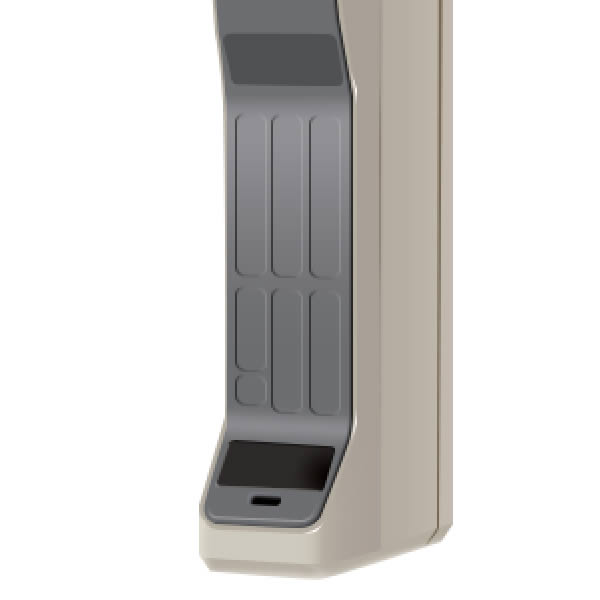
The lighting process of the Antenna consist in a series of new shape layers draw with the Pen Tool and applied as clipping masks. Then you have to convert the shapes into a Smart Object, and add a small Gaussian Blur Filter.
Step 14
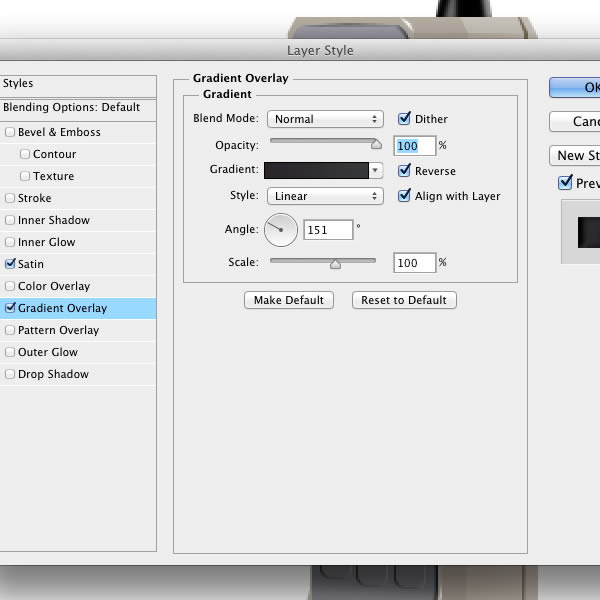
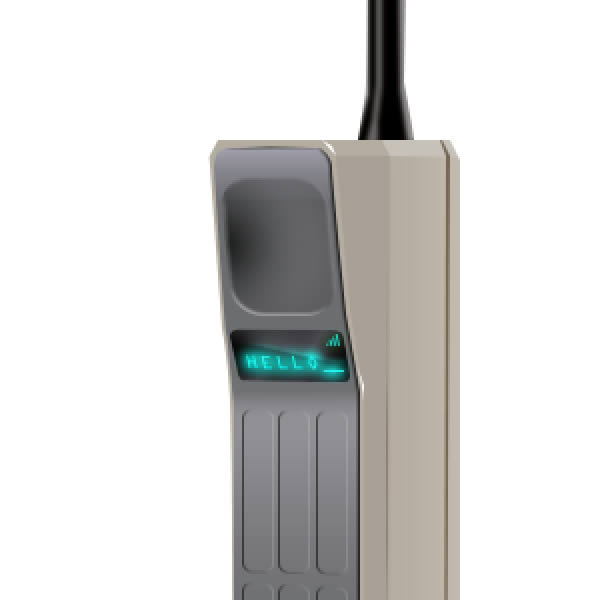
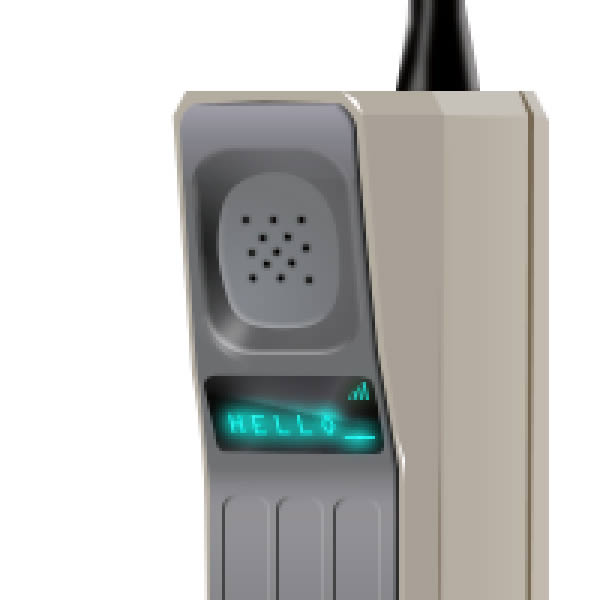
Display Time. First add this Layer Style to the display shape layer.
Step 15
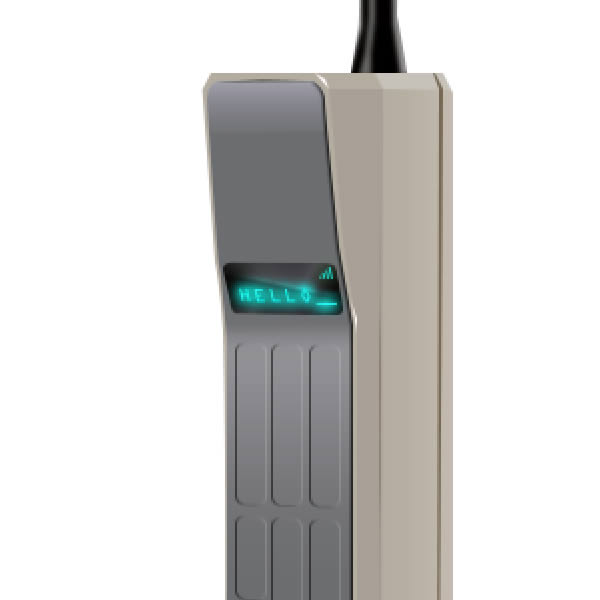
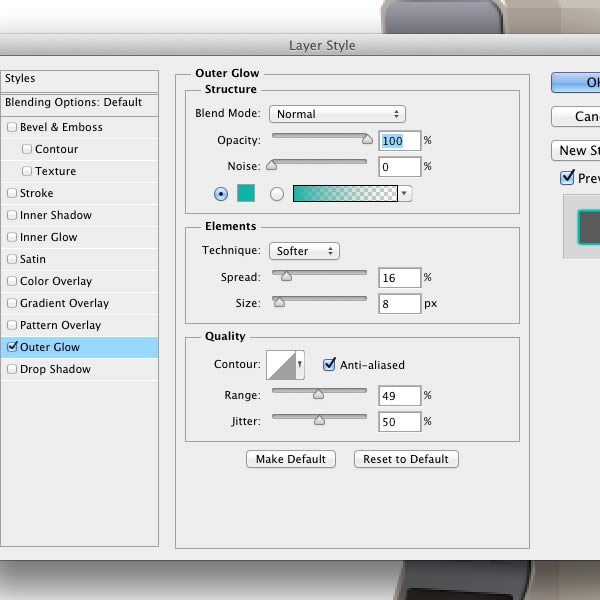
Then in a new layer, draw a white rectangle shape with Rectangular Shape Tool (U), and apply a layer mask to it. With a hard brush, set at low opacity, hide some parts of the layer to obtain the display reflection. I also added a Welcome Text and the Signal Bar shapes with this Layer Style.
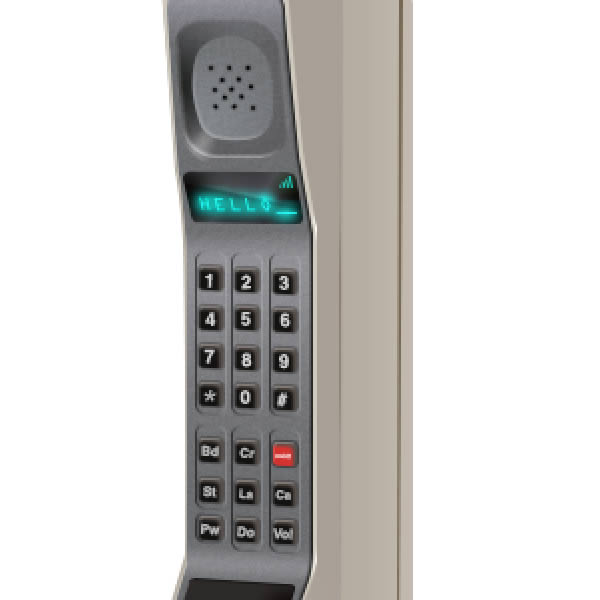
Step 16
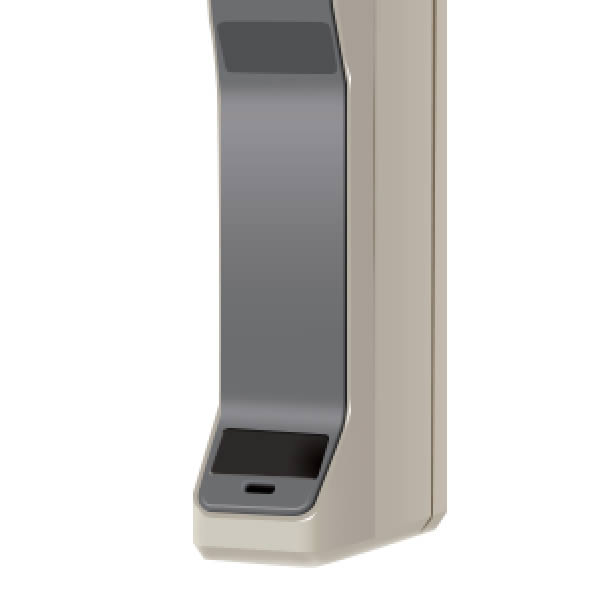
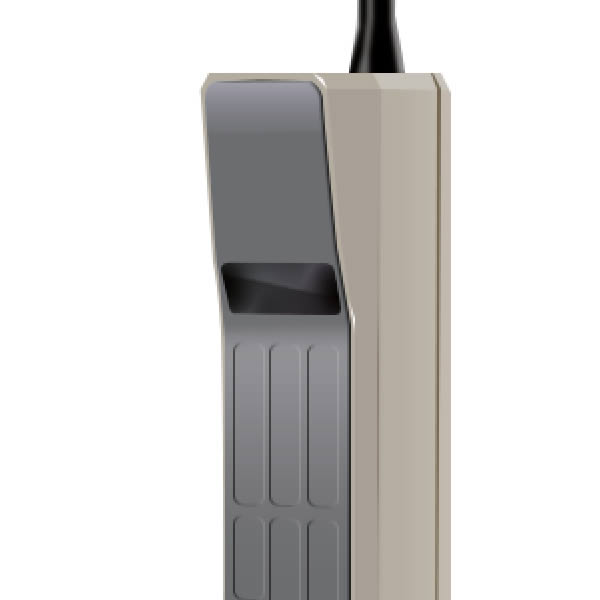
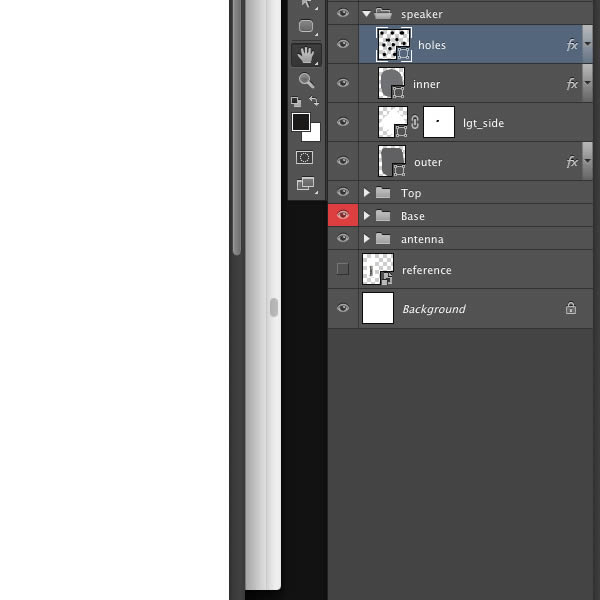
Our phone is beginning to take shape. Let’s do the speaker now. Use the Rectangular Shape Tool (U) to draw a shape like below. Alter the shape with Cmd/Ctrl + T. Finally add this Layer Style.
Step 17
Add a new shape layer to boost the bottom-left light of the speaker by drawing a white shape inside the layer with the Pen Tool (B). Refine the edge with a layer mask.
Step 18
Add a new rounded shape with this Layer Style.

Step 19
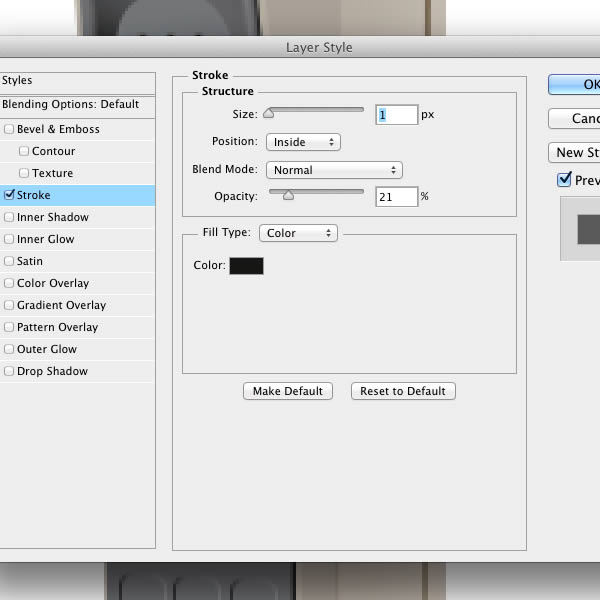
Select the Ellipse Shape Tool (U) and add some small holes inside the speaker with the following Layer Style. You have to Skew the holes just a little with Cmd/Ctrl + T to better match the phone’s perspective.
>
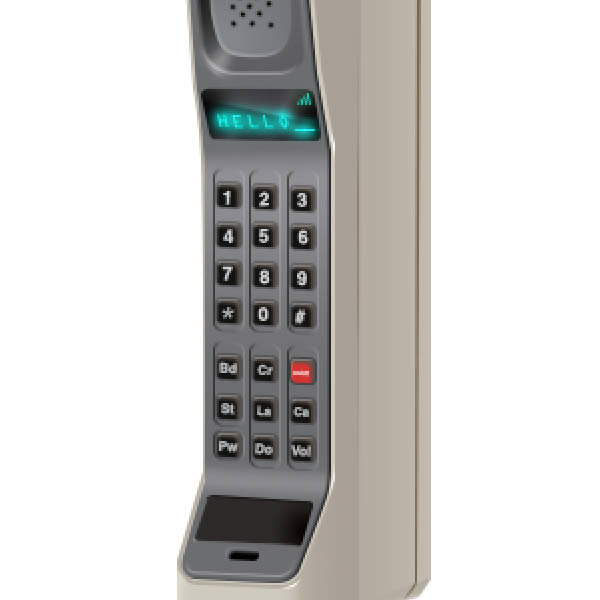
Step 20
Reactivate the keys visibility and add this Layer Style to each key. Tip: Remember to replace the Fill Color for the Red key shape.
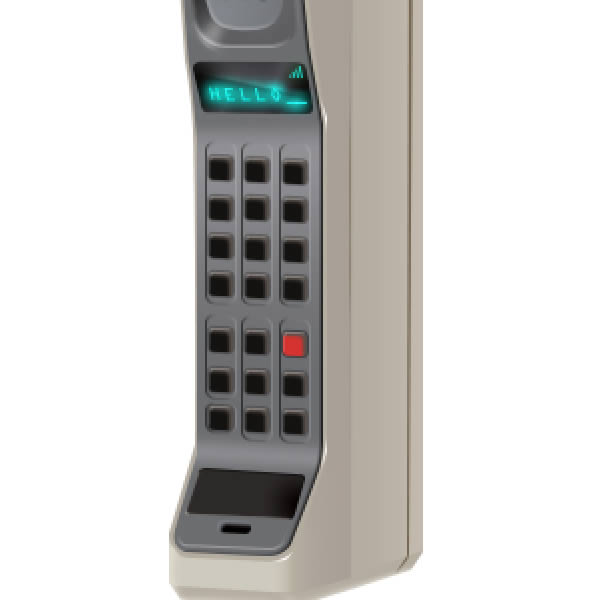

Step 21
Almost done. Add the numbers inside the keys. I used the Helvetica Bold font. Skew the Type Layer with Cmd/Ctrl + T to match key’s perspective.
Step 22
Do the same for the function keys.
Step 23
Create a new blank layer and fill it with 50% Gray. Then apply Filter > Noise > Add Noise with value of 2-3%. Set the layer blending mode to Overlay and 60% Opacity. Place the new layer above the Top layer.
Step 24
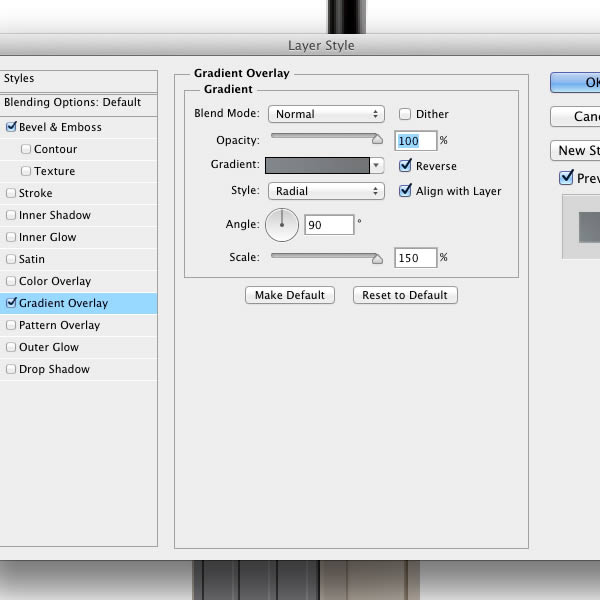
I added a simple gray background behind the phone icon layers. Simply adding a Gradient Fill Layer Adjustment set in Radial Mode will do the task.
Step 25
Draw the cast shadow by painting some black color into a new blank layer with the Brush Tool (B). Use a Layer mask to smooth the transitions.
Step 26
Refine the sides of the icon by painting some light gray inside a new layer. This will blend better the icon with the surrounding space.
Step 27
Paint some colors inside a new layer and set the blending mode to Overlay or Color Dodge. As you can see in the display (light blue) or antenna (dark yellow), these techniques can achieve interesting results. Tip: Use the Eyedropper Tool to sample the right color.
Step 28
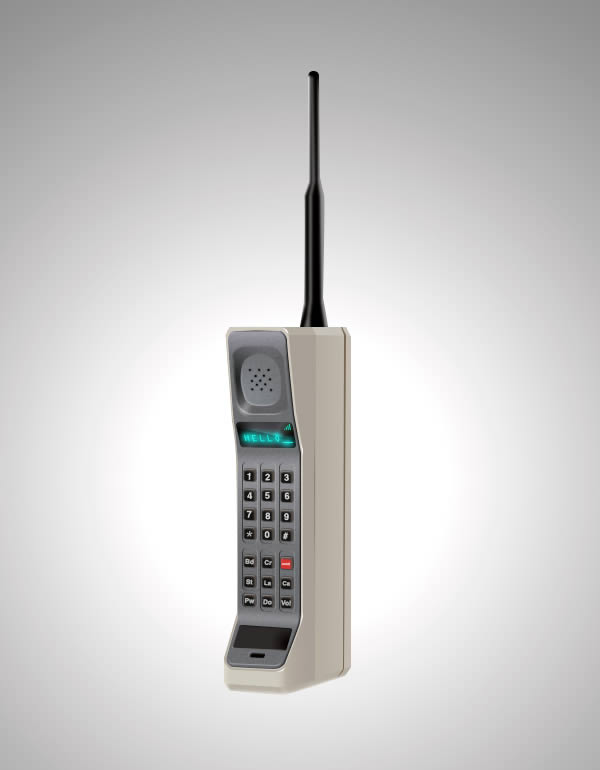
Final Step: Apply an Unsharp Mask Filter with low radius (0,3-1) into a composite layer and you’re done! Tip: Press Cmd/Ctrl + Alt + Shift + E to create a composite layer.
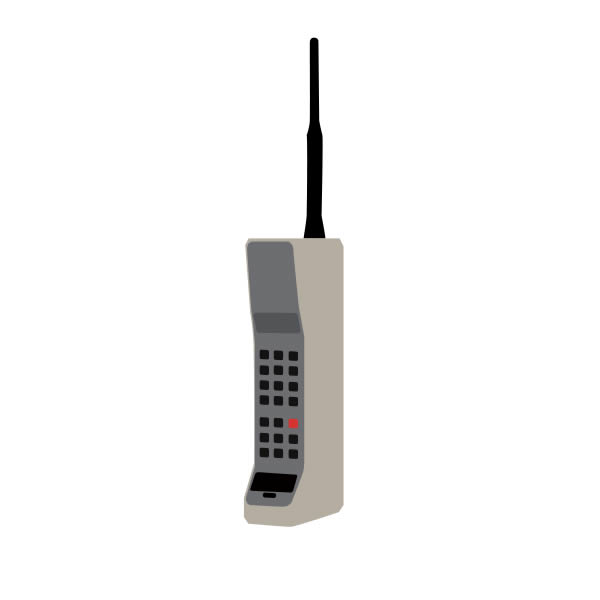
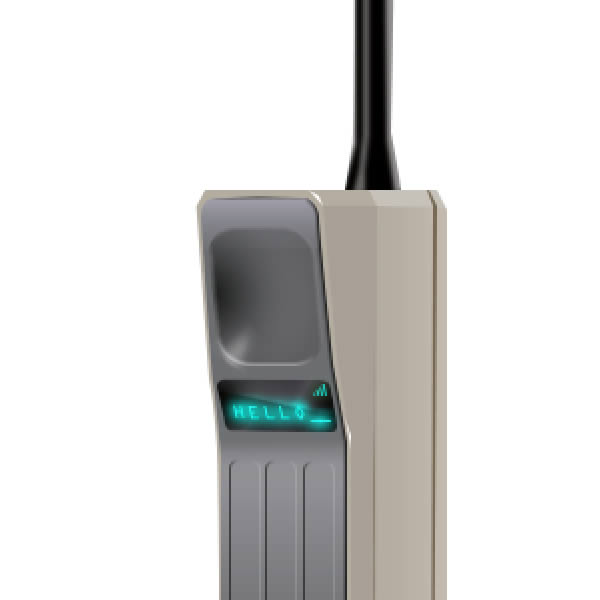
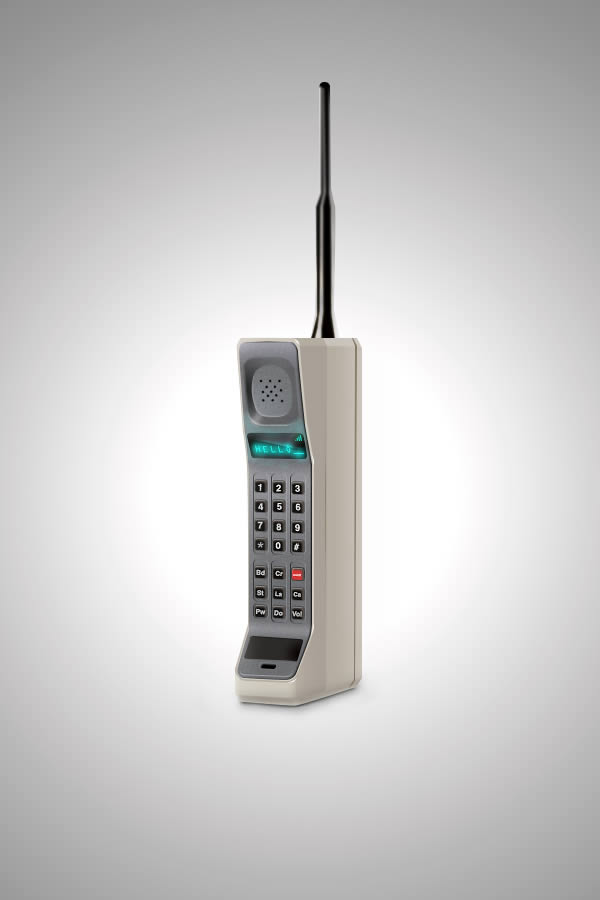
Final Image
{excerpt}
Read More