This work is a common project created together with Iaroslav Lazunov and Oleksandr Iegupov. We have used Meshes, Art brushes, and Blends to create the final work. The skills you will learn here can easily be transferred to creating various objects. So let’s get started!
Step 1
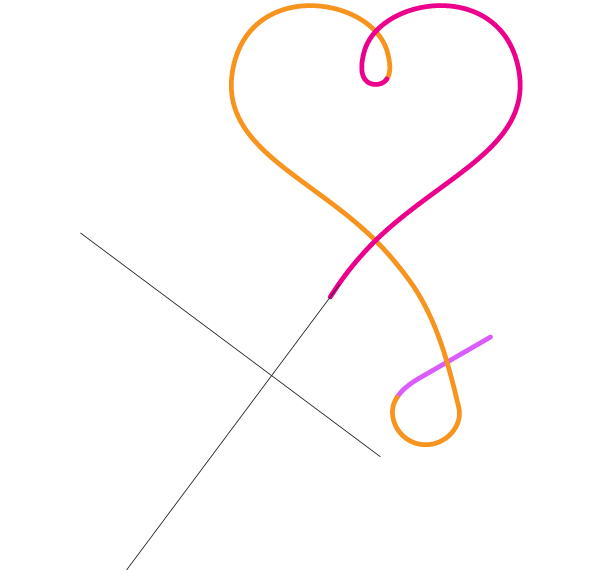
First of all, you need to create the main geometry of the final result. You must achieve the following picture shown below.
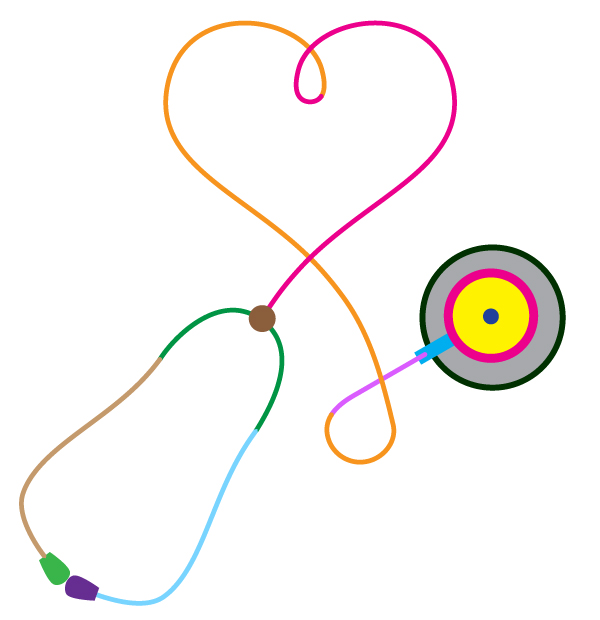
If you know how to achieve this, do it by yourself without assistance and go immediately to Step 7. Otherwise you should read carefully the beginning six steps of this tutorial. Take the Pen Tool (P) and draw the following twisted path. Use also the Direct Selection Tool (A) in order to convert necessary anchor points to smooth and to impart the desired form to the path.
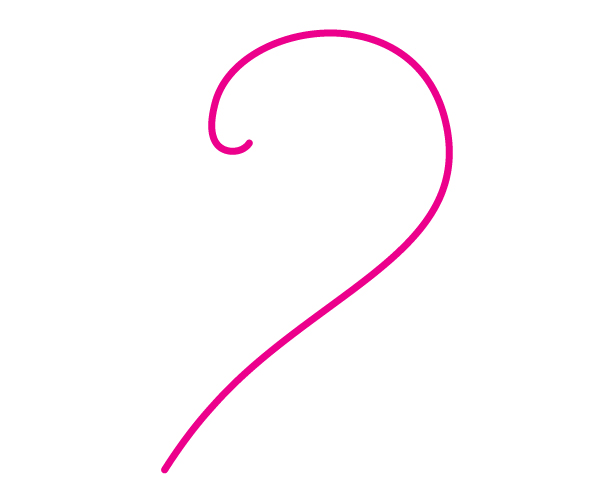
Then create the next path under the first one. Make an effort to make a heart shape in the top part of your diagram. The second path is to be continued from the first one visually.

Create the third path in the bottom part of the diagram in the same way.

We have used three different paths rather than one path in order to avoid self-crossings in it. A self-crossing is able to lead to the further problems in overlapping gradient meshes at the crossing points. For further information read the following Quick Tip.
Step 2
Take the Line Segment Tool (\) and draw a line, which is shown below.
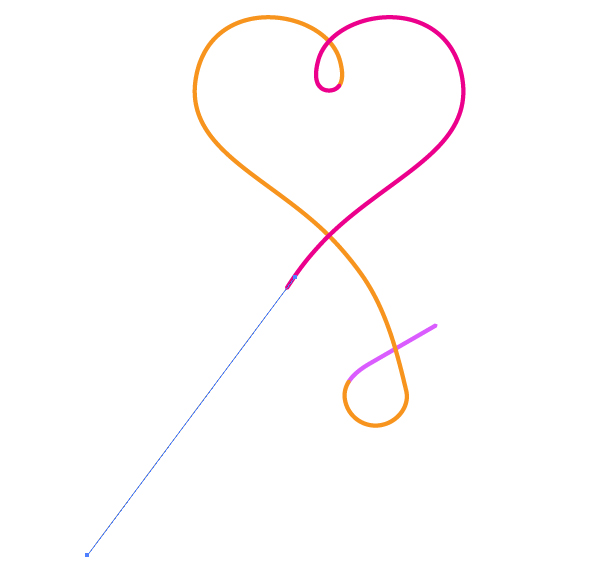
Use the next scaling image as a reference for making the path’s conjunction.

Go to Object > Transform > Rotate, set the value for the angle as you see it in the diagram below.
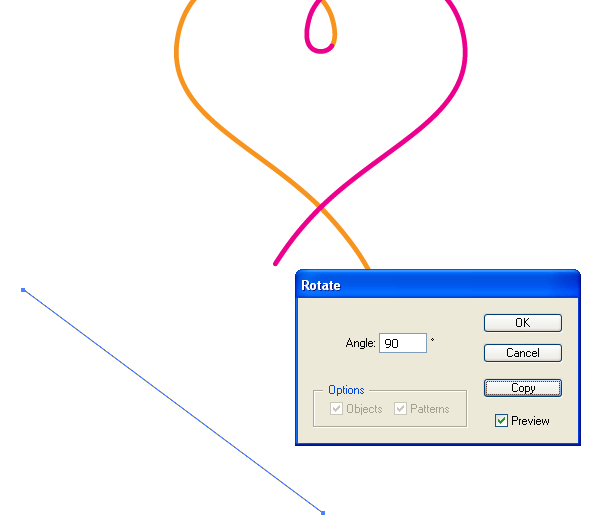
And click the “Copy” button. After that, place both lines as shown, and lock them in the Layers palette. These two lines will be our guidelines for making the metal part of the stethoscope.
Step 3
Grab the Pen Tool (P) and create the following green path.
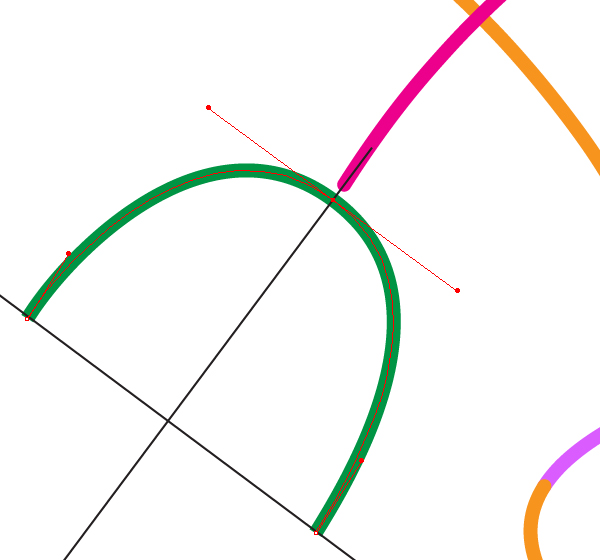
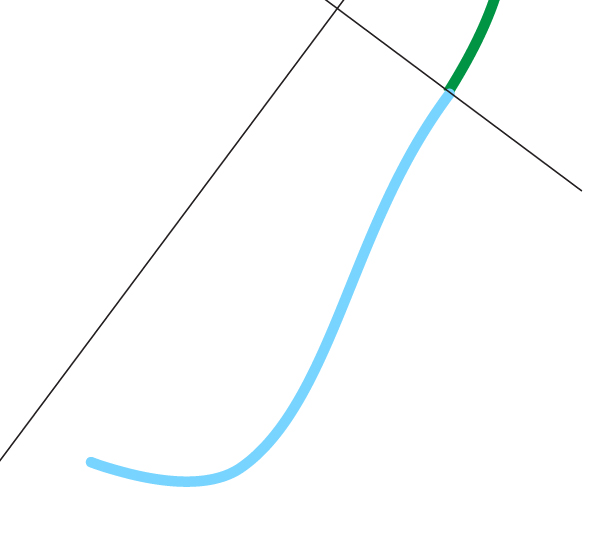
Then draw a new light blue path as an addition to the green one. See the image below for reference.
Step 4
Take the Rectangle Tool (M), draw a rectangle and fill it with violet.

Take the Direct Selection Tool (A), select both right anchor points,…
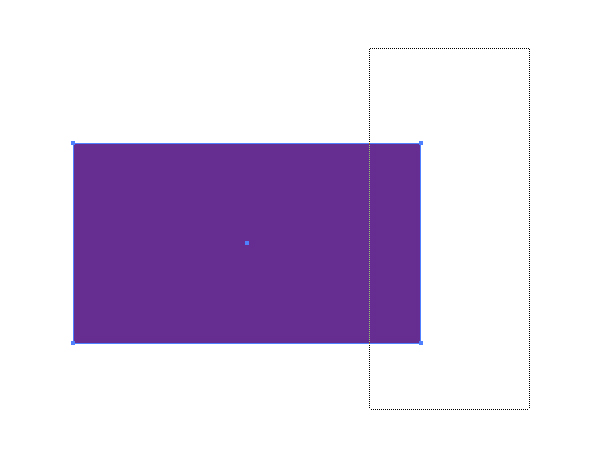
…go to Object > Transform > Scale, and shape it to a trapezium. Follow the diagram below.
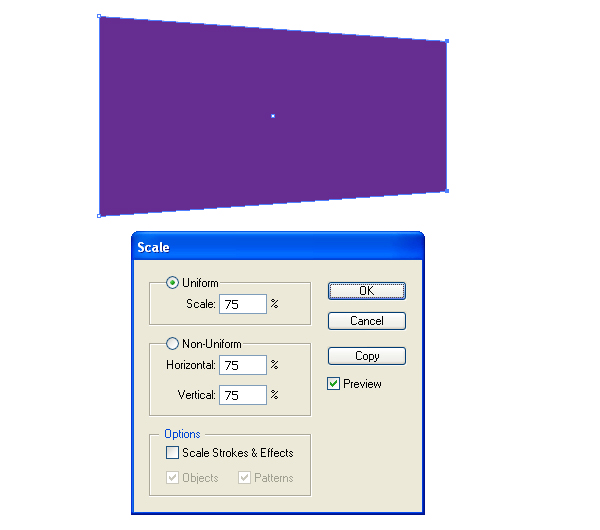
Now select both the left anchor points and convert them to Smooth.
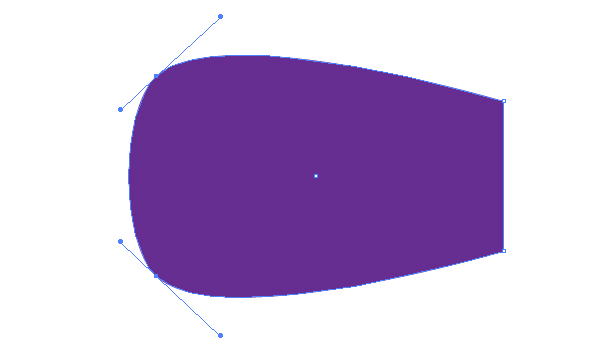
Place the ear end of the stethoscope on its place.
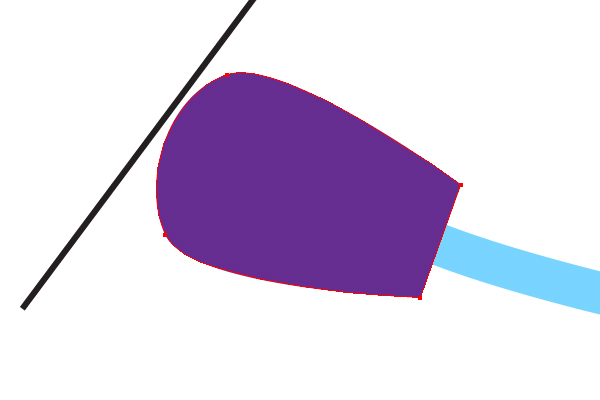
Step 5
Create another end of the stethoscope relative to the guideline.
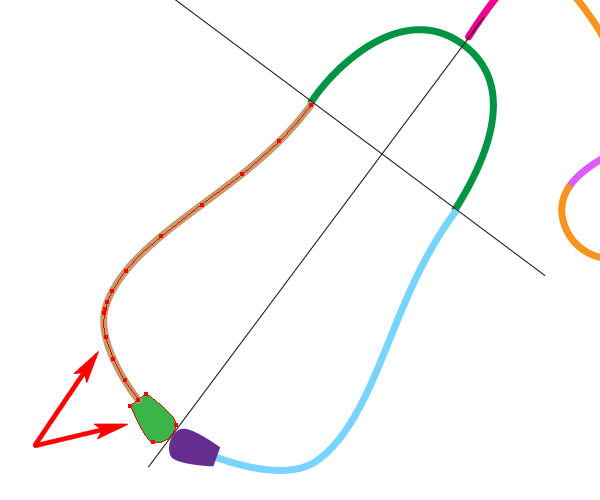
Create a brown circle with the Ellipse Tool (L).
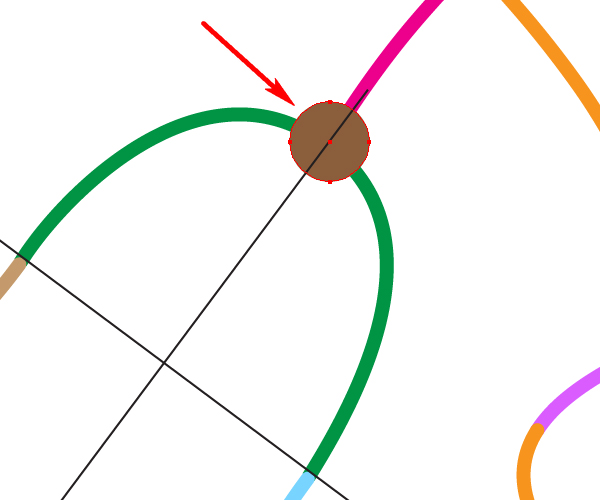
After that you may delete or make invisible the inclined guidelines.
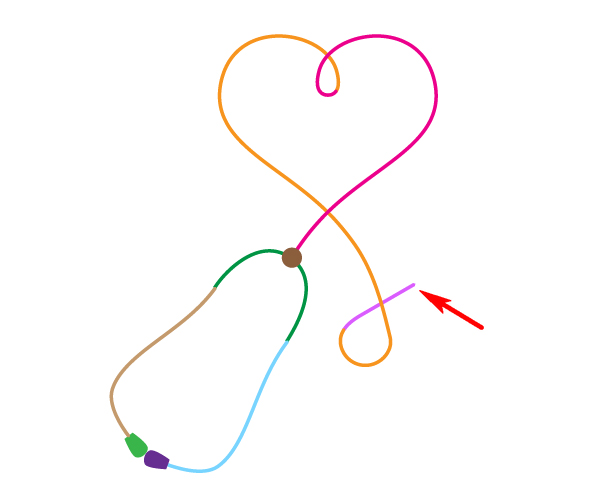
And let’s work on the second end of the stethoscope pointed by an arrow on the diagram above.
Step 6
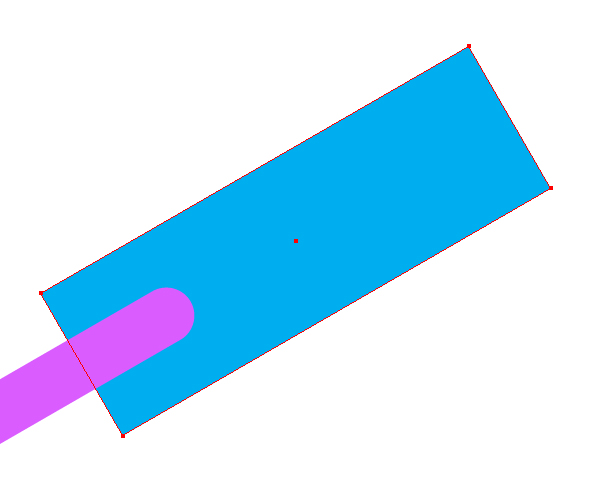
Construct a rectangle, fill it with light blue, and rotate it by going to Object > Transform > Rotate.
Make a circle filled with dark green.
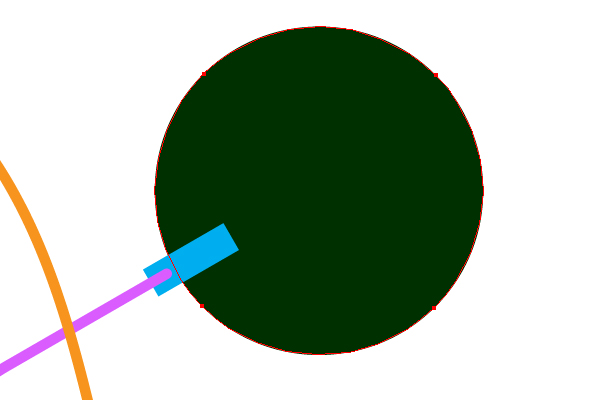
Go to Object > Transform > Scale and insert the decreased copy of this circle. Change the fill color of it.
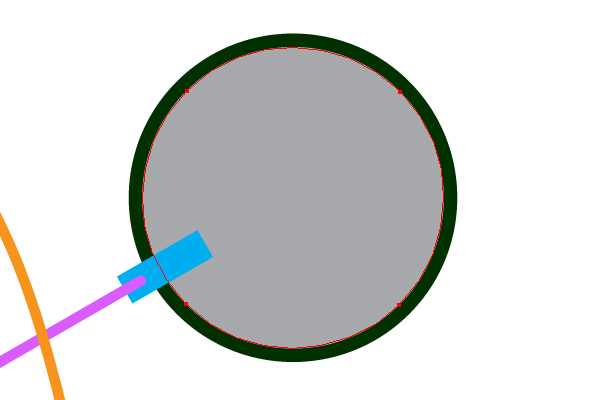
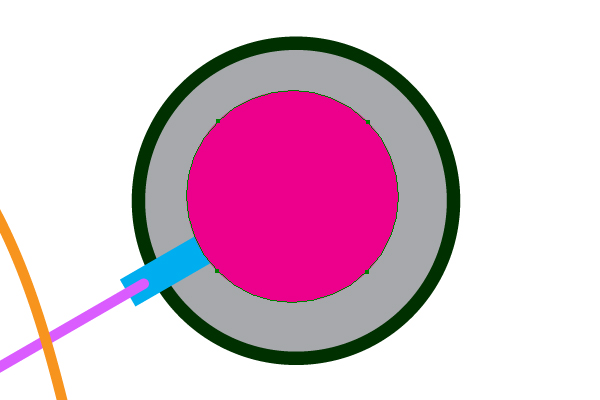
Create a crimson circle, move it upward and leftward slightly.
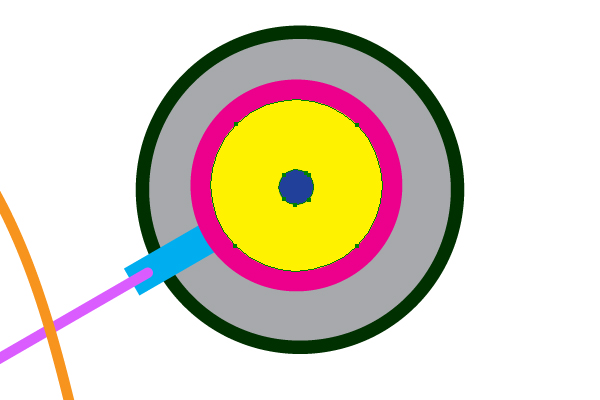
Construct yellow and blue concentric circles.
Step 7
Increase the Stroke Weight of the orange path in order to represent a rubber tube thickness.
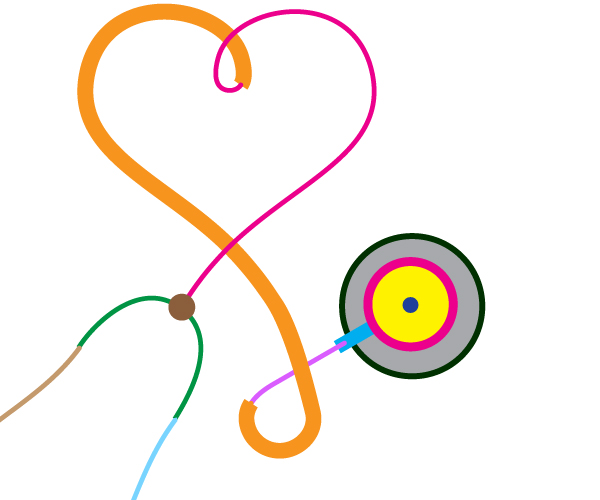
Do the same action with other paths.
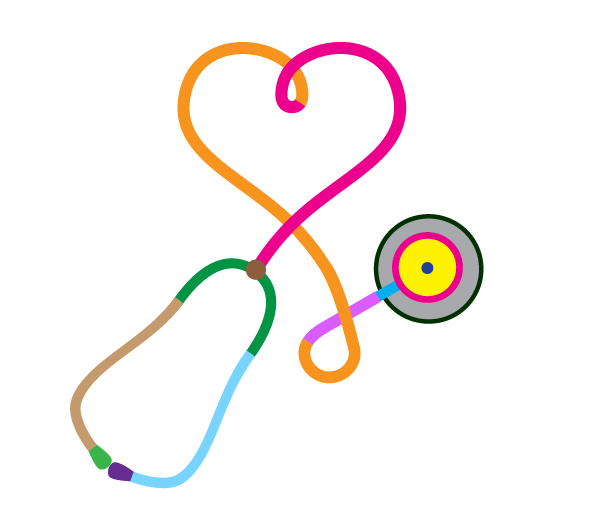
Step 8
Place the orange path under the heliotrope one.
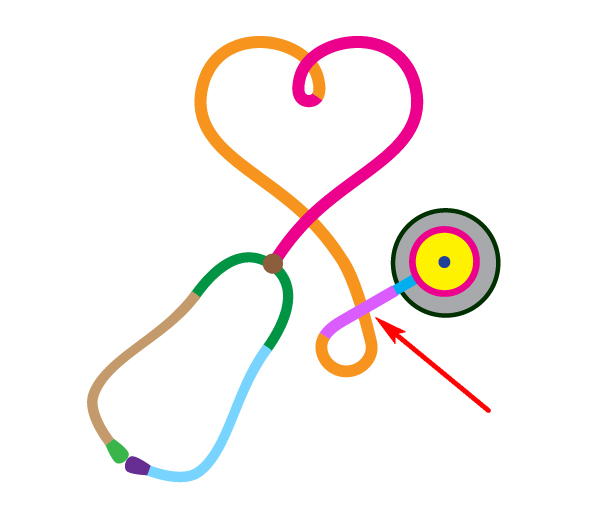
Then select the heliotrope path,…
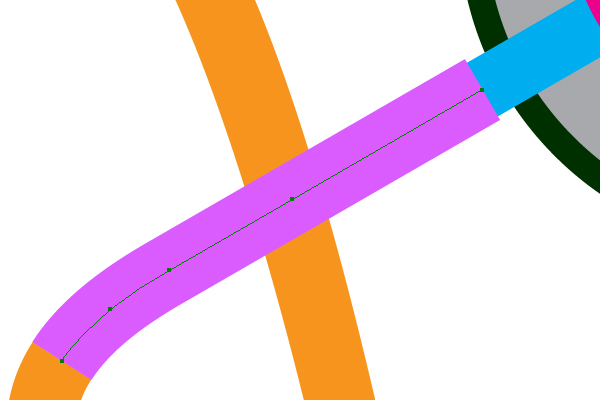
…and go to Object > Expand.
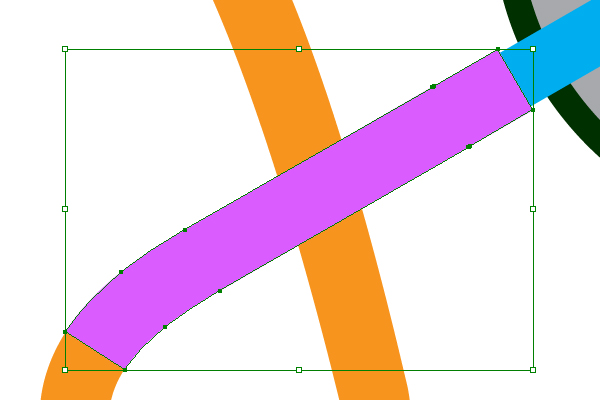
Expand the orange and crimson paths also.
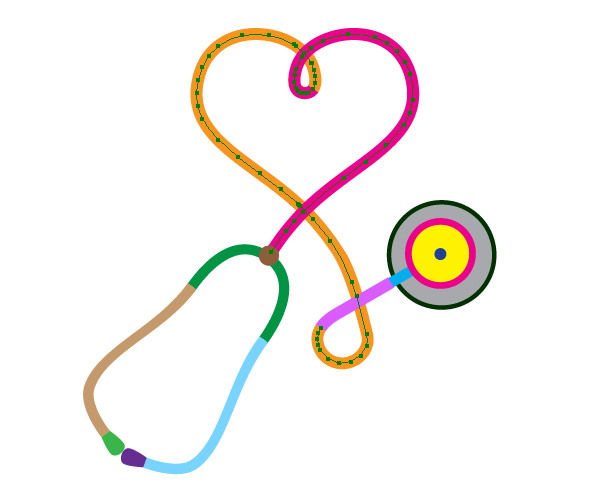
Then select three just expanded paths that form a rubber tube, copy them and paste them in front (Command + C then Command + F), go to the Pathfinder palette and click there the Unite button.
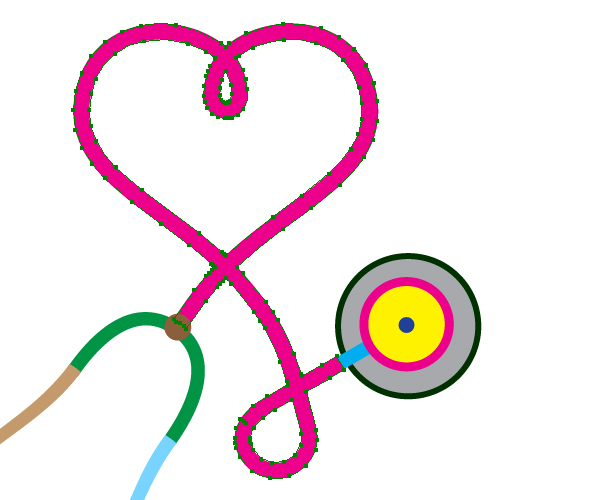
Name this compound path “Main path.” Make it invisible in the Layers palette.
Step 9
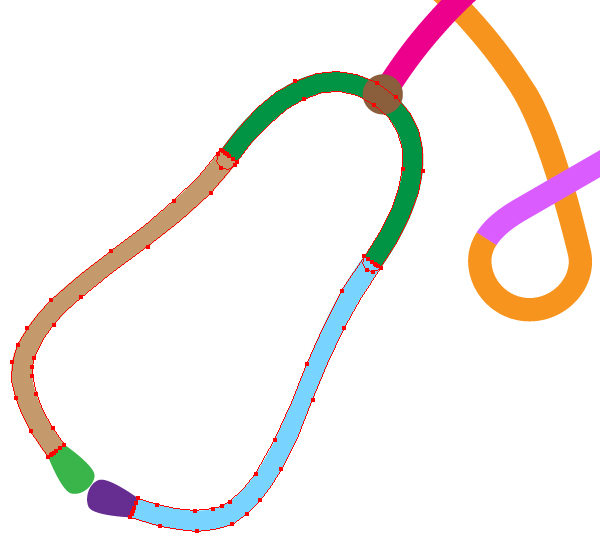
Expand the left end of the stethoscope (green, light blue, and light brown paths).
Step 10
Let’s edit the auscultation device of the stethoscope. Select the gray circle and fill it with the Radial gradient filling. The result should look something like the following.
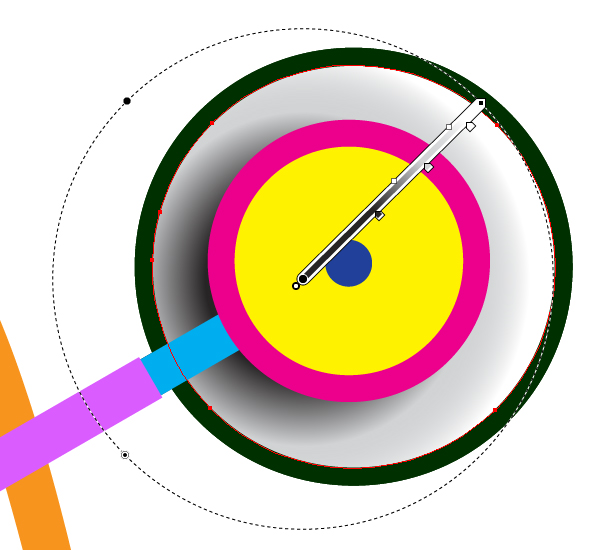
Select the light blue rectangular path and fill it with the Linear gradient.
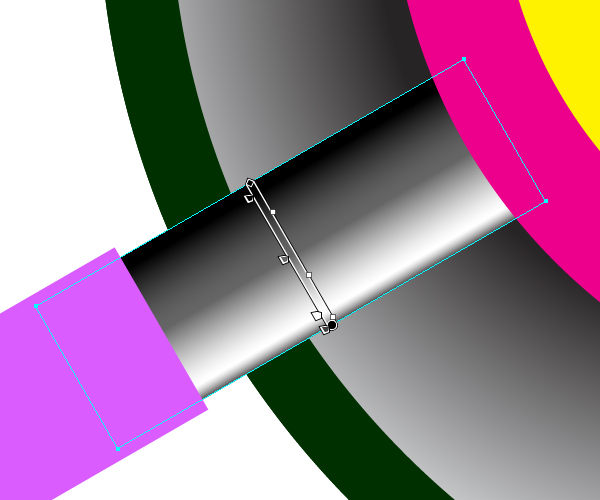
Select the yellow circle, and fill it with a dark color.
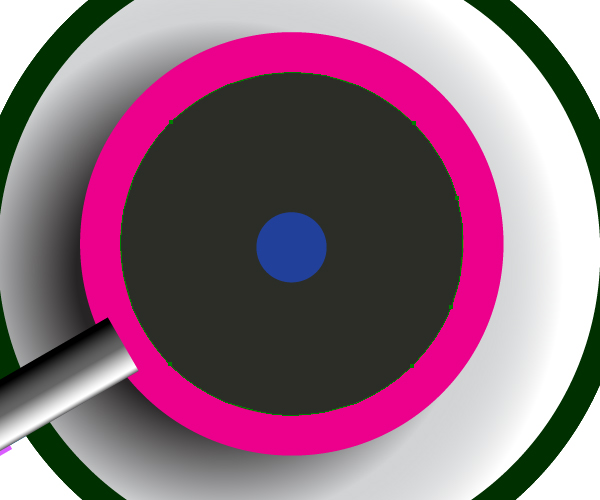
Let’s name it “Main circle.”
Step 11
Copy this circle and paste it in front (Command + C then Command + F). Extend it by going to Object > Transform > Scale. Take the Pen Tool (P) and create the following (triangular green) path. Select both: the copy of the circle and the green path.
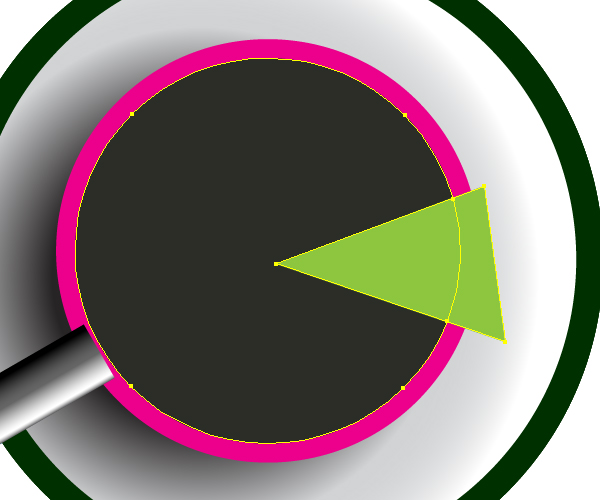
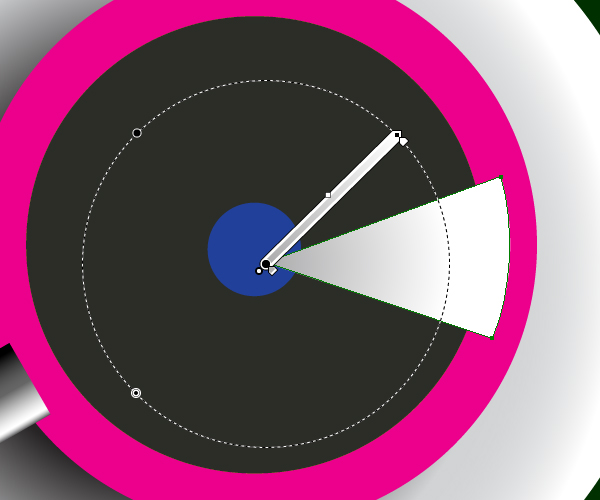
Go to the Pathfinder palette and click the Intersect button.

Fill it with the Radial gradient filling.
Step 12
Construct three ovals filled with the enumerated colors: the first smallest one is white, the second middle one is light gray, and the third biggest one is white again.
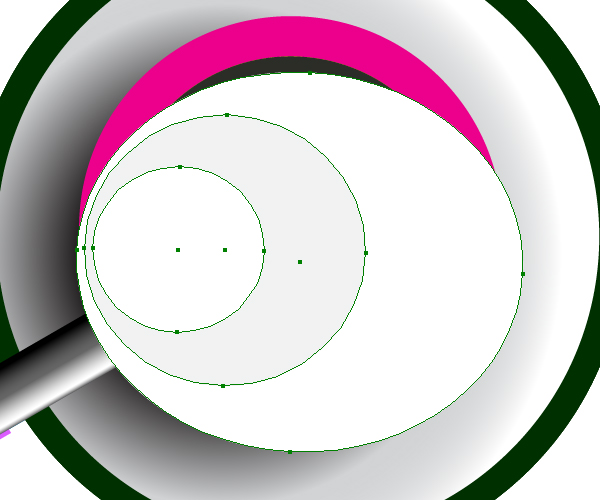
Set the Opacity of the biggest oval to zero.
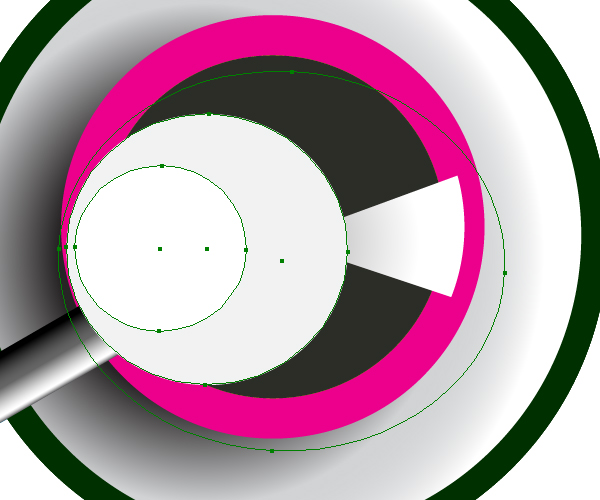
Go to Object > Blend > Blend Options and set the Spacing to “Specified steps” and the quantity of steps to 35.
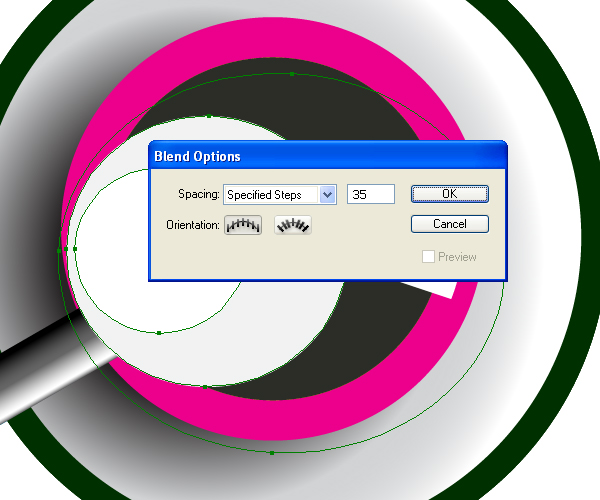
Go to Object > Blend > Make (Command + Alt + B).
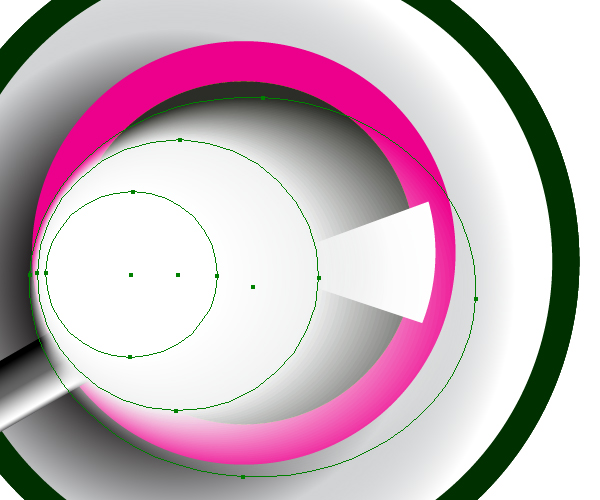
Copy the crimson circle and paste it in front (Command + C then Command + F).

Select both: the crimson circle copy and the blend…
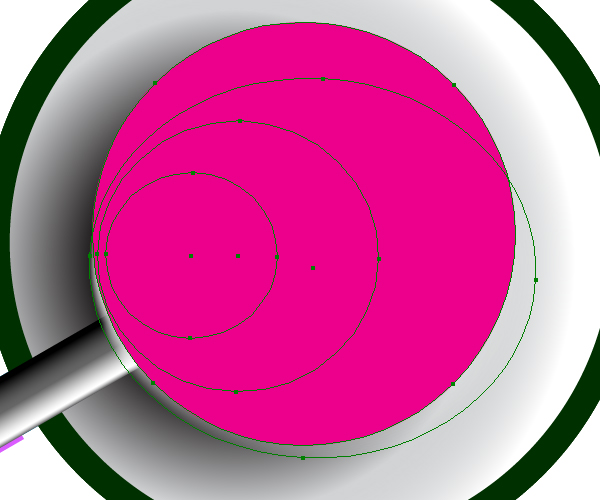
…and go to Object > Clipping Mask > Make (Command + 7).

Step 13
Select “the Main circle” copy it and paste in front (Command + C then Command + F). Select this copy and the crimson circle.

And go to Object > Compound Path > Make (Command + 8). Fill it with the Radial gradient filling.

Step 14
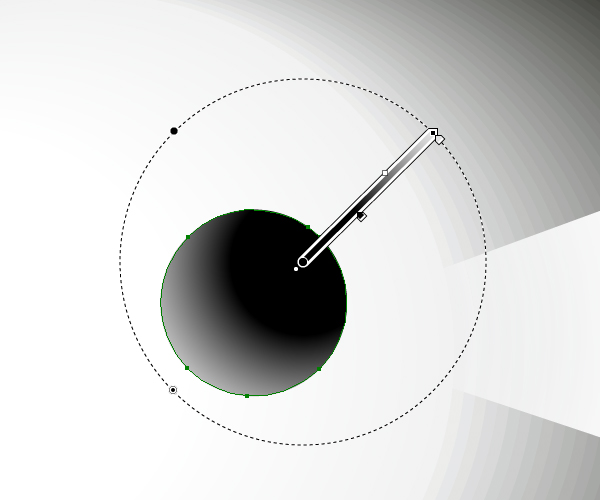
Select the blue circle, place it on the top in the Layers palette.

And fill it with the Radial gradient filling.
Step 15
Take the Ellipse Tool (L), draw an elongated ellipse, set the Stroke of it to None, select simultaneously the left and right anchor points of it with the Direct Selection Tool (A), and convert them to corner type of the anchor points.

Drag and drop it into the Brushes palette as an Art brush. Set the Direction of brush stroke from left to right in the brush options window. Let’s name this brush “Brush1.” Then take the Pen Tool (P) and draw the path, which is shown on the diagram below.
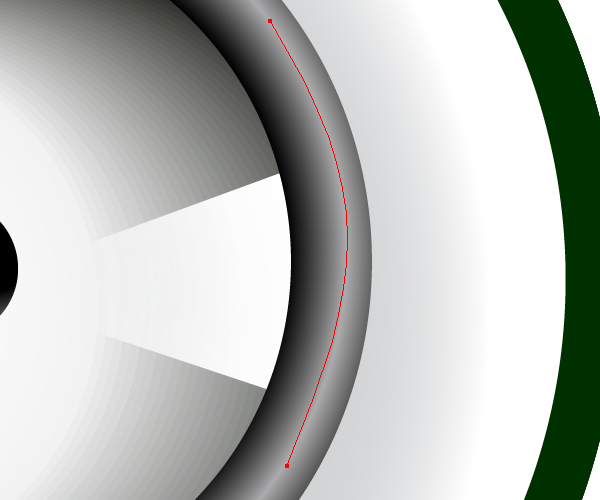
Apply the “Brush1,” which has just been made to this path. You may change the Stroke Weight of the brush as you like. Go to Object > Expand Appearance.
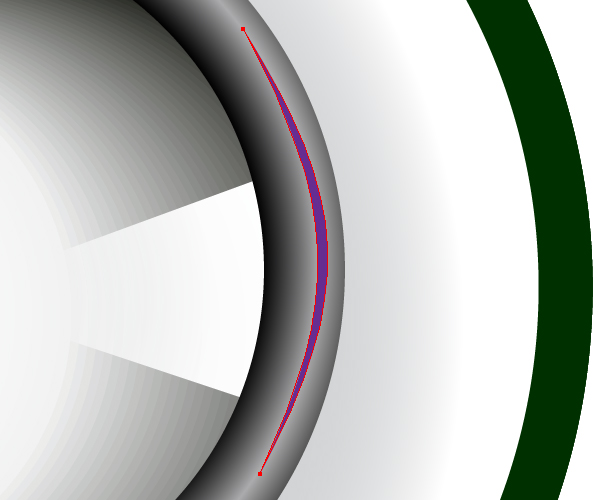
Then fill it with the Radial gradient filling.
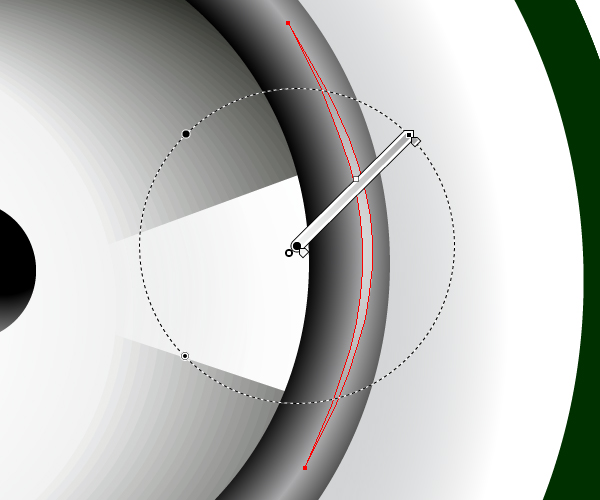
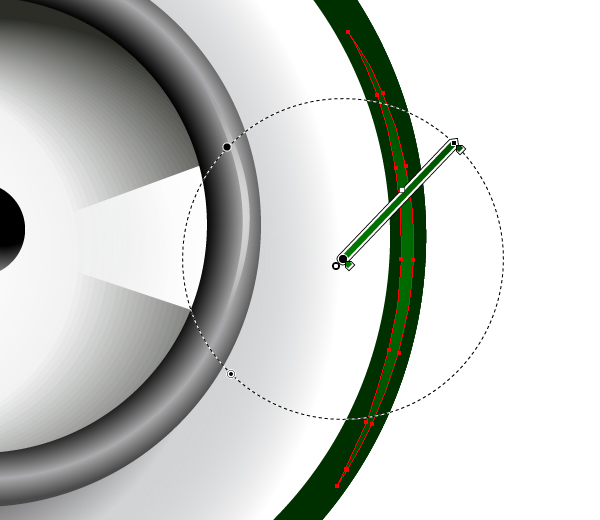
Create another path filled with the Radial gradient filling.
Step 16
We will use the Gradient Mesh to make a chiaroscuro on the tube. The three created paths of the tube (1. heliotrope, 2. orange and 3. crimson) will be used as templates, so it is better to lock them in the Layers palette.
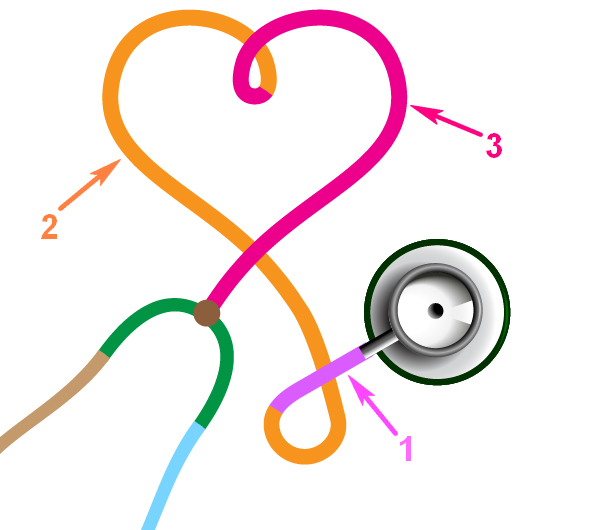
Since the tube represents a crossover path, we will use three gradient meshes. Let’s proceed to the creation of the first one. Take the Rectangle Tool (M) and create a rectangle with a height approximately equal to the thickness of the tube.
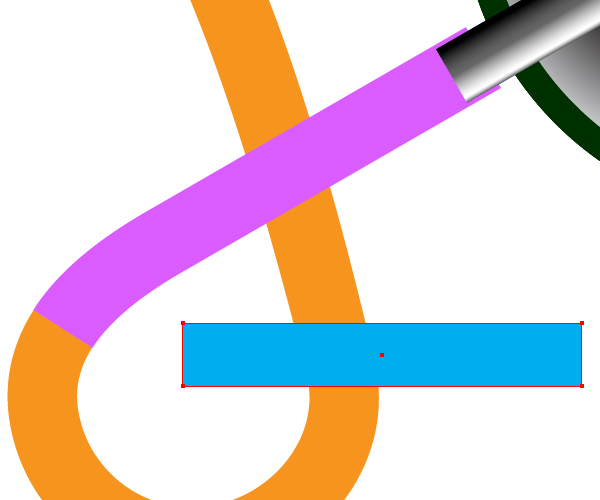
For convenience, change the Opacity of the rectangle in the Transparency palette.
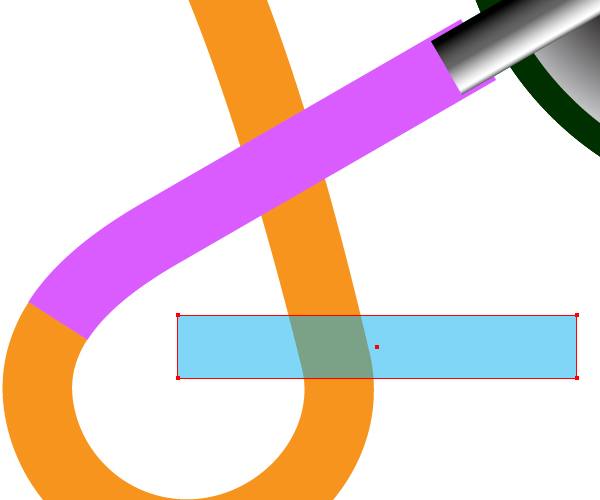
With the rectangle is selected, go to Object > Create Gradient Mesh and set the values of rows and columns in the dialog box.
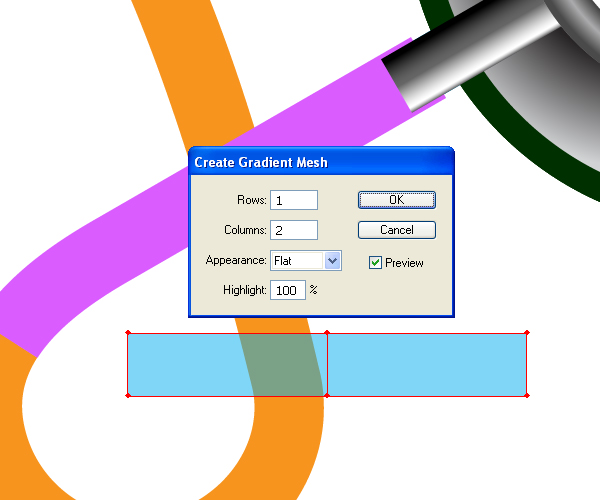
Step 17
Place the rectangle at the junction of two first paths (1. heliotrope, 2. orange). Rotate the rectangle, as shown in the figure below.
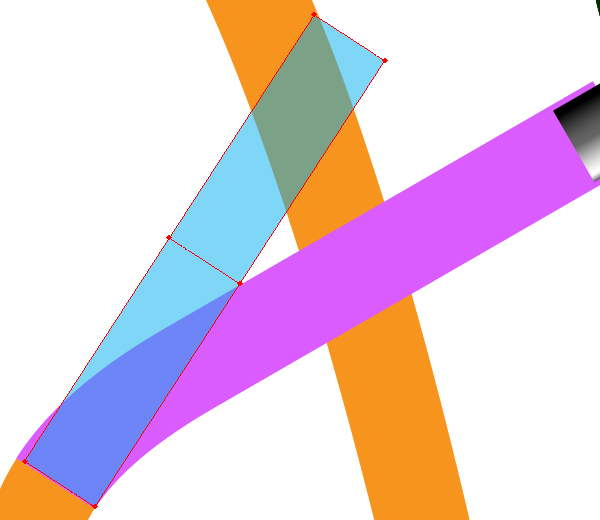
Now zoom into your work.
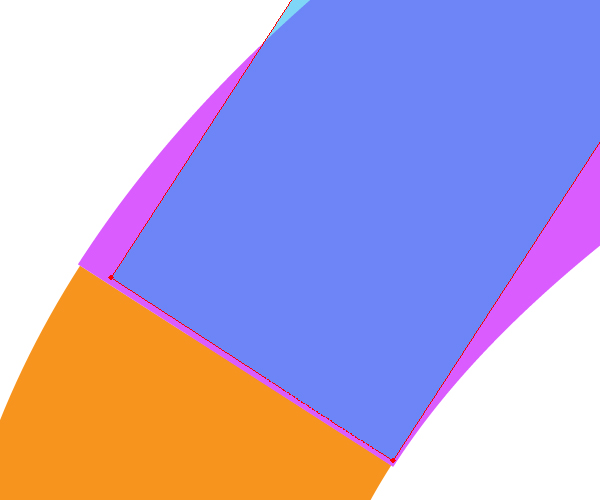
Grab the Direct Selection Tool (A), select the anchor points of the mesh and move it to coincidence with the angles of the heliotrope path. Try to do it as exactly as possible.
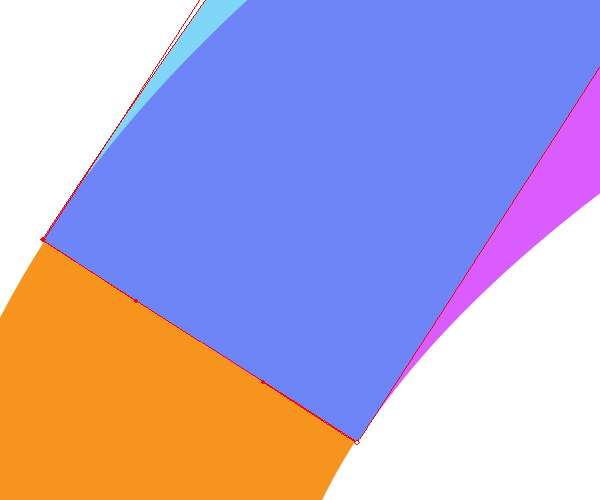
Step 18
Take the Lasso Tool (Q) and select all the nodes of the gradient mesh except for the two bottom ones.
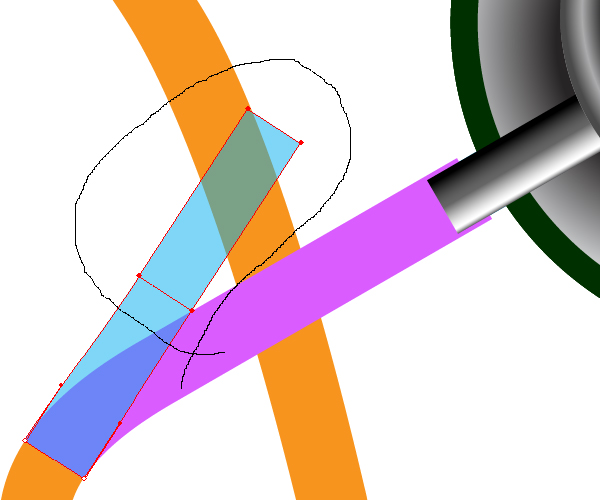
Now take the Direct Selection Tool (A) and drag the left center point of the mesh grid to the border of the tube.
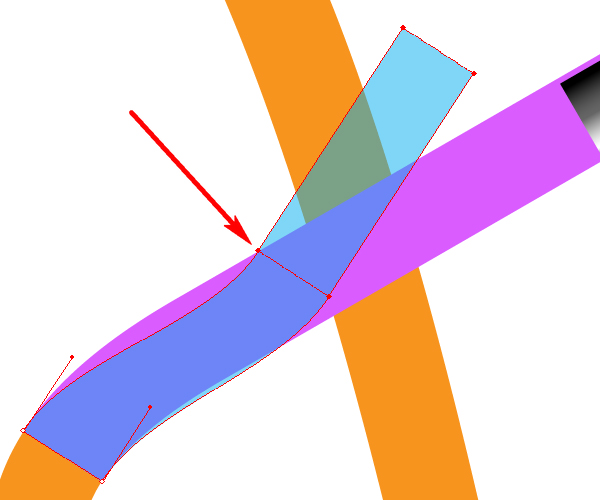
Take the Rotate Tool (R), set the center of rotation at the point shown by an arrow in the diagram above. Then make a rotation, as is shown in the figure below.
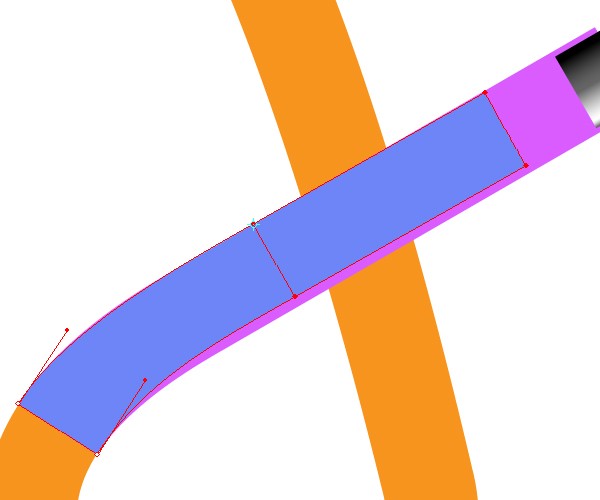
Operating the handles of the nodes, move the mesh grid lines to the template of the tube.
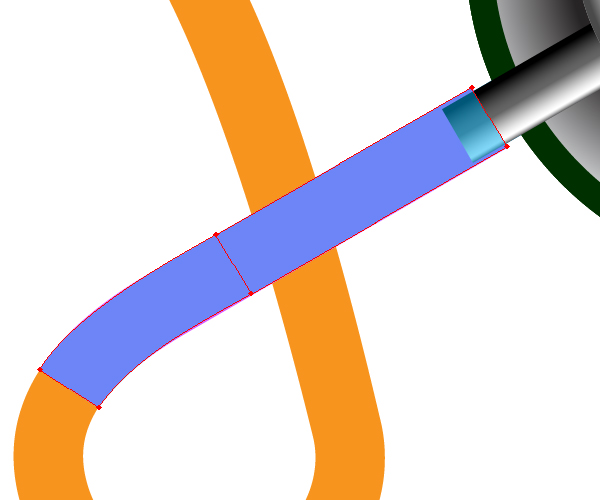
Step 19
Take the Mesh Tool (U) and add two gradient lines to our mesh.
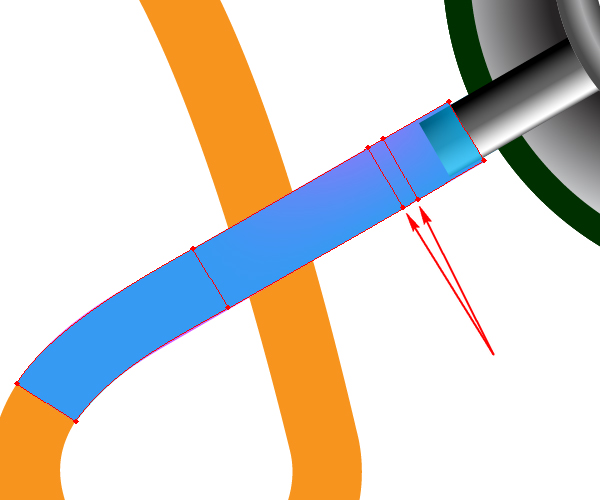
Take the Lasso Tool (Q) and select the four rightmost anchor points of the mesh (all the other work is locked in the Layers palette).
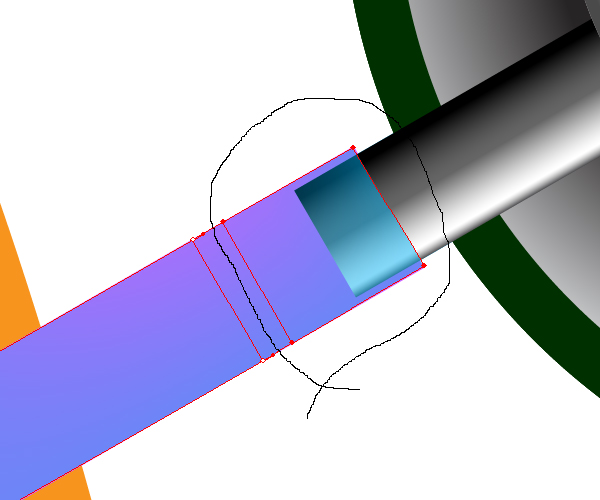
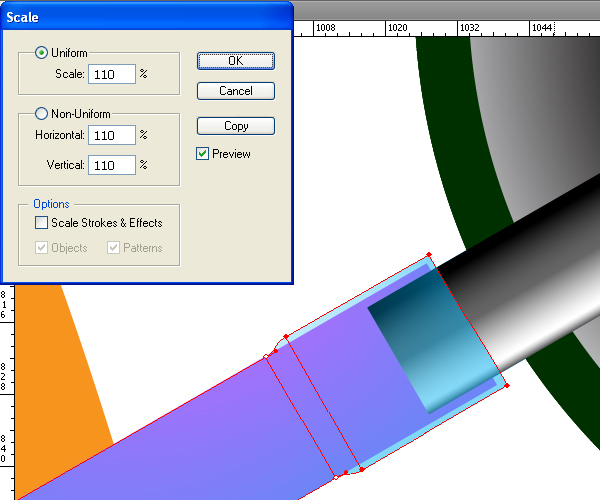
Go to Object > Transform > Scale and increase the distances between these anchor points. The helping diagram is below.
Step 20
Add now a new mesh line.
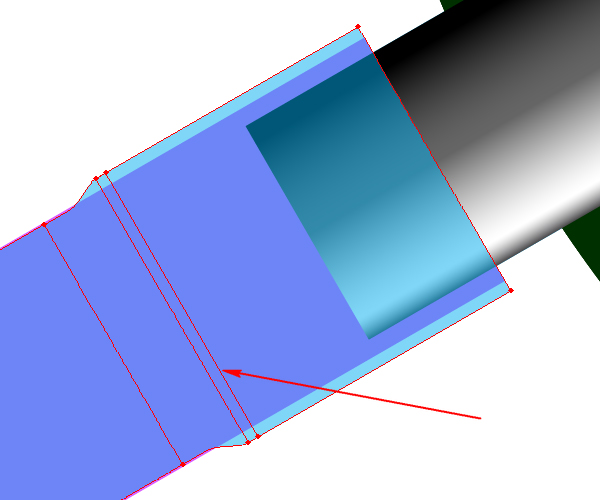
Add also several longitudinal mesh lines using the Mesh Tool (U), and set the Opacity of the mesh to 100%.
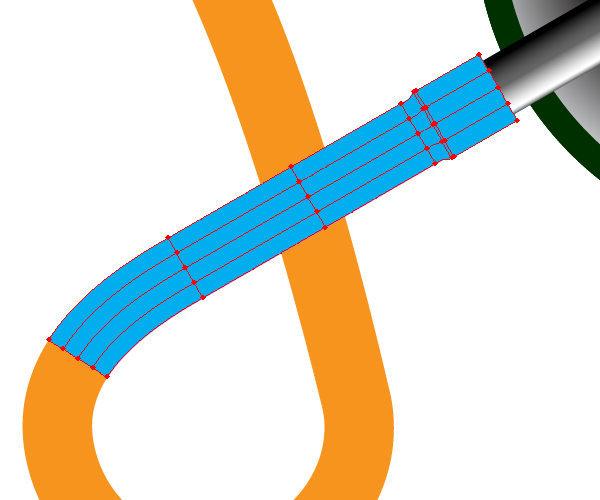
Step 21
Colorize the mesh to the shades of the cherry color.
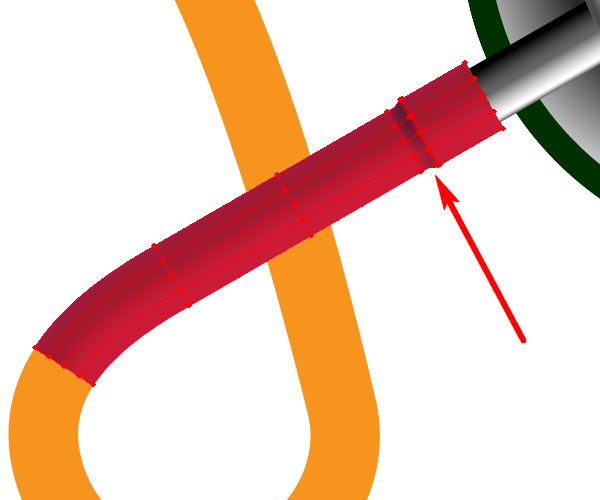
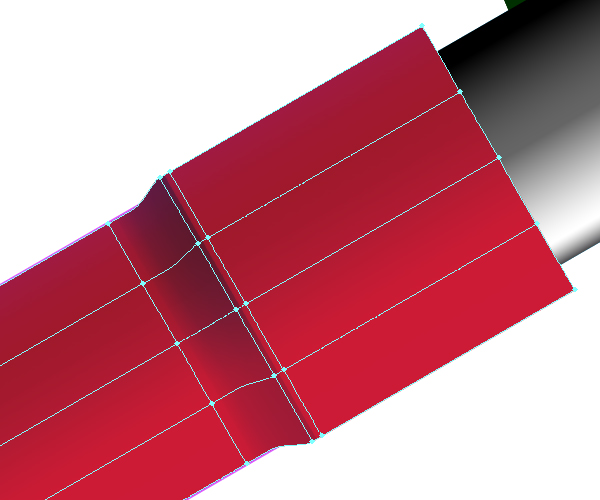
Pay attention to the area pointed by an arrow. It is shown zoomed in the diagram below. The center mesh line has darker hues of the color.
After that you may delete or make invisible the first heliotrope template.

Step 22
The second gradient mesh for the orange template is being created similarly.

We would like to only give you several advices:
1. The colors of the mesh junction points must coincide with each other. In other words, the colors of the indicated anchor points of the second mesh must be the same as the colors of the corresponding anchor points of the first mesh. See the diagrams for reference.
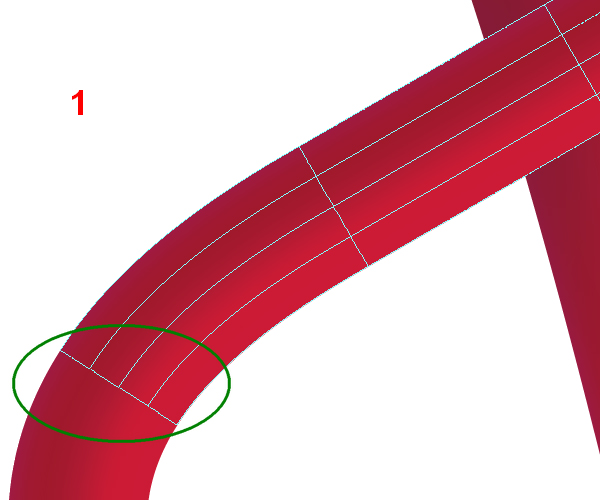
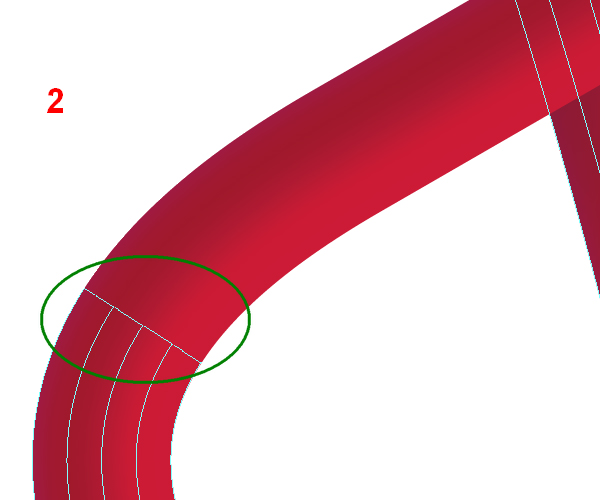
2. The tube parts lying under tube itself are shaded.
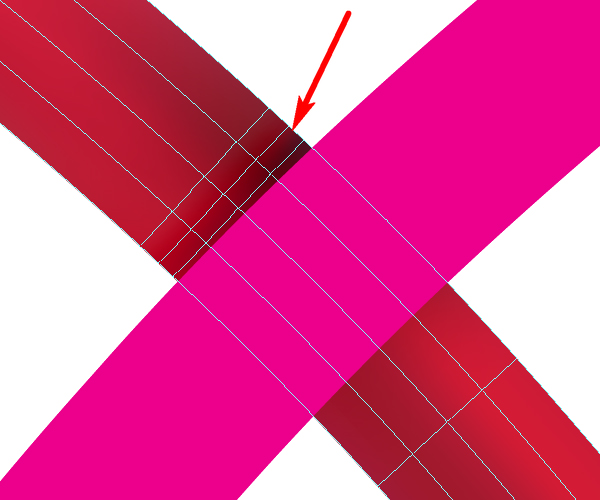
3. If you are unable to repeat the orange template using the existing nodes of a translucent mesh, you may create additional lines of the grid using the Gradient Mesh Tool (U).
Step 23
Using the described technique, create the third part of the gradient mesh (for the crimson path).


Step 24
Create the metallic parts of the stethoscope the same way.
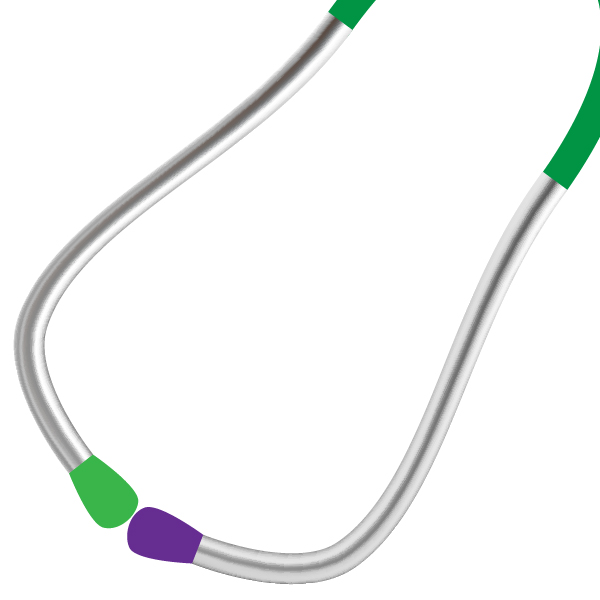
Take the Mesh Tool (U), and click on the right metal part. Set a dark color to the anchor point.
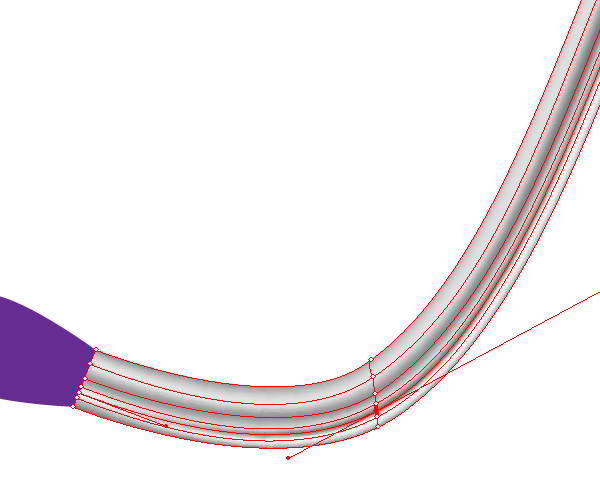
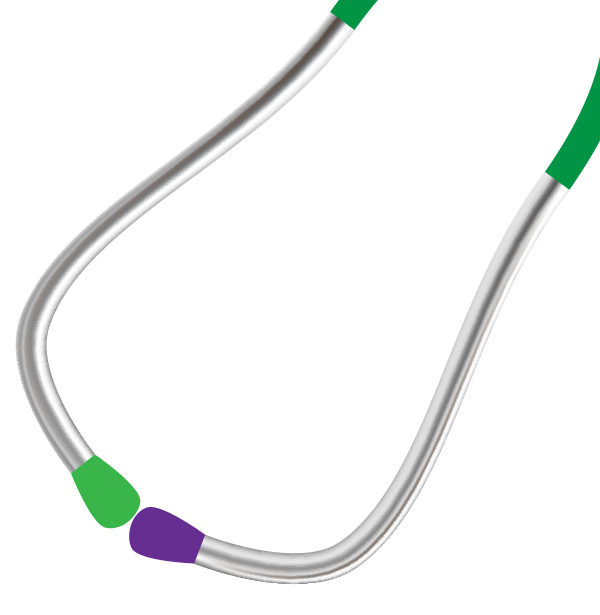
Fill the ear parts of the stethoscope (two end parts) with the Radial gradient filling. The results should look like the images below.
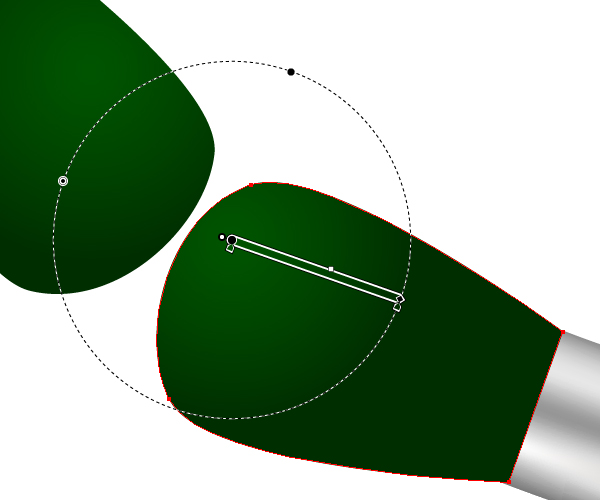
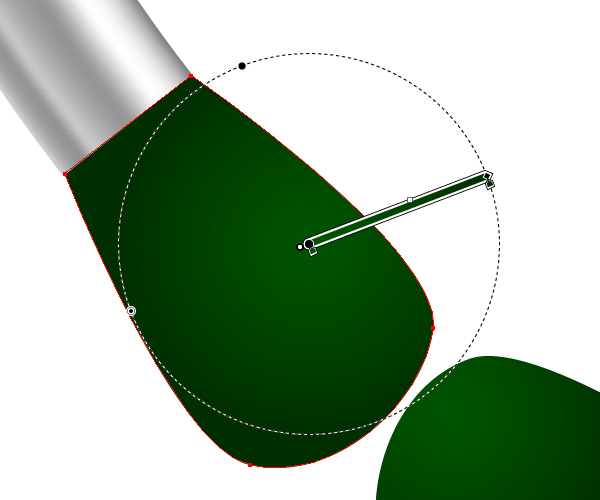
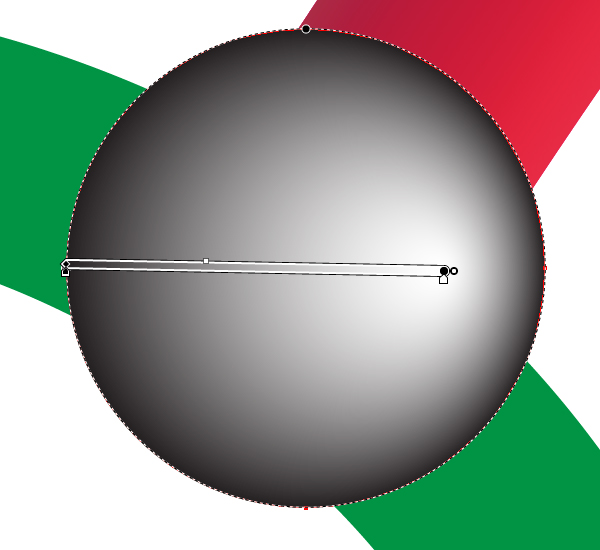
Now select a round brown path.
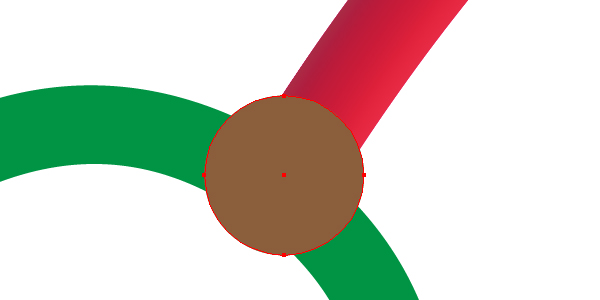
And fill it with the Radial gradient.
Step 25
Take the Ellipse Tool (L) and draw an elongated elliptical path. Set the Stroke of it to None. Fill this path with any color. Then take the Direct Selection Tool (A), select the rightmost anchor point of this path and convert it to corner.
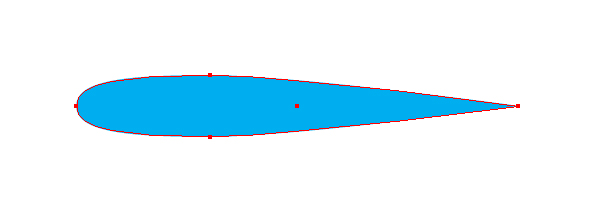
Drag and drop this path into the Brushes palette. Select the Art Brush option in the dialog box. Set the items for the brush, as shown in the diagram below.
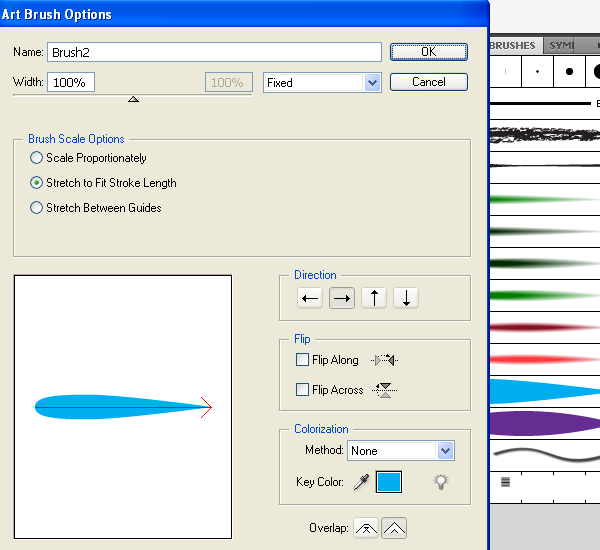
Let’s name this brush “Brush2.”
Step 26
Take the Ellipse Tool (L), draw an elongated ellipse, set the Stroke of it to None, select simultaneously the left and right anchor points of it with the Direct Selection Tool (A), and convert them to corner type for the anchor points. Fill this path with a cherry shade color.

Copy it and paste in front (Command + C then Command + F). Decrease the dimensions of it by going to Object > Transform > Scale. Fill it with a lighter hue of cherry color.

Set the Opacity of the biggest path to zero. Go to Object > Blend > Blend Options and set the Spacing to Specified Steps and the number of steps to 50. Then select both: the biggest and the smallest paths and go to Object > Blend > Make (Command + Alt + B).

Drag and drop this blend into the Brushes palette. Select the Art Brush option in the dialog box. Set the items for the brush as shown.
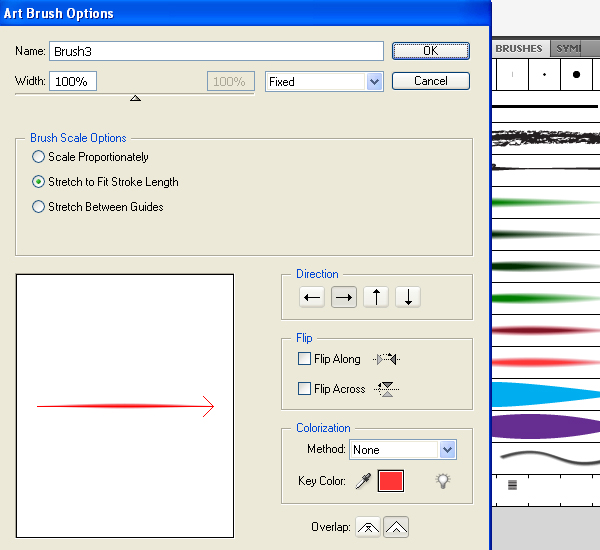
Let’s name this brush “Brush3.” Using the described technique, create the next brush (name it “Brush4″) with a darker color.

Step 27
Take the Pen Tool (P) and create a path on the top loop of the tube.
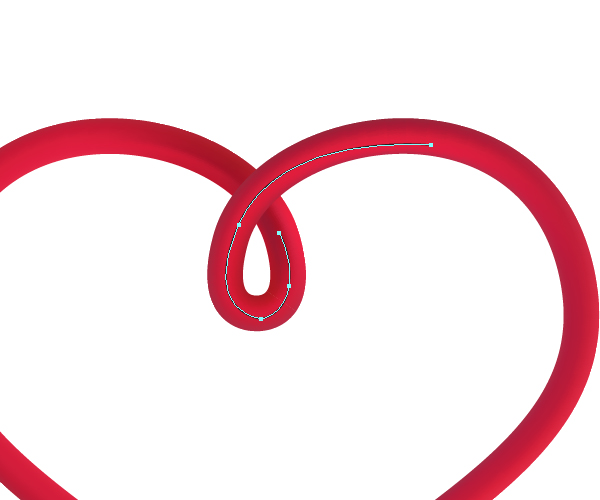
Apply the “Brush1″ to it.

Select this path and go to Object > Expand Appearance.
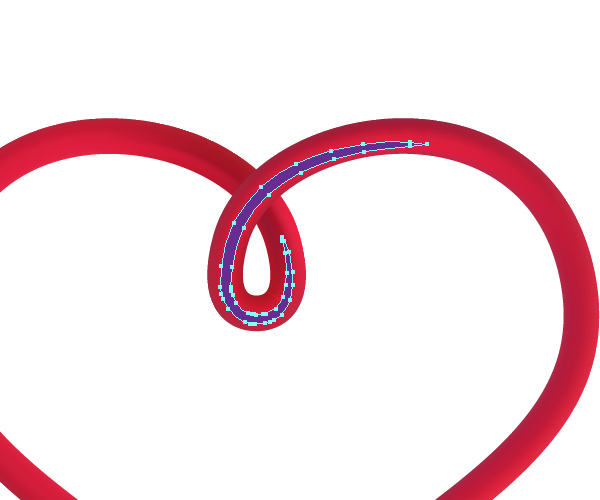
Take the Line Segment Tool (\) and draw the following path.
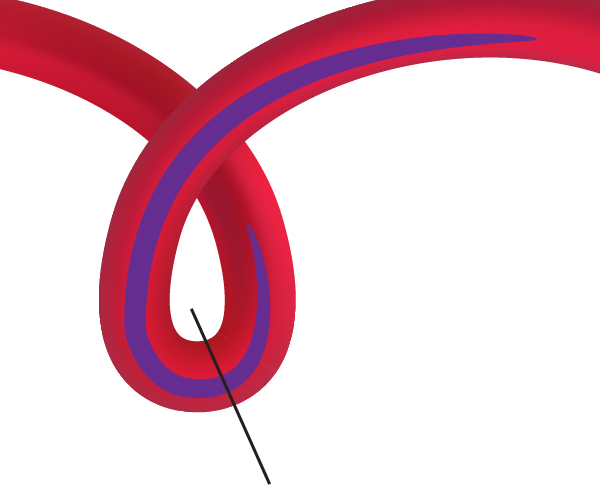
Select both: this line and the violet path, and go to the Pathfinder palette in order to click there the Divide-button. Then go to Object > Ungroup. After that select the right path and fill it with the Vertical gradient where the left color-stop opacity equals zero. The color of two color-stops is the same.
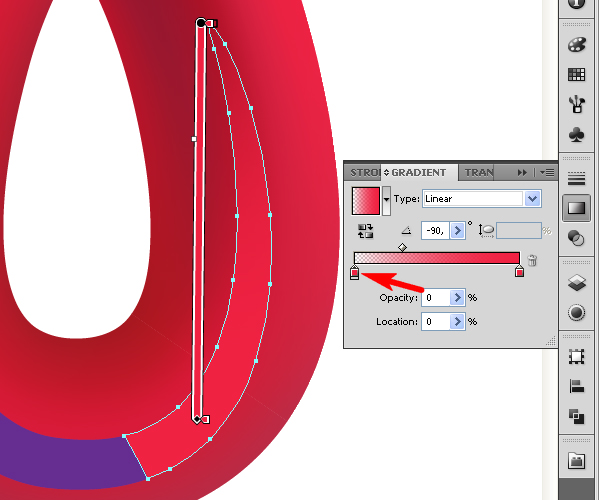
Now select the left path and fill it with the Linear gradient where the right color-stop opacity equals zero. The color of two color-stops is the same too.
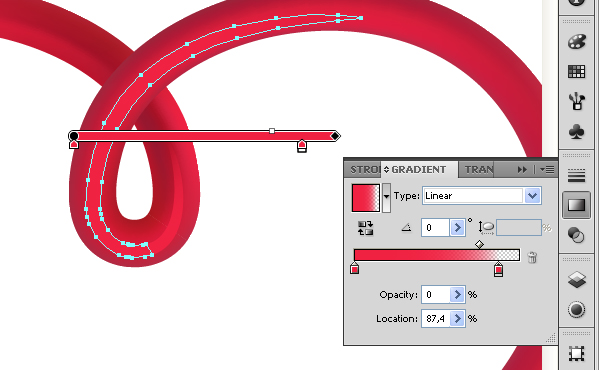
The light spot should look something like the following.

Step 28
Draw another light spot on the tube, by using a similar gradient and “Brush1.”
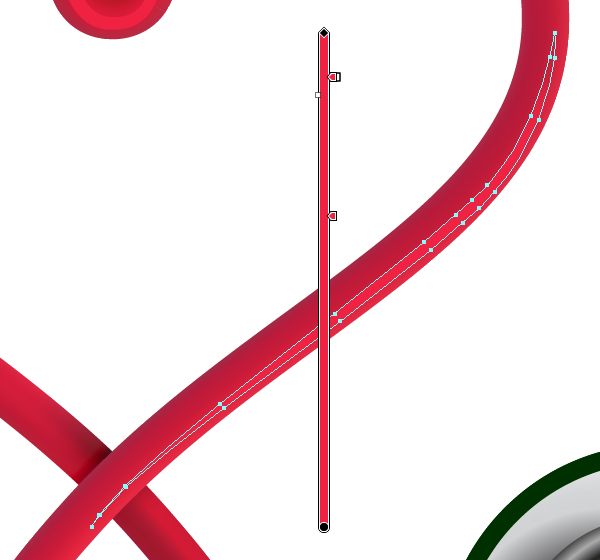
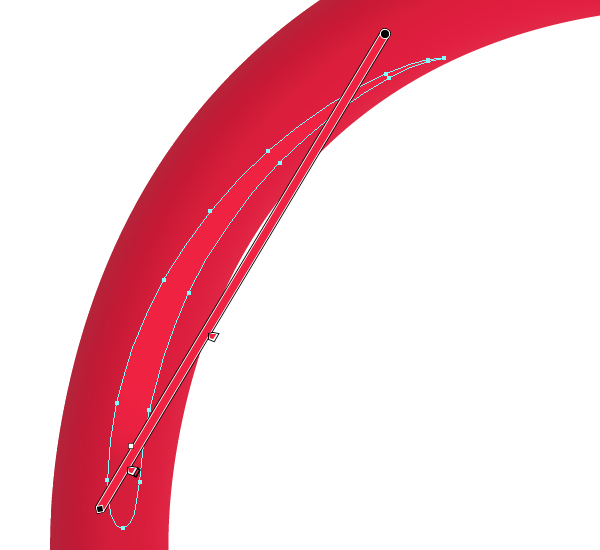
Create a new light spot using the same technique and “Brush2.”
Step 29
Draw a path and apply “Brush3″ to it. Change the Opacity of the path. Do not worry now about getting out the applied brush from the borders of the tube. We will cut unnecessary parts soon.
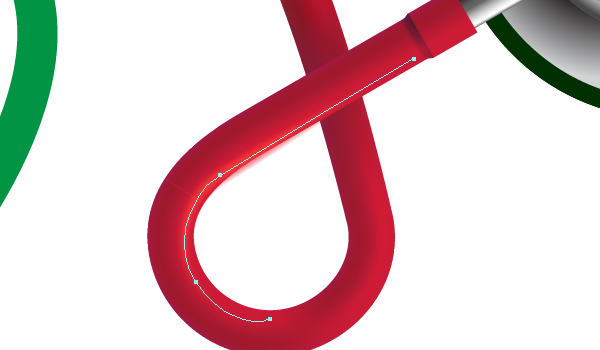
Create other paths and apply “Brush3″ to them too. Change the Opacity as well.

Make another path on widening the tube and apply the “Brush3″ to it also.
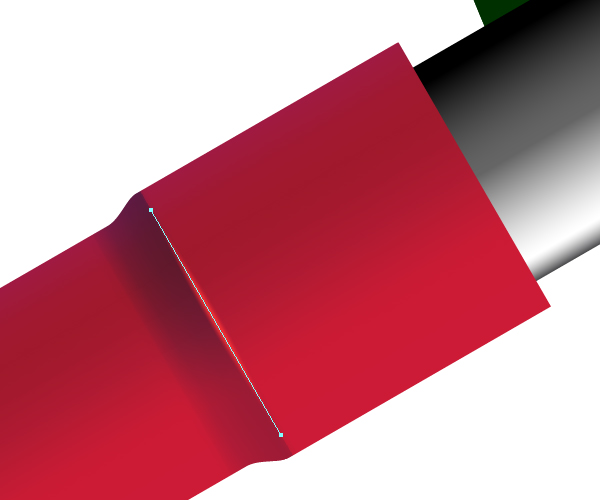
Apply “Brush4″ to the following path in order to represent shadows on the tube. Decrease the Opacities of these paths.

Step 30
Let’s now take the Compound path “Main path” (made in the eighth step) and place it over these paths (made in the twenty ninth step). Select all these paths and go to Object > Clipping Mask > Make (Command + 7).

Step 31
Grab the Ellipse Tool (L) and create an elongated ellipse. Set the Stroke of it to None. Fill it with a dark green color.

Select the leftmost and the rightmost anchor points of it and convert them to corner. Go to Object > Transform > Scale and set the reduced value of the percentage. Use the image below as a reference.
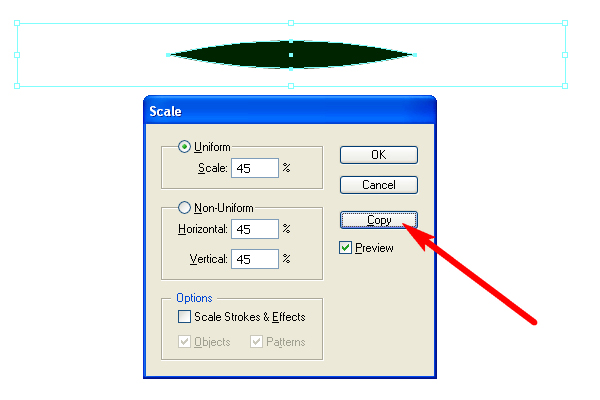
Click on the Copy-button.

Step 32
Take the Direct Selection Tool (A) and select two leftmost anchor points of these ellipses.

Press the Delete button on your keyboard.

Step 33
Close the paths by going to Object > Path > Join (Command + J) for every path.

Set the Opacity of the biggest path to zero.

Step 34
Go to Object > Blend > Blend options, and set the Spacing value to Specified steps and the number of steps to 50.
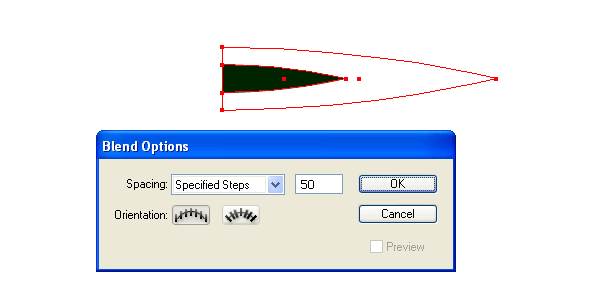
Then go to Object > Blend > Make (Command + Alt + B).

Step 35
Now drag this blend into the Brushes palette and drop it there. Select the Art Brush type in the Options window. Set the brush options as shown. And name this brush “Brush5.”
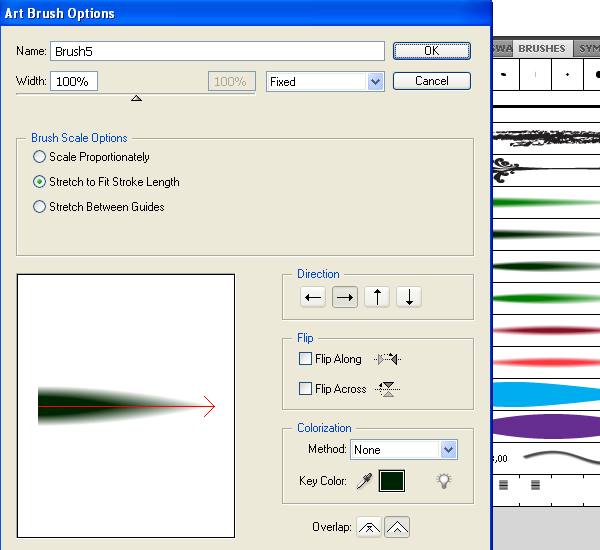
Create “Brush6″ using the same technique.
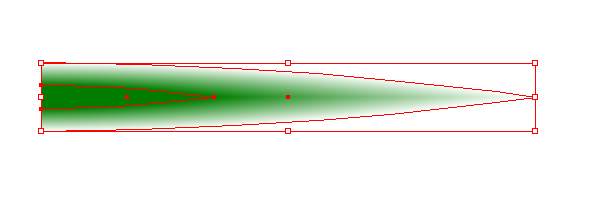
And create “Brush7.”

Step 36
Now select the green path.
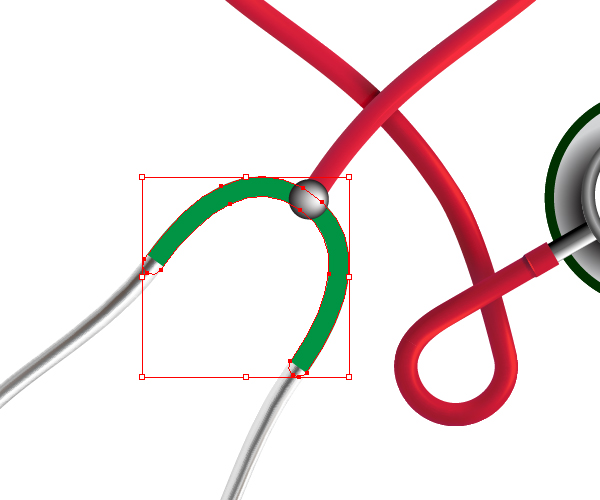
And divide it on two paths using the way described in the twenty seventh step.
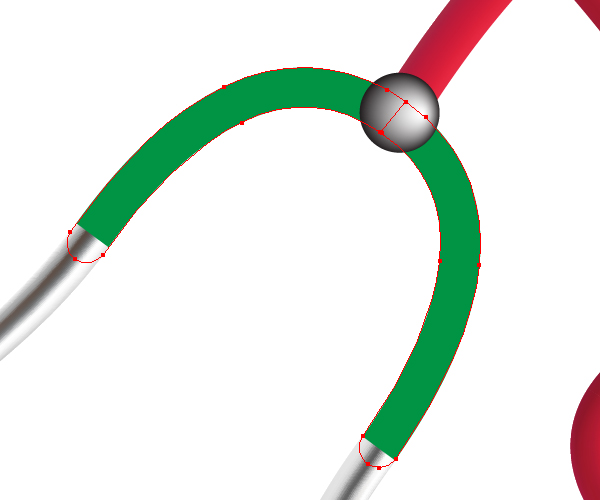
Select the right path and fill it with a Radial gradient.
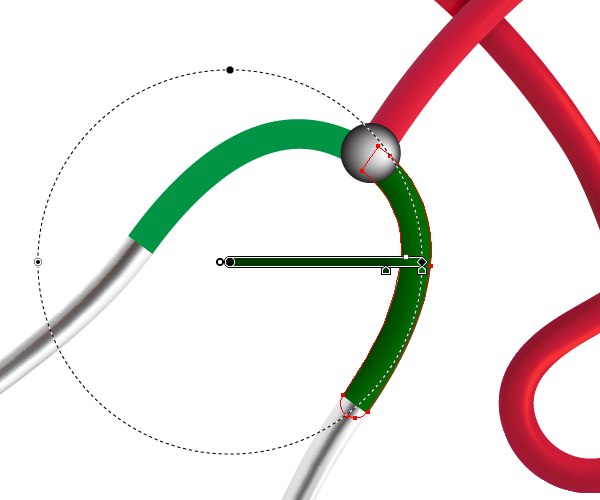
Select the left path and fill it with a Radial gradient too.
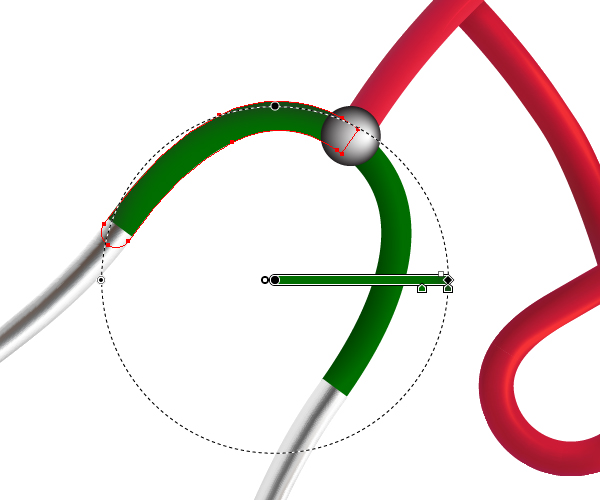
Step 37
Draw a path with the help of the Pen Tool (P).
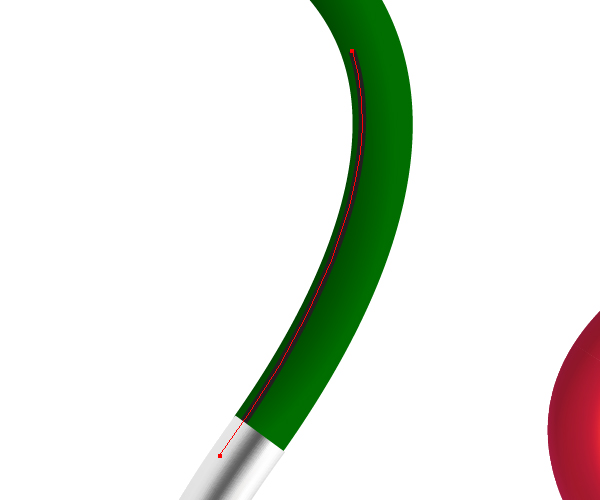
Apply “Brush5″ to it.
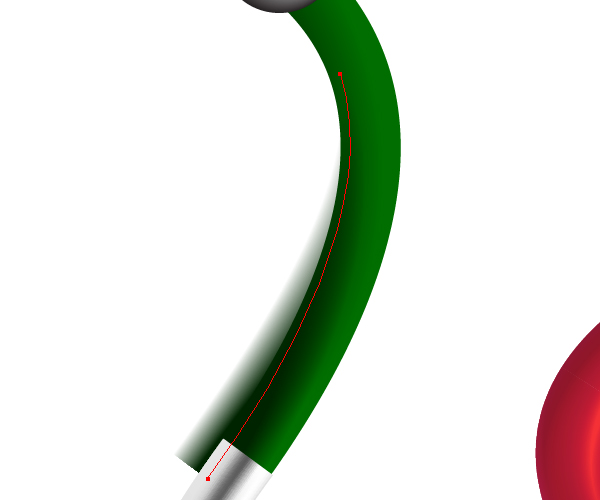
Decrease the Opacity of it.
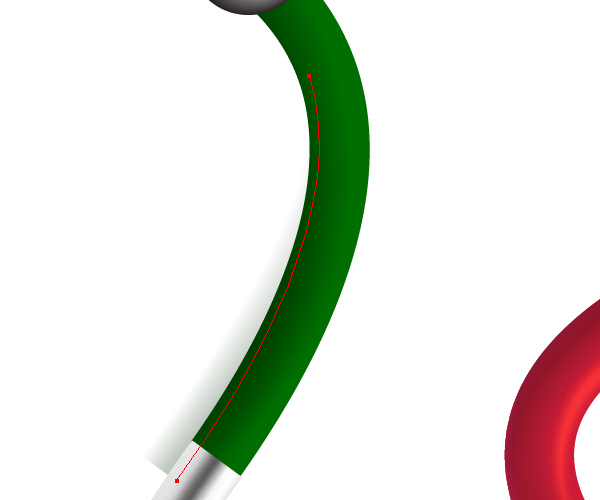
And decrease the Stroke Weight.
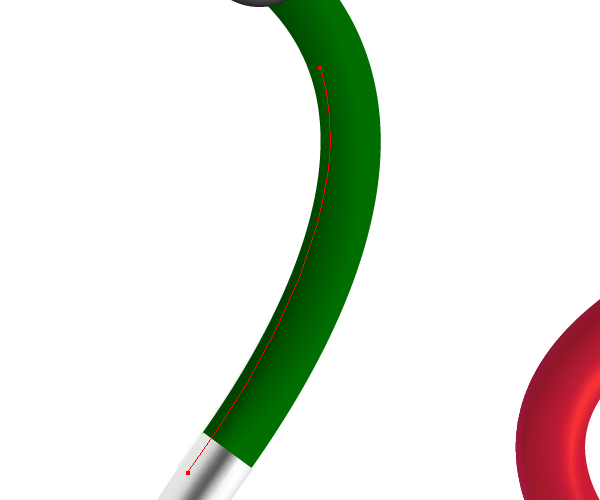
Step 38
Do the same with the second path.
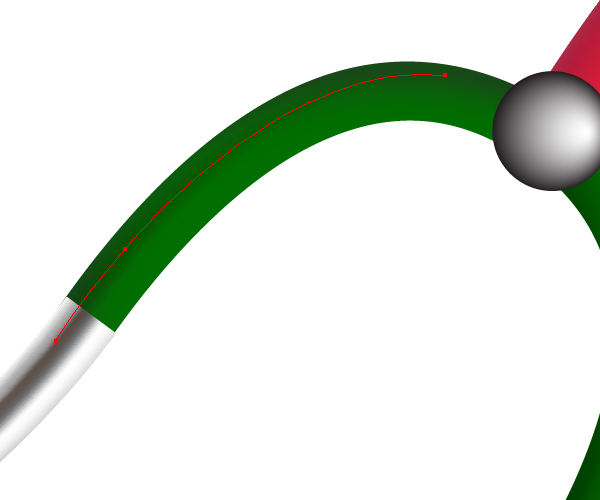
Apply “Brush6″ to the following paths.
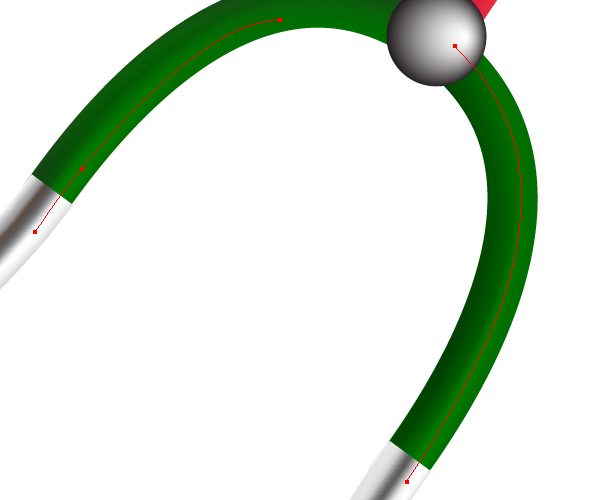
And apply “Brush7″ to the next path.
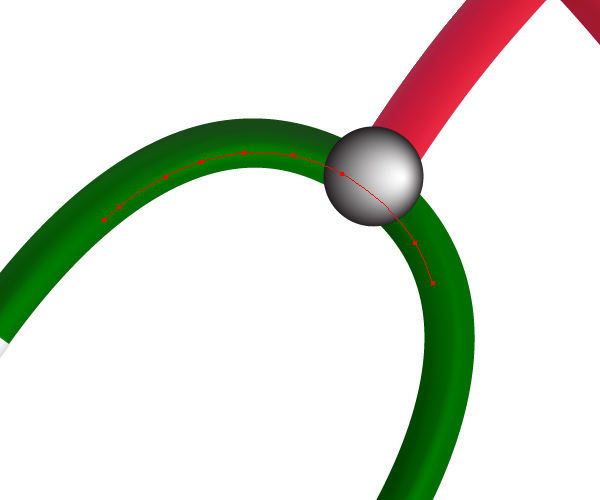
Step 39
Select now the right part of the green path, and go to Effect > Stylize > Drop Shadow. Set the items for the effect as shown.
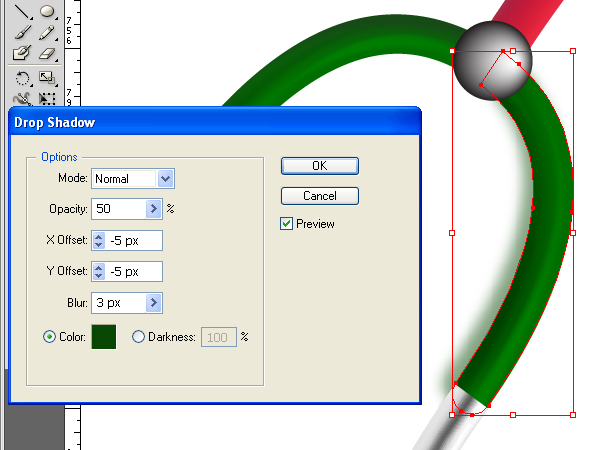
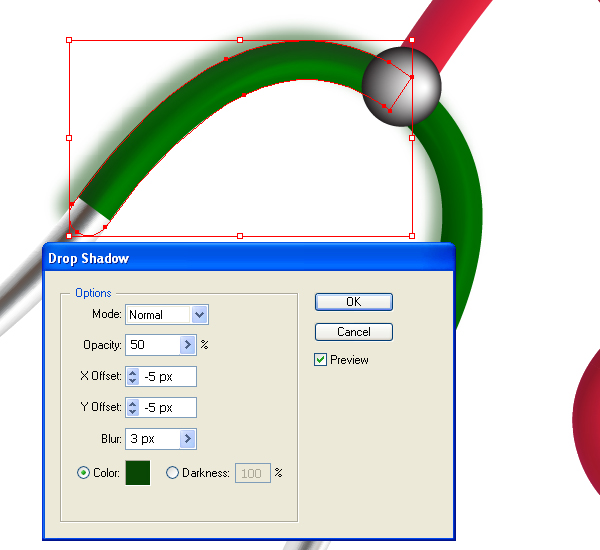
Do the same with another part.
Step 40
Select the gray round part, copy it and paste in back (Command + C then Command + B). Go to Effect > Stylize > Drop Shadow and set the items as shown.
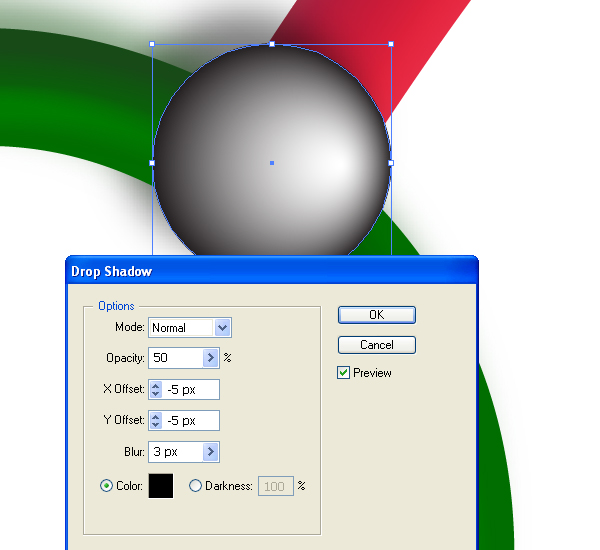
Pay attention that we must copy the round part and paste it in back in order to avoid falling black shadows on the green part.
Step 41
Add the drop shadow from the tube meshes.
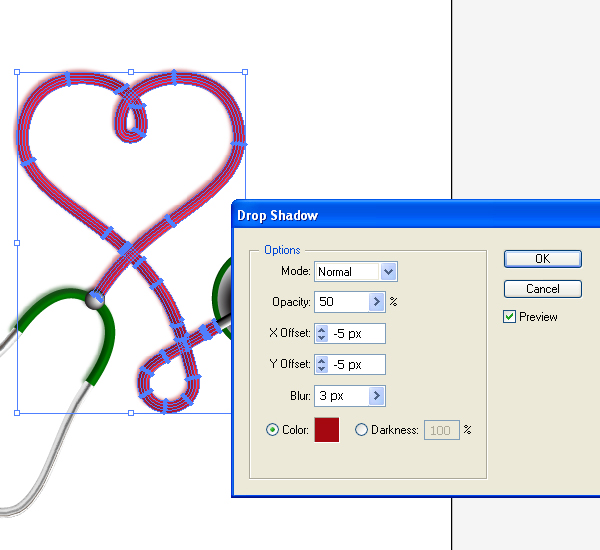
Also add drop shadows from the other parts of the stethoscope.

Conclusion
We wish you success in creating your versions of stethoscopes and applying these techniques in your other artwork!

{excerpt}
Read More