Scripting is a sure way to save time when performing repetitive tasks within InDesign. Scripts will automatically complete a task for the user, for example, creating crop marks to a specified object. The following tut will serve as an introduction to scripting and will explore a few of the useful sample scripts already contained within InDesign.
Step 1
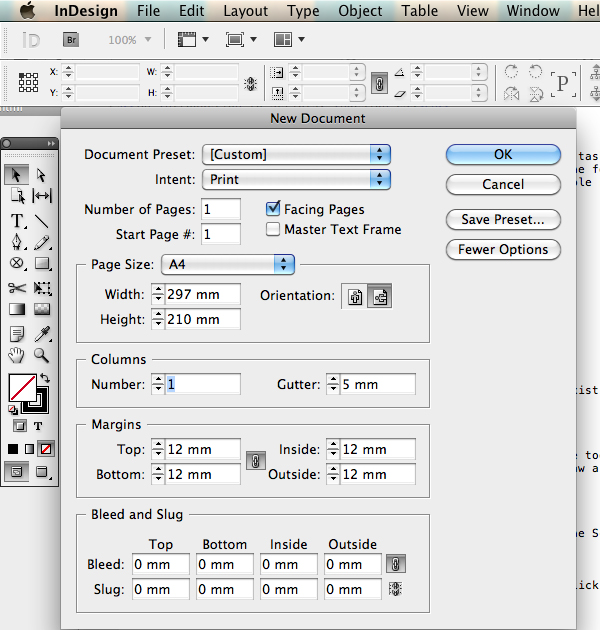
Start by firing up InDesign, create a new document or work on an existing project. For the purposes of the tut I am setting up an A4 landscape document with these specs.
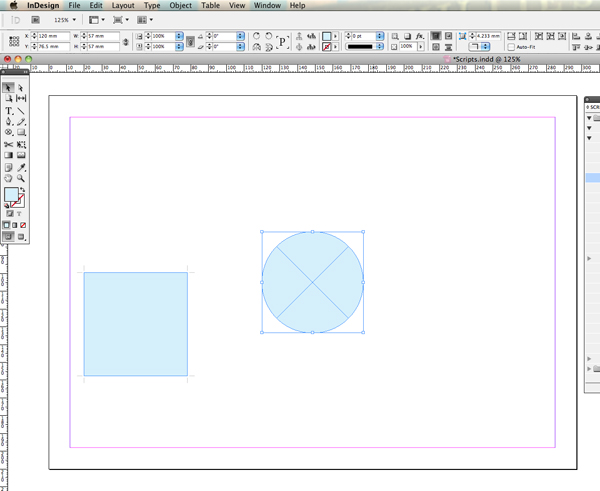
Step 2
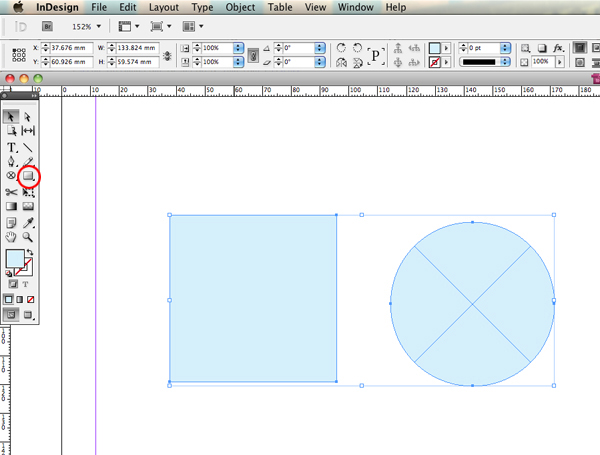
To test out a few scripts we need to draw some objects. From the toolbox select the Rectangle Tool and draw a rectangle. Next, select the Ellipse tool from the tool box and draw a circle. Hold down the Shift key to retain aspect ratio when drawing the shapes. Also remember to fill the objects with color or add a stroke.
Step 3
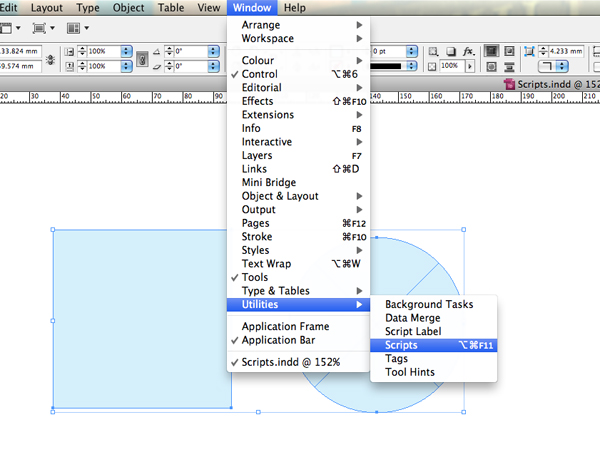
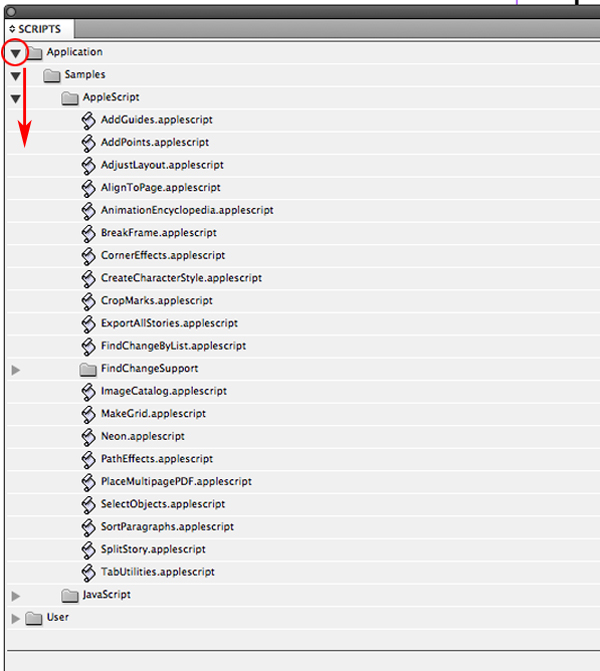
To locate the scripts go to Window > Utilities > Scripts, and the Scripts window will appear.
Step 4
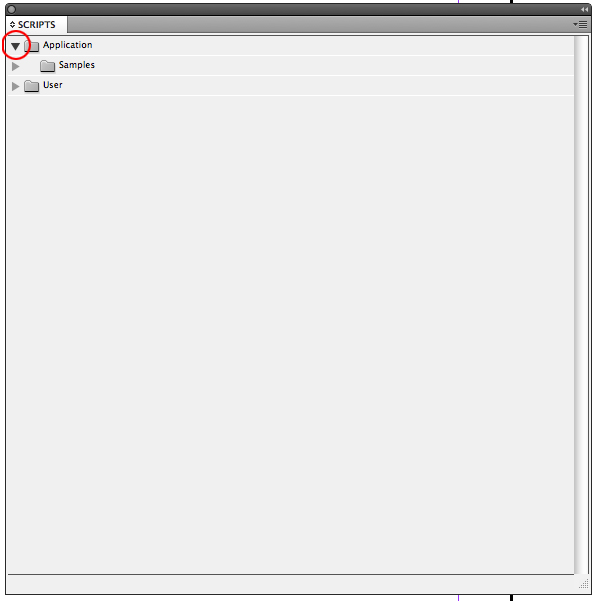
Open the Application folder by double clicking on the name or clicking once on triangle icon. Then repeat the process for the Samples and Applescript folders.
Step 5
You will now be presented with a list of sample scripts ready for use. So let’s take a look at two useful scripts to get you started.
Step 6
Using the Selection Tool from the toolbox, select one of the objects by clicking on it once. Now navigate to the Script panel and double click on CropMarks.applescript. A floating panel will appear.
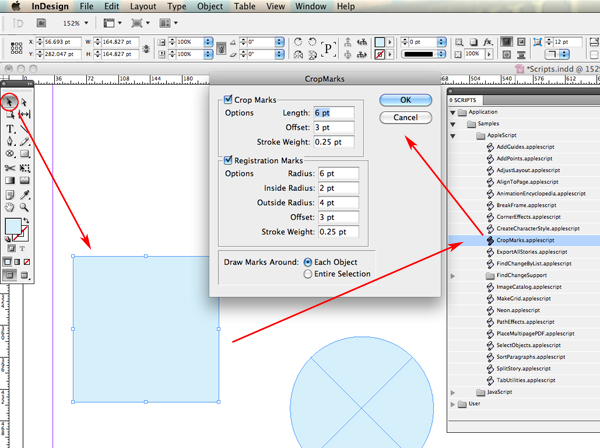
Step 7
The panel is divided into three areas, Crop Marks, Registration Marks and Draw Marks Around. For the purposes of this tut deselect Registration Marks and in the Crop Marks section set the options to suit your project, my selections are below.

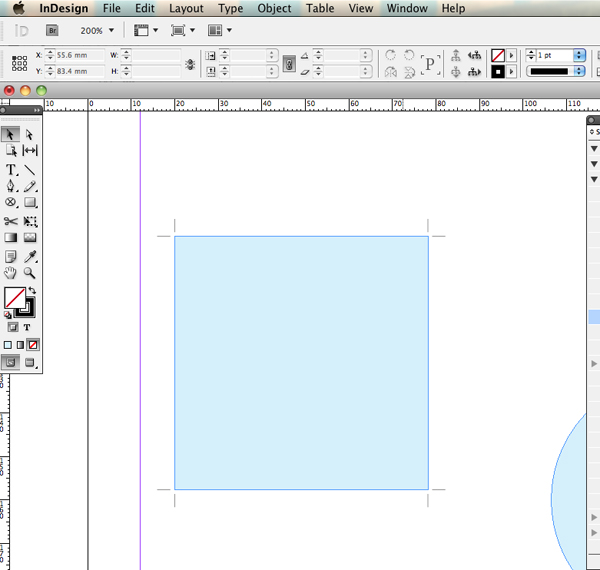
Once set, hit OK. The object will now have crop marks added as specified. Let’s take a look at another.
Step 8
Now select the second object with your selection tool and run the AlignToPage.applescript from the Script list. Again you will be presented with a floating panel. The options are pretty self explanatory. However, this script is great for centering objects to the page. Simply select Center on the Vertical option and Center on the Horizontal option and click OK.
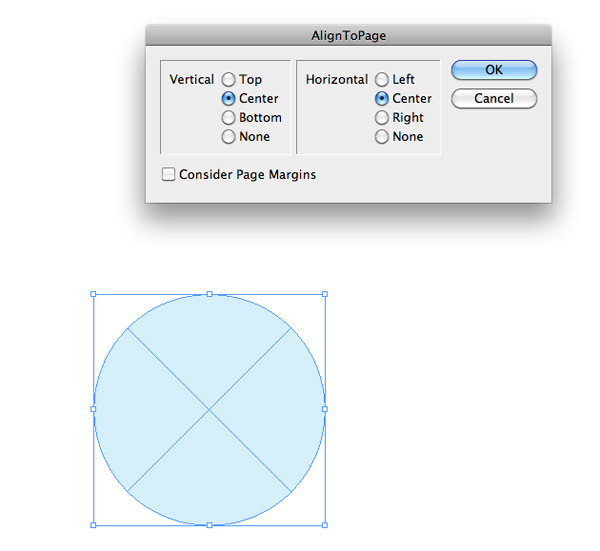
The object will be aligned to the center of the page.
Conclusion
By integrating scripts within your workflow you can save a huge amount of time, as well as adding more capability to the InDesign program. The scripts I have demonstrated are only the tip of the iceberg, I urge you to experiment with the other Scripts contained in the Sample folder. Scripts that are worthy of a mention are, MakeGrid, SelectObjects and AddGuides. Below is a link to the definitions of each script.
{excerpt}
Read More