Hey everyone! In this tutorial we’re gonna show you how you can create a simple logo reveal using the Textured Polygon option in Trapcode Particular.
Tutorial
Step 1
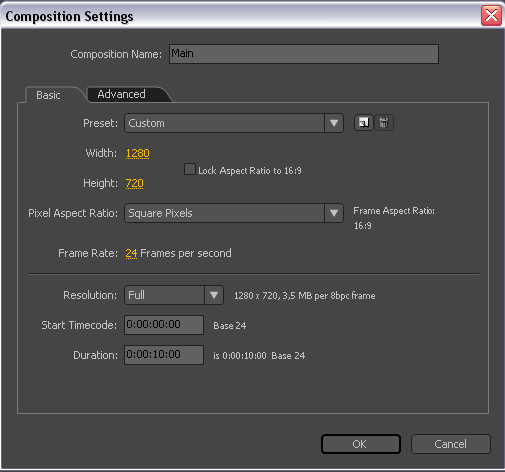
I create composition by clicking Menu-> Composition->New Composition. Make it 1280*720 square pixels 10 seconds long, name it as ‘Main’.
Step 2
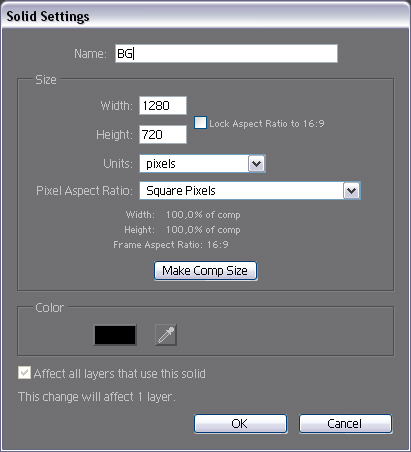
Create new solid clicking by Menu->Layer->New->Solid. Change the color to Black. Make it comp size (1280*720) and name it as ‘BG’.
Step 3
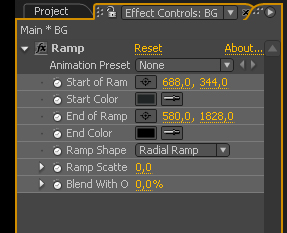
Let’s add the Ramp effect (Effect->Generate->Ramp) and set the start color to #262929 and the end color to #000000 + change the Ramp Shape to Radial Ramp.
Step 4
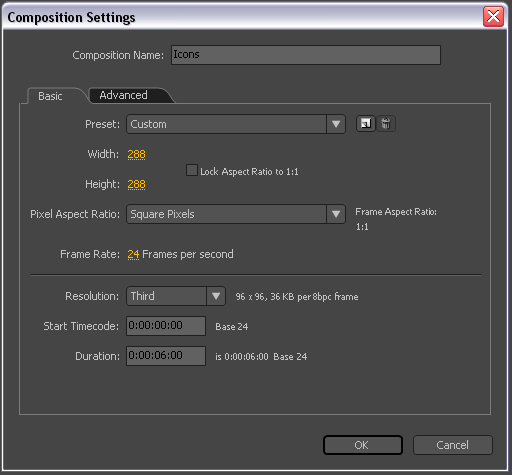
Let’s create a new composition for the custom particles by clicking Menu-> Composition->New Composition. Make it 288×288 square pixels 6 seconds long, name it as ‘Icons’.
Step 5
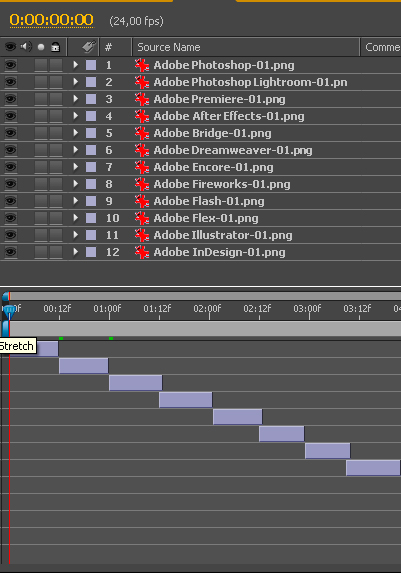
We need to import the icons and drag and drop them into this composition.You can select them and right click on the layers and select Transform->Fit to Comp to resize the icons.When you done you should sequence the layers. You can do it manualy as I did or you can select all off the layers and then right click on them and Keyframe assistant-> Sequence layer.In my case this method didn’t work unfortunately.By the way I didn’t use all of them I just select some common stuff, but you can use only one if you like.
Step 6
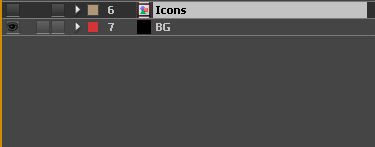
Now let’s go back to the main composition and drag and drop the Icons composition and turn it off.
Step 7
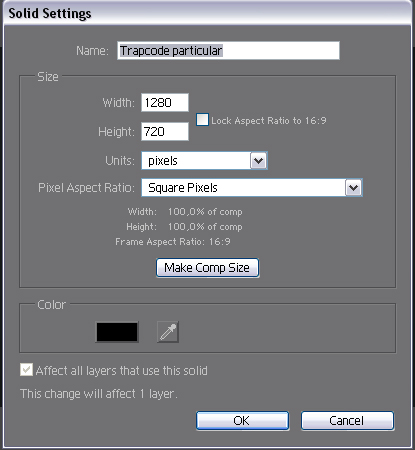
Create new solid clicking by Menu->Layer->New->Solid. Change the color to Black . Make it comp size (1280*720) and name it as ‘Trapcode Particular’.
Step 8
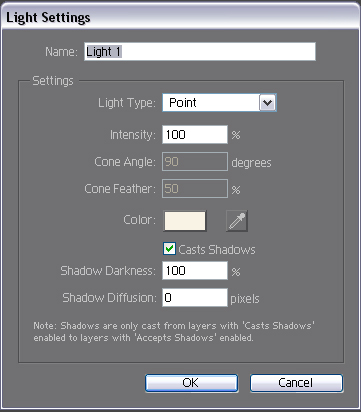
Before we’re add particular to the particular layer we need to create a new Light(Layer->New->Light). Change the Light Type to point and change the color to #F7F3E5
Step 9
Before we move on we have to create a new camera as well so go to Layer-New->Camera.
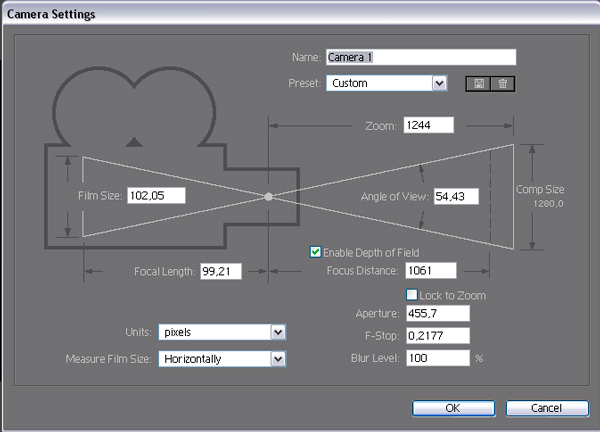
Step 10
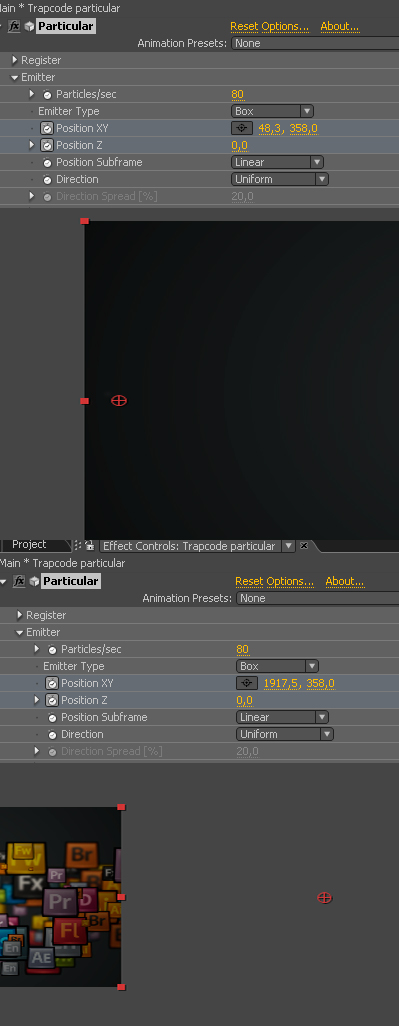
Now select the Trapcode particular layer and apply particular to it (Effect-Trapcode->Particular).In particular under the Emitter tab after you change the following properties then we have to create a simple from left to right accros the screen animation.So let’s go to the first frame and click on the a position xy and z stopwatch to add a keyframe.Go forward 5 seconds and change the Position XY -222 propertie to 1940.
Step 11
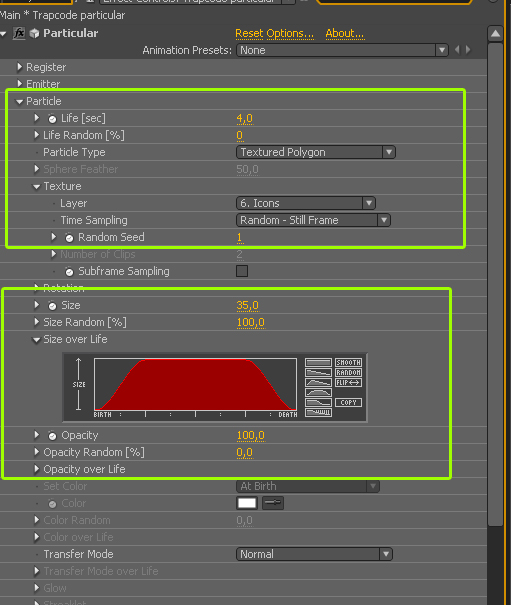
Under the particle section I changed the following properties. This part is a little bit optional because you can use your own settings for example you can mess around with the Rotation properties to get a different result.
Step 12
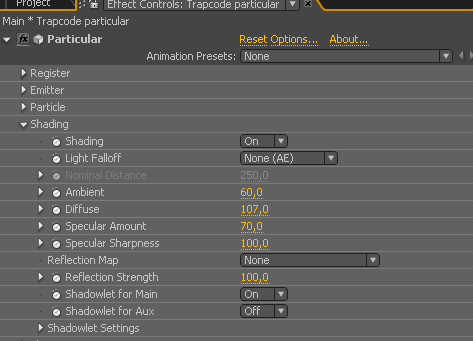
Under the Shading properties(Particular 2.0 feature) we can achive a much more reallistic looking 3D look with lights.You can skip this part if you are using an earlier version+ you don’t need to create a new light in this case.
Step 13
Under the Physics properties I jus add a little Gravity. Of course you can still playing around with the properties if you want a different look.

Step 14
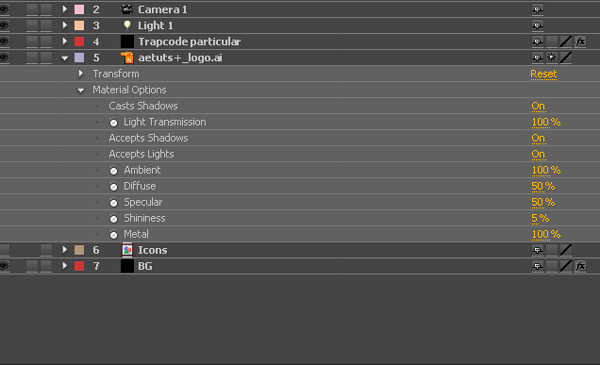
We have to inport the aetuts+ logo and set the following porperties under the Material Options.
Step 15
Don’t forget to turn on the 3D layer switch.

Step 16
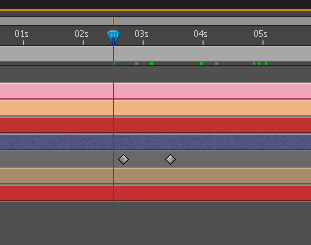
We have to animate the opacity of the aetuts logo so I just select it hit the "t" key to reveal the opacity properties and I just made a new keyframe and changed the opacity to 0 then moved forward few frames and changed it to 100.Because the logo is stayed behind the moving particles this will hide the transition.You can create a much more difficult logo transition if you want. Maybe you can duplicate the particular layer and add a fill effect with a white color and use this layer as a matte to reveal the logo but I think this is a simple quick and elegant way.
Step 17
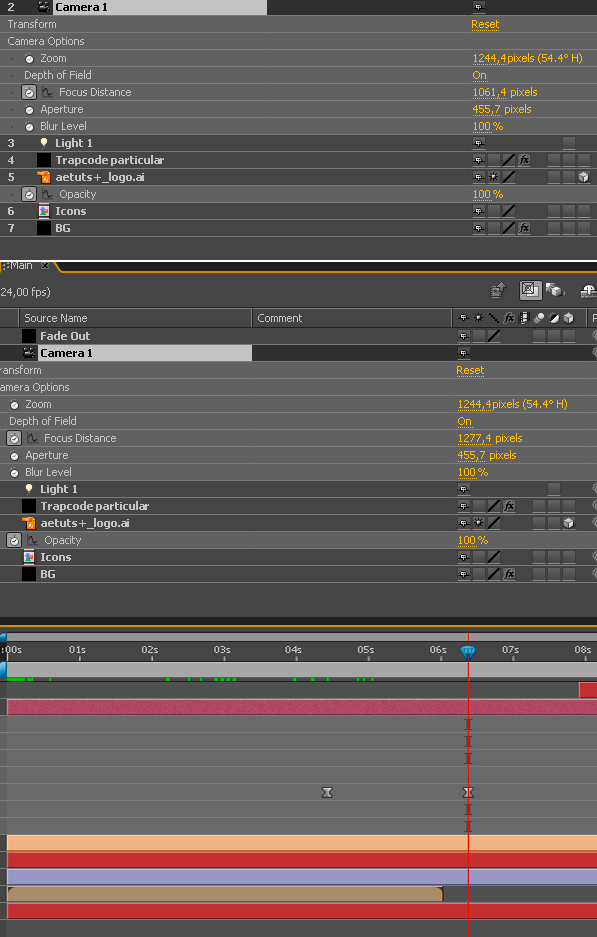
In this step I just animated the Focus distance to achieve a dynamic depth of field look.
Step 18
I skipped this trick in my final video but you can animate the position of the light so you can achive much more dramatic looking animations.For example select the position properties and alt+ left click on the stopwathc and add a wiggle expression.

Step 19
If you have Optical Flares then you can extend this idea. You can use the animated or static light to create a flying orb animation which is illuminating the moving particle wave or something like that. It’s up to you!

Conclusion
So that’s it! I hope you enjoyed this tutorial! If you get stuck or do you have a tutorial request or a simple question then you can contact with me email: [email protected]. If you like my tutorials and if you want to support my work then you can follow me on youtube . Thanks a lot for your attention : ) .
{excerpt}
Read More