By using the pathfinder panel within InDesign CS5 it is possible to create a compound frame that can be used to import an image to create a unique effect. Find out more about Compound Frames at the jump.
Step 1
Start by creating a number of frames to work with. Select the Rectangle Frame tool from the Tool box or use Shortcut = F, click and drag to create the frames.
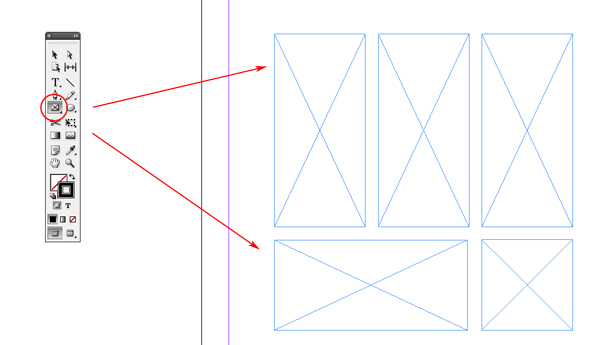
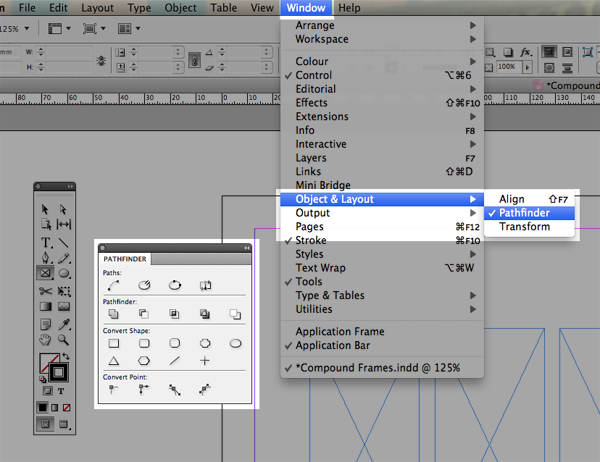
Step 2
Go to Window > Object and Layout > Pathfinder. You will be presented with a floating panel.
Step 3
Using the Selection Tool, Shortcut = V, select the frames you want to compound.

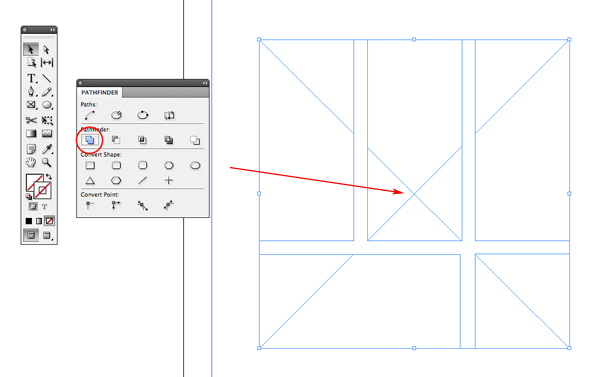
Step 4
On the pathfinder panel locate the Add button and press it to compound the frame. The frames will lose their diagonal lines and one set of diagonal lines will span across the compounded frames.
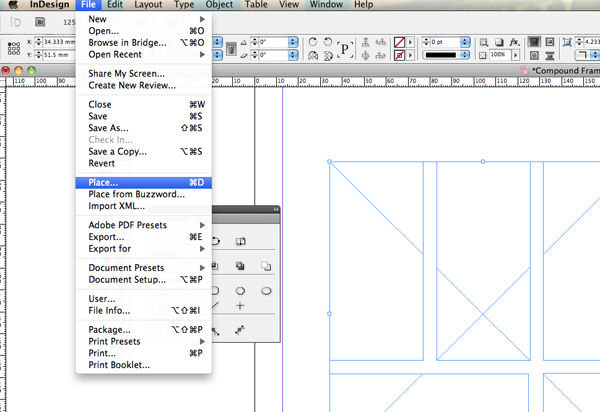
Step 5
Leaving the frame selected place an image by going to File > Place or by using shortcut Command + D. Select an image to insert and press OK.
Step 6
To change the position of the imported image select the Direct Selection Tool and click inside the frame. A hand cursor will appear, use this to click and drag the image.

Image from morguefile.com
Step 7
Additionally the image can be modified by using the Fitting Options by going to Object > Fitting.
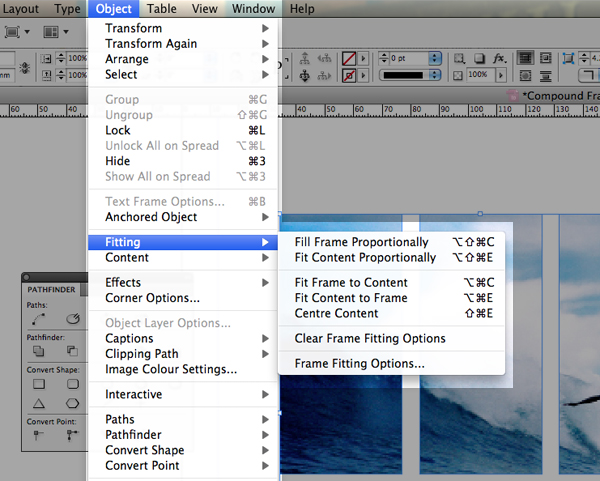
Step 8
To release a compound frame, select the Selection Tool, click once on the compound frame and go to Object > Paths > Release Compound Path.
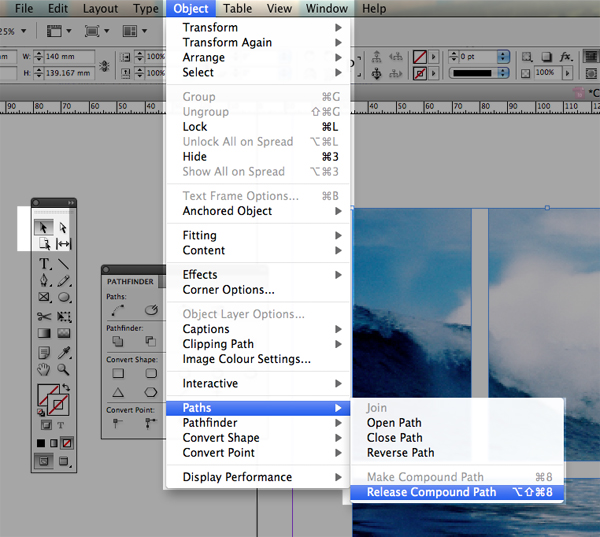
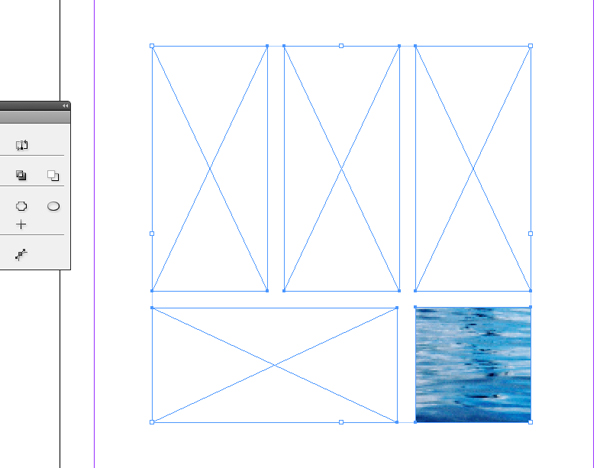
Once released the image will be contained in one frame and the rest will be left empty.
Conclusion
Try this technique in your next project to add a new visual effect to your layouts and designs. It works great when more than one compound frame is used in a single design. Have fun!
{excerpt}
Read More