In this tutorial I’m going to show you how to create your own realistic fountain pen using Rectangle Tool, Pen Tool and gradients in Adobe Illustrator. Although I’m using version CS6, you can apply all the techniques in earlier versions. So let’s get to it!
Step 1
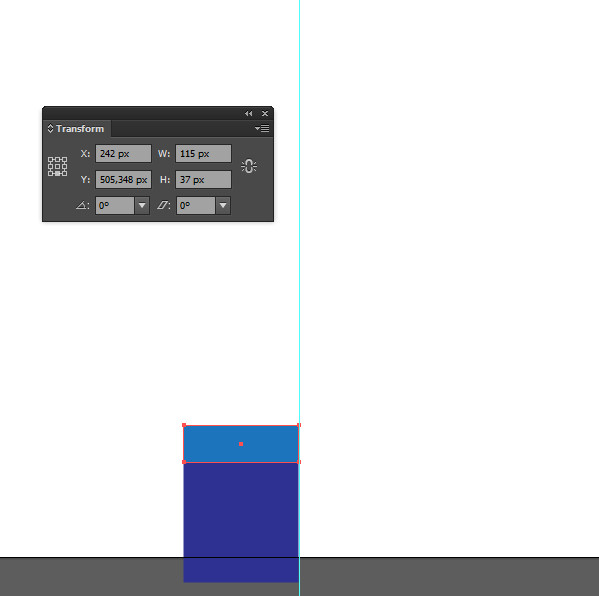
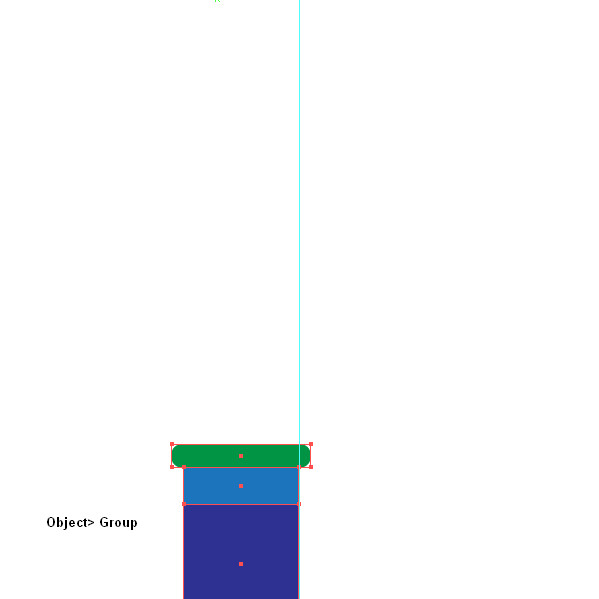
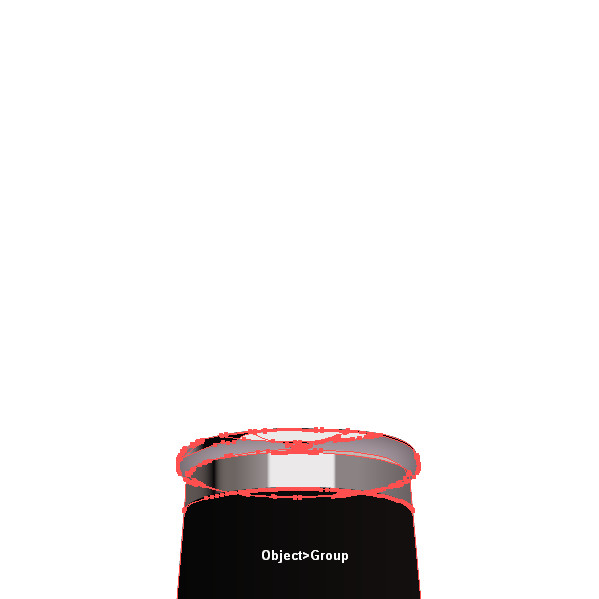
Open a new document with size 600-600px. Using the Rectangle Tool (M), create rectangles with the sizes shown below, arrange them as shown and then Group them (Object > Group). The color isn’t important now because in the following steps we are going to fill the shapes with gradient.

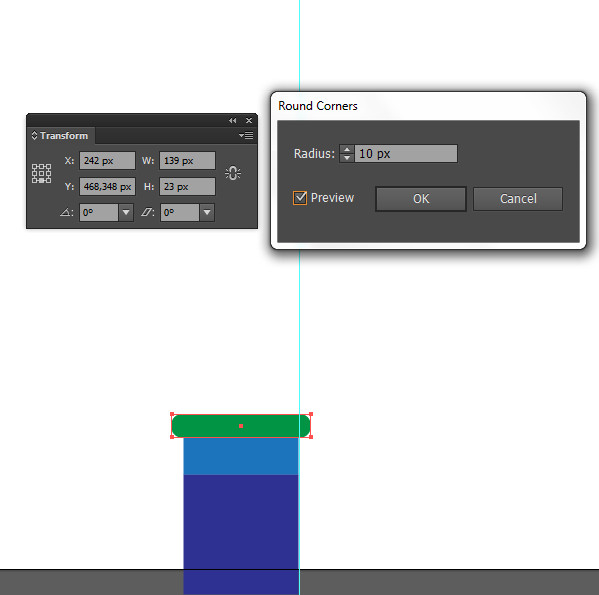
For the third rectangle, go to Effect > Stylize > Round Corners and add round corners with a 10px radius.
Step 2
Select the rectangles group and go to Effect > 3D > Revolve. Use the settings as shown below and click OK.
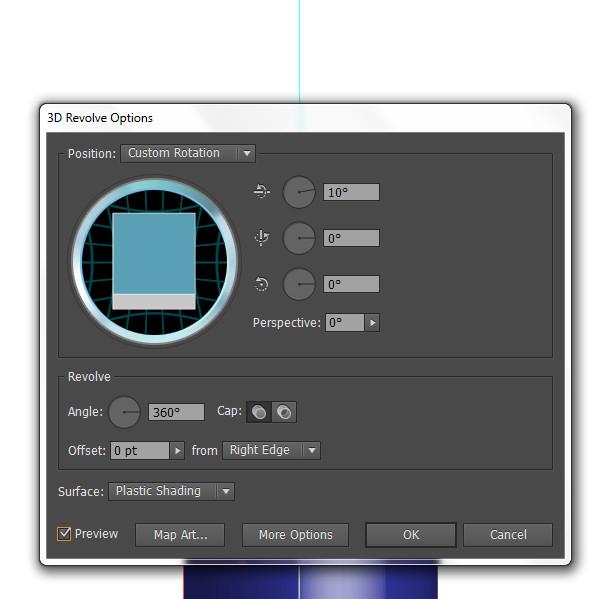
This will give you a 3D effect from the rectangles you’ve drawn.
Step 3
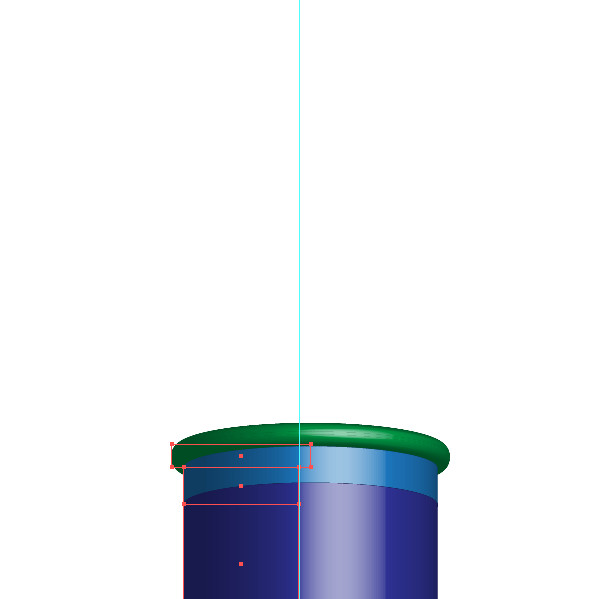
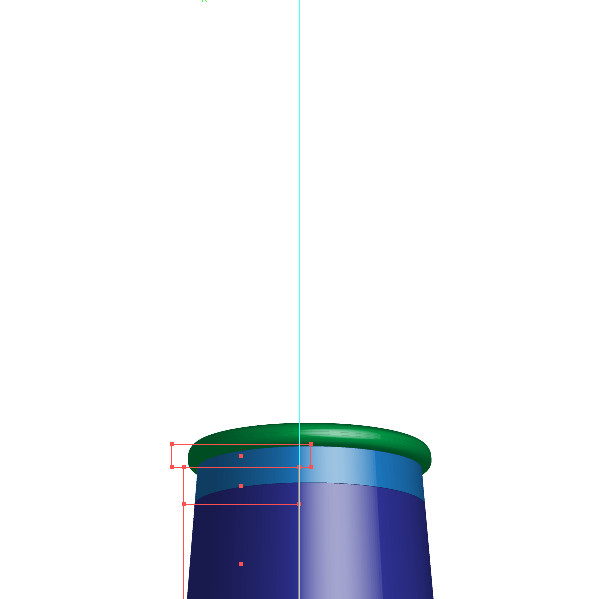
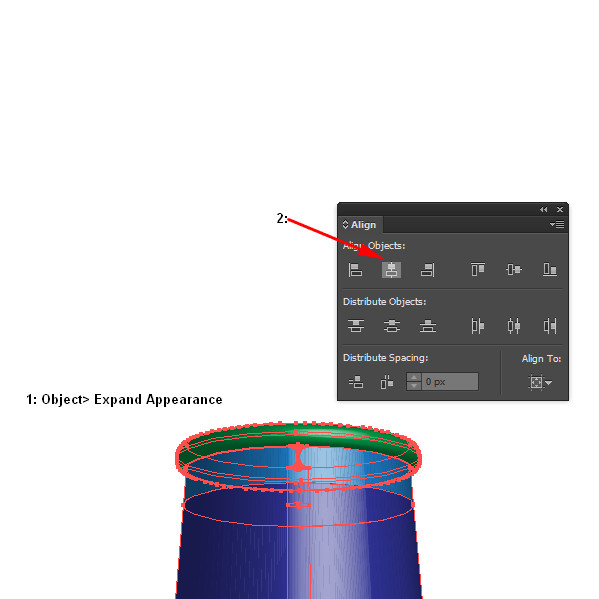
As the new shape that appeared after applying 3D effect is selected go to Effect > Transform > Free Distort. Slide the upper two points to the inside as shown, click OK. and after that go to Object> Expand Appearance.
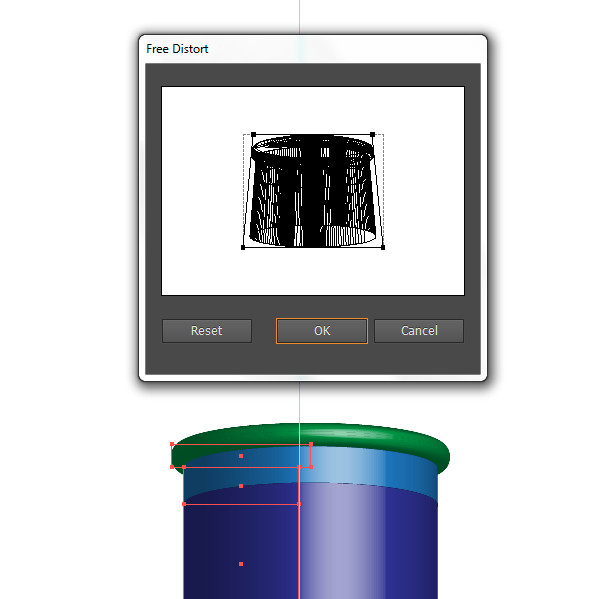
This will give an impression of perspective.
After you’ve expanded the shapes, centralize them using the Align panel.
Step 4
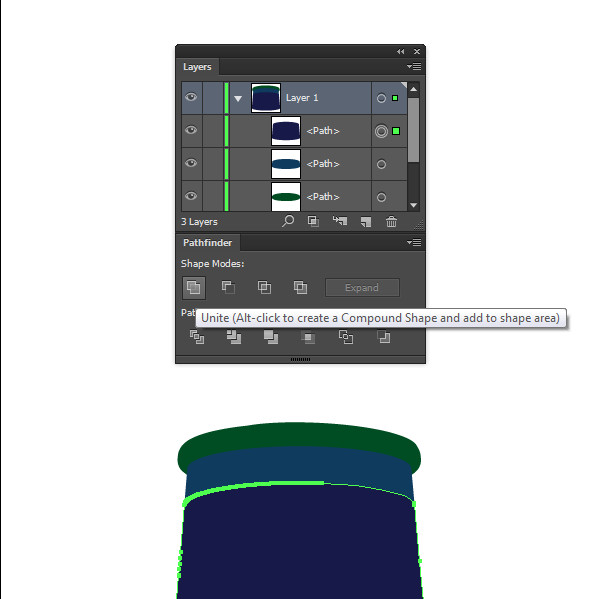
Select the new group of shapes and Ungroup them with Object > Ungroup. Then select each shape separately, open the Pathfinder panel and click on Add to Shape Area.

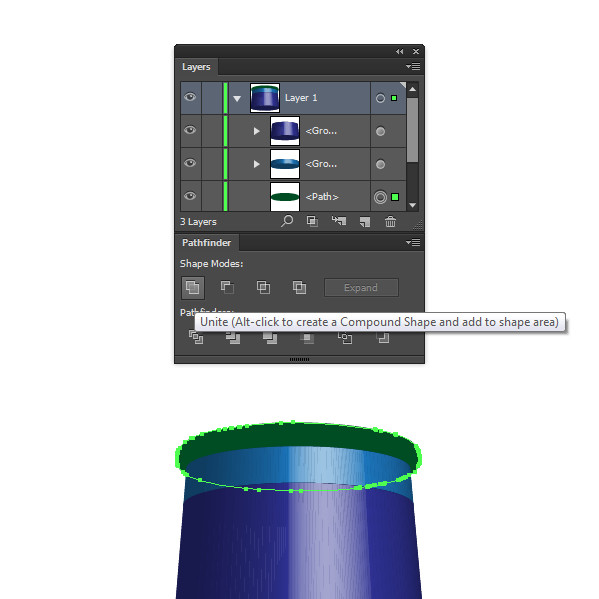
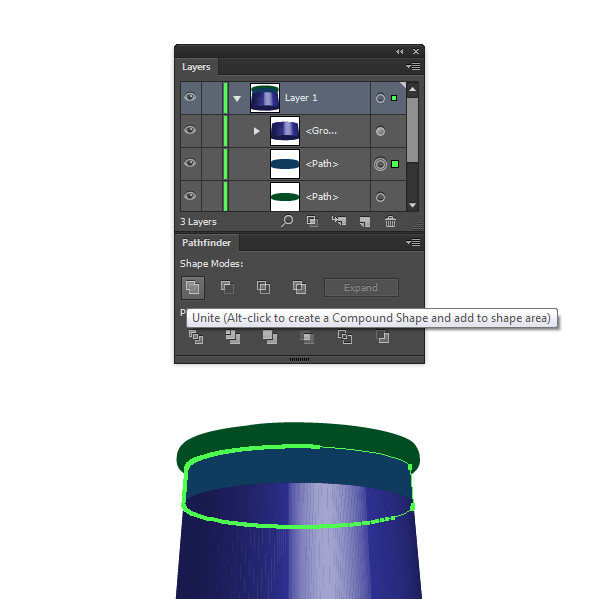
This will create one shape for each of the three sections of the illustration.
Step 5
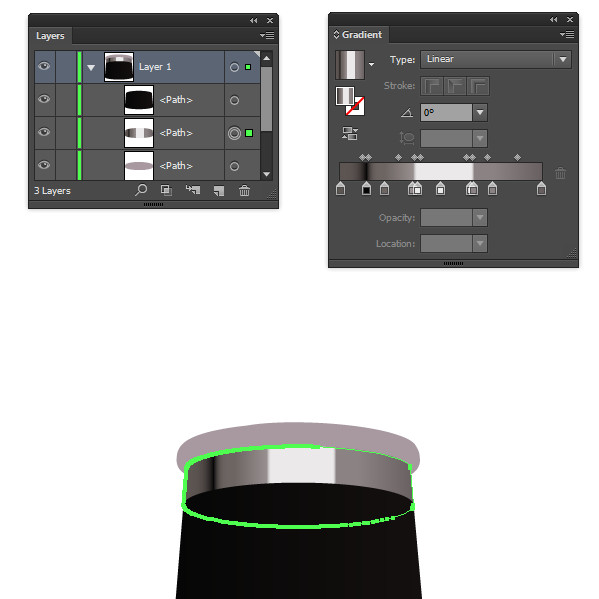
Now you need to fill the shapes with gradient. In order to do it in the Layer panel select the very bottom shape on the workspace and the one at the top and fill with Linear gradient as shown in the picture below. Then do the same for the rest of the shapes as shown below.
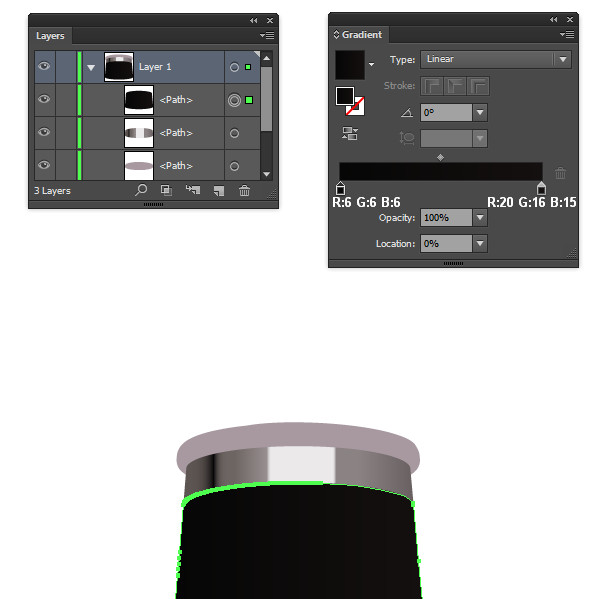
Add a chrome style linear gradient to add a shine around the top of the pen tool.
Step 6
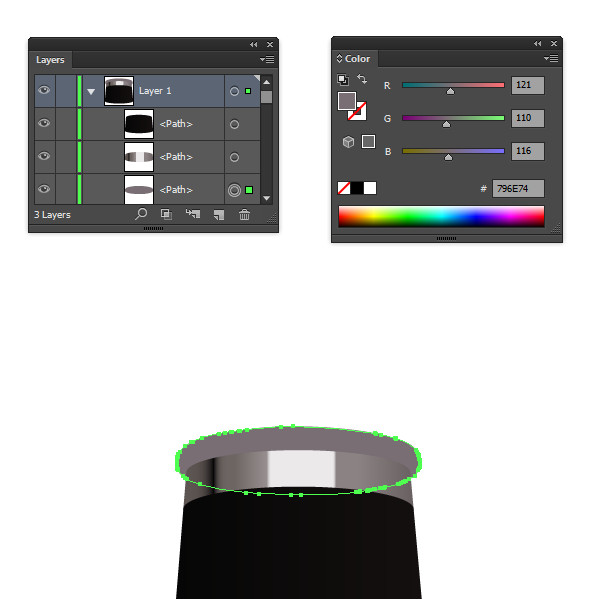
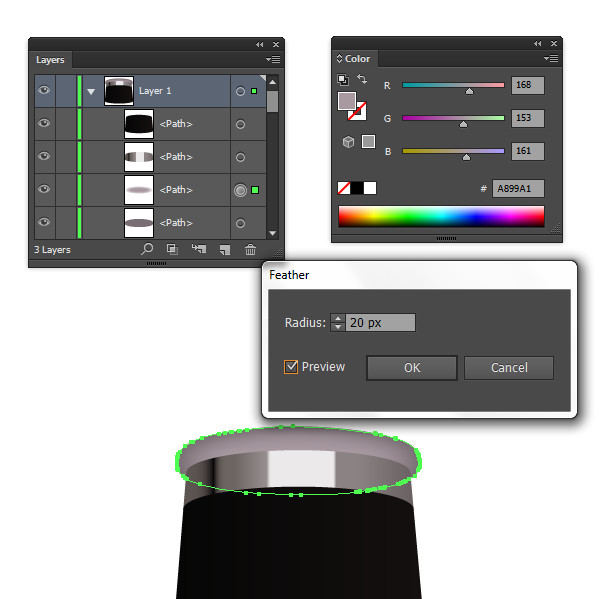
Duplicate the shape in the bottom of the Layer panel, change the color to R:168 G:153 B:16 and go to Effect > Stylize > Feather. Set the Radius to 20px and click OK.
Step 7
Keep adding the shapes with the Pen Tool (P) and the Pathfinder panel with color and placing them in position as shown below:

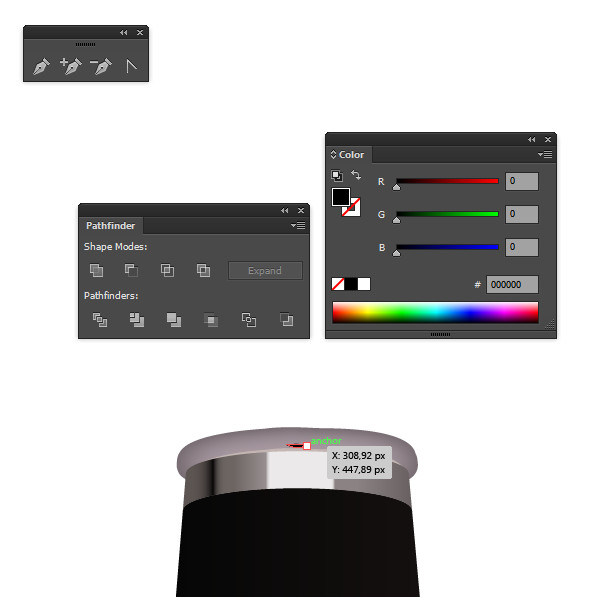
Select all the shapes you created so far and group them.
Step 8
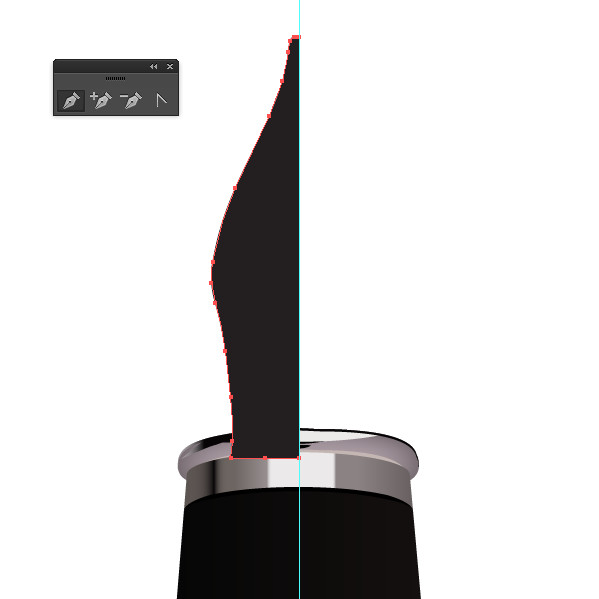
Using the Pen Tool (P), make a shape as shown in the picture below:
Step 9
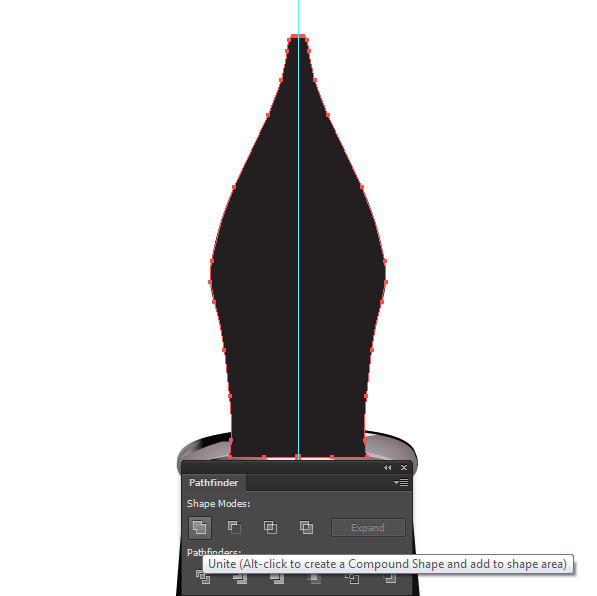
Duplicate the shape you just created and flip it horizontal.
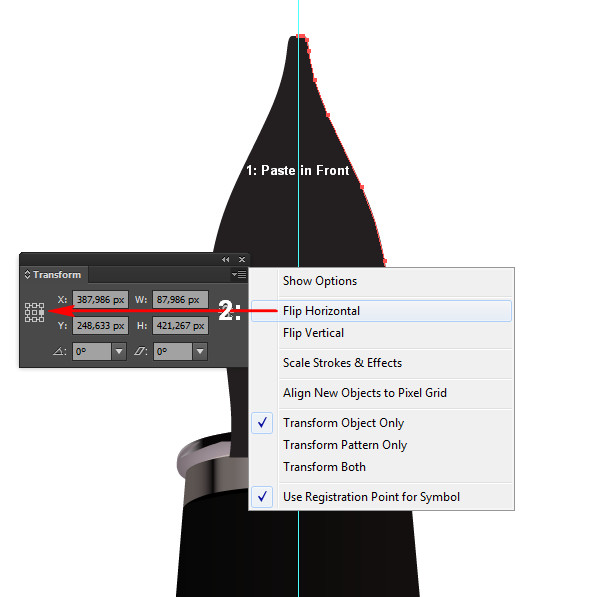
Then select both shapes, open the Pathfinder panel and click on Add to Shape Area.
Step 10
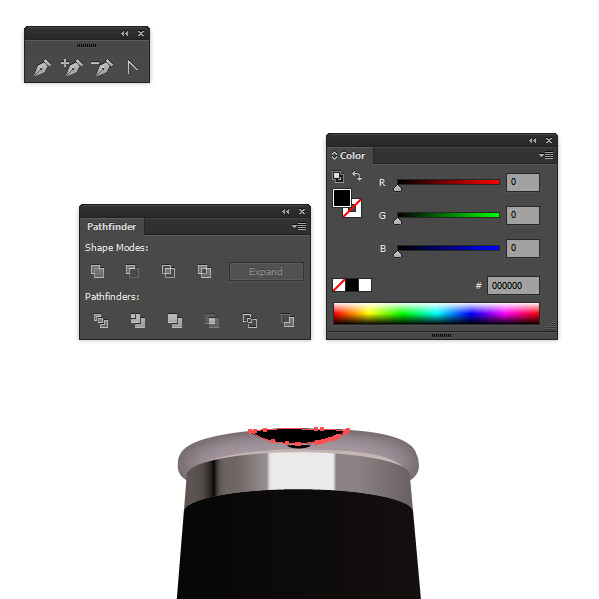
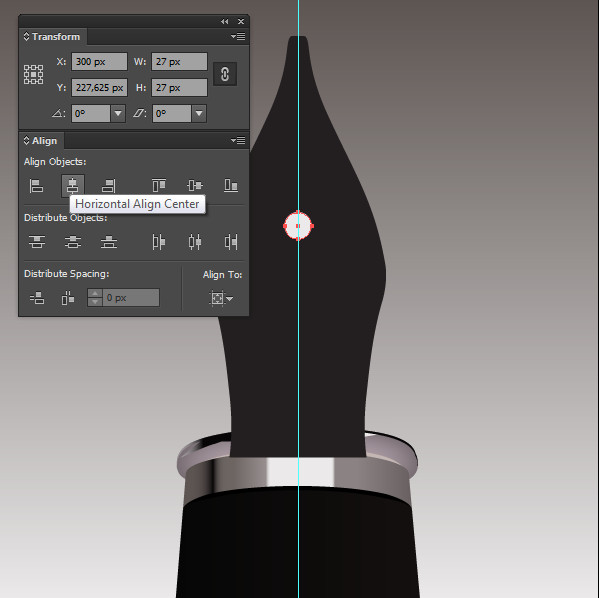
Duplicate one more time the shape you just created, take the Ellipse Tool (L) and create a circle over the copy with size 27-27px in position as shown below.
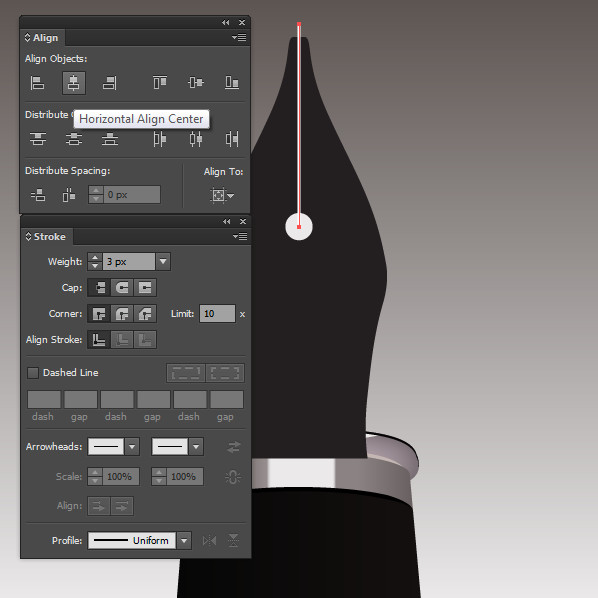
Then with the Line Segment tool (\) draw a vertical line with Stroke: 3px.
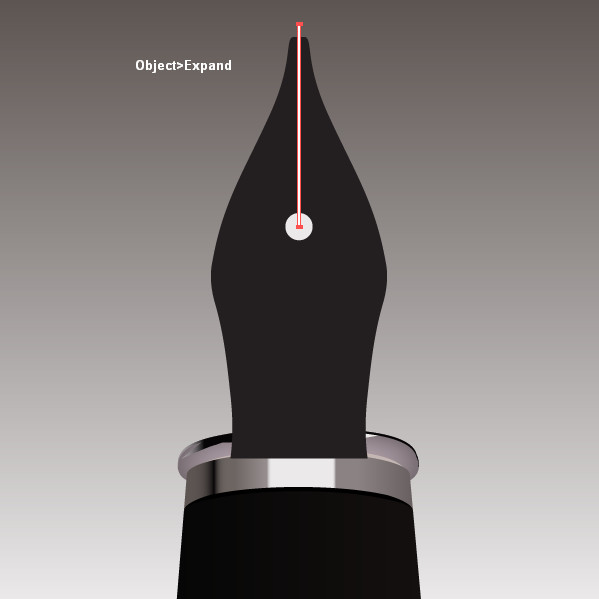
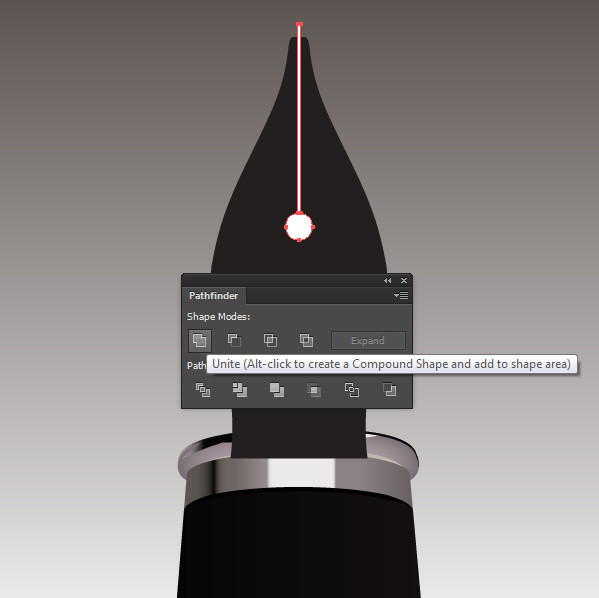
As the line is selected go to Object > Expand Appearance, select the circle and the new rectangle that appeared.
Open the Pathfinder panel and click on Add to Shape Area.
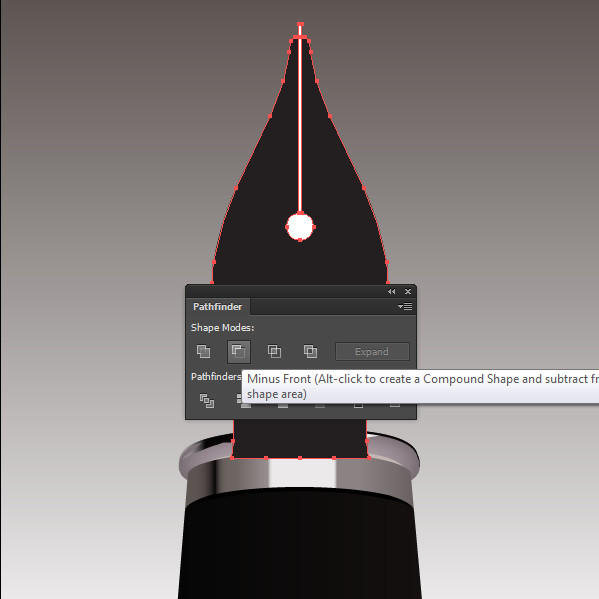
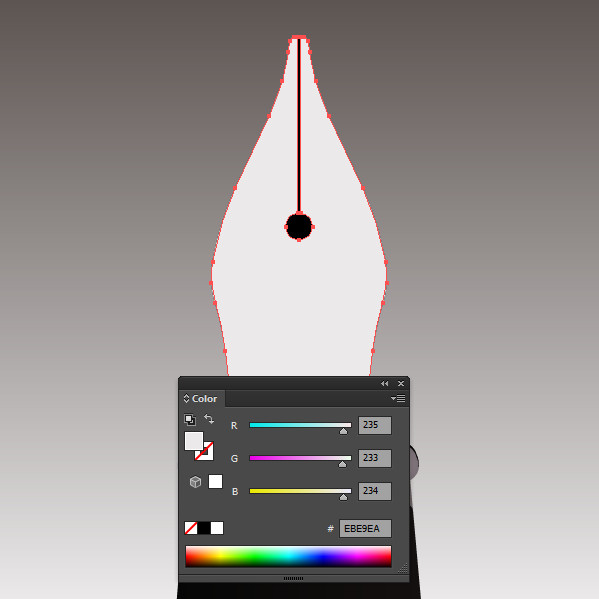
Step 11
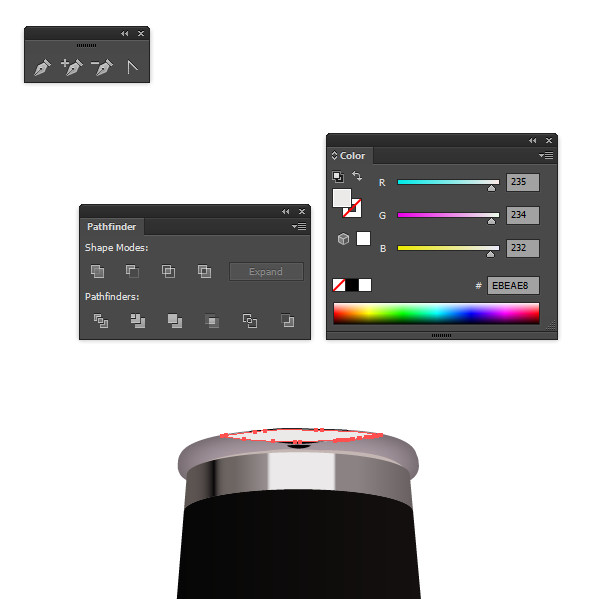
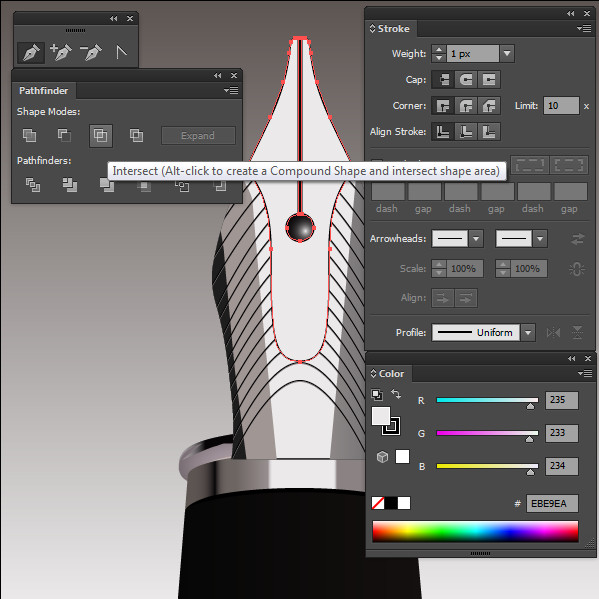
Select the copy of the shape from Step 9 and the shape you created in the previous step and open the Pathfinder panel. Click on Minus Front and change the color to R:235 G:233 B:234.
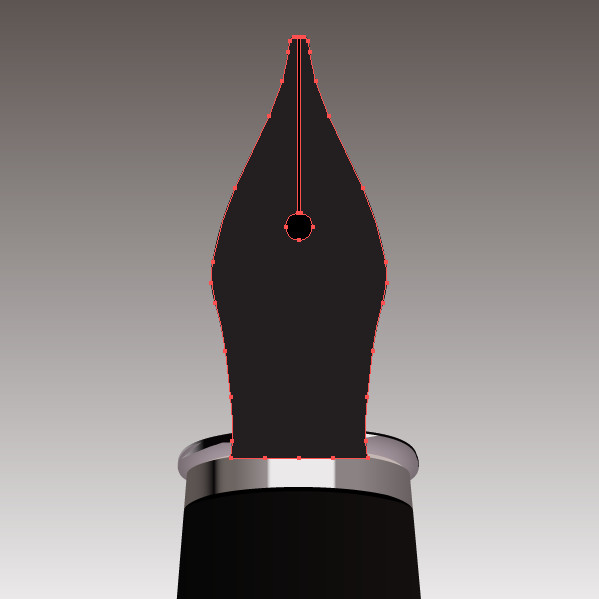
Step 12
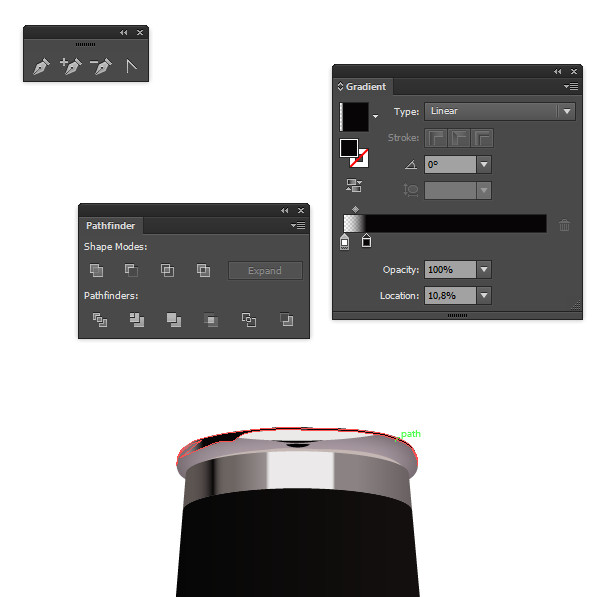
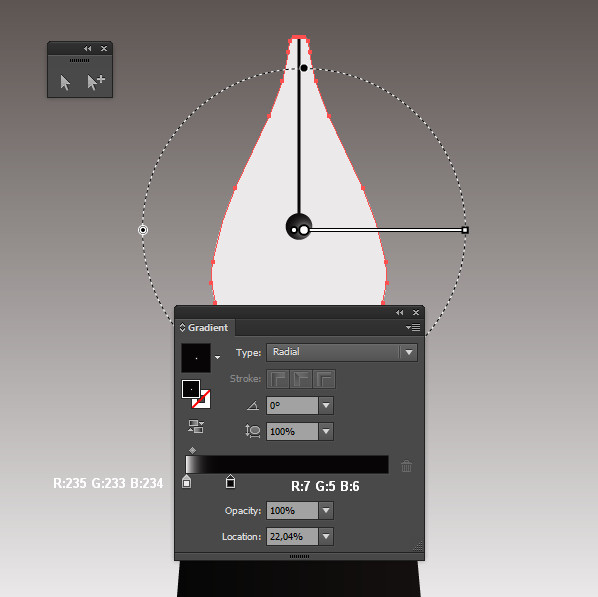
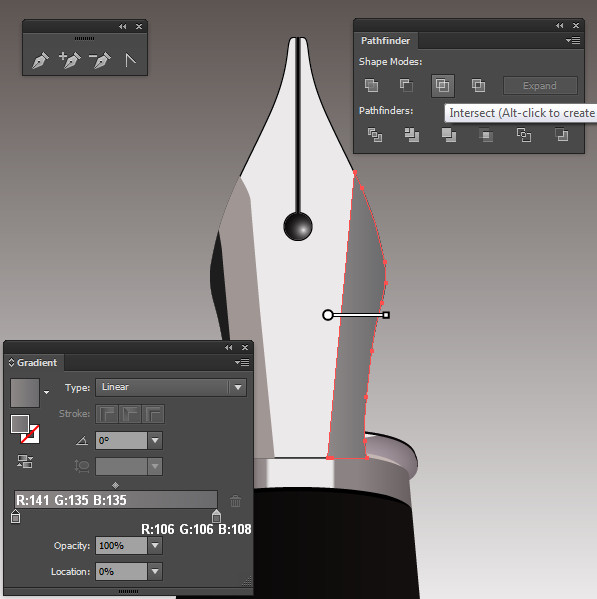
Now select the shape that is located underneath the one you’ve changed the color to and fill it with Radial gradient as shown below:
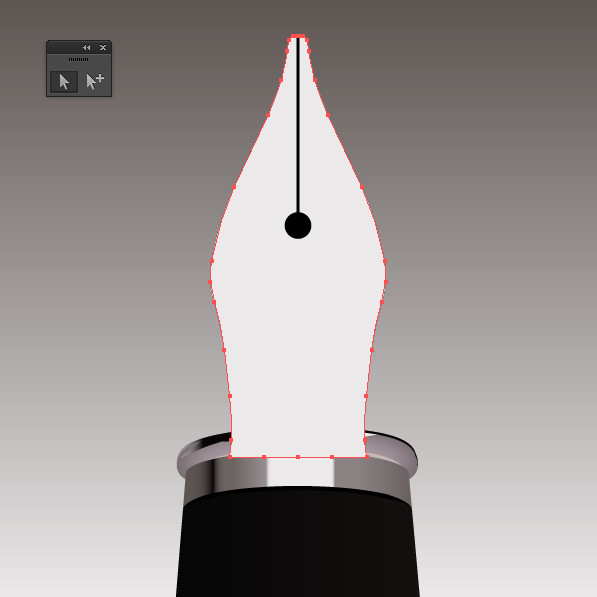
Step 13
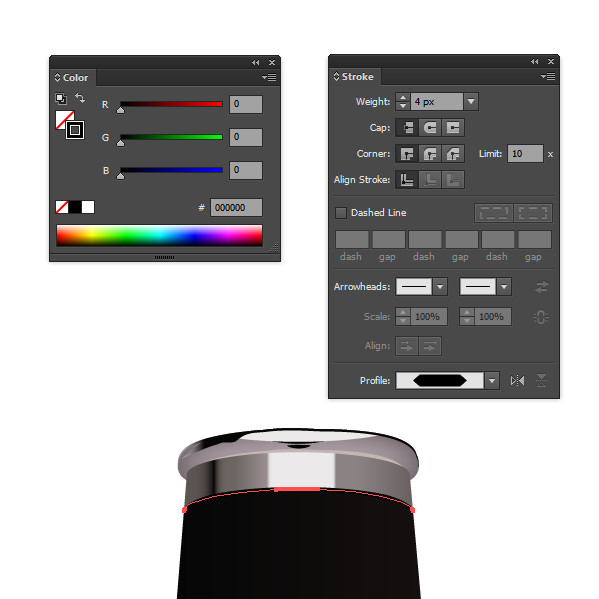
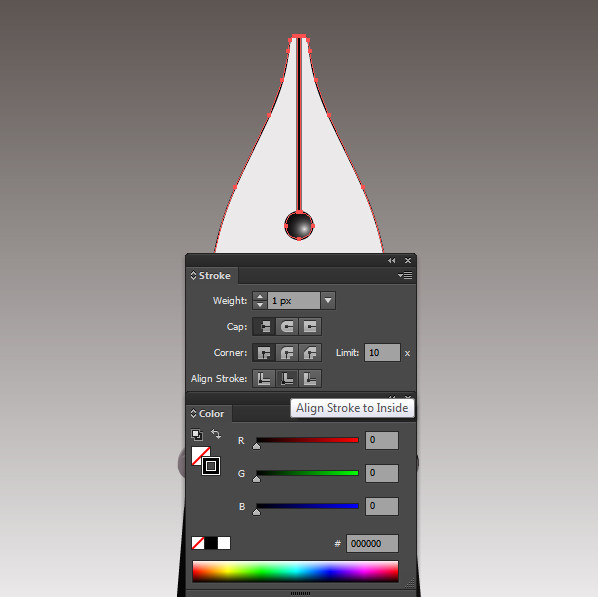
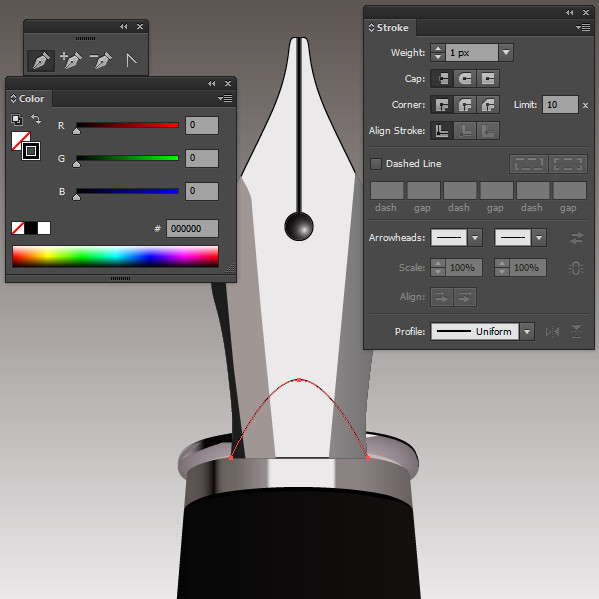
Duplicate the shape you filled with light color in Step 11. Turn off the Fill color and apply Stroke: 1px with black color Inside.
Step 14
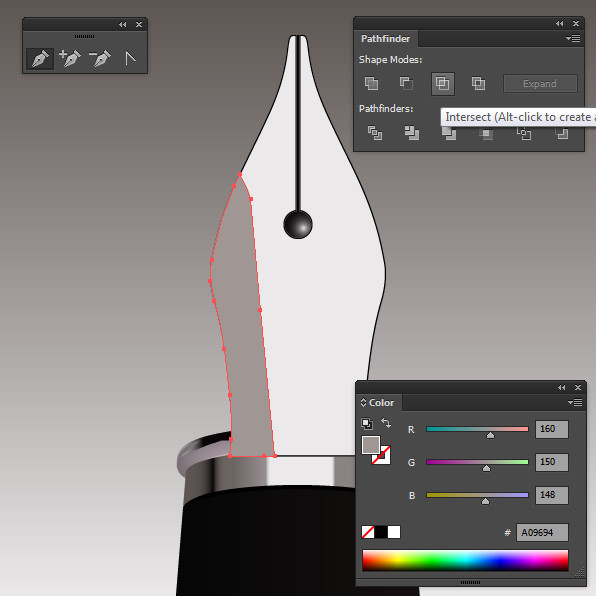
Using the Pen Tool (P), draw a shape in position as shown below. Use also the Pathfinder panel and fill it with R:160 G:150 B:148 color.
Step 15
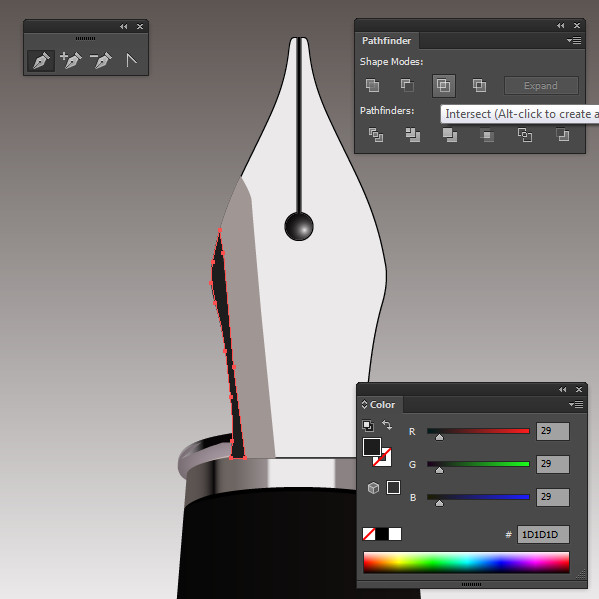
Keep adding the shapes with the Pen Tool (P) and the Pathfinder panel. Change the colors as shown below as well.
Step 16
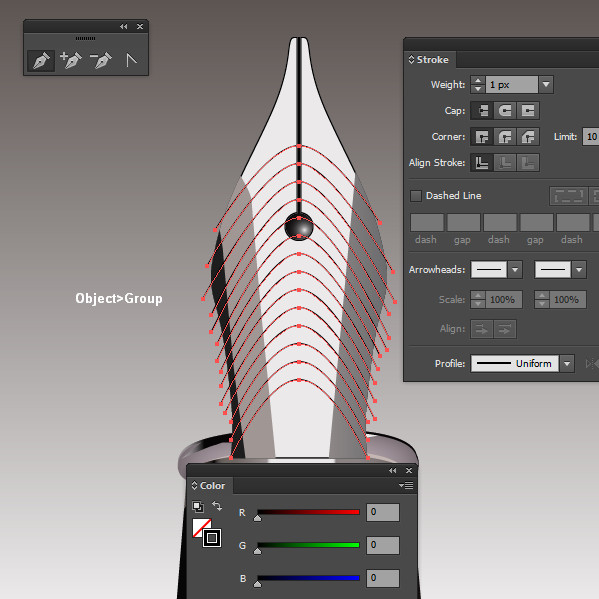
Take the Pen Tool (P) and create shapes on top of all others and in position as shown below and apply Stroke: 1px with black color.
After you finish adding them Group them with Object > Group).
Step 17
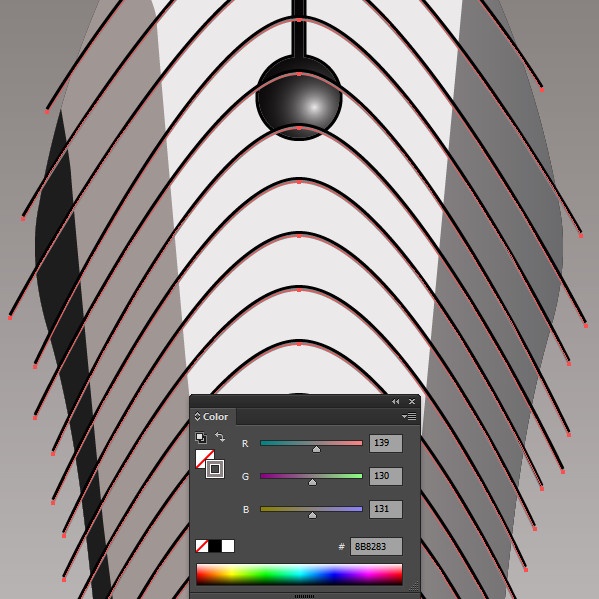
Duplicate the group placing the copy under the original, move the copy 1px down and the Stroke color to R:139 G:130 B:131.
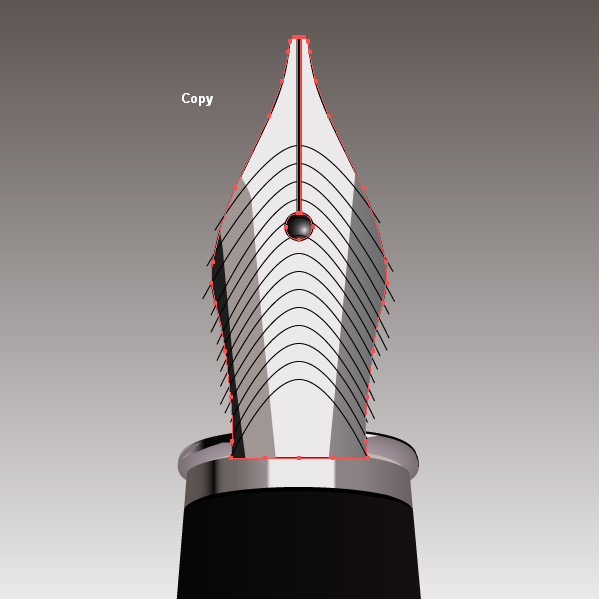
Step 18
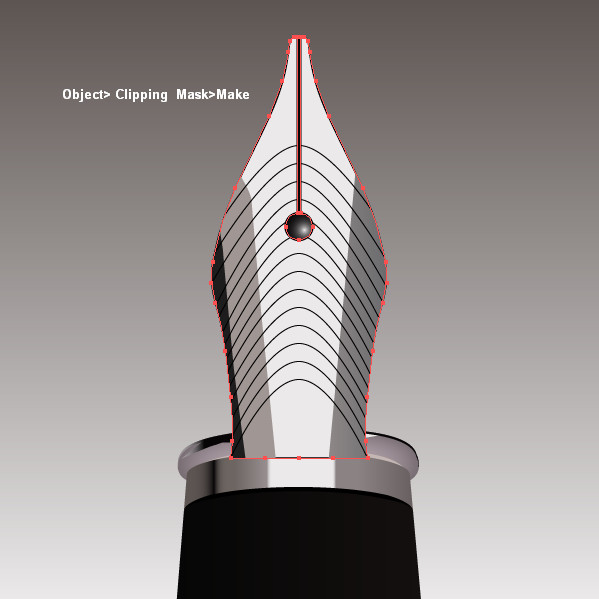
Now duplicate the shape you filled with light color in Step 11, place the copy on top of the shapes you created in the previous two steps then select the copy and the shapes from the previous two steps.
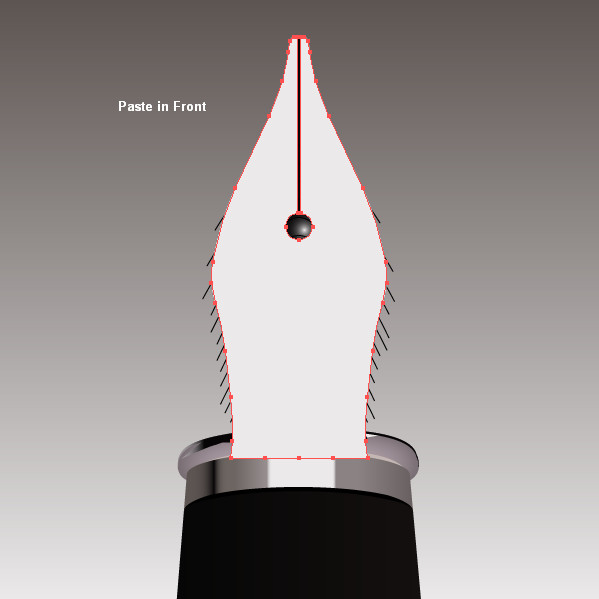
Then create a Clipping Mask (Ctrl + 7) to hide the overlapping lines.
Step 19
With the Pen Tool (P) and the Pathfinder panel create the last part of the fountain pen’s holder as shown in the picture below. Fill it with R:235 G:233 B:23 color and apply Stroke: 1px with black color.
Step 20
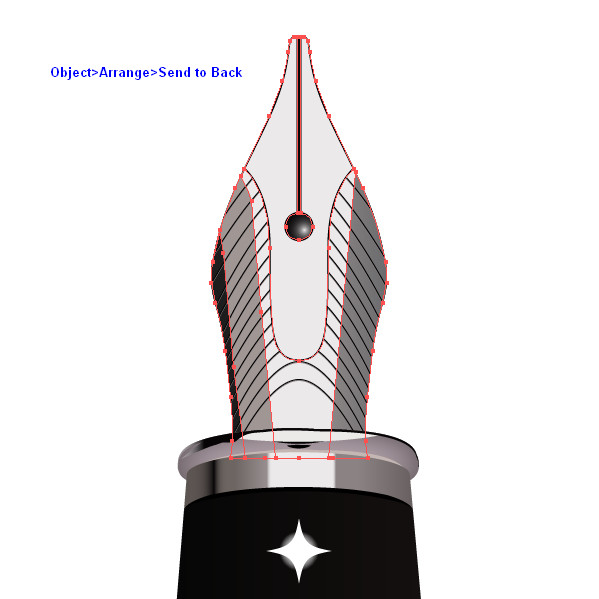
Select all the shapes you created so far except the shapes for the holder and Group them (Ctrl + G).
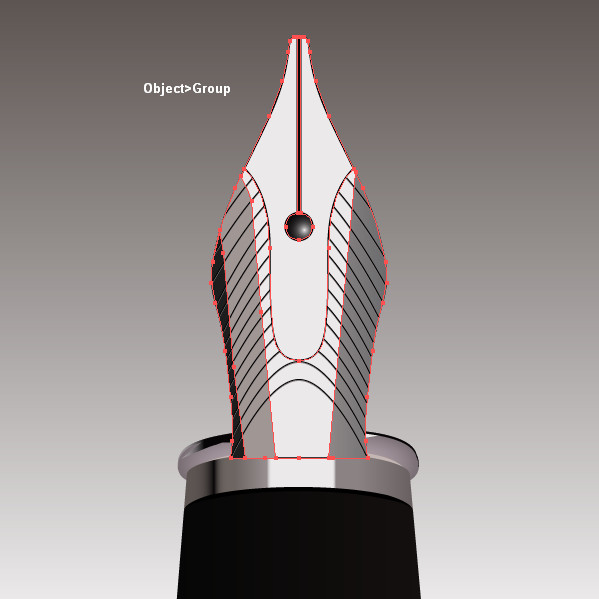
Then send the group behind the holder’s group by going to Object > Arrange > Send to Back.
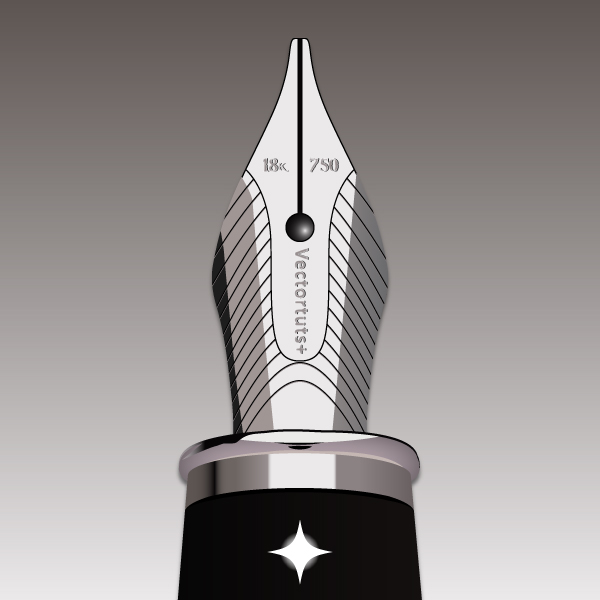
Conclusion
Finish off your Pen Tool illustration by using the Type Tool (T) to add your own text. Add a background with a soft gradient and there you’ll have your finished illustration.
{excerpt}
Read More