In this tutorial, we’ll learn how to develop a useful and attractive Audio Recorder application using Thibault Imbert‘s MicRecorder class. Read on to find out more!
Final Result Preview
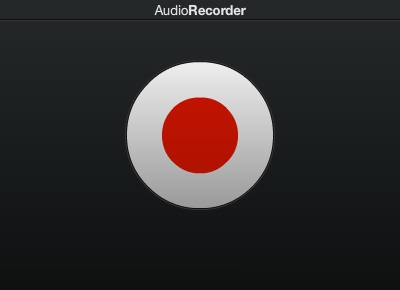
Let’s take a look at the final result we will be working towards:
Step 1: Brief Overview
We’ll make use of the Flash drawing tools to create an easy to use interface and the power of ActionScript 3 to make it record. The SWF will then save the sound as a WAV on your hard drive. Third party classes (but no programs) will be used to record and encode the data.
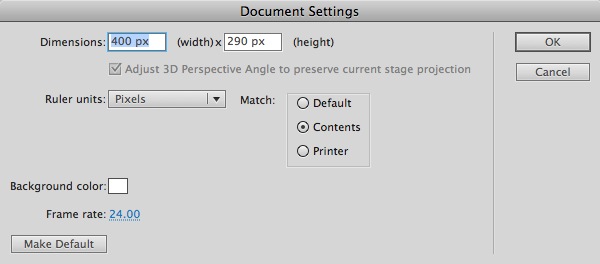
Step 2: Document Settings
Launch Flash and create a new document. Set the stage size to 400x290px and the frame rate to 24fps.
Step 3: Interface
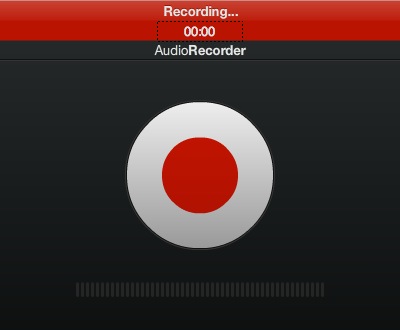
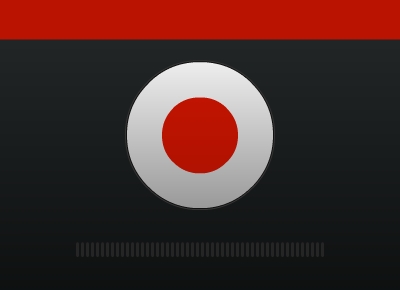
This is the interface we’ll use for this application; a black gradient background, a central main button used to start and stop the recording, a recording bar indicator and a microphone activity indicator.
Let’s dive in and get building it.
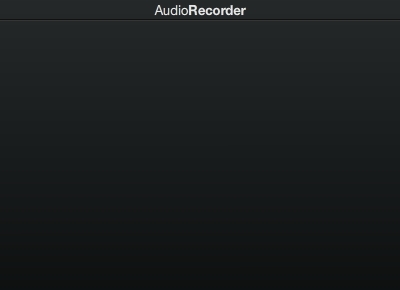
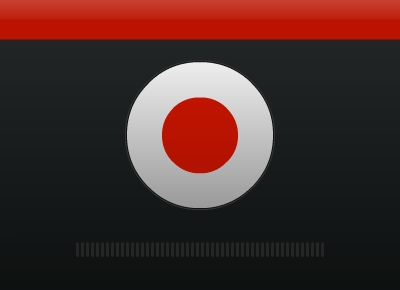
Step 4: Background & Title
Select the Rectangle Tool (R) and create a 400×290 px rectangle and fill it with this linear gradient: #282C2D, #0C0E0E.

Again, use the Rectangle tool to create a #111111, 400×1 px line, duplicate it (Cmd + D) and move it 1px down, fill it with #353535.

Use the Text Tool (T) and write a title for your app, I used this format: Helvetica Neue Regular/Bold, 13pt, #E6E6E6.
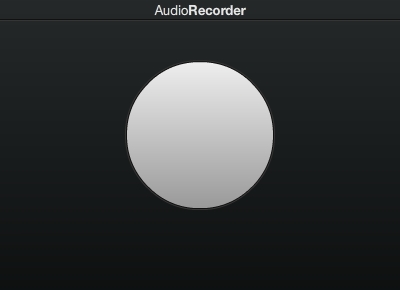
Step 5: Rec Button
Let’s now draw the big button in the center.
Select the Oval Tool (O) and make a 146×146 px circle, fill it with this linear gradient: #EEEEEE, #9A9A9A, use the Gradient Transform Tool (F) to rotate the gradient fill.
Duplicate the shape and make it 76×76 px, center it and change the gradient fill to #C11402, #B11201.
Convert the button to MovieClip and name it recButton.
Double-click the new MovieClip to enter edit mode and create a new keyframe (Insert > Timeline > Keyframe), use the rectangle tool to create two 18×80 px bars and fill them with the last gradient.
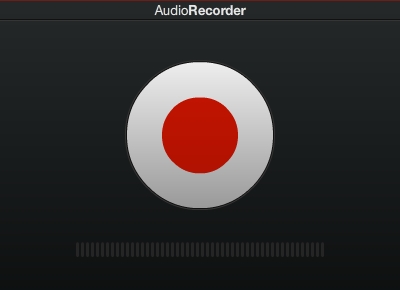
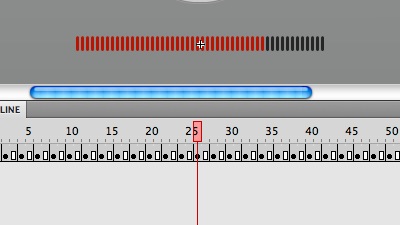
Step 6: Mic Activity Indicator
The microphone activity indicator may take some time; it’s a timeline based indicator so you will have to modify the contents every frame.
With the Rectangle Primitive Tool (R) create a 3×15 px rounded rectangle with a corner radius of 3px and fill it with #252525. Duplicate the shape and make a 5px space between each shape, repeat this process until you reach 50 shapes.
Convert the shapes to MovieClip and name it activity, enter edit mode (double-click) and create 100 frames, 1 keyframe and 1 extra frame per shape.
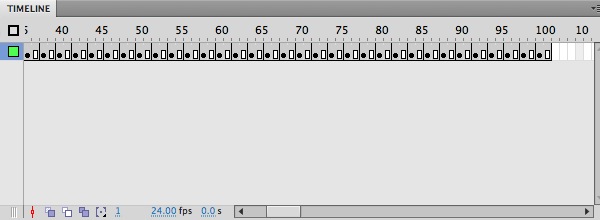
Start changing the color of every shape in the keyframes until you reach the 100th frame, that is, frame 100: all shapes black, frame 98: 1 shape red, frame 96: 2 shapes red, etc.
Step 7: Recording Indicator
Select the Rectangle tool and create a 400×40 px rectangle, fill it with red #BB1301.
Duplicate the shape and resize its height to half, then change the color to white and leave only 20% of alpha.
Use the Text Tool (T) to add a recording message and create a Dynamic Field, name it counter, this will show the elapsed time since the recording started.
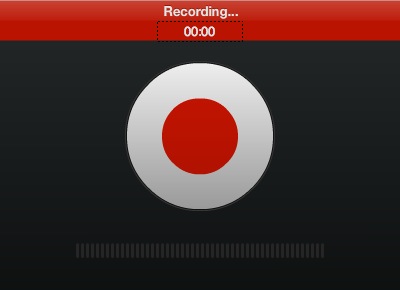
Convert the shape and texts to MovieClip and name it RecBar, mark the Export for ActionScript box and delete the clip from stage.
Step 8: MicRecorder Class
In order to be able to record and encode the data obtained by the microphone, we’ll need to use the MicRecorder class. Download it and move it to your project folder.
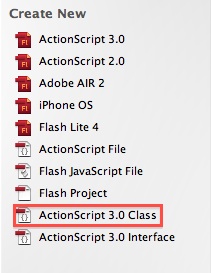
Step 9: New ActionScript Class
Create a new (Cmd + N) ActionScript 3.0 Class and save it as Main.as in your class folder.
Step 10: Package
The package keyword allows you to organize your code into groups that can be imported by other scripts, it’s recommended to name them starting with a lowercase letter and use intercaps for subsequent words, for example: myClasses. It’s also common to name them using your company’s website: com.mycompany.classesType.myClass.
In this example, we’re using a single class, so there isn’t really a need to create a classes folder.
package
{
Step 11: Import Directive
These are the classes we’ll need to import for our class to work, the import directive makes externally defined classes and packages available to your code.
import flash.display.Sprite;
import flash.media.Microphone;
import flash.system.Security;
import org.bytearray.micrecorder.*;
import org.bytearray.micrecorder.events.RecordingEvent;
import org.bytearray.micrecorder.encoder.WaveEncoder;
import flash.events.MouseEvent;
import flash.events.Event;
import flash.events.ActivityEvent;
import fl.transitions.Tween;
import fl.transitions.easing.Strong;
import flash.net.FileReference;
Step 12: Declare and Extend the Class
Here we declare the class using the class definition keyword followed by the name that we want for the class, remember that you have to save the file using this name.
The extends keyword defines a class that is a subclass of another class. The subclass inherits all the methods, properties and functions, that way we can use them in our class.
public class Main extends Sprite
{
Step 13: Variables
These are the variables we’ll use, check out the comments in the code to find out exactly what’s going on.
private var mic:Microphone; //A microphone instance
private var waveEncoder:WaveEncoder = new WaveEncoder(); //Will encode the data captured by the microphone, part of MicRecorder
private var recorder:MicRecorder = new MicRecorder(waveEncoder); //Creates a MicRecorder instance and uses the WaveEncoder class to encode
private var recBar:RecBar = new RecBar(); //The recording indicator created before
private var tween:Tween; //A tween instance, used for animations
private var fileReference:FileReference = new FileReference(); //Used to save the encoded file to disk
Step 14: Constructor
The constructor is a function that runs when an object is created from a class, this code is the first to execute when you make an instance of an object or runs using the Document Class.
public function Main():void
{
	//Stops the rec button and the mic indicator
	recButton.stop();
	activity.stop();

	//Starts the microphone and shows the Settings dialog to activate it
	mic = Microphone.getMicrophone();
	mic.setSilenceLevel(0);
	mic.gain = 100;
	mic.setLoopBack(true);
	mic.setUseEchoSuppression(true);
	Security.showSettings("2");

	addListeners();
}
Step 15: Initial Listeners
This function contains the necessary listeners to start the application.
private function addListeners():void
{
	//Starts recording when the rec button is activated
	recButton.addEventListener(MouseEvent.MOUSE_UP, startRecording);
	recorder.addEventListener(RecordingEvent.RECORDING, recording);

	recorder.addEventListener(Event.COMPLETE, recordComplete);//The recorder listens for a complete event
	activity.addEventListener(Event.ENTER_FRAME, updateMeter);//Updates the mic activity meter
}
Step 16: Start Recording
The next function is called when the user releases the Rec button, it starts by checking the availability of the microphone and then uses the MicRecorder class to capture the data generated by the microphone. The Rec button will now be used to stop the recording.
It also adds the Recording bar to stage to use as a visual alert and time counter.
private function startRecording(e:MouseEvent):void
{
	if (mic != null)
	{
		recorder.record();
		e.target.gotoAndStop(2);

		recButton.removeEventListener(MouseEvent.MOUSE_UP, startRecording);
		recButton.addEventListener(MouseEvent.MOUSE_UP, stopRecording);

		addChild(recBar);

		tween = new Tween(recBar,"y",Strong.easeOut, -  recBar.height,0,1,true);
	}
}
Step 17: Stop Recording
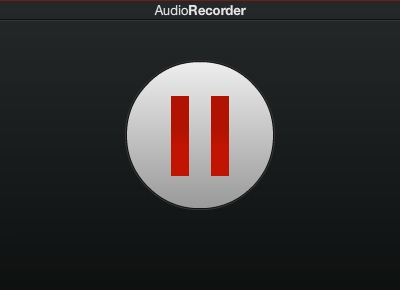
The Rec button will change its functionality when recording, it will now stop the recording when released.
The following code will be executed when the Rec (stop) button is activated.
private function stopRecording(e:MouseEvent):void
{
	recorder.stop(); //Stop recording

	mic.setLoopBack(false);
	e.target.gotoAndStop(1);//Change button icon

	//Change the listeners to return the buttons original function
	recButton.removeEventListener(MouseEvent.MOUSE_UP, stopRecording);
	recButton.addEventListener(MouseEvent.MOUSE_UP, startRecording);

	tween = new Tween(recBar,"y",Strong.easeOut,0, - recBar.height,1,true); //Hides the recording bar
}
Step 18: Update Activity Indicator
This function updates the Microphone activity indicator. It uses the activityLevel property to get a number from 0 to 100 and then uses it in the activity MovieClip.
private function updateMeter(e:Event):void
{
	activity.gotoAndPlay(100 - mic.activityLevel);
}
Step 19: Record
The next function sets the elapsed time in the Recording bar.
private function recording(e:RecordingEvent):void
{
	var currentTime:int = Math.floor(e.time / 1000);//Gets the elapsed time since the recording event was called

	recBar.counter.text = String(currentTime);//Sets the time to the TextField

	//Formats the text used in the time (2 digits numbers only in this example)
	if (String(currentTime).length == 1)
	{
		recBar.counter.text = "00:0" + currentTime;
	}
	else if (String(currentTime).length == 2)
	{
		recBar.counter.text = "00:" + currentTime;
	}
}
Step 20: Record Complete
When the user stops the recording, a Complete event will be dispatched and we’ll use a FileReference instance to save the recorded file to disk.
private function recordComplete(e:Event):void
{
	fileReference.save(recorder.output, "recording.wav");
}
Conclusion
The MicRecorder class is a great addition to ActionScript 3, be sure to bookmark this class to use it in your future projects.
Thanks for reading this tutorial, I hope you’ve found it useful!
Hi Blancer,
Thanks so much for the tutorial!
I think I’m doing something wrong and I’m getting errors.
Can you send me your source so I can go through your files and see what I’ve done wrong?
Thanks so much,
~D
Nice tutorial. easy to implement.
I need exactly same functionality on IOS. How I can replace fileReference.save in IOS or Android??
I have to save file on IOS and ANdroid device.
Thanks