In this 3 part Maya workflow tutorial you will learn how to model, texture, and render a Katana, the legendary Samurai sword. For the modeling portion, we will use Maya’s basic polygon editing tools, while UVlayout will be used to create the UVs, and of course Photoshop to create the textures. We will also briefly cover Mental Ray for rendering the final image.
This tutorial is Day 3 in a series – Go to Day 1, or Day 2.
Step 1
The last time we prepared our model for texturing, we laid out the UVs and made UV snapshots. Now we are going to make the textures and bump maps in Photoshop. I’m going to use textures from www.cgtextures.com, where you can find a great choice of high quality textures completely free. Note: Redistributing textures from cgtextures is prohibited, so anywhere I use a texture from their site, I’m going to put the directory and keywords for searching so you can download it yourself. Luckily the finished textures along with a model are allowed for distribution. So let’s get started .
Step 2
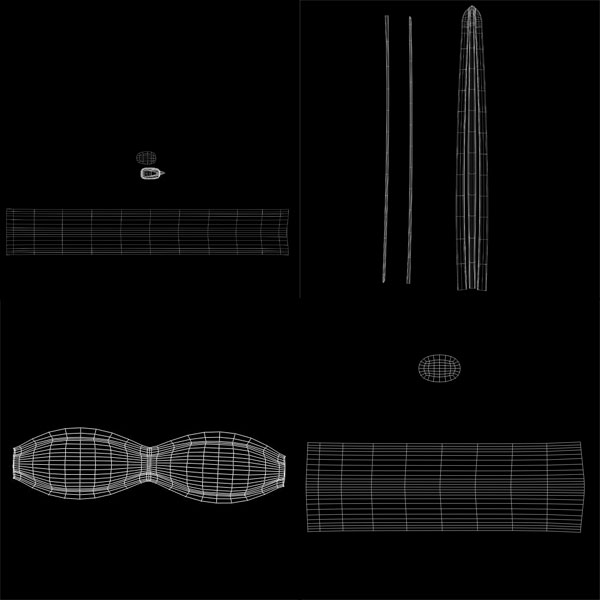
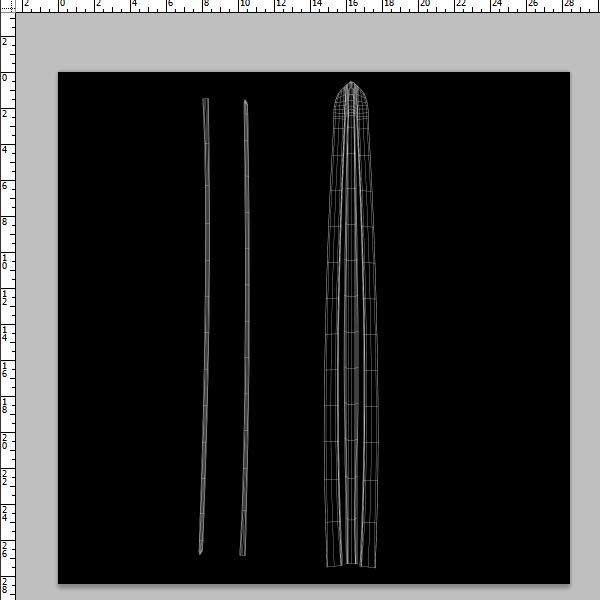
Start Photoshop and open the outUV_blade.jpg (the UV snapshot we made earlier).
Step 3
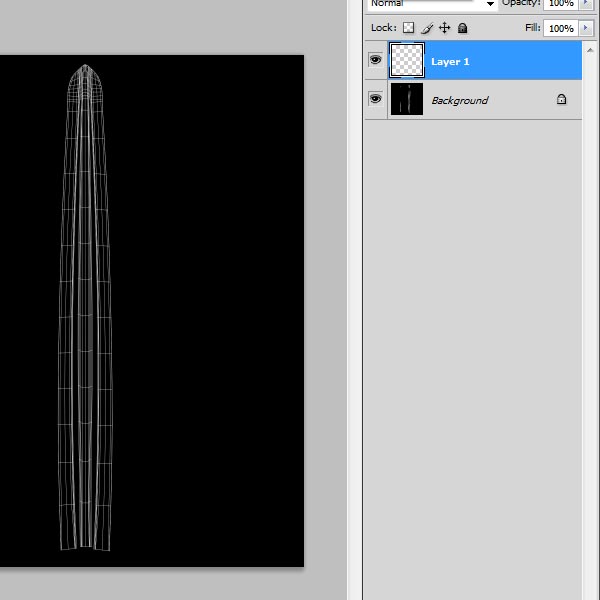
Create a new layer (Layer>New>Layer), or you can use the keyboard shortcut (Shift+Ctrl+N), or click on the little icon in the layer palette .
Step 4
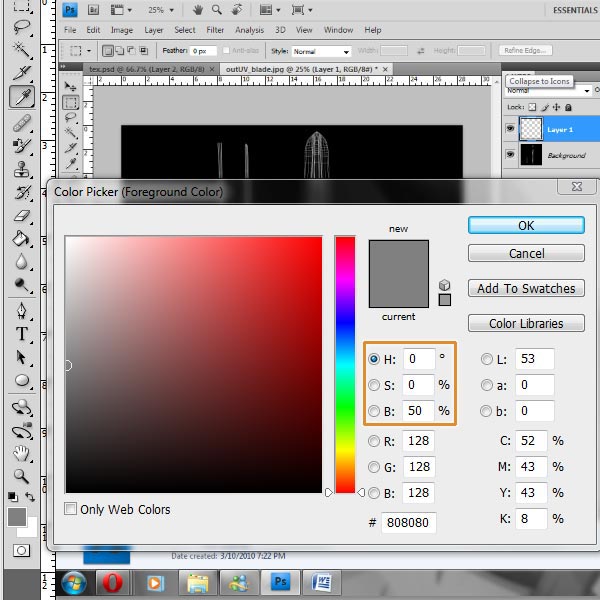
Fill the new layer with 50% gray.
Step 5
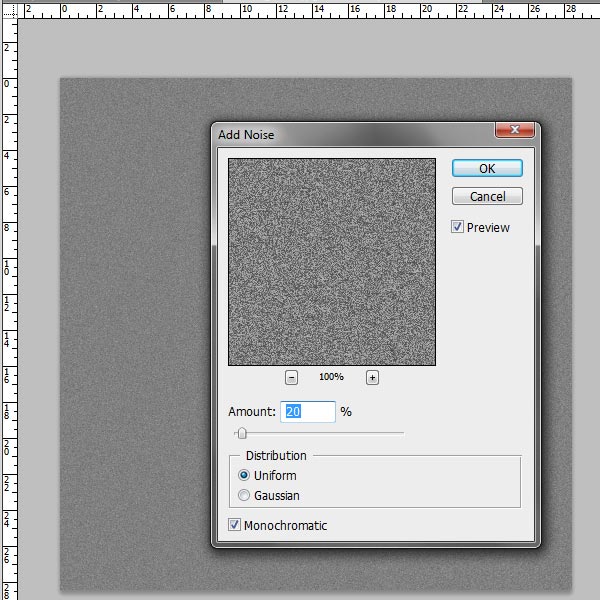
Go to (Filter>Noise>Add noise). For amount enter about 20%, for distribution choose Uniform, and check Monochromatic.
Step 6
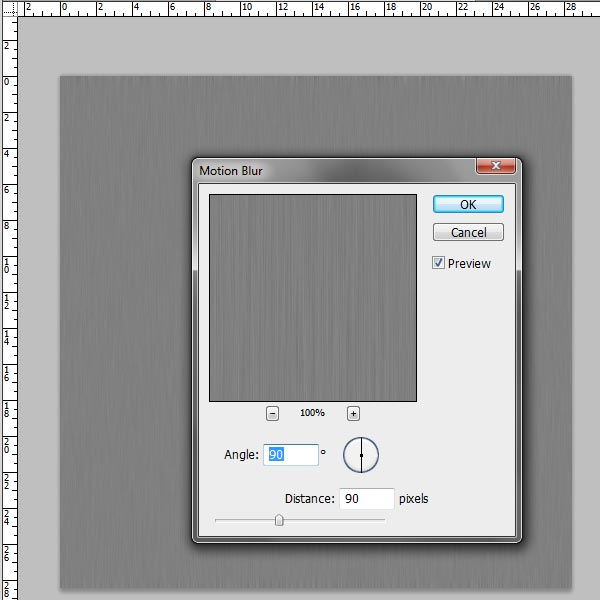
Go to (Filter>Blur>Motion Blur). For angle enter 90 degrees, and for distance enter 90 pixels. With this we have our base for the metal .
Step 7
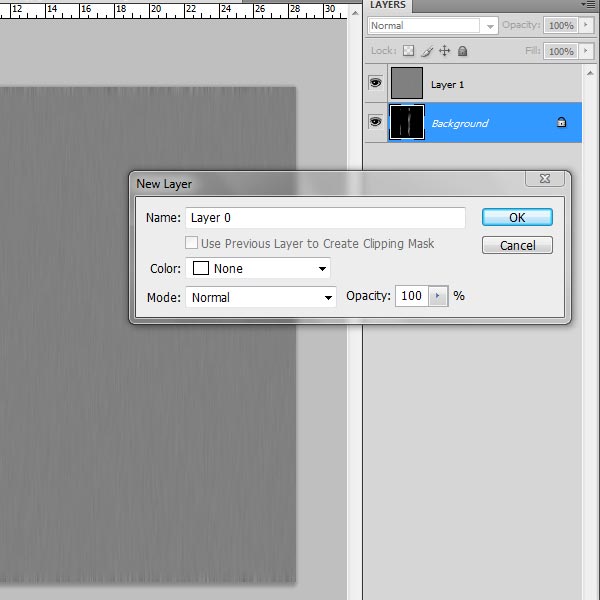
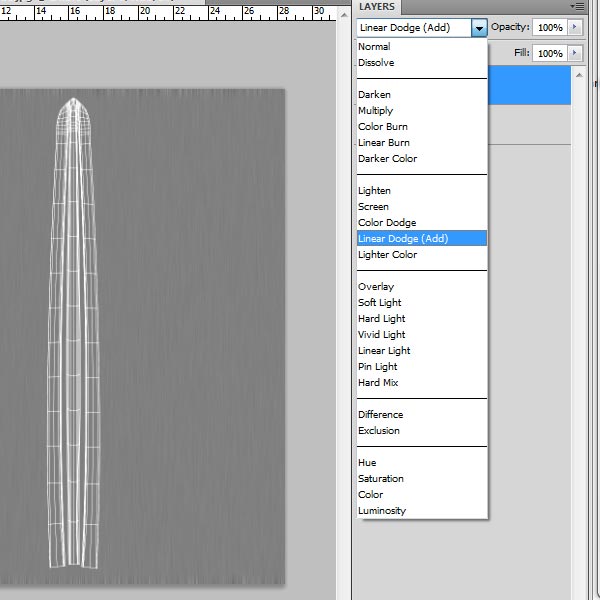
Double click on the background layer and then click OK in the new window. With this we have unlocked this layer.
Step 8
Place the unlocked layer on top of the metal base layer, and choose Linear Dodge for the blending mode.
Step 9
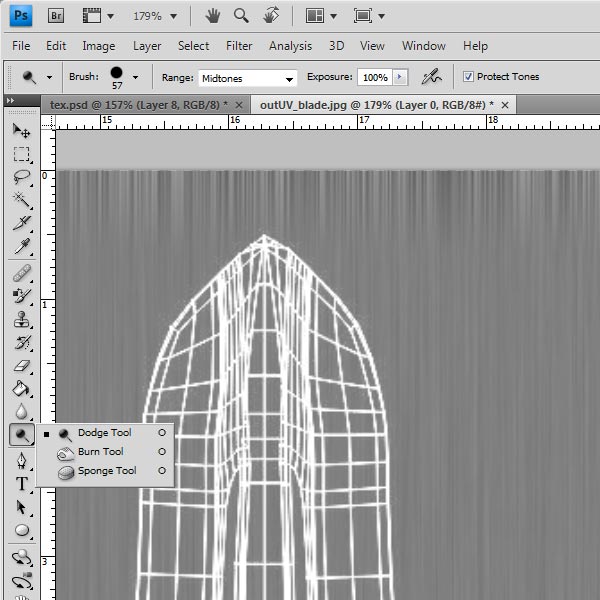
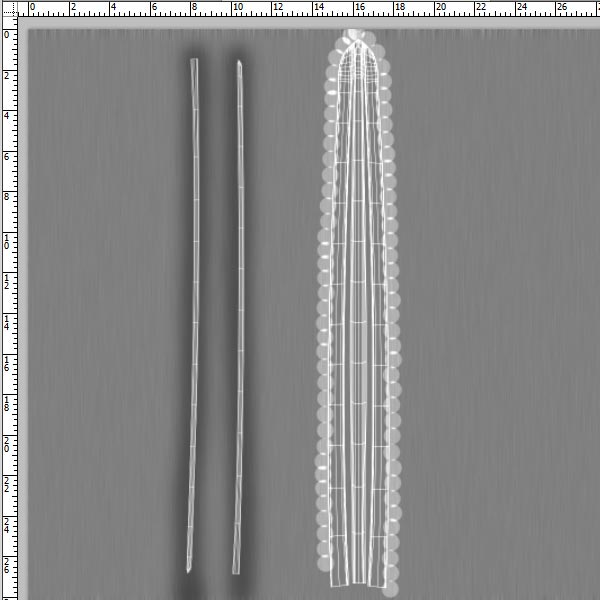
Now we are going to make the Hamon (the pattern on the edge of the blade). For that we are going to use the Dodge tool.
Step 10
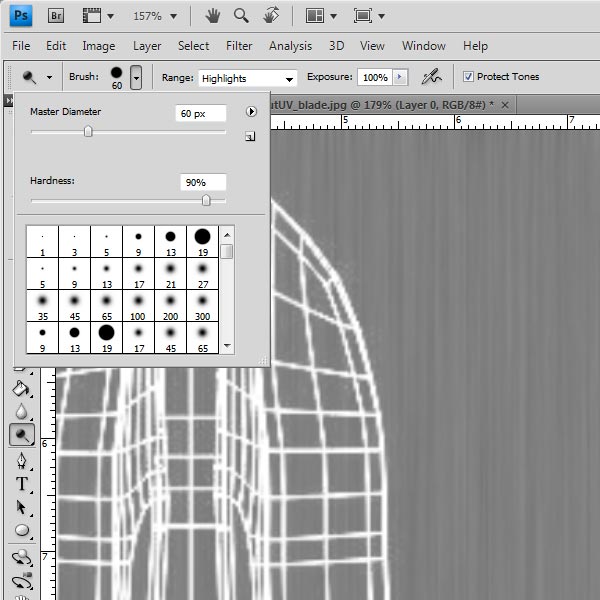
For the brush shape choose a round brush with radius of about 60px, 90% hardness, and for the range choose Highlights.
Step 11
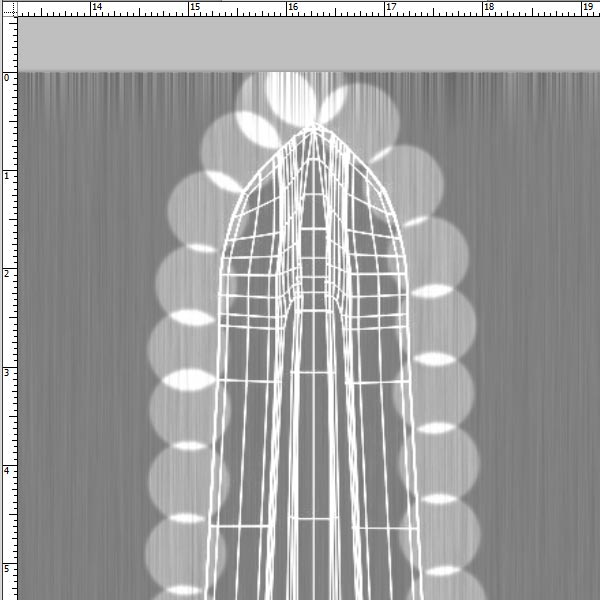
Add the pattern by just clicking to create the circle pattern, but only about 1/4 to 1/3 of the circle should fall on the edge. Make sure there is no overlapping on the edge itself. Repeat this step all the way down and on the other side too.
Step 12
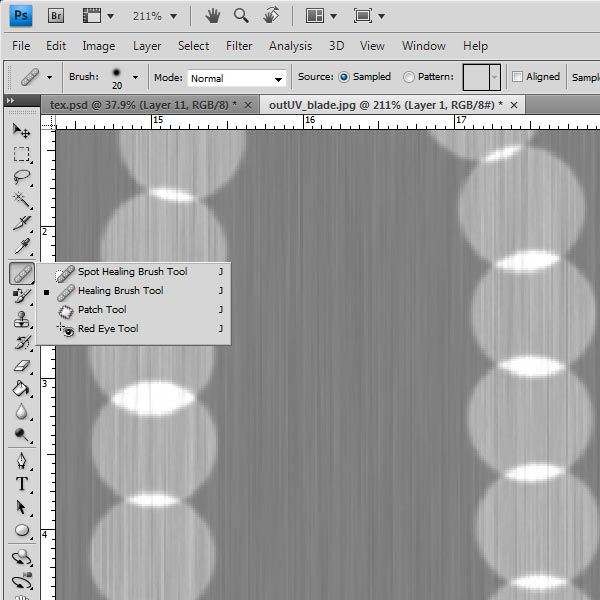
Take the Healing Brush tool.
Step 13
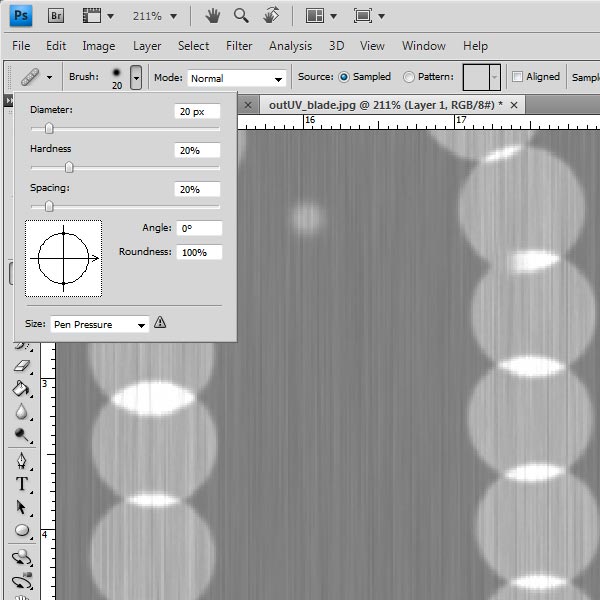
Make the brush size 20px and the hardness 20%.
Step 14
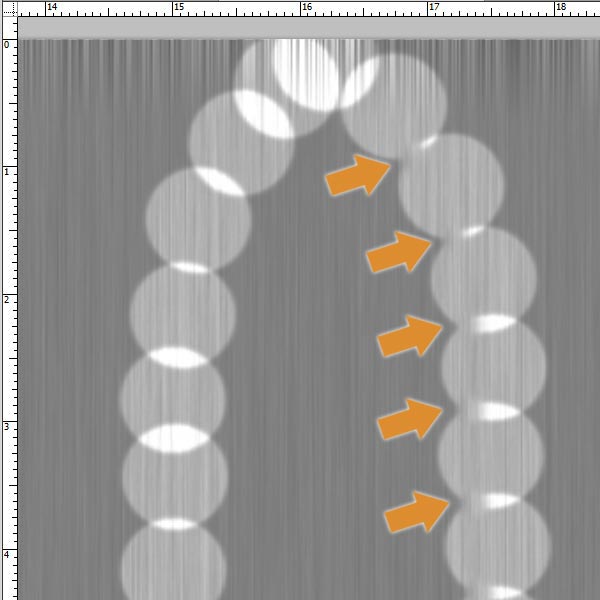
Press the alt key, and click on the inside of the circles to take a sample. Soften the point where to circles touch.
Step 15
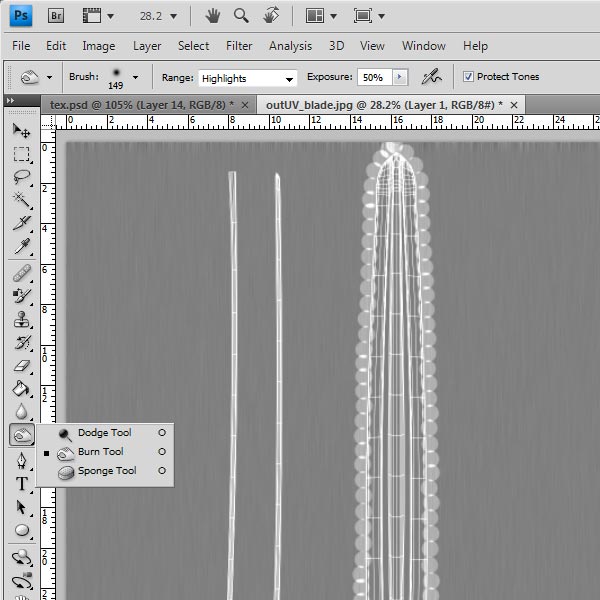
Take the Burn tool. The default settings are fine, but just choose a bigger brush (something around 150px).
Step 16
With the burn tool, darken the UVs of the blood groove.
Step 17
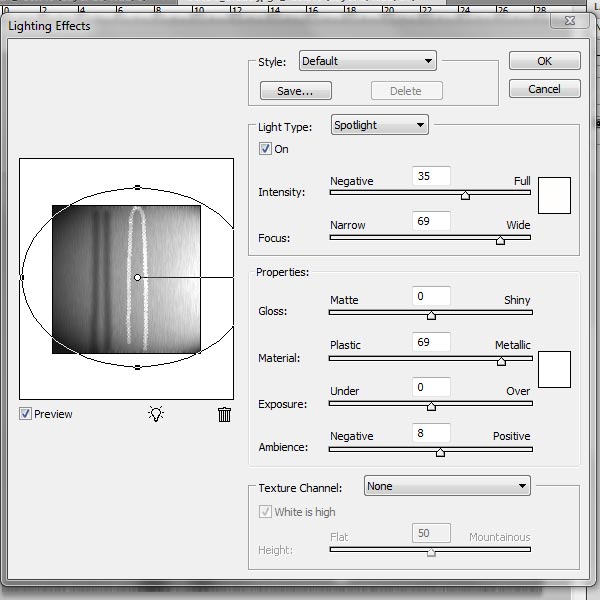
Go to (Filter>Render>Lighting Effects). The shape of the light area, should cover the whole right part of the picture, so that the highlight is in front of the Hamon and the Hamon is lit evenly.
Step 18
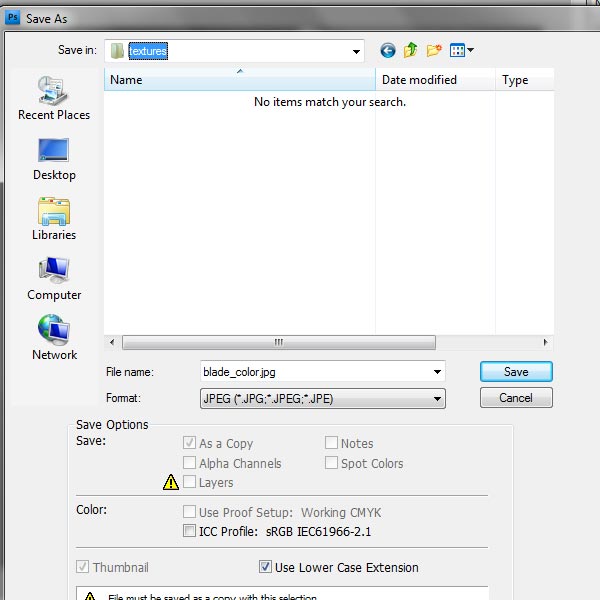
Save the image in your textures folder as a jpg, with blade_color for the file name. Save the psd as well.
Step 19
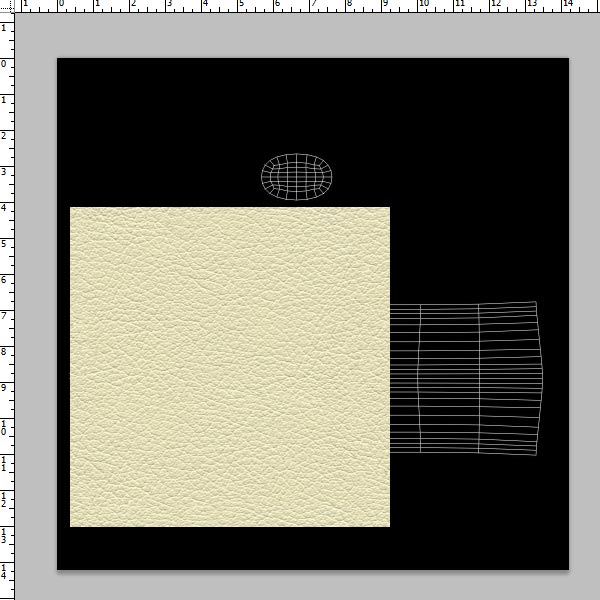
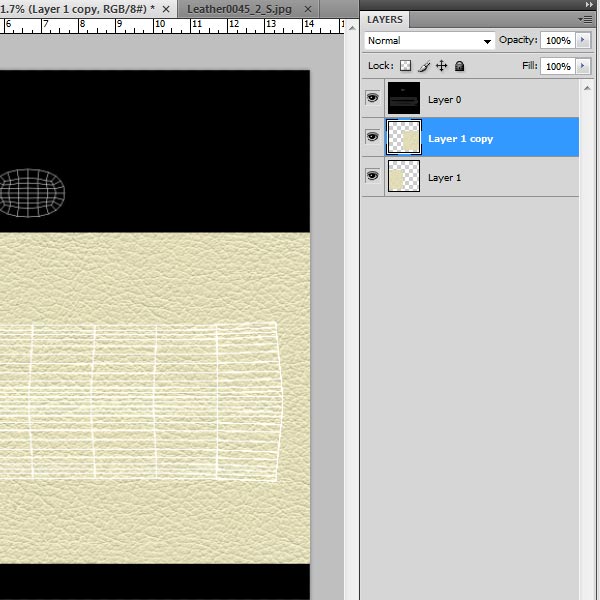
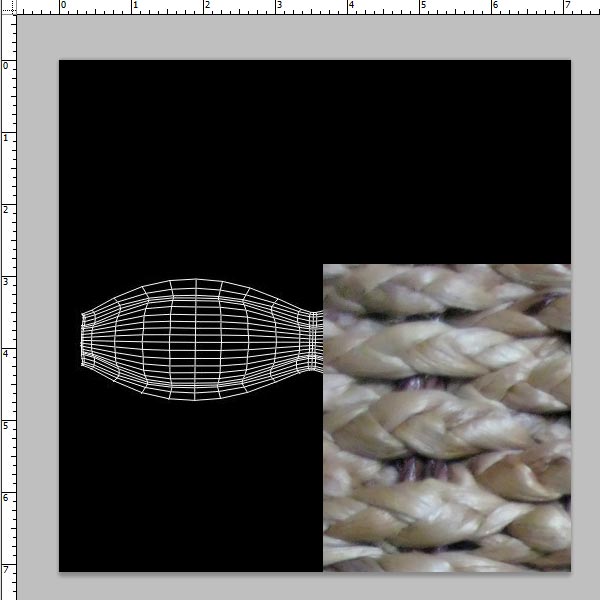
Open the outUV_handle. This one is going to be easy. We will use a leather texture for the handle. You can use any leather texture you like, but if you would like to follow along, we are going to use a leather texture from cgtextures.com. It’s under fabric>leather, it’s a soft yellow leather texture, file name Leather0045. Keywords for searching “leather skin fine human” .
Step 20
If you downloaded the tileable one, duplicate it by holding the Alt key and dragging the layer, or by right clicking on the layer in the layer palette and going to “Duplicate layer”.
Step 21
Merge the two leather layers. In the layer palette, select the two layers, right click>Merge Layers.
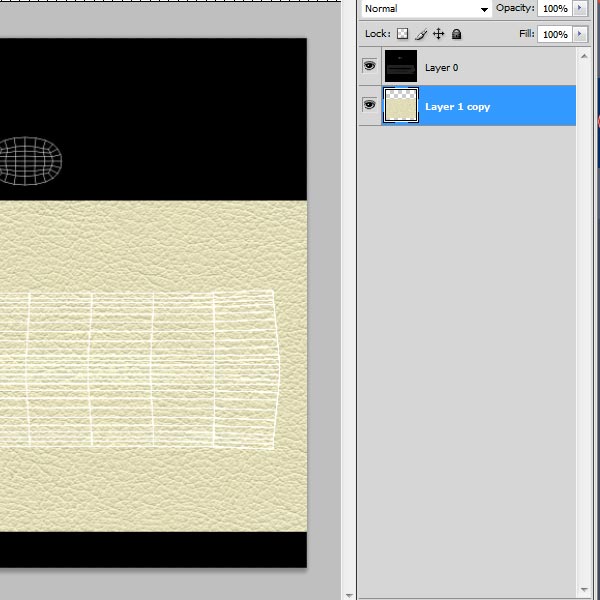
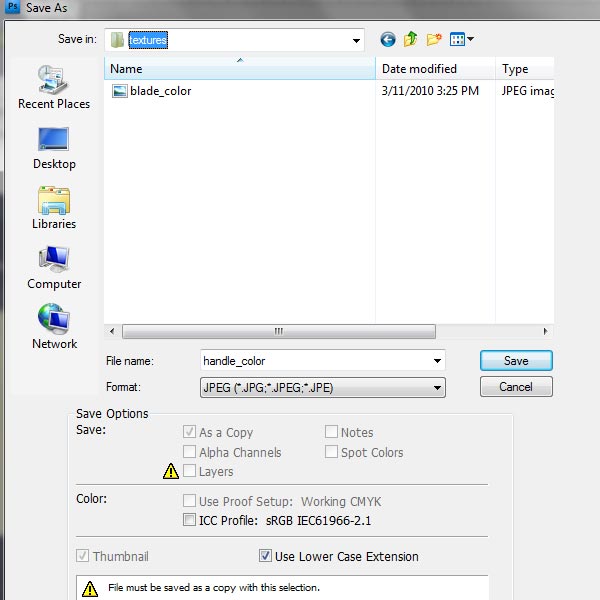
Step 22
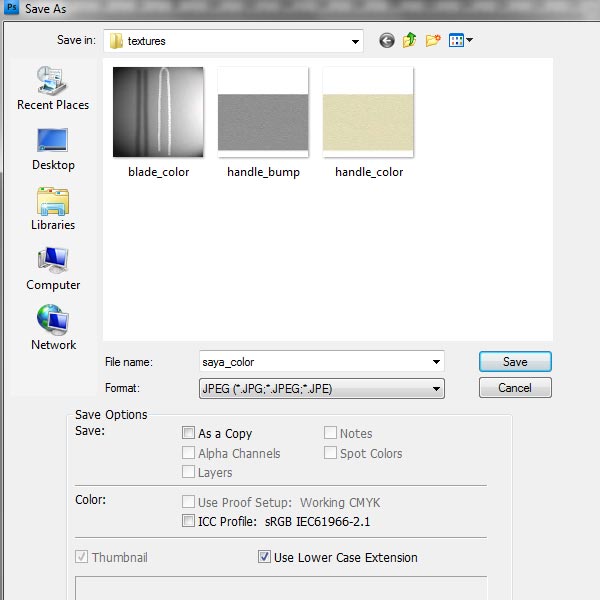
Save this image in your textures folder as a jpg, for file name enter handle_color.
Step 23
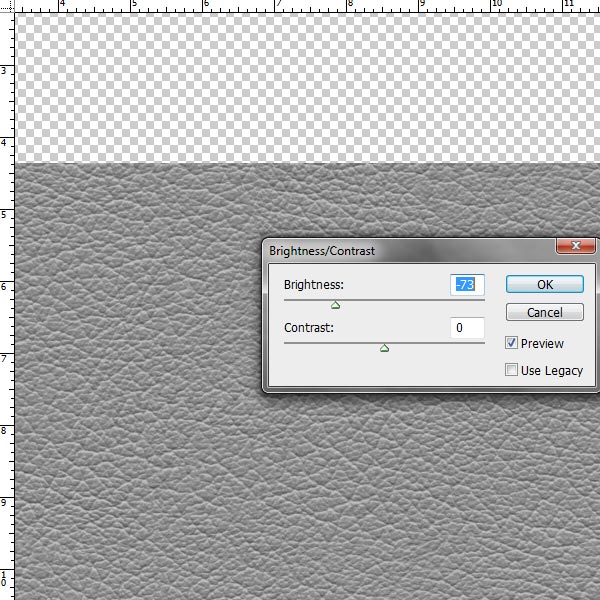
Duplicate the leather layer and go to (Image>Adjustments>Desaturate).
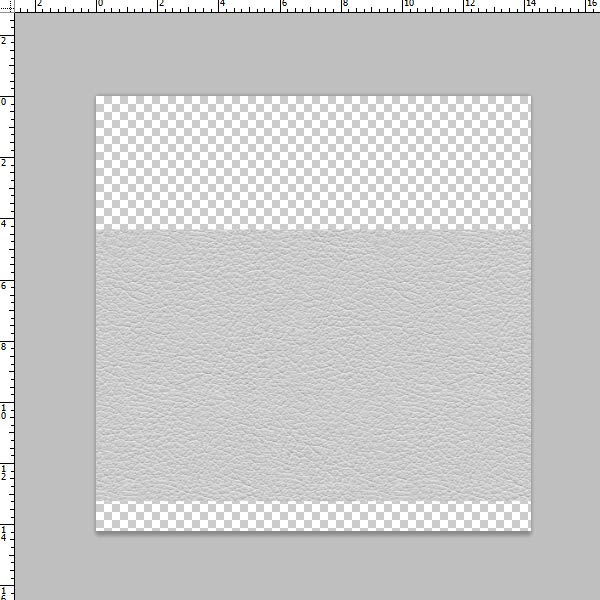
Step 24
Go to (Image>Adjustments>Brightness/Contrast), and tone down the brightness.
Step 25
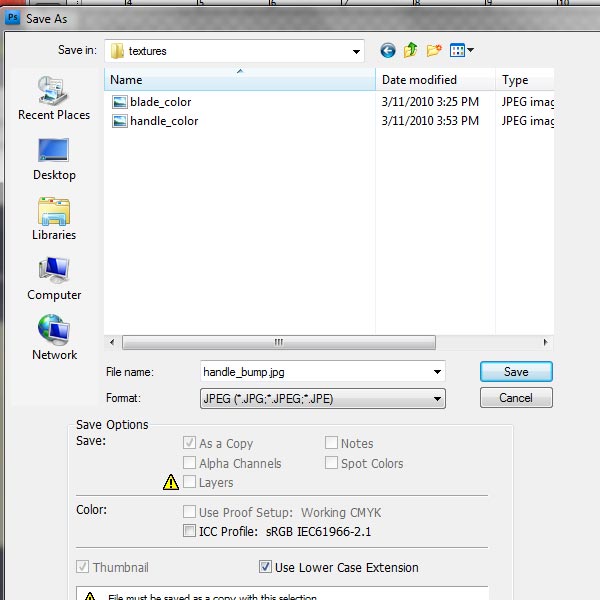
Save this image in your textures folder as a jpg, the for file name enter handle_bump. Save the psd as well.
Step 26
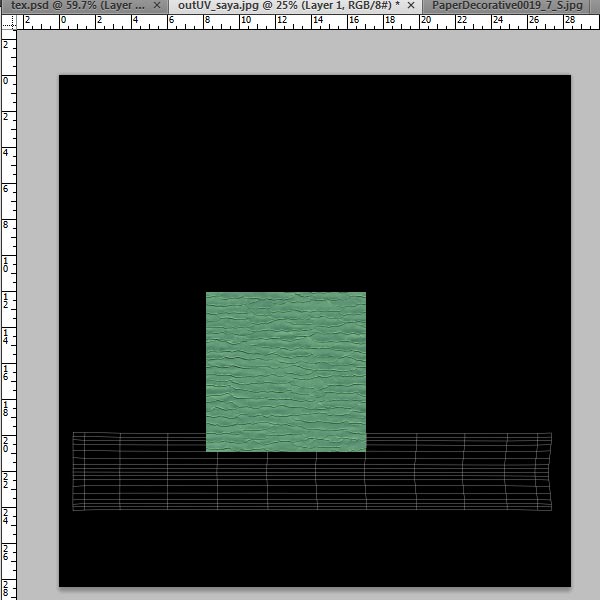
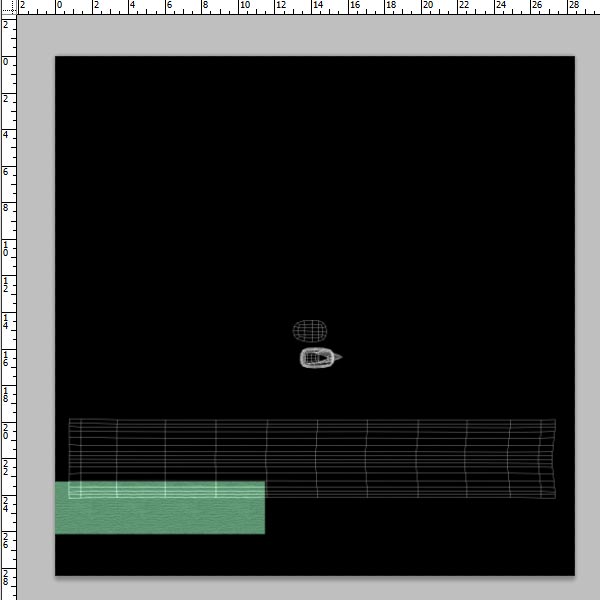
Open the outUV_saya. For the texture here we are going to use a texture from cgtextures.com. It’s under paper>decorative paper, and it is a green creased paper. File name PaperDecorative0019. Keywords for searching, “paper folds fold crumpled crumples crumple wrinkle wrinkled wrinkles”.
Step 27
If you downloaded the tileable one, place it, and duplicate it for the length of the scabbard.
Step 28
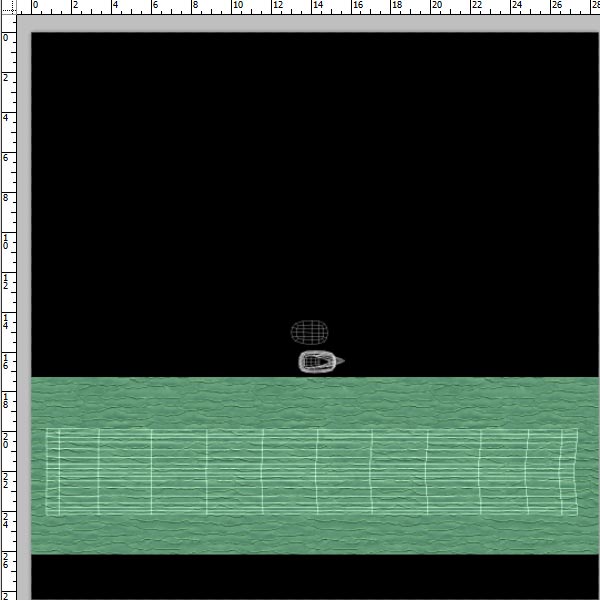
If you go to viewing 100% of the image, you will notice that the texture creases are a bit big, and we want them a bit more subtle. Merge the duplicates and scale the merged layer down.
Step 29
Duplicate the merged layer again so it fills the scabbard UVs.
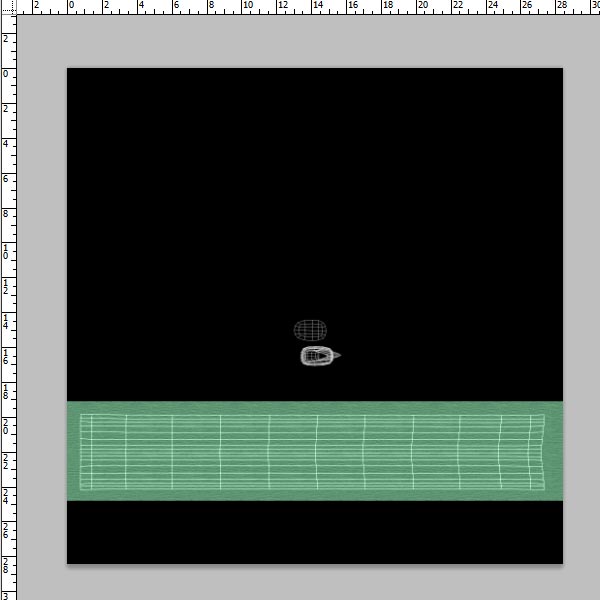
Step 30
Merge these layers, and duplicate the merged layer.

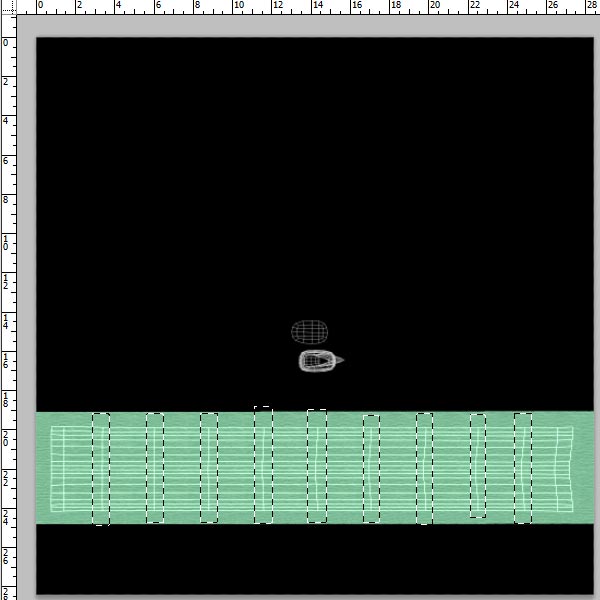
Step 31
Go to (Image>Adjustments>Brightness/Contrast) and lighten the layer a bit.

Step 32
Using the marquee tool, make rectangular selections along the length of the scabbard. Note: Holding the Shift key after you have made your first selection will allow you to make multiple selections.
Step 33
Press (Ctrl+Shift+i) to invert the selection, and then delete the selected area.
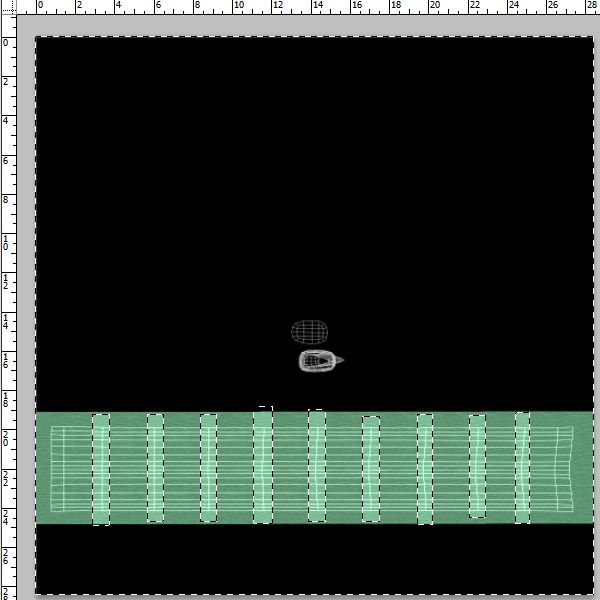
Step 34
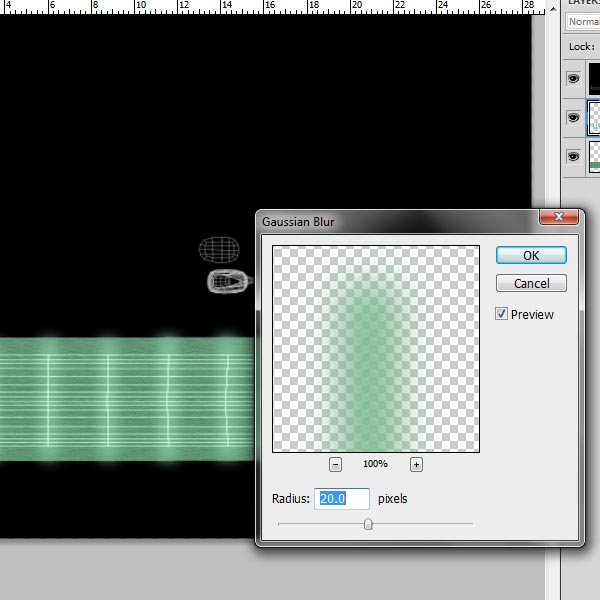
Go to (Filter>Blur>Gaussian Blur), and enter 20px for the radius. These stripes will break up the monotony of the texture.
Step 35
Save this image in your textures folder as a jpg, for the file name enter Saya_color. Save the psd as well.
Step 36
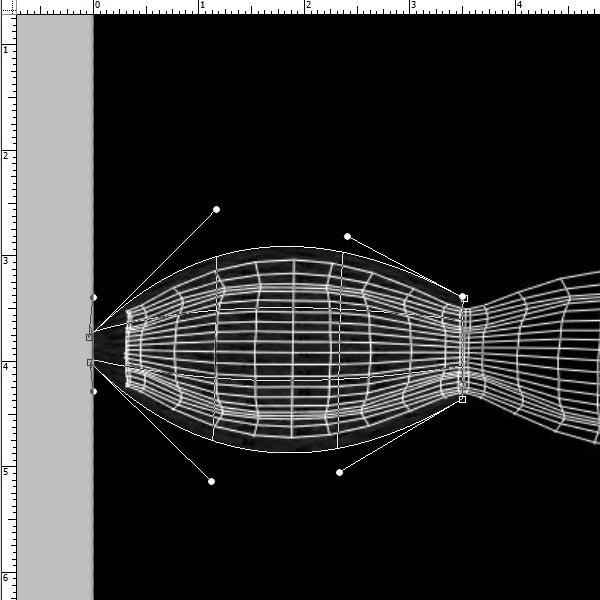
Open the outUV_cloth.jpg. Here we are going to use a fabric weave texture from cgtextures.com. It’s under Fabric>Plain Fabric. File name FabricPlain0079. Keyword for searching “fabric weave woven”.
Step 37
Scale the fabric down to half of the bow using the scale tool (Edit>Free transform). Hold the shift key to scale proportionally.

Step 38
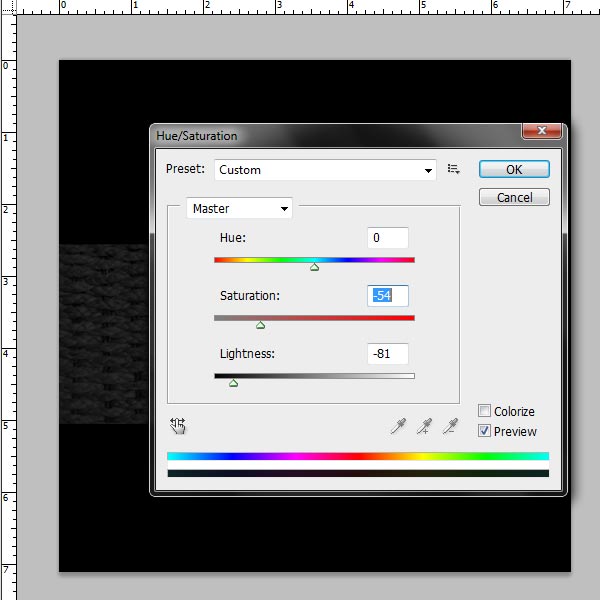
Go to (Image>Adjustments>Hue/Saturation) and darken the layer.
Step 39
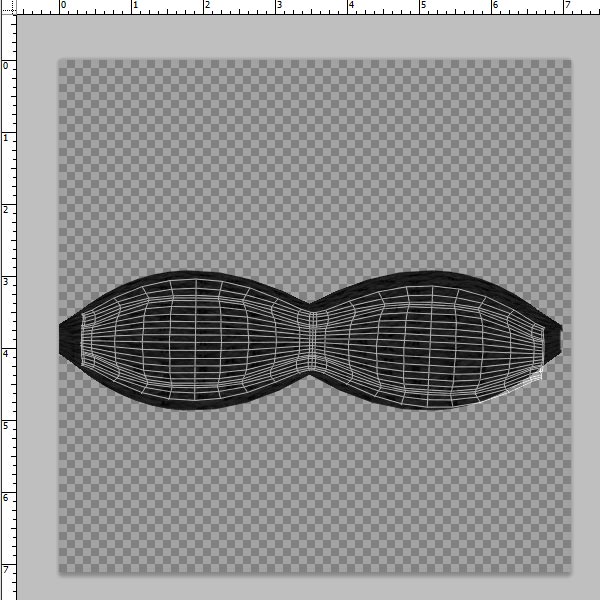
Go to (Edit>Transform>Warp) and warp the layer to follow the curvature of the bow.
Step 40
Duplicate the layer and place it on the other half of the bow.
Step 41
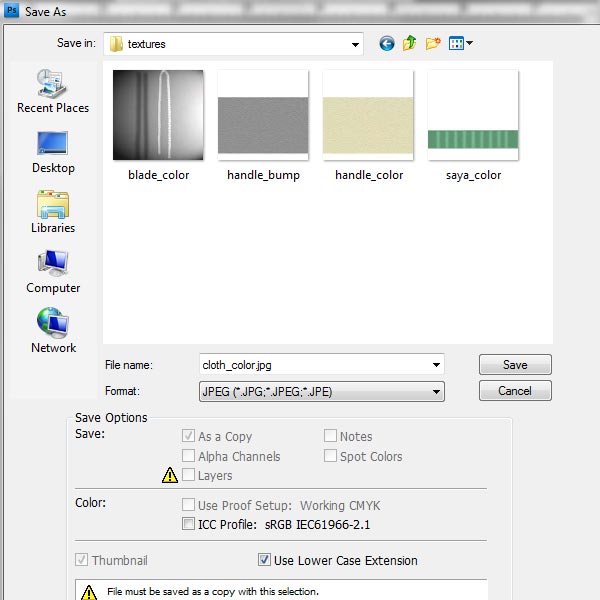
Save this image in your textures folder as a jpg. For the file name, enter cloth_color.
Step 42
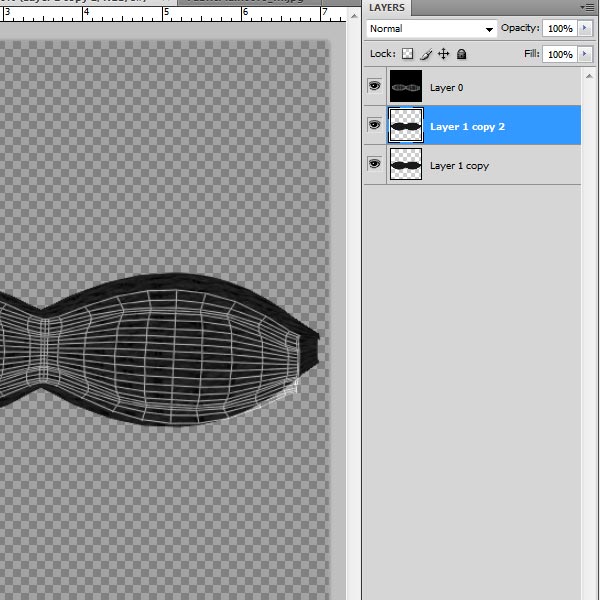
Merge the layer and duplicate the merged layer.
Step 43
Go to (Image>Adjustments>Brightness/Contrast) and lighten the layer. Desaturate it by going to (Image>Adjustments>Desaturate).

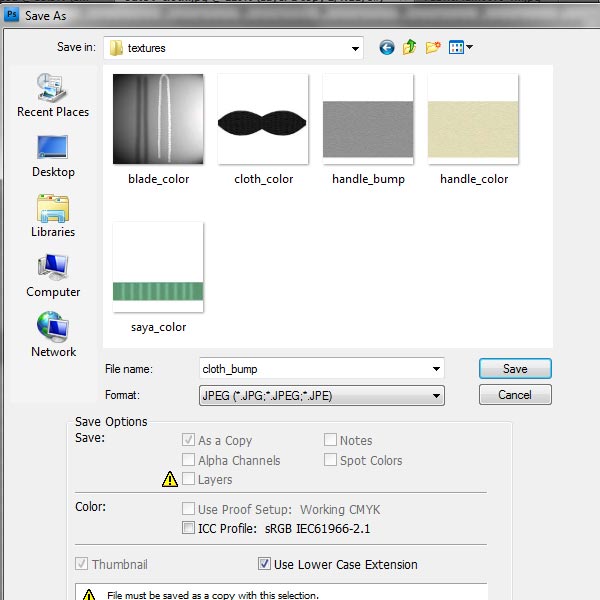
Step 44
Save this image in your textures folder as a jpg. For the file name, enter cloth_bump. Save the psd as well.
Step 45
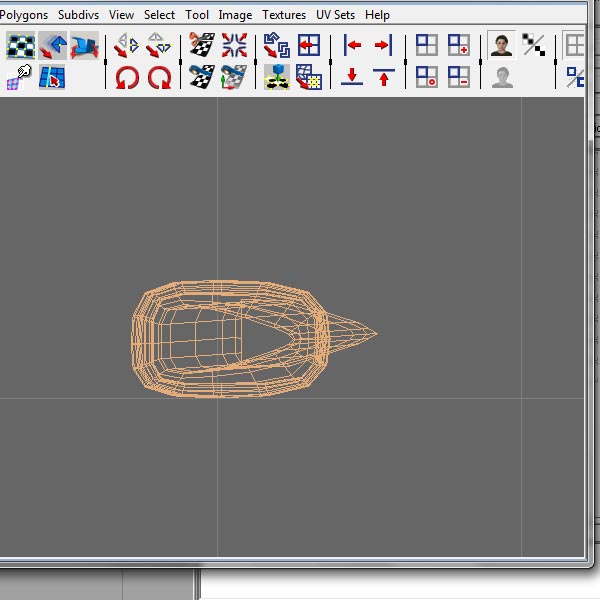
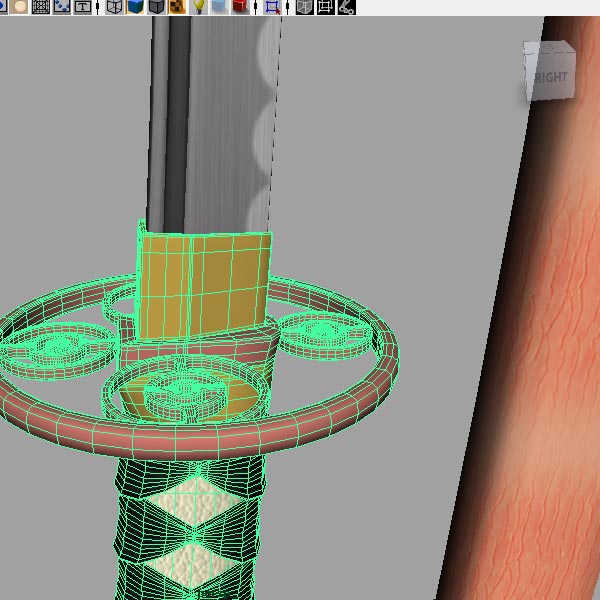
Open Maya, and your most recent scene. You may have noticed that your meshes have hard edges after importing back from UVLayout. To fix that select everything, and under “Polygons”, go to (Normals>Soften Edge).
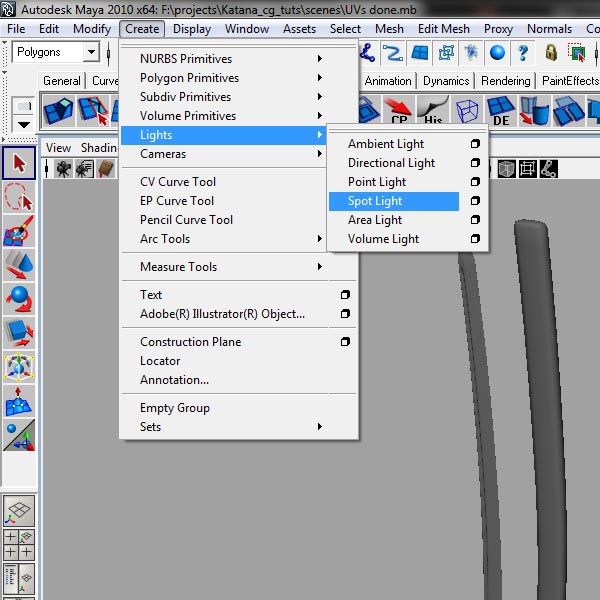
Step 46
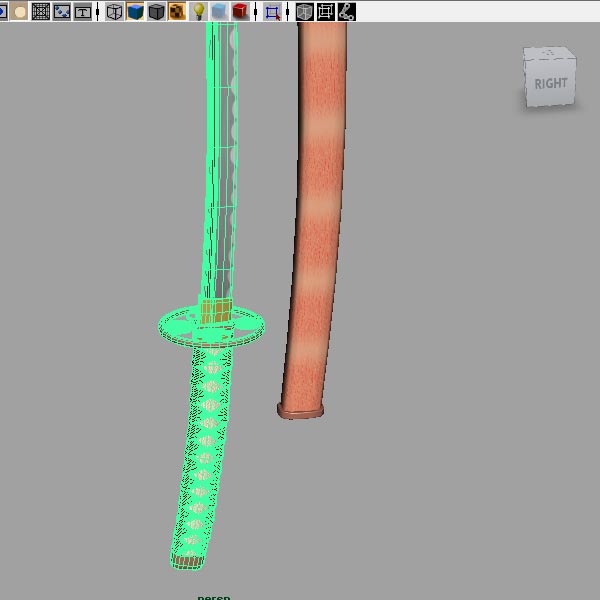
For better previewing of your textures, add one light for now. Go to (Create>Lights>Spot Light).
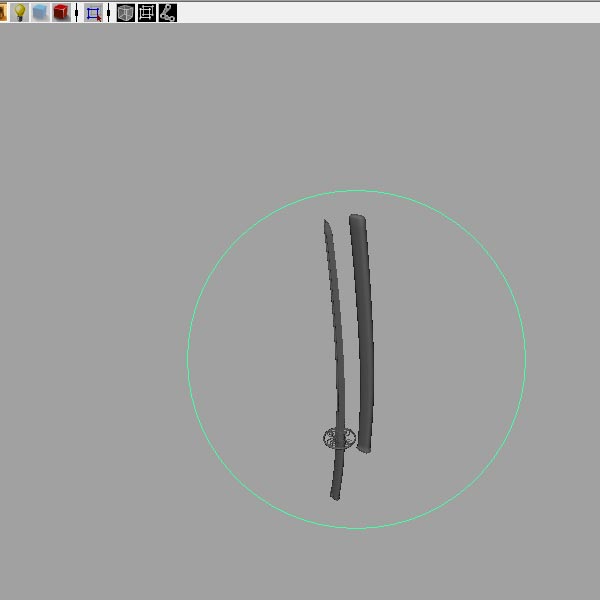
Step 47
By default the light will be selected, so go to (Panels>Look trough Selected). Place the light so that it hits the edge of the blade at an angle. When you are finished with positioning the light, either click the perspective icon on the side or go to (Panels>Perspective>persp) to go back to perspective view.
Step 48
Open up the Hypershade by going to (Window>Rendering Editors>Hypershade).
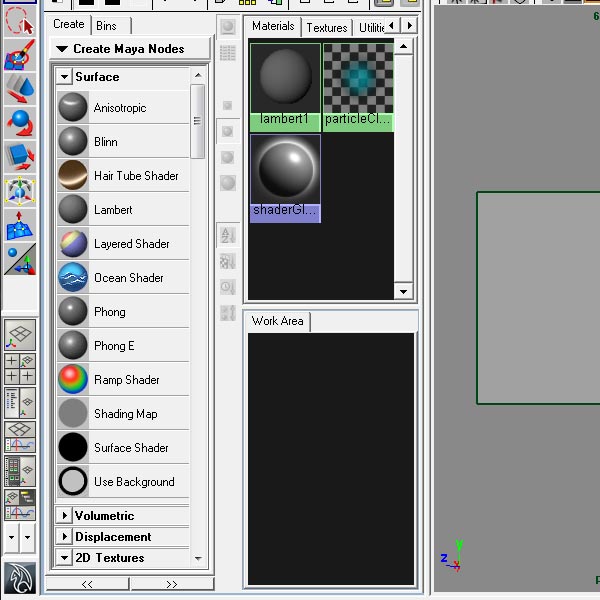
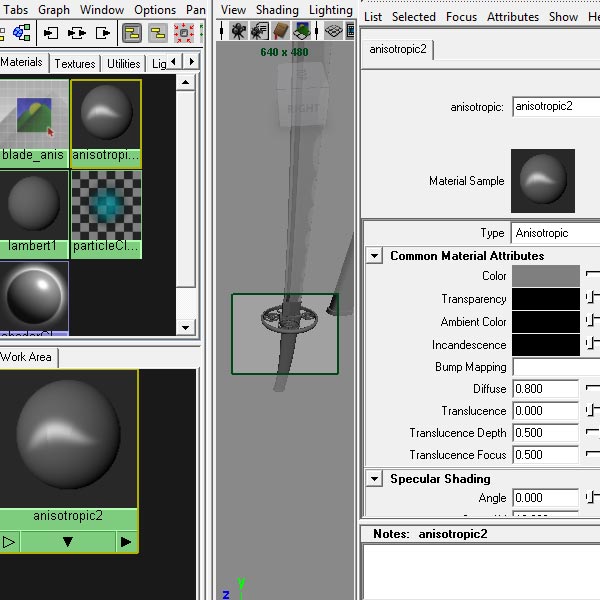
Step 49
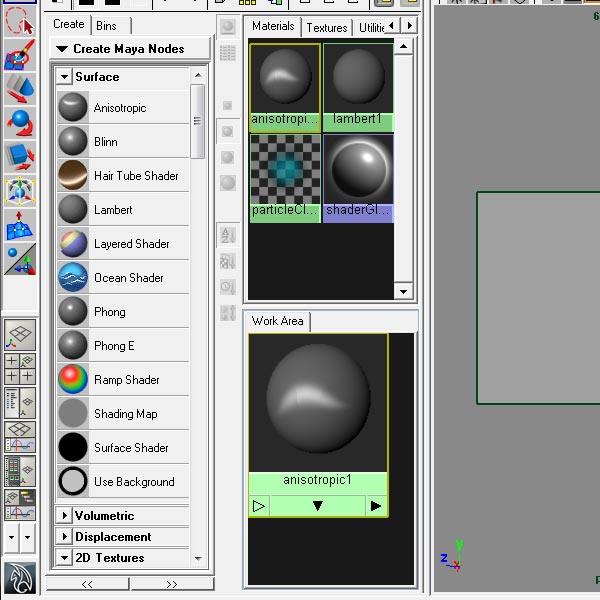
Drop an Anisotropic Maya shader, and double click it to open the Attribute Editor.
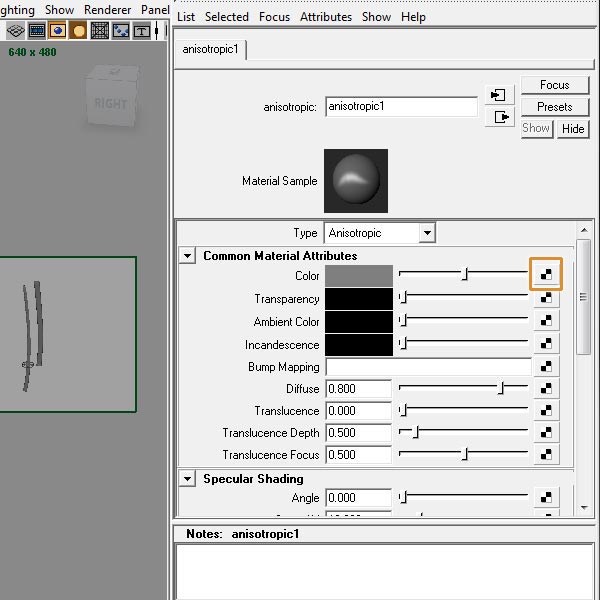
Step 50
In the Attribute Editor, click the checkered square next to color.
Step 51
In the Create render Node windows, choose File.
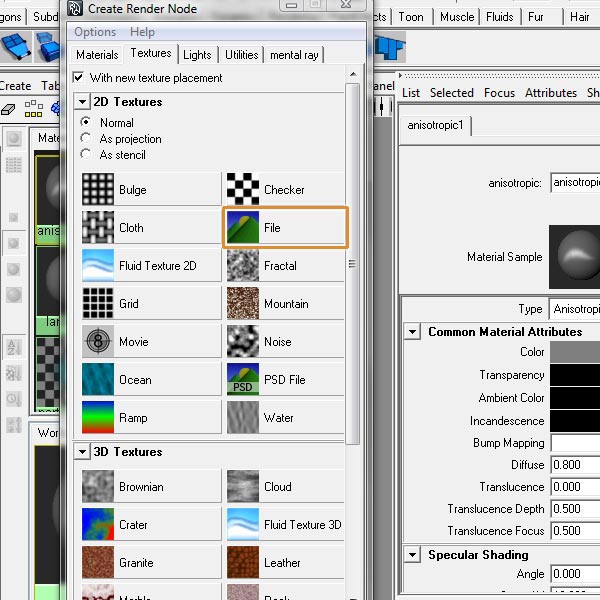
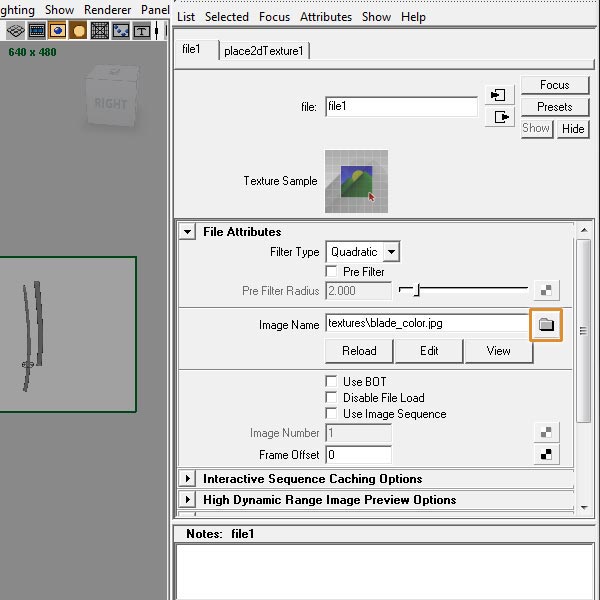
Step 52
Under the file attributes, click the folder icon next to image name, navigate to your textures folder, and choose blade_color.jpg.
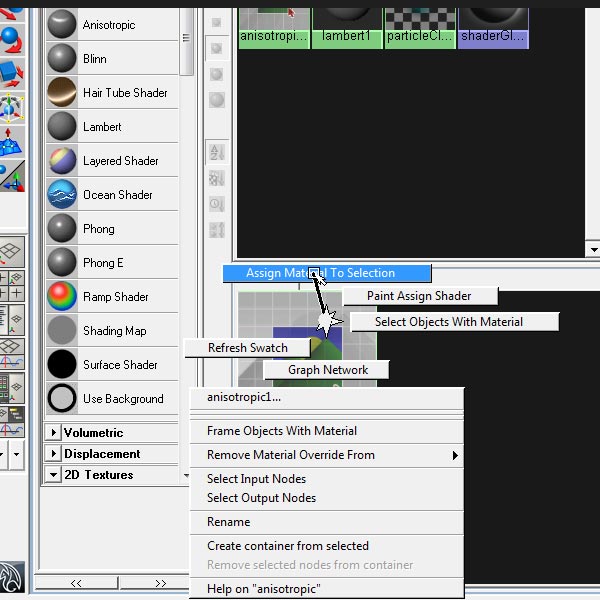
Step 53
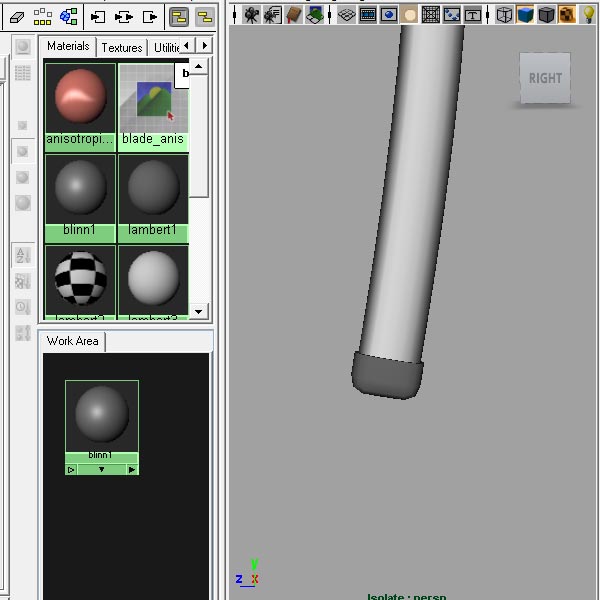
With the Hypershade open, select the blade mesh, then right click on the anisotropic shader in the Hypershade and go to Assign Material to Selection.
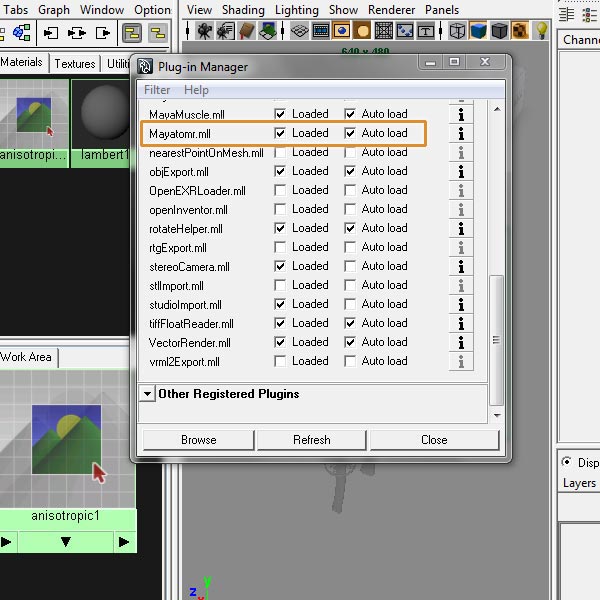
Step 54
We are now going to do the rendering with Mental ray, so go to (Window>Settings/Preferences>Plug-in Manager) and make sure “Mayatomr.mll” is checked.
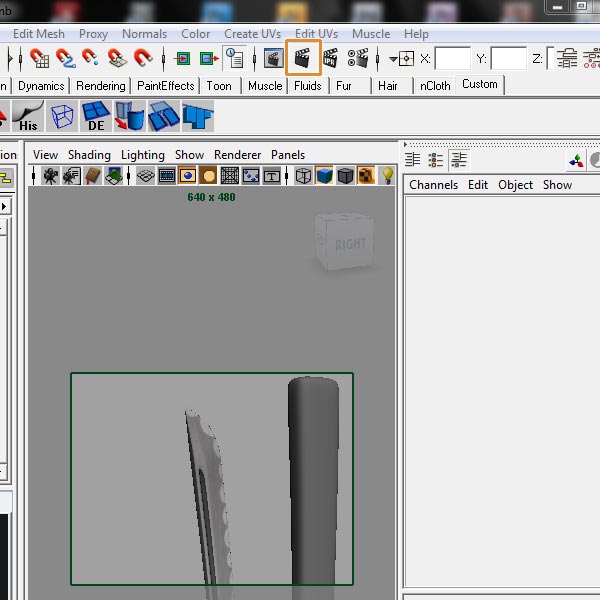
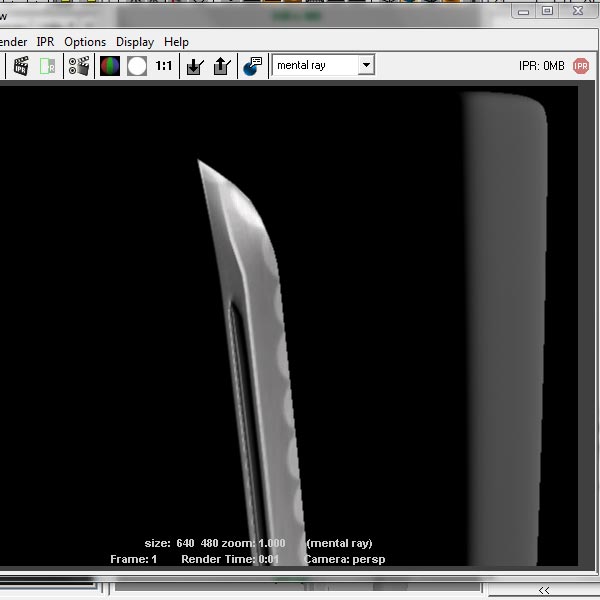
Step 55
Press the Render the current frame button. Make sure you are using mental ray for rendering. Looks pretty good.
Step 57
Add another Anisotropic shader, and double click it to open the attribute editor.
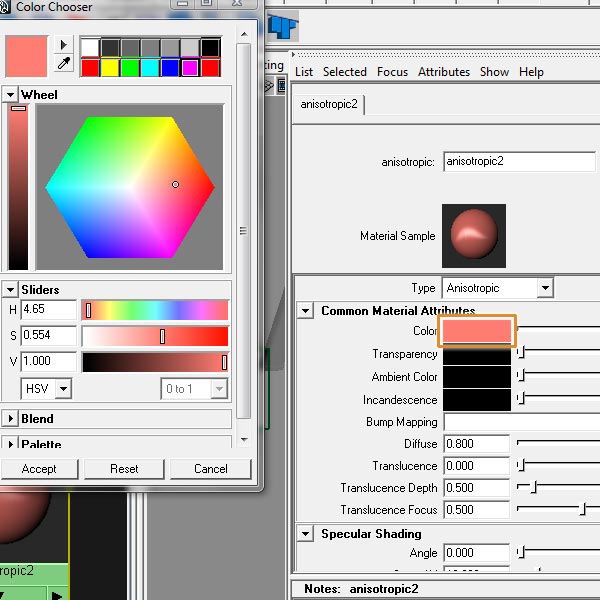
Step 58
Click on the rectangle next to Color. In the Color Chooser, pick a color for the Tsuba. And press Accept.
Step 59
Select all of the pieces of the Tsuba .
Step 60
Assign the colored anisotropic material.
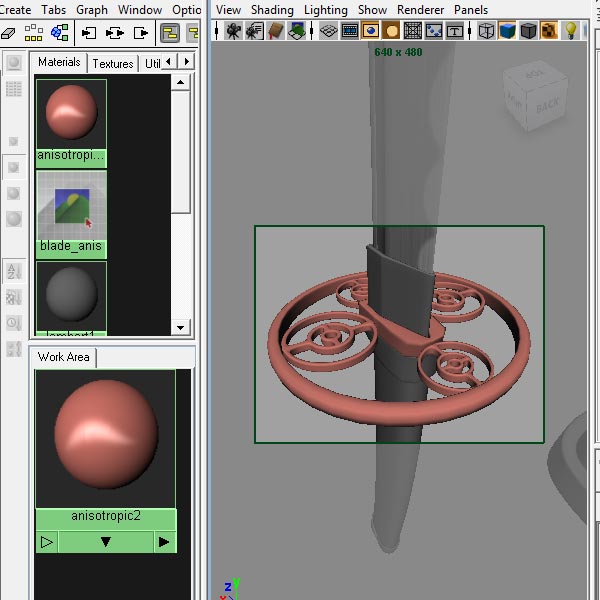
Step 61
Do a test render to see if you like the color. Looks good for now.
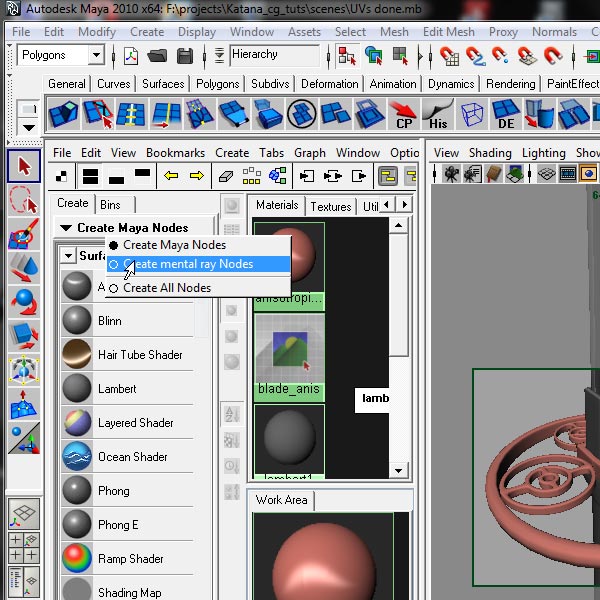
Step 62
In the Hypershade, click on Create Maya Nodes, and choose Create mental ray Nodes.
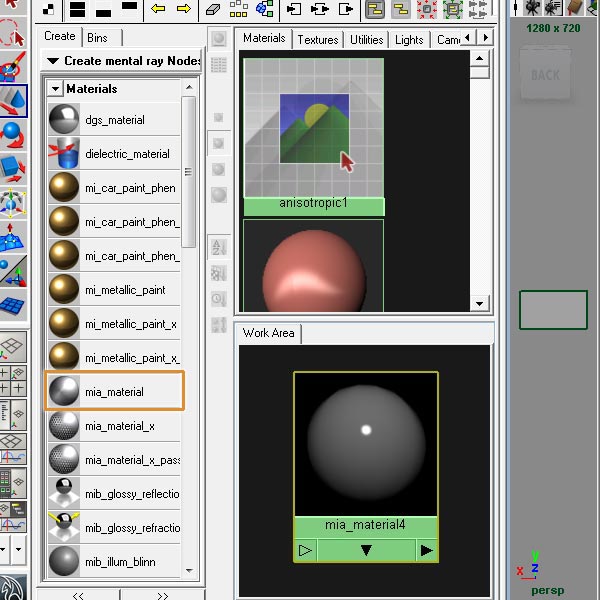
Step 63
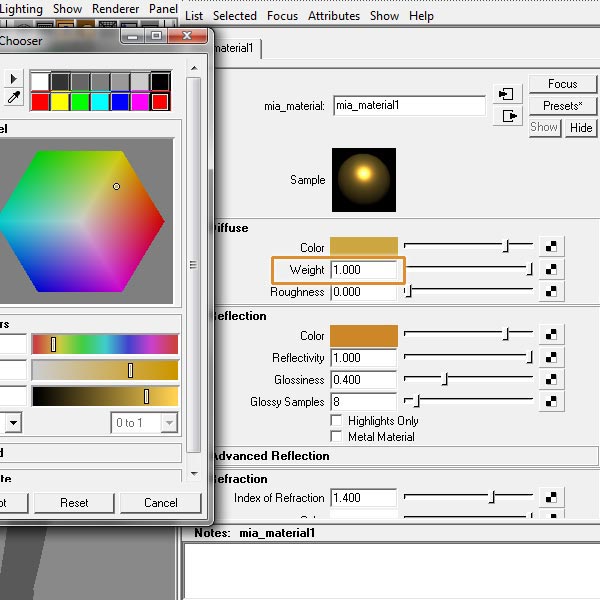
Drop a mia_material, and assign it to the Habaki and Fuchi.
Step 64
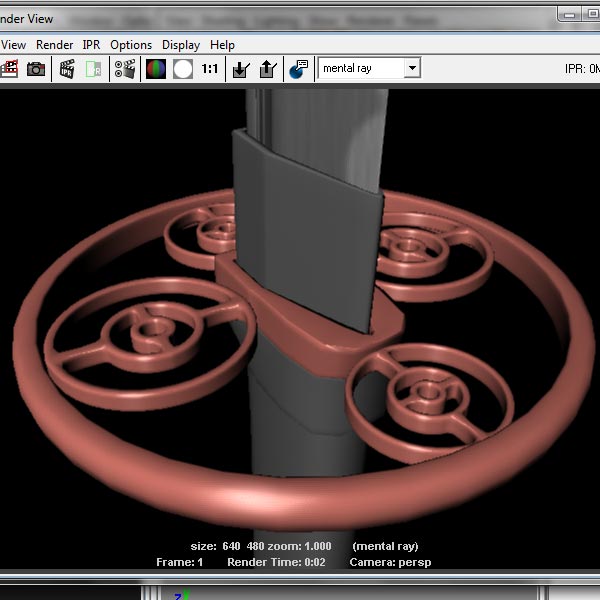
Double click, the mia_mental ray material to open the Attribute editor. Click on the presets button and go to (copper>replace). Up the weight to 1, and change the Diffuse color to a lighter yellow.
Step 65
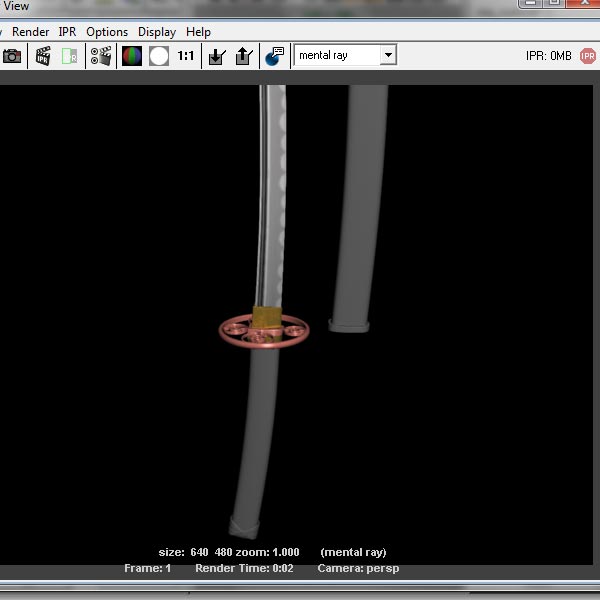
Do a test render. Looks good.
Step 66
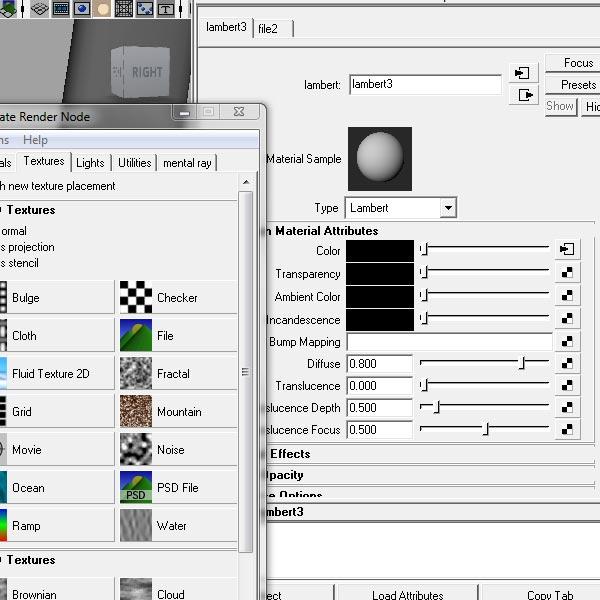
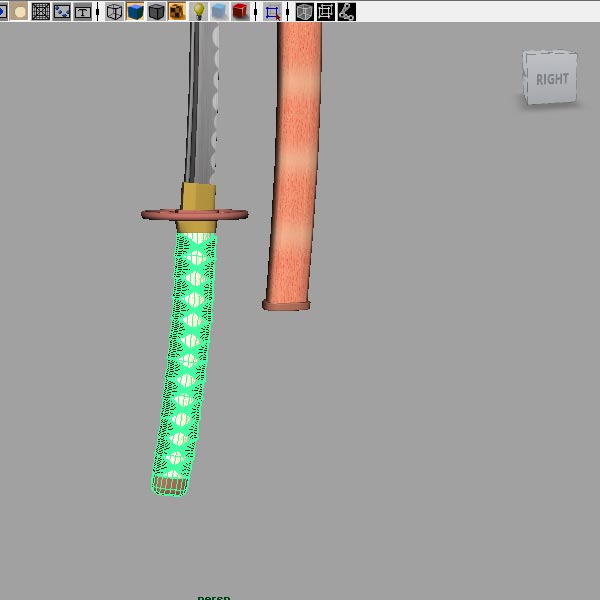
Go back to Maya nodes, create a new Lambert material, and assign it to the cloth bow.

Step 67
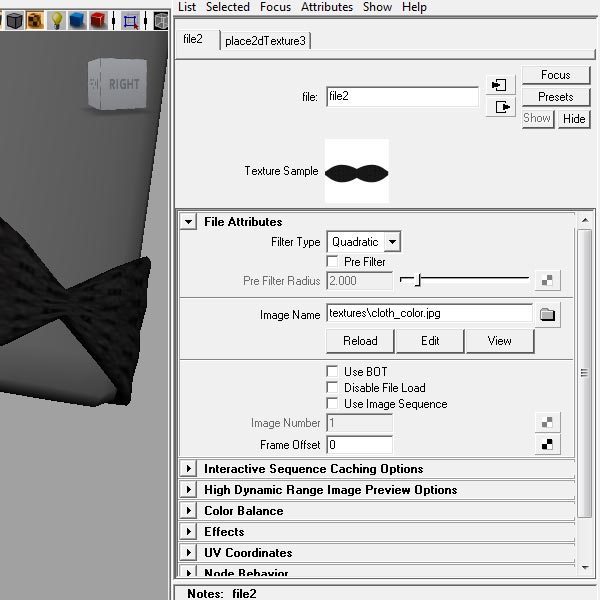
In the Attribute editor, for ‘color’ choose ‘file’, and plug in the cloth_color.jpg image from your textures folder.
Step 68
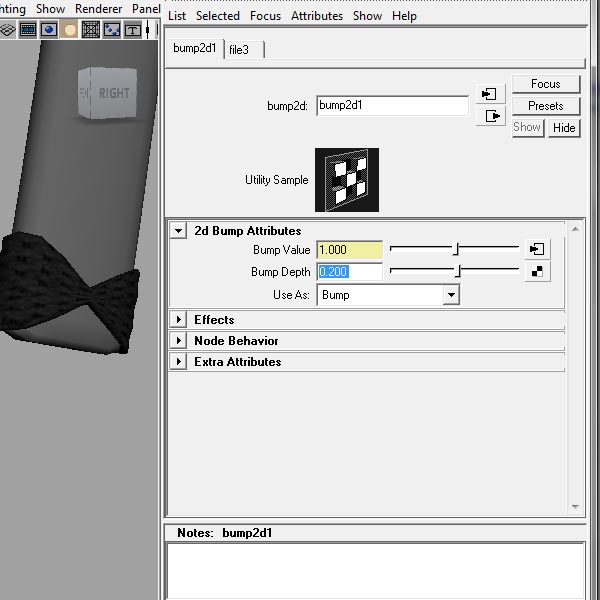
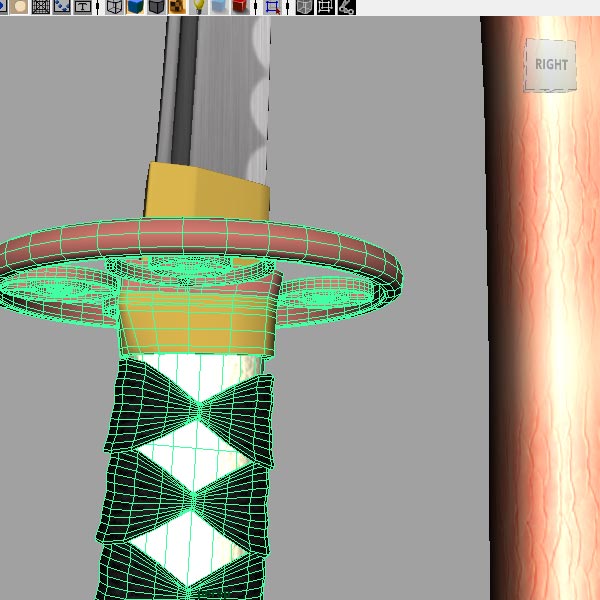
In the Hypershade window, double click on the cloth Lambert to open the Attribute editor for it. Click on the checkered square next to Bump Mapping. Then choose file.
Step 69
For bump depth enter 0.2, this is usually a good starting point, but further tweaking will probably be required. Click on the triangle and square icon next to the Bump Value. This will show us the input.
Step 70
For Image name, plug in the cloth_bump.jpg image from your textures folder.

Step 71
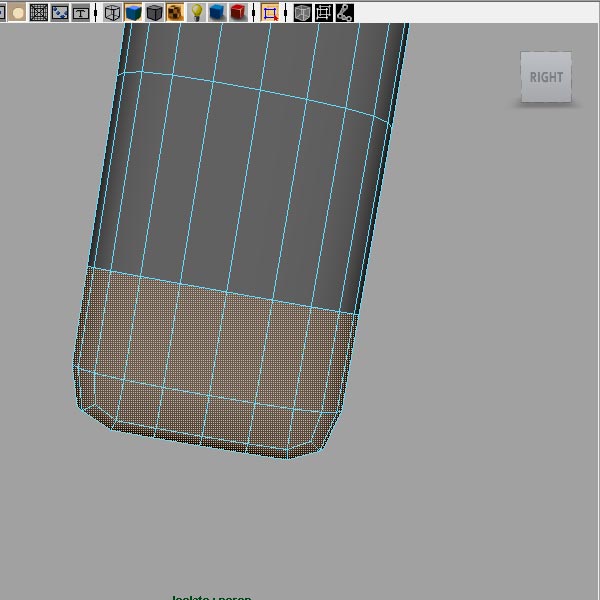
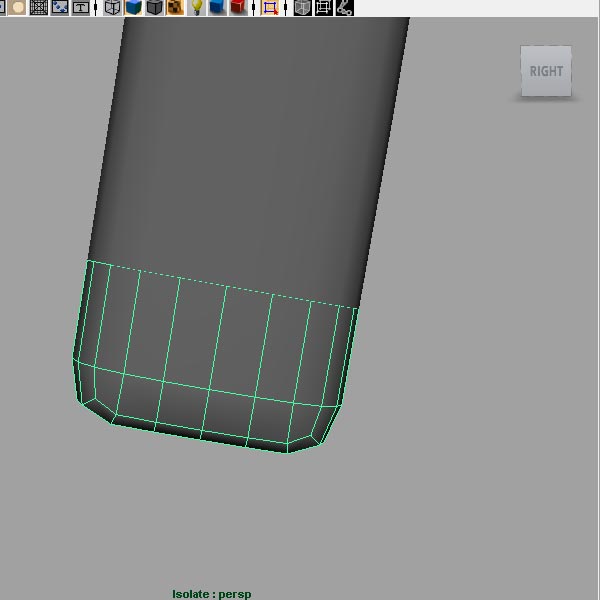
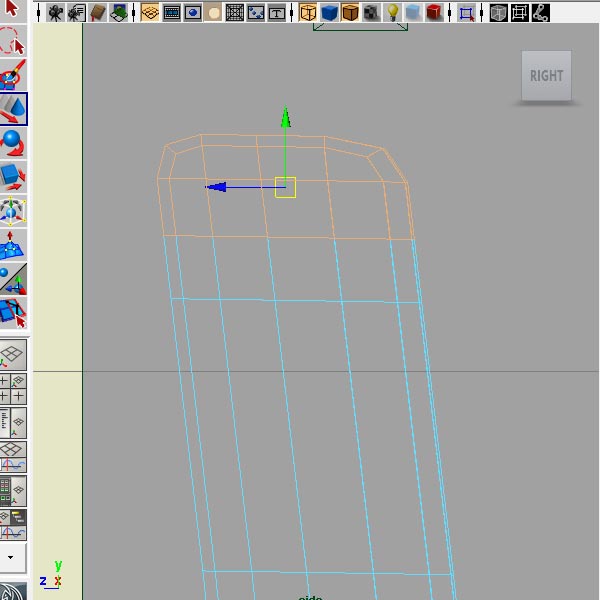
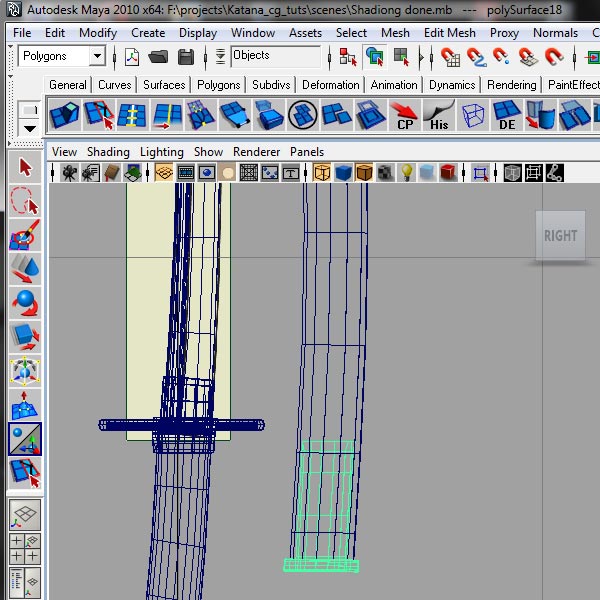
In edit faces mode, select the end of the handle.
Step 72
Go to (Mesh>Extract), to extract this into a separate piece.
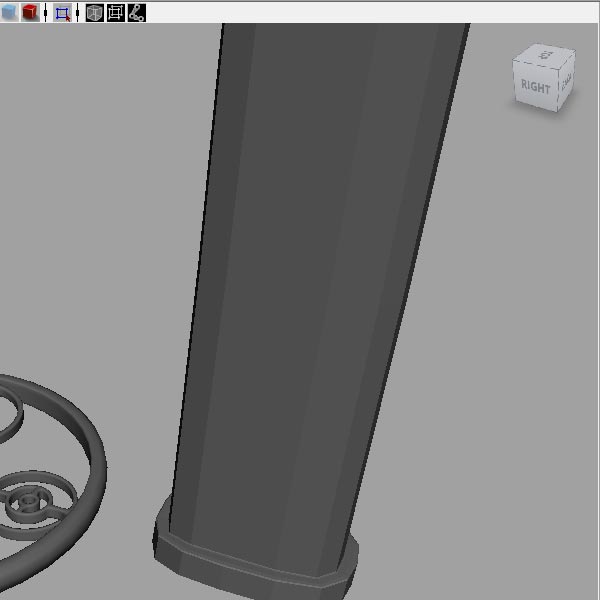
Step 73
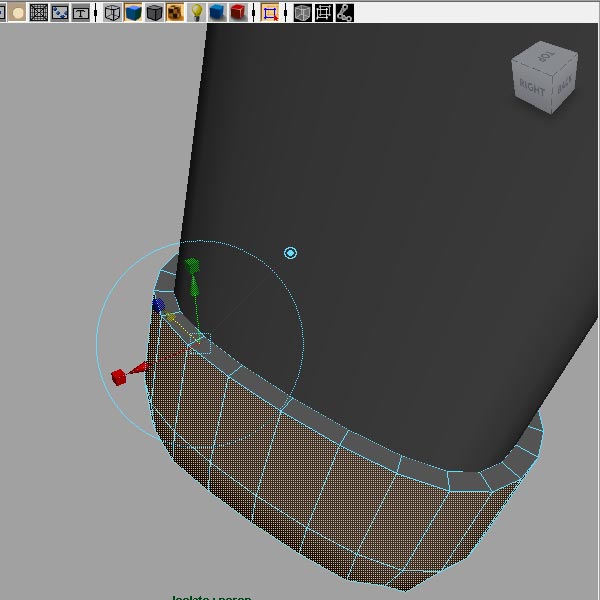
Extrude this piece outward, to add some thickness to it.
Step 74
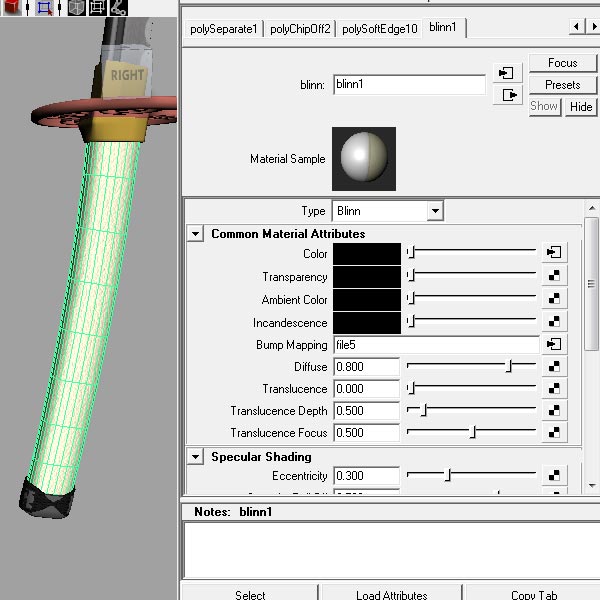
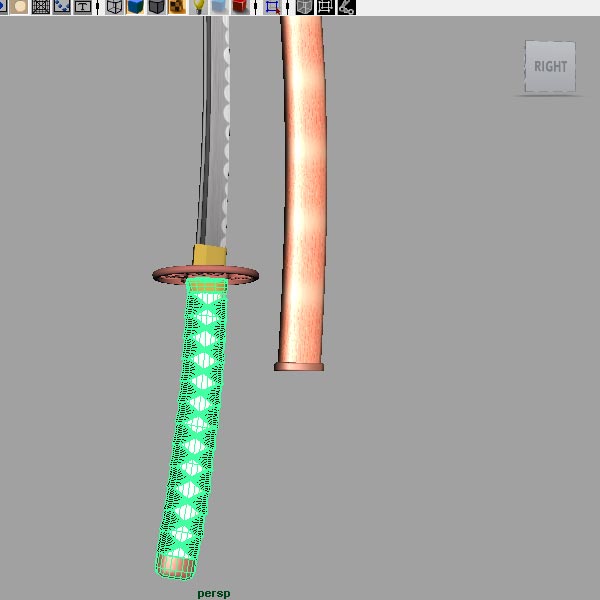
In the Hypershade window, drop a Blinn material, and assign it to the handle.
Step 75
Open the Attribute editor for the Blinn material, and for color, plug in the handle_color.jpg.
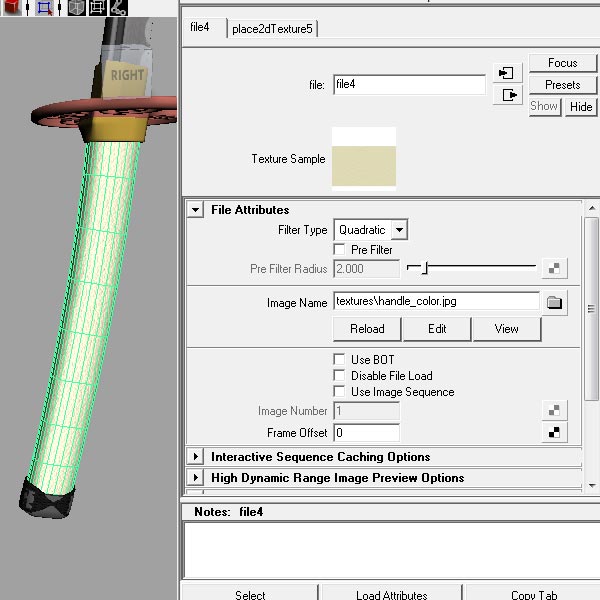
Step 76
Go to the Attributes for the Blinn material, and for Bump Mapping, plug in the handle_bump.jpg image file.


Step 77
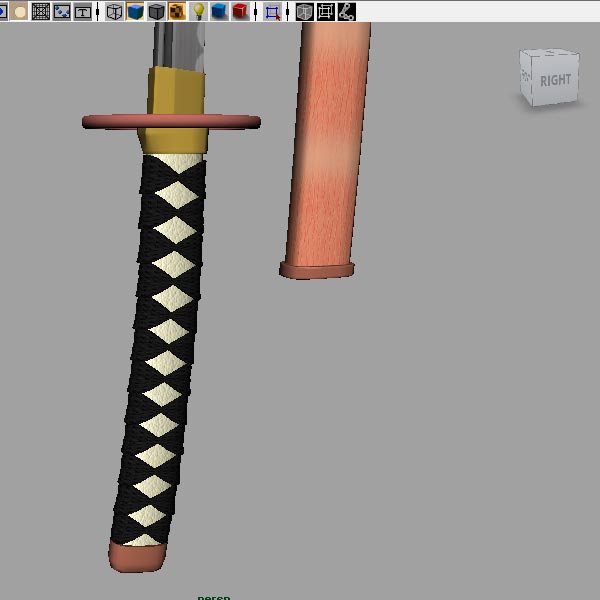
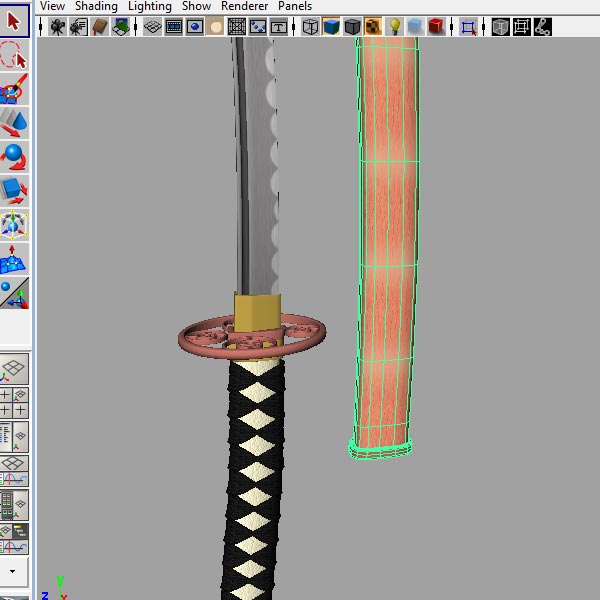
In edit faces mode, select the tip of the scabbard, and add an edge loop if needed.
Step 78
Go to (Mesh>Extract), to extract this into a separate piece.
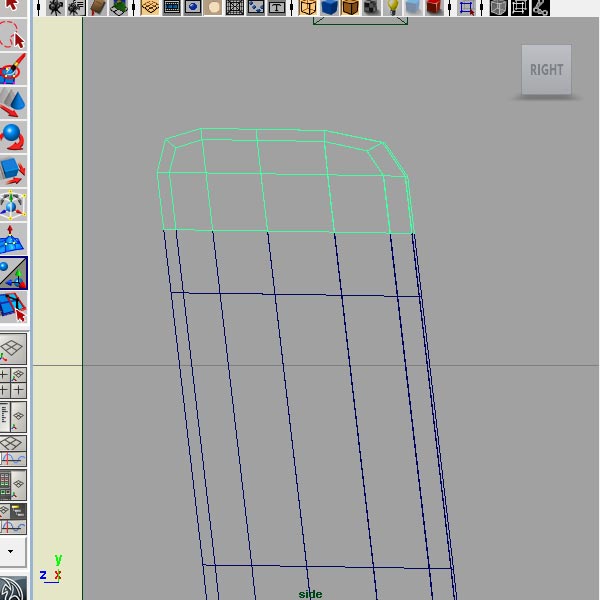
Step 79
Extrude it to add thickness.
Step 80
Select the rest of the scabbard, and open the UV texture editor.
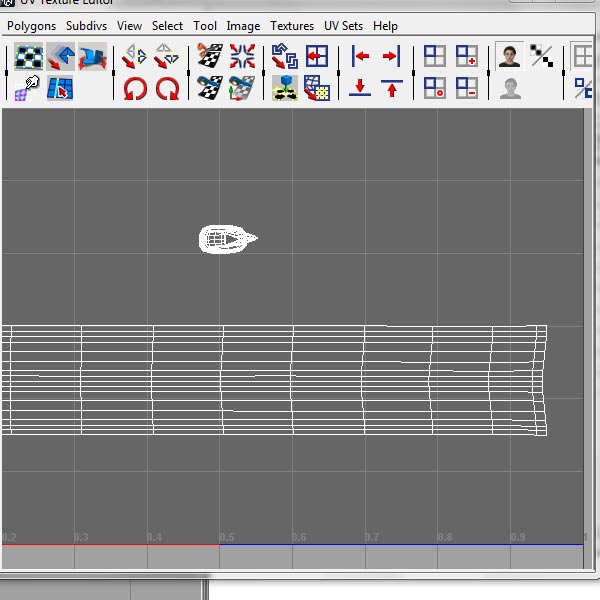
Step 81
Go to edit faces mode.
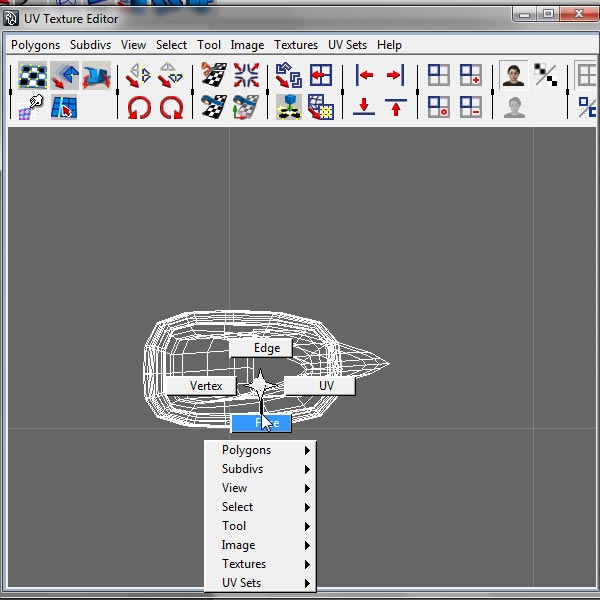
Step 82
Select the faces of the piece you didn’t flatten.
Step 83
Go to (Mesh>Extract), to extract this in a separate piece.
Step 84
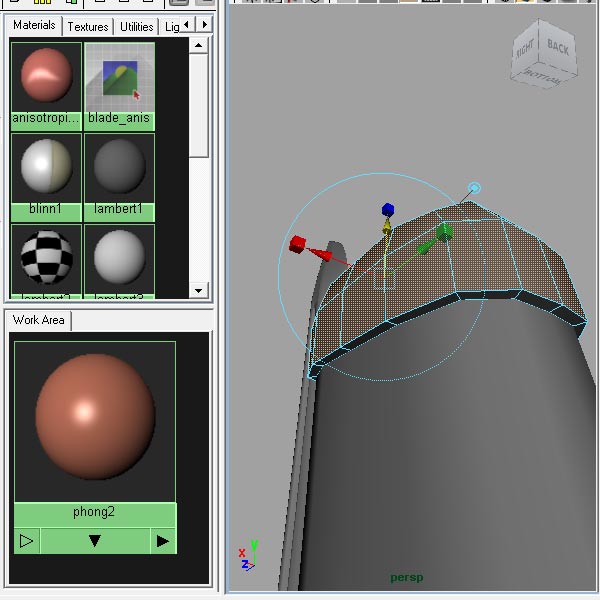
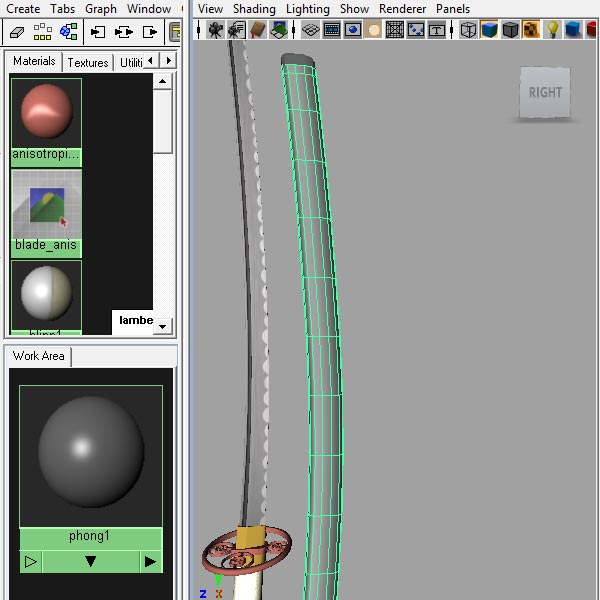
In the Hypershade, drop a Phong material, and assign it to the long piece of the scabbard.
Step 85
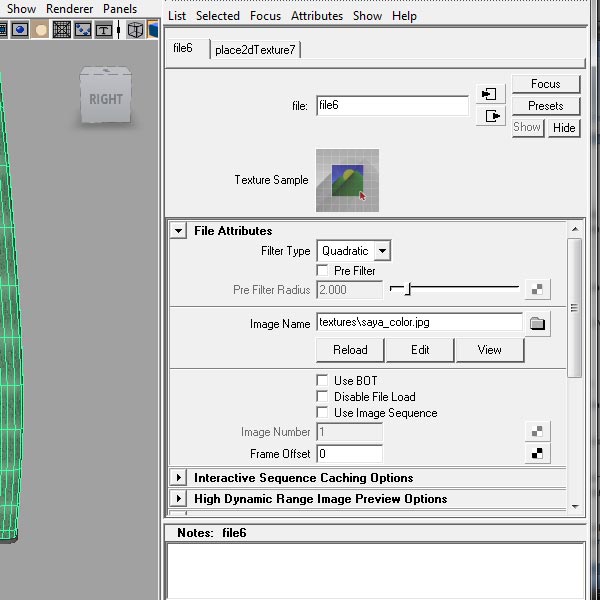
Open the Attribute editor for the Phong material, and for color, plug in the image file handle_color.jpg. If you like this green color, skip the next step.
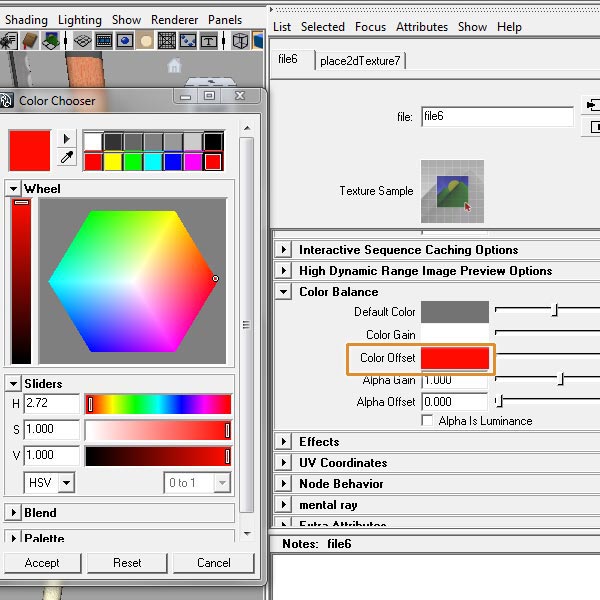
Step 86
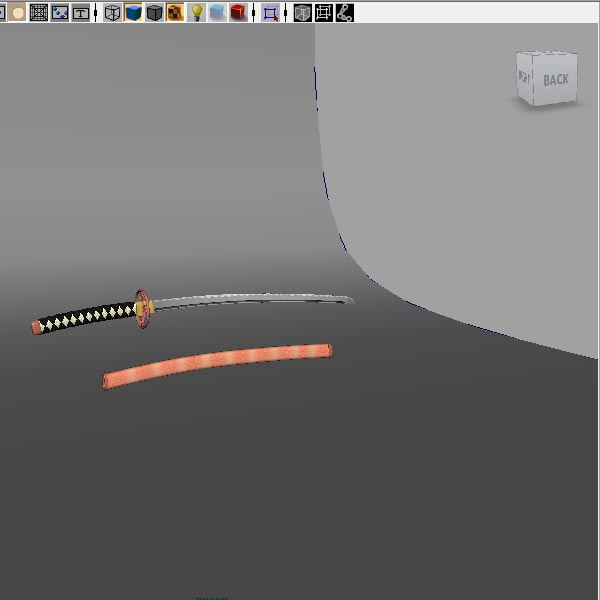
In the Attribute editor for the texture file, scroll down and open the Color balance options. Click on the Color Offset rectangle, and choose a color. This is a quick way to change the overall color of your texture. If you want more control over the color, you should adjust the color in Photoshop.
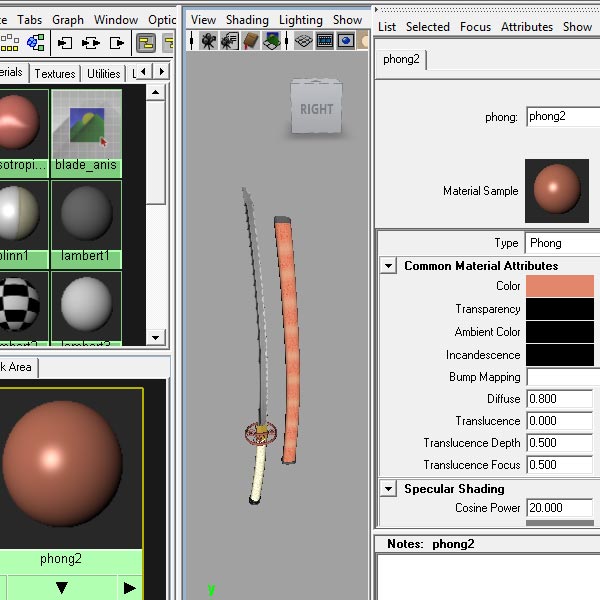
Step 87
In the Hypershade, drop another Phong material, and for color choose a similar color to that of the scabbard.
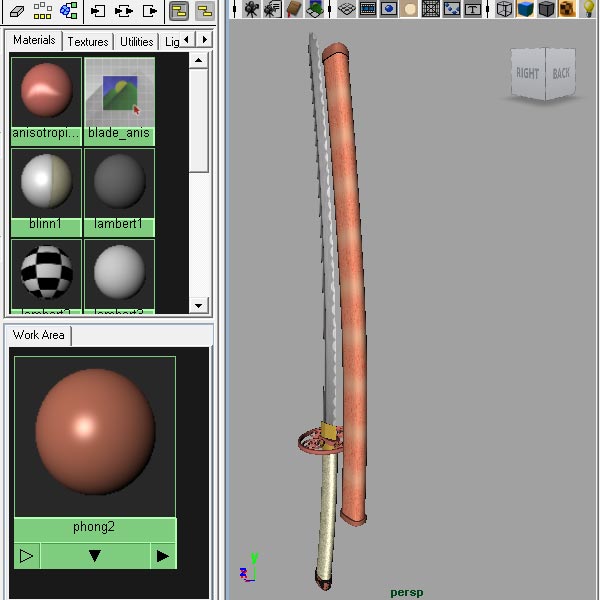
Step 88
Assign this material to all the pieces that were extracted before (the two pieces of the scabbard, and the one piece from the handle).
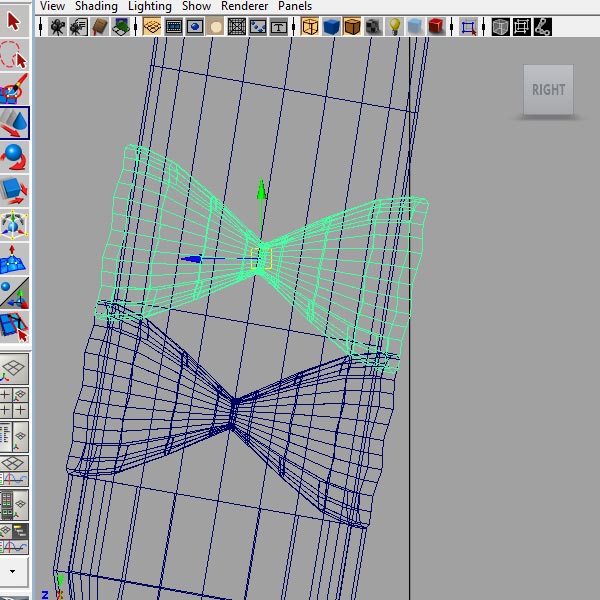
Step 89
Duplicate the cloth piece, and place it so that it overlaps the previous piece.
Step 90
Under “Animation”, go to (Create Deformers>Lattice).
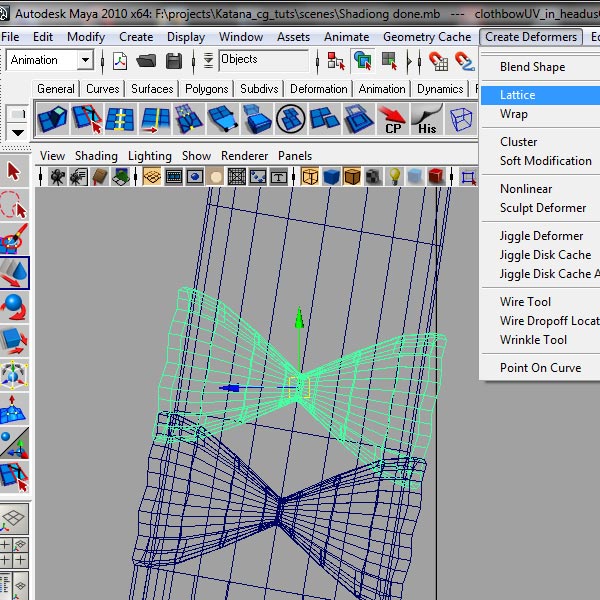
Step 91
Right click near the Lattice, and choose Lattice Point.
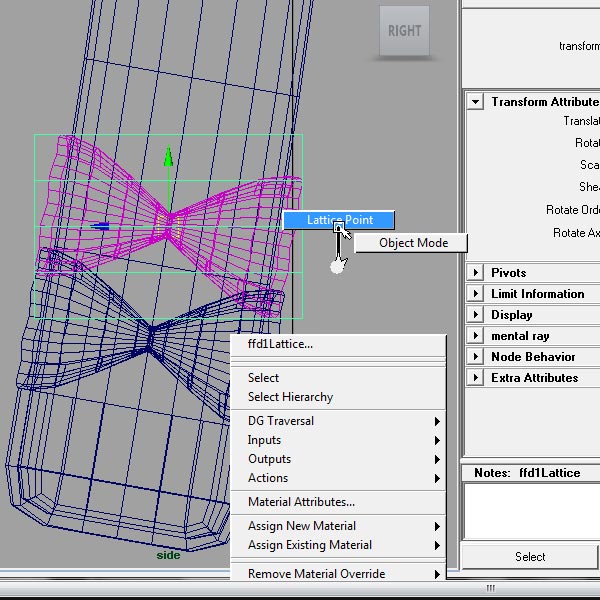
Step 92
Move the points so that the top piece doesn’t intersect with the lower piece.
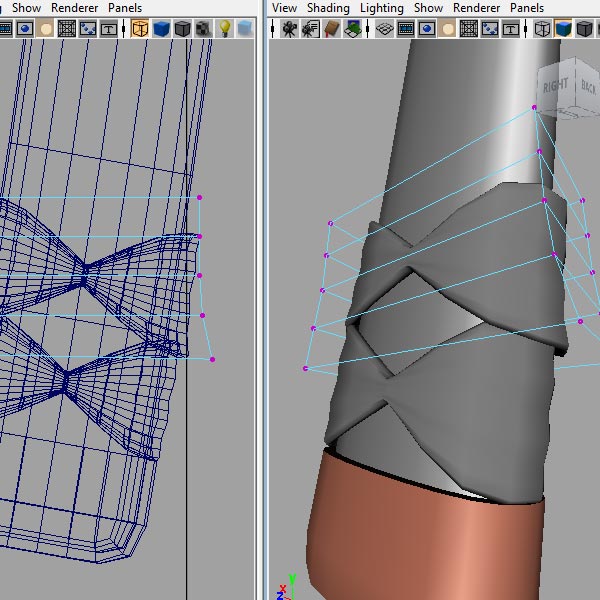
Step 93
After you are finished with tweaking the shape, select the piece, and go to (Edit>Delete by Type>History).
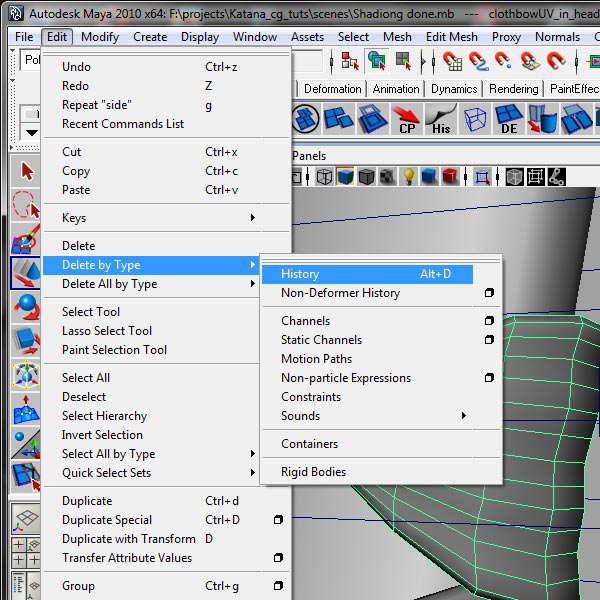
Step 94
Repeat this for the length of the handle.
Step 95
A little cleaning up and we are ready for the render setup. Select the bottom piece of the Scabbard, and Shift select the length of the Scabbard, than press the p key on your keyboard. With this, you have parented the tip piece with the length of the scabbard. Now whenever you select or move the length of the scabbard, the tip piece will move with it. Do the same with the top piece now.
Step 96
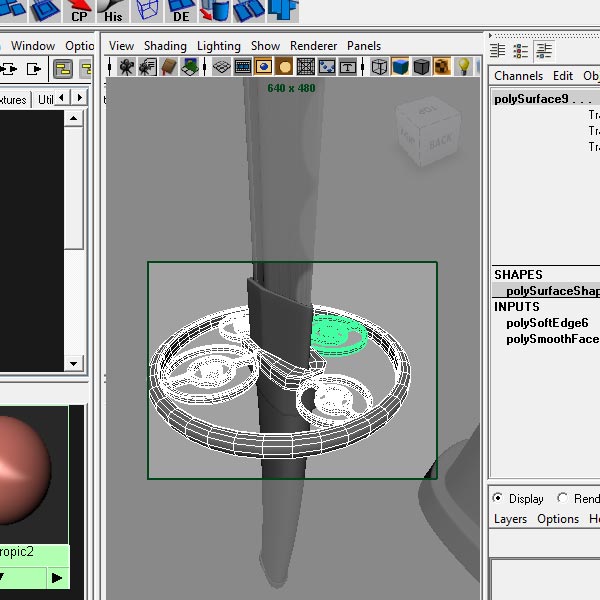
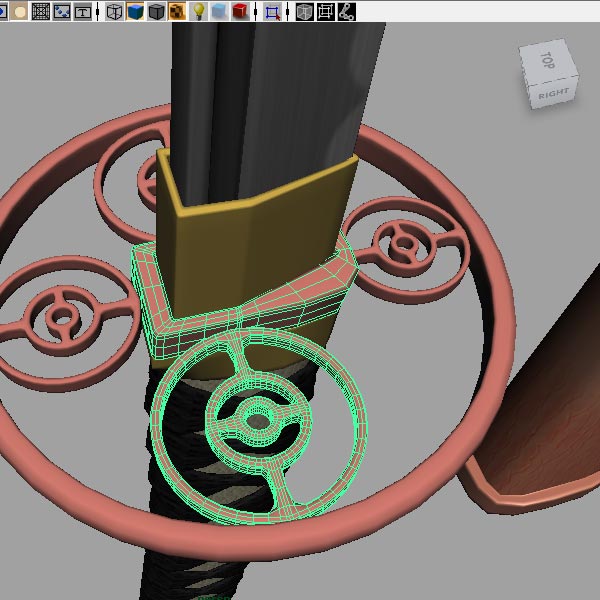
Select the center piece of the Tsuba. Shift select one of the circular ornaments, and press the p key on your keyboard.
Step 97
Select the parented circular ornament, then shift select the outer pipe, and press the p key on your keyboard.
Step 98
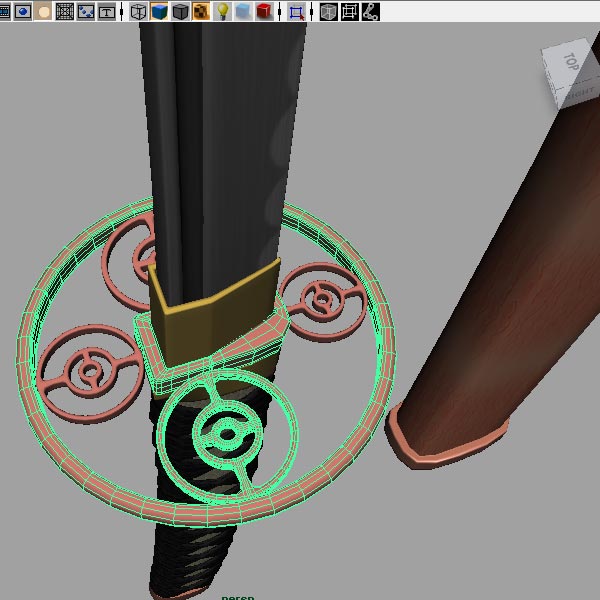
Select the remaining 3 ornament pieces, then shift select the outer pipe, and press the p key on your keyboard.
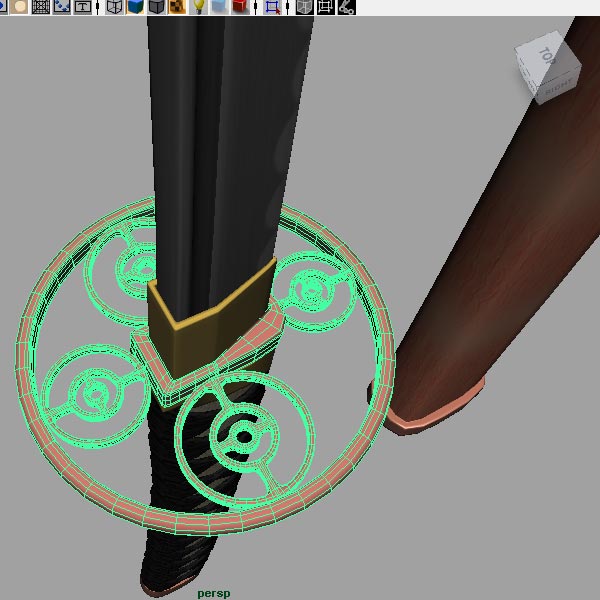
Step 99
Select all of the cloth pieces, the handle cap, and the handle, and then group them (Ctrl+g).
Step 100
With the group selected, Shift select the Fuchi, and then press the p key on your keyboard.
Step 101
Select the Fuchi, then Shift select the outer pipe, and press the p key on your keyboard.
Step 102
Select the Habaki, then Shift select the outer pipe, and press the p key on your keyboard.
Step 103
Select the outer pipe, then shift select the blade, and press the p key on your keyboard. Now when you select the blade, the whole sword is selected, and when you select the length of the Saya, the whole Saya is selected. Delete the history (Edit>Delete All by Type>History).
Step 104
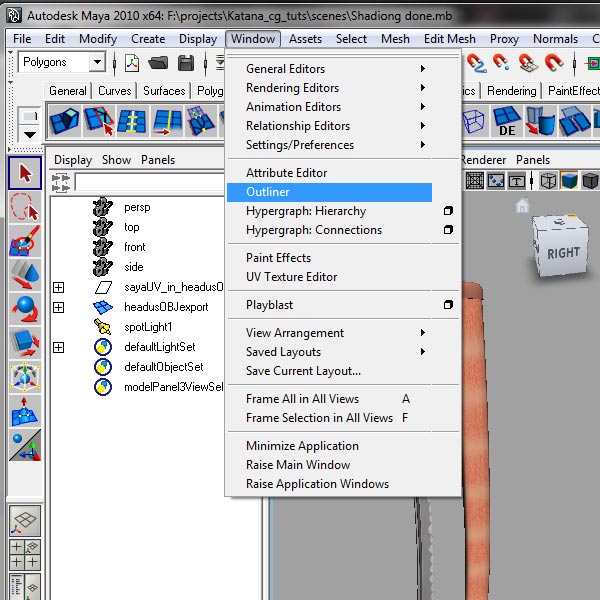
Open the Outliner (Window>Outliner).
Step 105
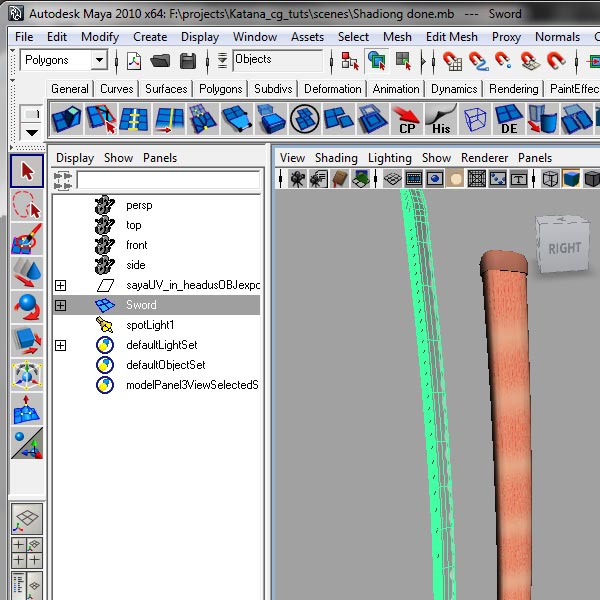
Select the Blade in the perspective view, rename the highlighted part in the Outliner to Sword. Do the same for the Scabbard, but name it Saya.
Step 106
Go to (Create>CV Curve).
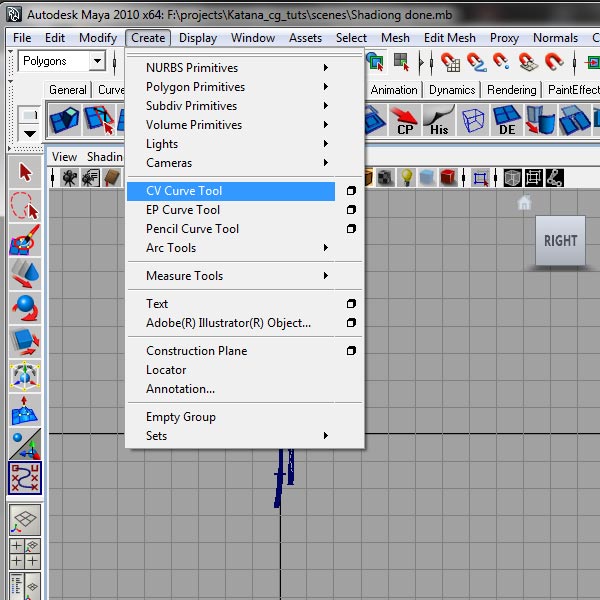
Step 107
In the side view create the profile for your backdrop.
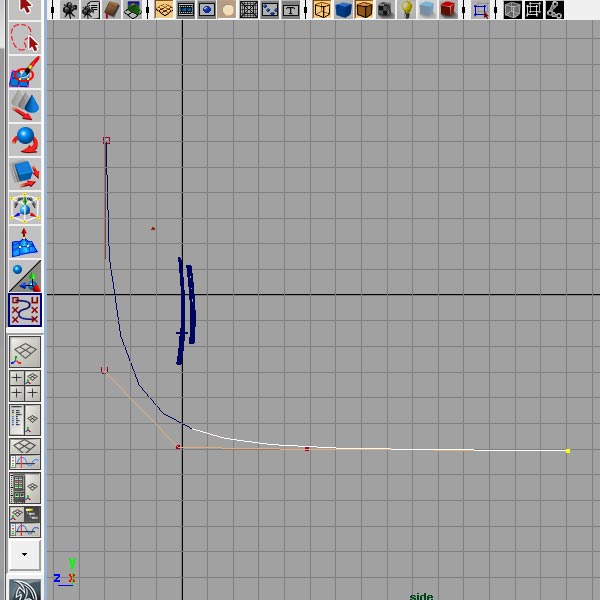
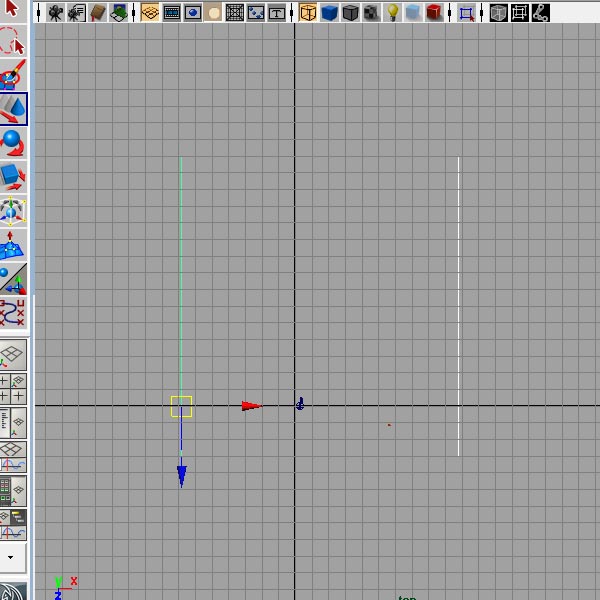
Step 108
Move and duplicate the curve, for the width of your backdrop.
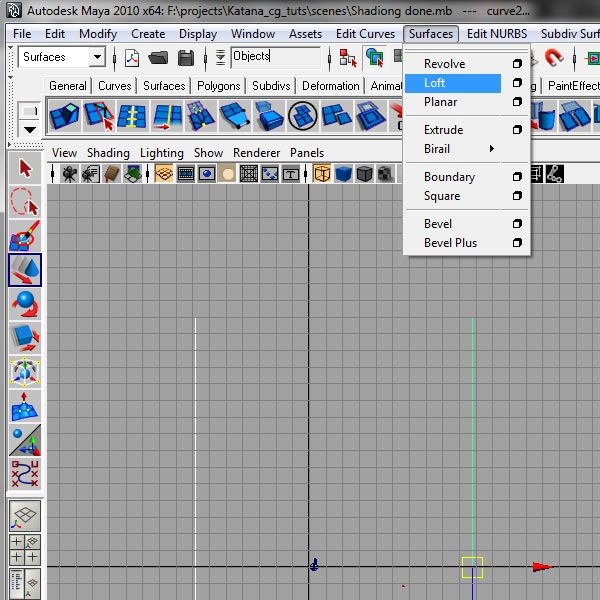
Step 109
Select the two curves, and then under “Surfaces”, go to (Surfaces>Loft).
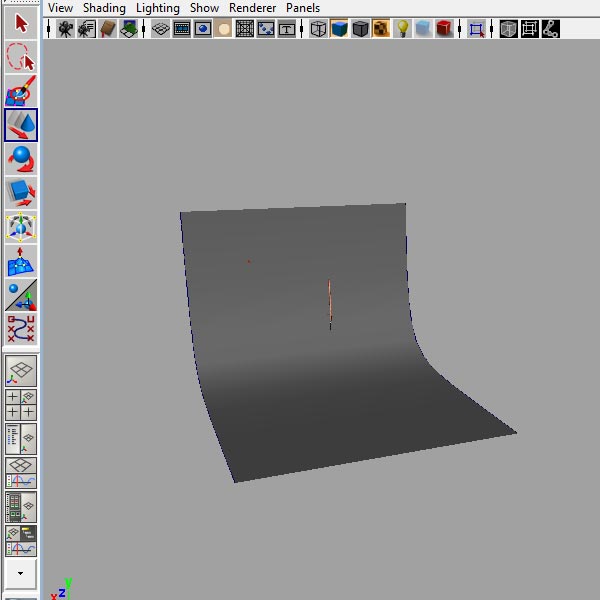
Step 110
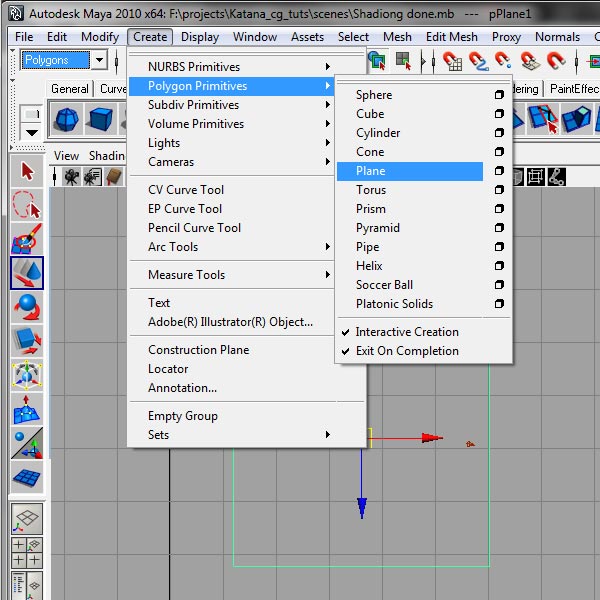
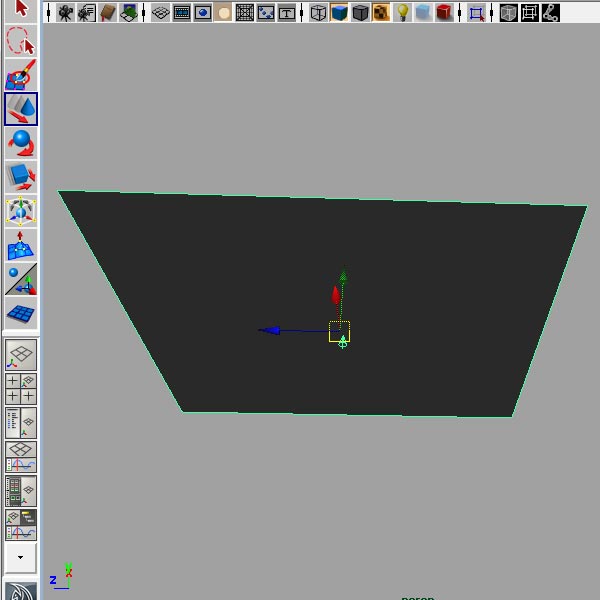
Create a polygon plane.
Step 111
Select the Spot light you created earlier, place it in the middle of the poly plane, and rotate it on the x axis by -90 degrees.
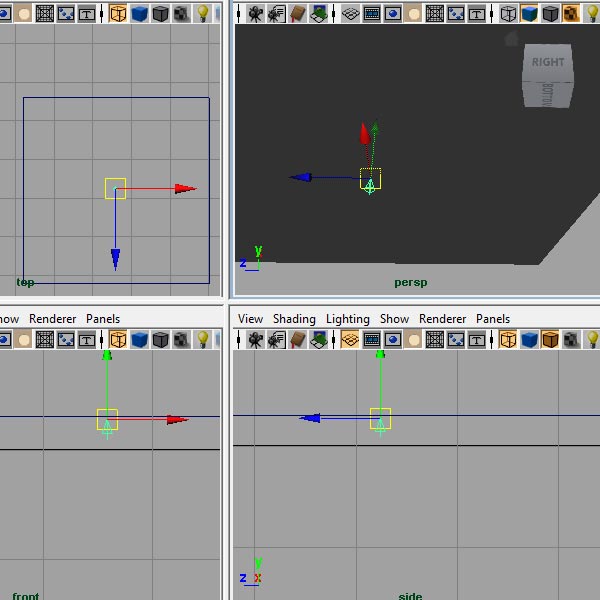
Step 112
Select the plane, then shift select the light, and press the p key on your keyboard.
Step 113
In the Hypershade, drop a surface shader, and for the Out Color, choose pure white.
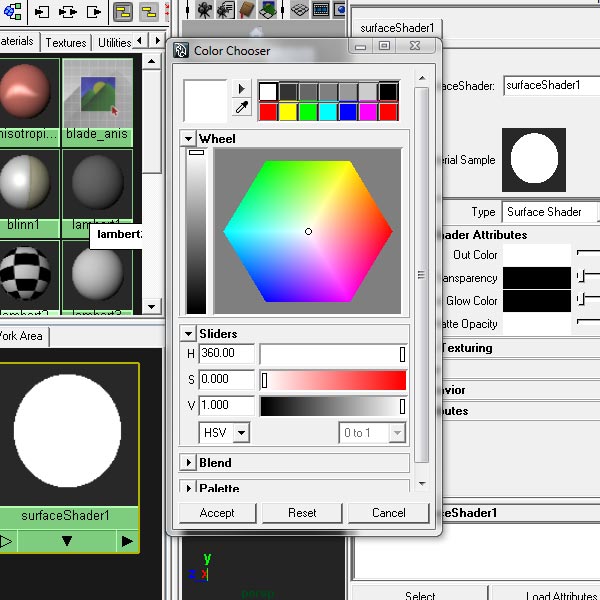
Step 114
Apply the surface shader to the polyplane.

Step 115
Create a new Lambert material, and for color, choose a lighter gray.
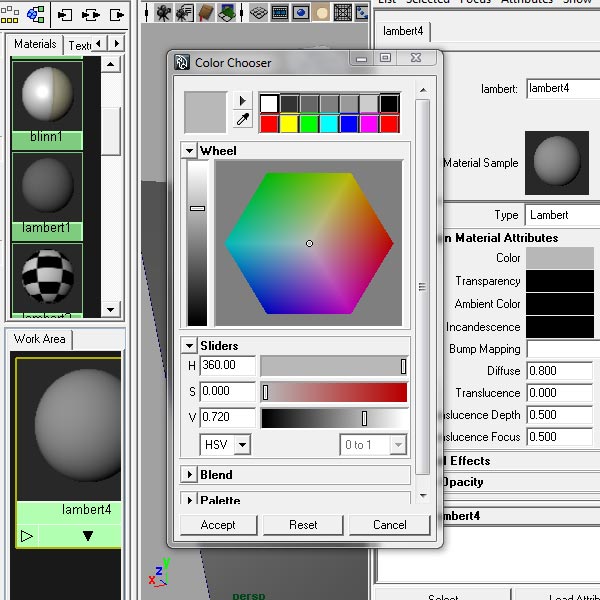
Step 116
Assign the Lambert to the backdrop.
Step 117
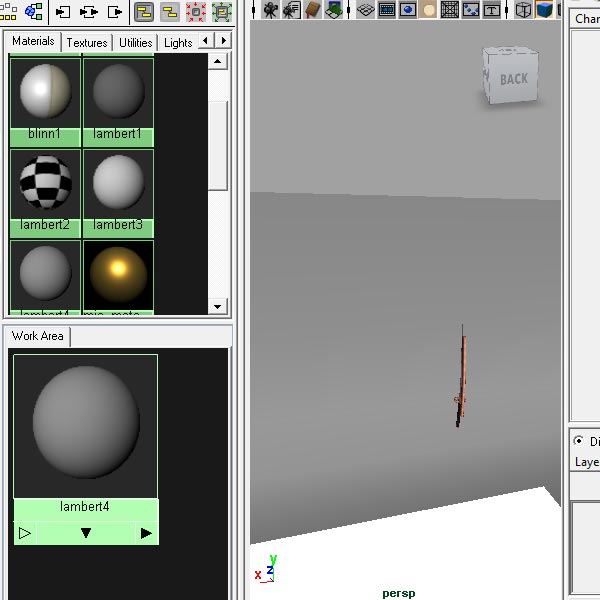
Choose a position for rendering.
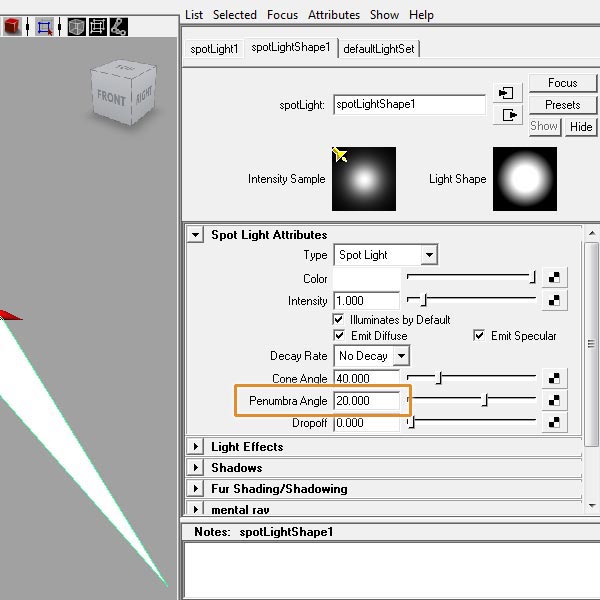
Step 118
Select the spot light, and in the attribute editor, enter 20 for Penumbra Angle . This will give a softer edge on the light.
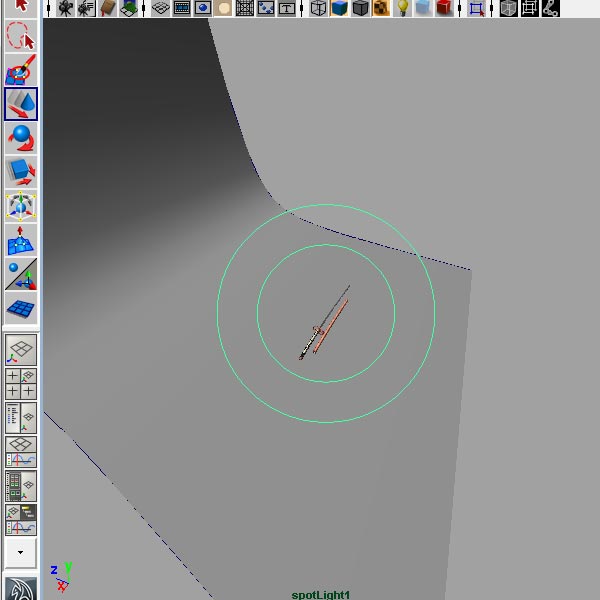
Step 119
Select the light, and position it to the left and looking down on an angle at the sword.
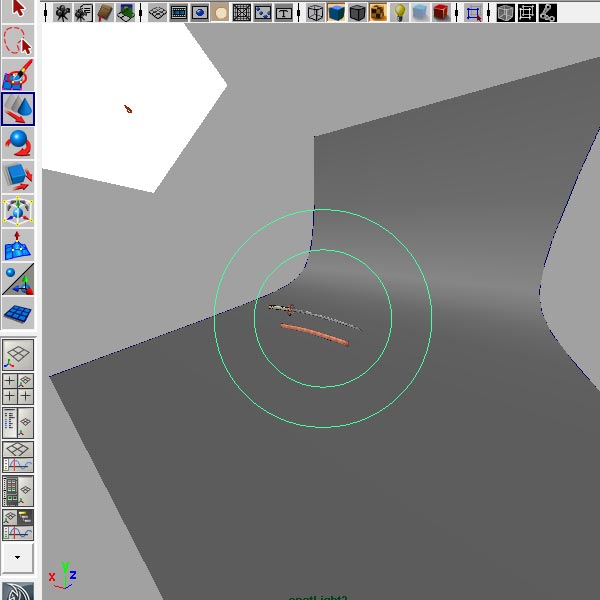
Step 120
Duplicate the light setup, position it to the right, and looking almost perpendicular to the sword.
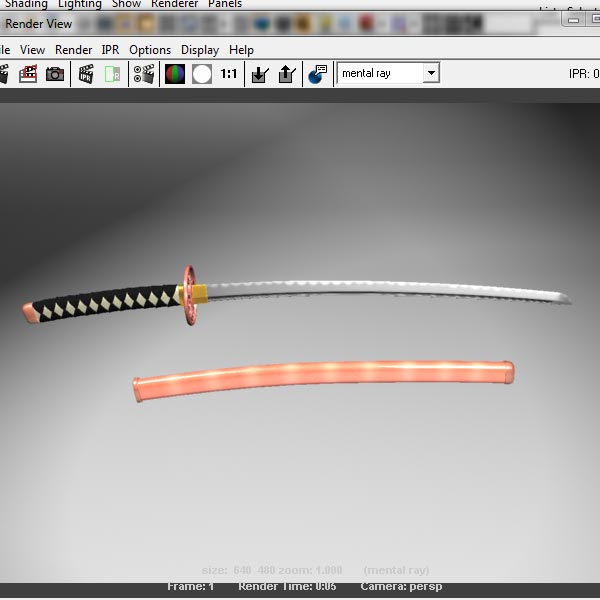
Step 121
Do a test render. As you can see, the image is a little blown out. You will have to tone down the lights. .
Step 122
Start by setting the intensity of the lights to 0.8. This might vary depending on the position of the lights, sword, color of the backdrop, and so on, so you will probably need to spend some time tweaking the intensity to get the desired result.
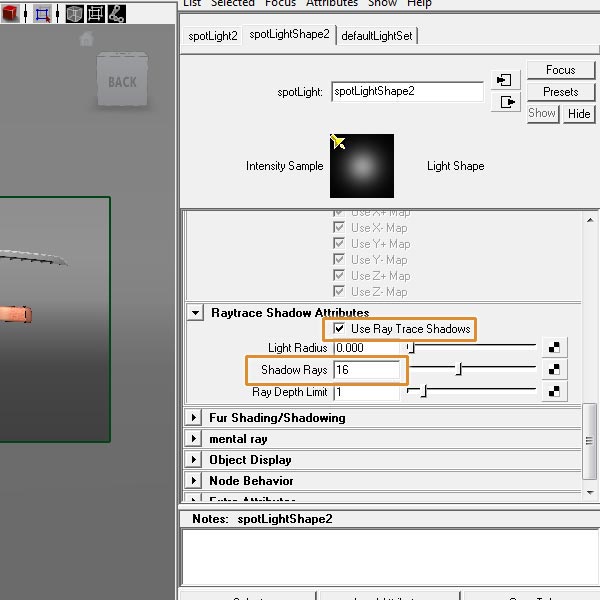
Step 123
Select the lights, and in the Attribute editor, scroll down until you find shadows and then Raytrace Shadow Attributes. Check the Use Ray Trace Shadows, and for Shadow Rays enter 16.
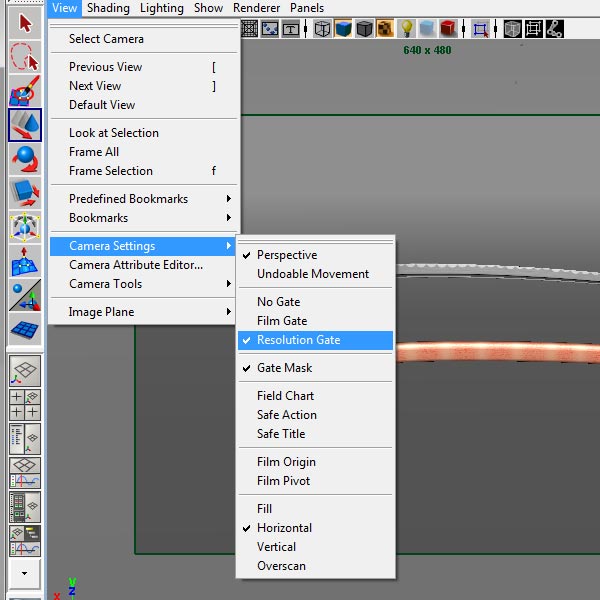
Step 124
When you are satisfied with your light setup, do a final render. Go to (View>Camera Settings>Resolution gate). So you can see exactly what area you will be rendering.
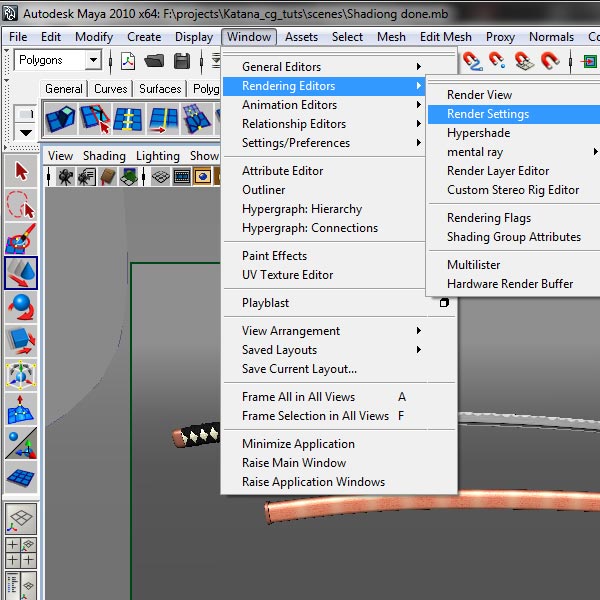
Step 125
Go to (Window>Rendering Editors>Render Settings).
Step 126
Under the quality tab, in Quality Presets, choose Production.
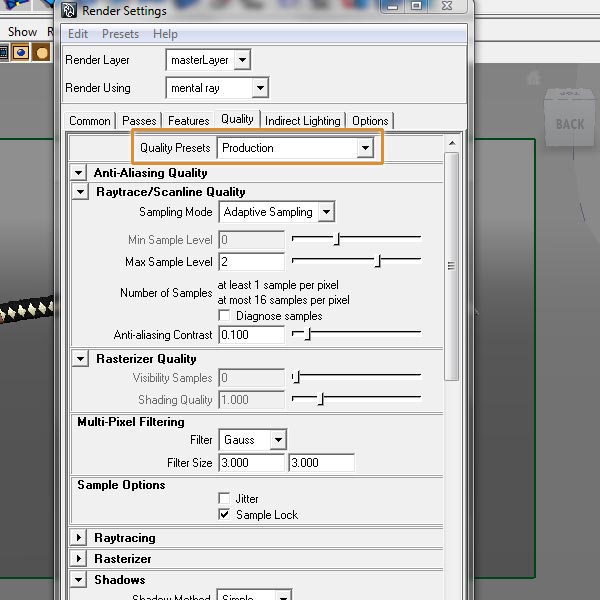
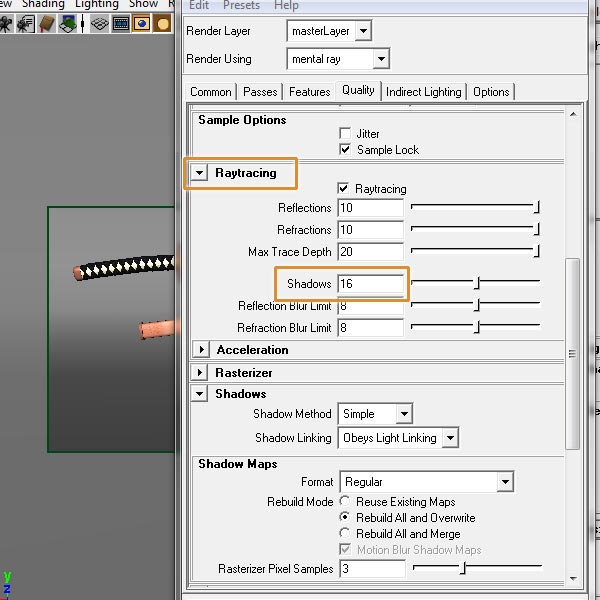
Step 127
Scroll down until you find the Raytracing options. For shadows enter 16.
Step 128
In the Common tab, under the Image size setting, enter your final resolution. Press the render button to render your final image.

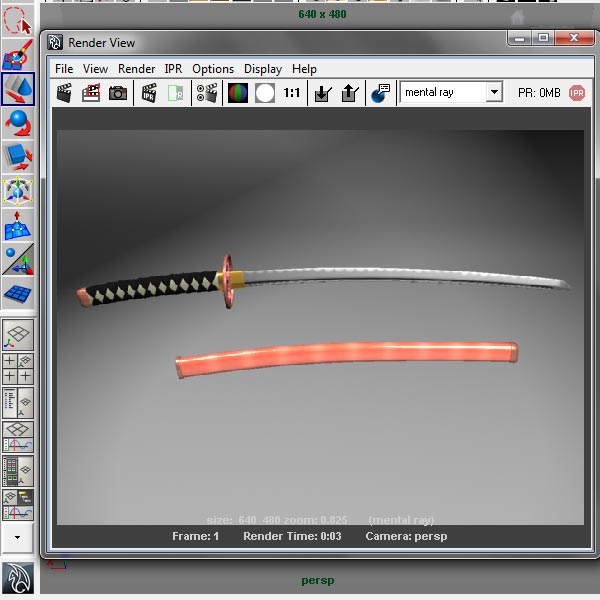
Step 129
Here is the final result. Just for better presentation, I added a stand. You are welcome to create your own stand, or maybe a hand to hold the sword…or anything else you like!

This tutorial is Day 3 in a series – Go to Day 1, or Day 2.
Don’t miss more CG tutorials and guides, published daily – subscribe to Cgtuts+ by RSS.