iPhone developers are familiar with having to provide artwork at both regular and Retina (doubled) pixel dimensions for their apps. With rumours of a Retina Display-equipped iPad being just around the corner, it’s wise to consider moving to fully scaleable vector artwork for as much of your app’s images (such as toolbar icons) as possible.
This brief post outlines how to get your artwork from Photoshop as suitably compressed PDFs, then use those PDFs in your iOS apps.
In this article, I’ll be using a simple piece of artwork as an example: the “close” or “delete” button that appears at the top-left of icons on your Home screen when you put it into move/edit mode (which I call jiggle mode, since you ask). I drew the icon as vectors in Photoshop, at Retina-suitable size, and it looks like this:

Close Button, at (nominal) actual size.
Since it’s entirely made of vectors, we can resize it whilst keeping it sharp. Here’s the same icon, scaled up:

Close Button, scaled up.
Our task is now to get the icon from Photoshop as a vector file, optimise that file, and use it in iOS.
Getting PDFs from Photoshop
We won’t be using Save For Web in this case, as you would if you were saving bitmap (PNG) artwork for an app. Instead, choose the Save As command from the File menu. Choose the Photoshop PDF format from the pop-up menu.
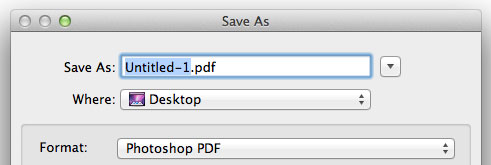
Save As Photoshop PDF.
You’ll now see a secondary dialog, containing options specific to PDF-generation. As long as your artwork is entirely vector-based, you should choose the Smallest File Size preset from the first pop-up menu.
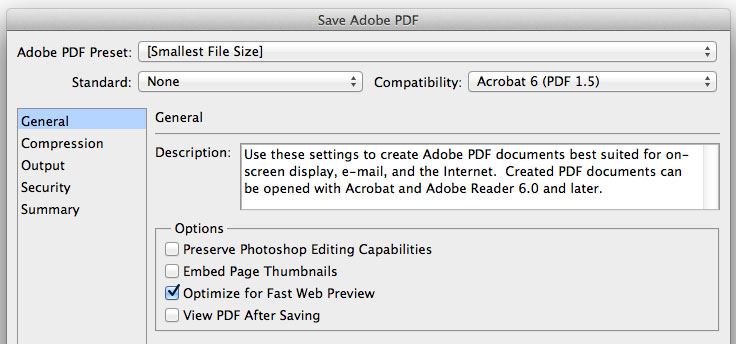
Save Adobe PDF options dialog.
You’ll now have a PDF file which you can use as-is, but we can improve it by making its file-size smaller.
Making Photoshop PDFs smaller
PDFs from Photoshop are larger than they need to be for use in iOS apps. Mac OS X’s PDF processor can make them smaller by stripping out the extraneous data, without affecting your ability to resize them.
The wonderful Panic has made a nice little drag-and-drop utility called ShrinkIt which re-saves PDFs in this way, and it’s completely free. You can download ShrinkIt here.
I did a quick test using the Close Button PDF from Photoshop, having exported versions of it using the “High Quality Print” preset, and also the “Smallest File Size” preset. The resulting file-sizes are below.
- “High Quality Print” setting: 57 KB
- “Smallest File Size” setting: 53 KB
- As (1), after ShrinkIt: 12 KB
- As (2), after ShrinkIt: 8 KB
As you can see, using the Smallest File Size setting and then running the PDF through ShrinkIt results in a file that’s more than 85% smaller.
If you don’t want to use ShrinkIt for some reason, you can also just open the PDF in Preview (included with OS X), then choose Export and save the file as a PDF with a new name. That will produce the same reduction in file-size that ShrinkIt provides, but is somewhat less convenient. Note that if you do use Preview, do not use any Quartz Filters – particularly not the “Reduce File Size” filter, which paradoxically will often considerably increase the file size.
Using PDF images in iOS apps
There’s nothing particularly difficult about loading and rendering PDF files as images on iOS, but for the sake of simplicity, I’d recommend using Nigel Timothy Barber’s UIImage+PDF category on github. The category makes it trivially easy to display PDF images in your app.
Downloads
If you’re interested in the Close Button icon used as an example, you can grab it in a couple of formats:
Final thoughts
Resolution-independent artwork and interfaces are the way forward, and save you time (and design expense) in the long run.
To keep up to date with new articles here, and/or for pithy, interesting commentary in bite-sized chunks, you should most certainly follow me (@mattgemmell) on Twitter without further delay.