Today we’ll be creating a filmstrip with a 3D perspective using basics features within After Effects and Photoshop. Whether you need a custom DVD menu back ground or need an intro before showing old archived footage, this is a simple and easy way to create a great look filmstrip effect.
Tutorial
Final Video Preview
Step 1
First step is to open a filmstrip impage filled with pics or not. If you don’t have one, just download one filled HERE or blank HERE.
If you download the filled filmstrip, go forward to step 17. If you wanna see how it was created… start here:
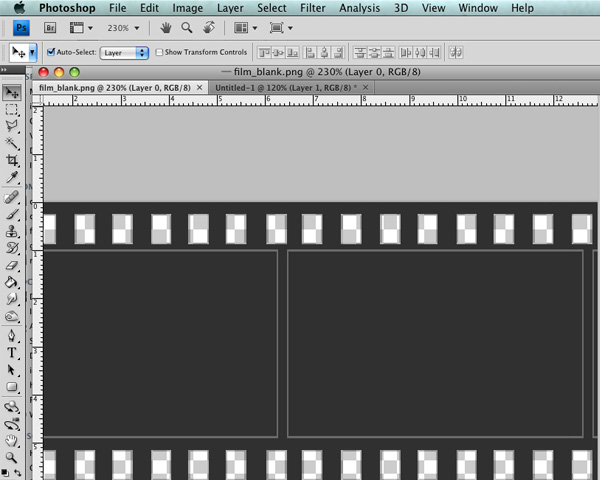
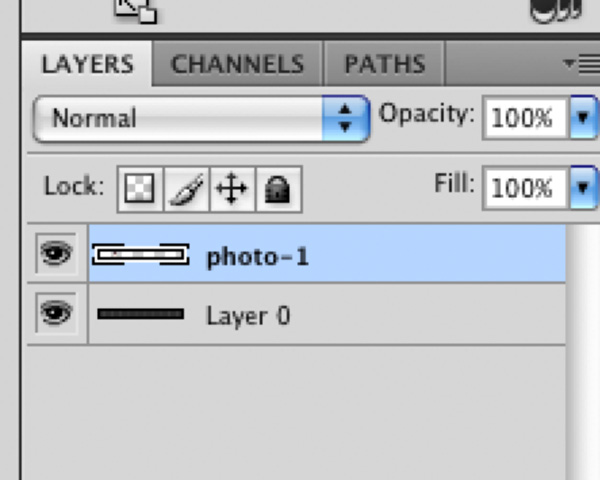
Open the blank film in Photoshop.
Step 2
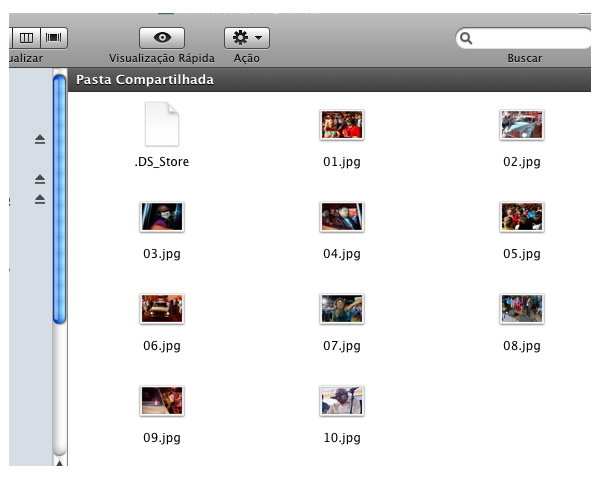
Now, import some photos to put in the blank spaces of film.


Step 3
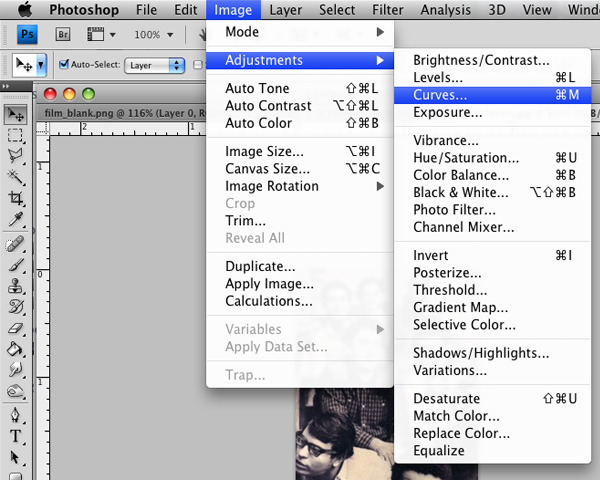
Let’s add some adjustments like a red tint and give an old appearance to the photos. You can do whatever styling you’d like.
Go to ‘Image’ > ‘Adjustments’ > ‘Curves’
Step 4
Ad some red color to the photo. Remember, you will do this in all photos. Just for a better image control of each pic.

Step 5
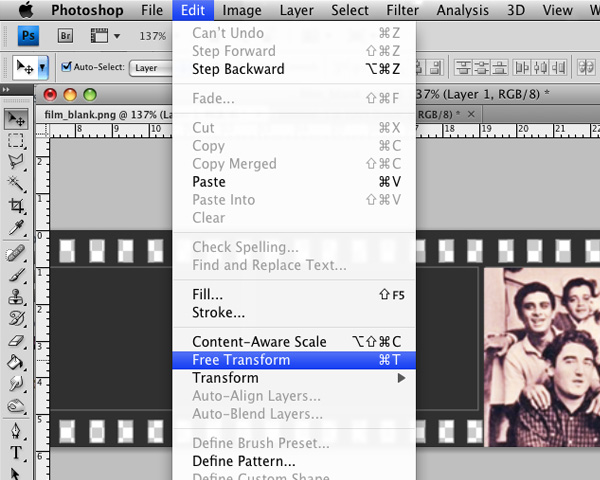
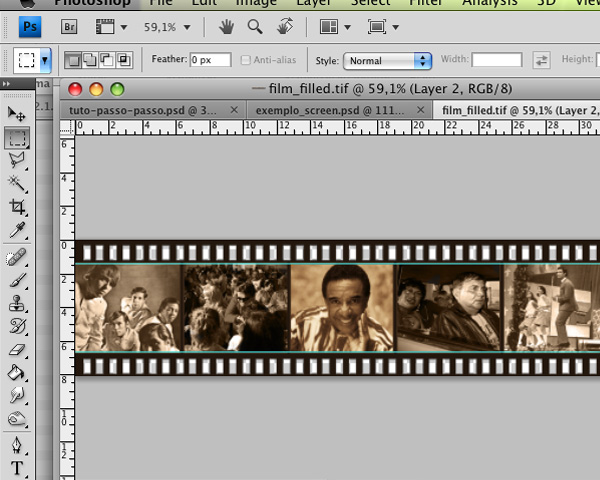
Let’s place the pics in the right places now. In each blank space, put one photo. And readjust with the free transform tool. Go to ‘Edit’ > Free Transform’ or just press control+T (for pc) or command+T (for mac).

Step 6
Now, cut the unnecessary parts with the selection tool. Drag around the line mark of the blank film. Then, You have to invert the selection and delete. ‘Select’ > ‘Inverse’. Then, press delete.


Step 7
Follow steps 2 until step 6, and make many pics as necessary to fill the whole filmstrip.


Step 8
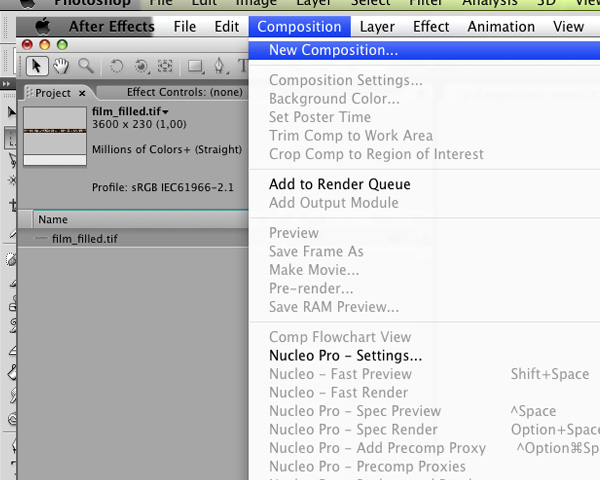
Now in After Effects, import the filled film, then create a new composition. ‘Composition’ > ‘New Composition’. Put ‘Film’ in name.
Step 9
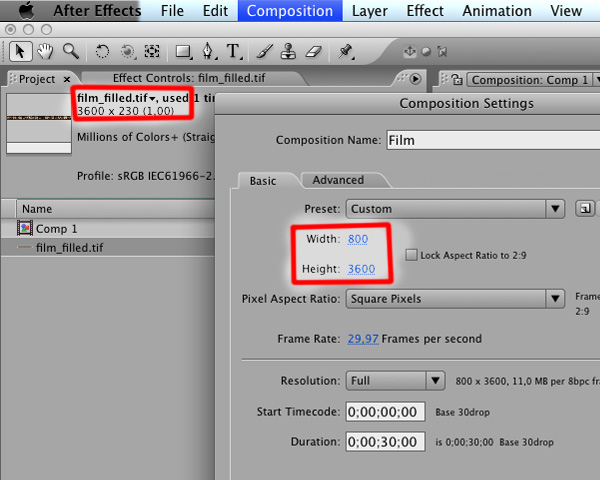
Put the height with 3600 and width at 800 or more. Here it’d be better to put your width with a bigger value, something around 2000 so the filmstrip can turn in any direction and will not be cropped. You would probably think to use ‘Grow Bounds’, but it doesn’t apply to plug-ins, just solids. Just follow, and you will see.
Step 10
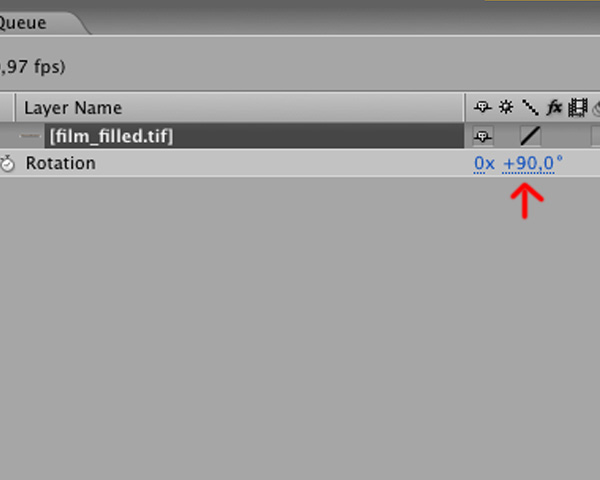
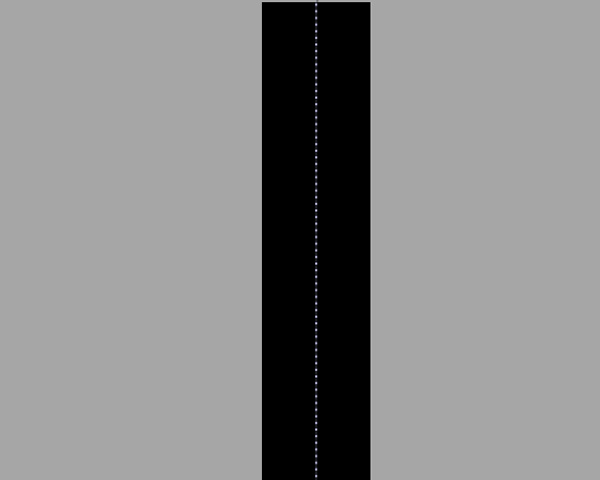
You have something like this. Just rotate you filmstrip to 90 degrees.

Step 11
Create a position keyframe in the Film comp. Put the film out of comp, on top and bottom.

Step 12
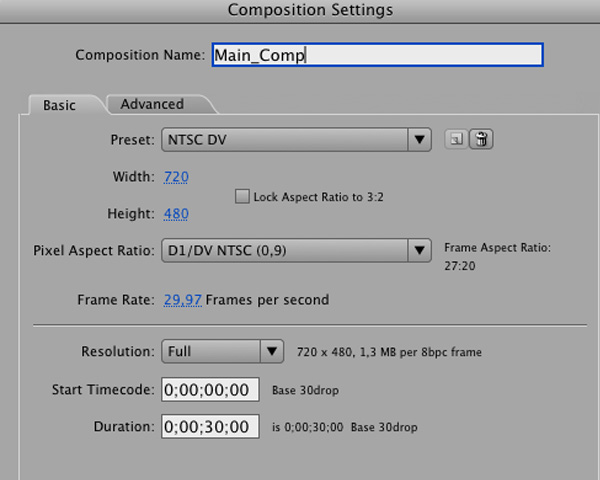
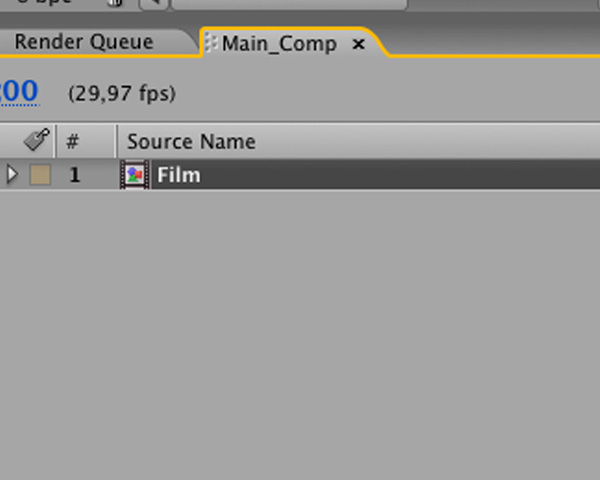
Create a new “Main Comp: and put Film composition inside.
Step 13
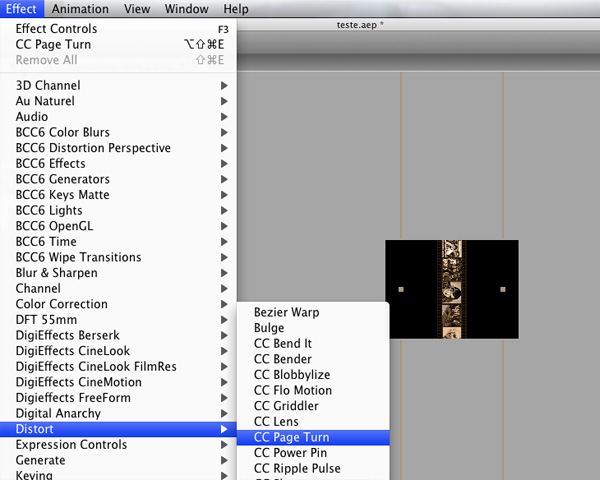
In the ‘Main Comp’, select ‘Film’ comp and choose ‘Effect’ > ‘Distort’ > ‘CC Page Turn’.
Step 14
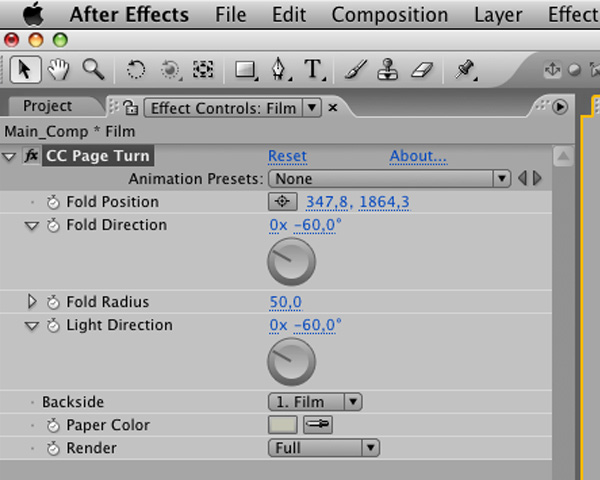
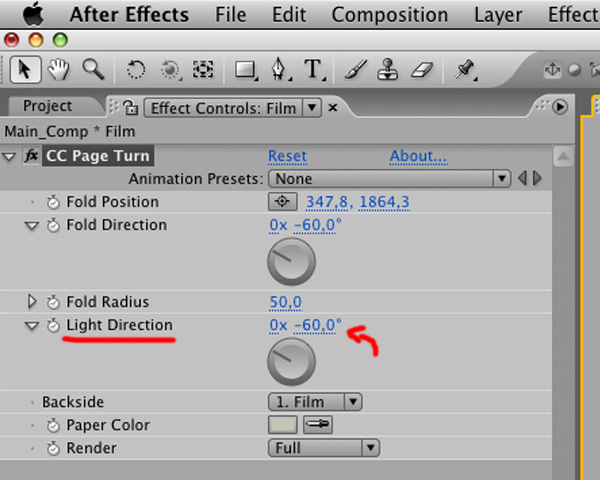
In ‘CC Page Turn’, change the values and see the effects. Your principle changes are: ‘Fold Direction’, ‘Fold Radius’, Light Direction’. These modifications will give the “turn” effect to the strips.

Step 15
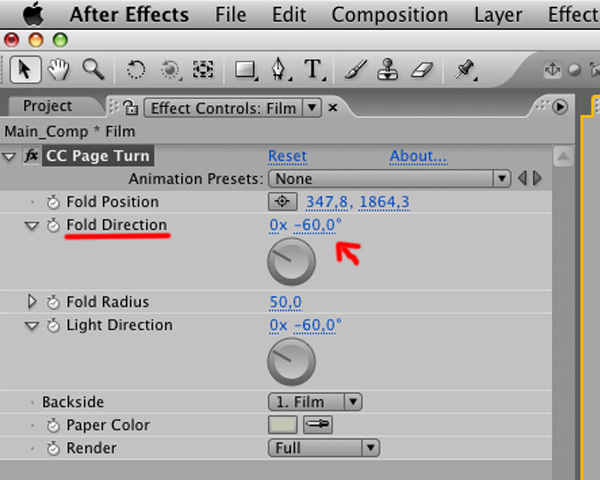
‘Fold Direction. Gives you the way to turn the image.

Step 16
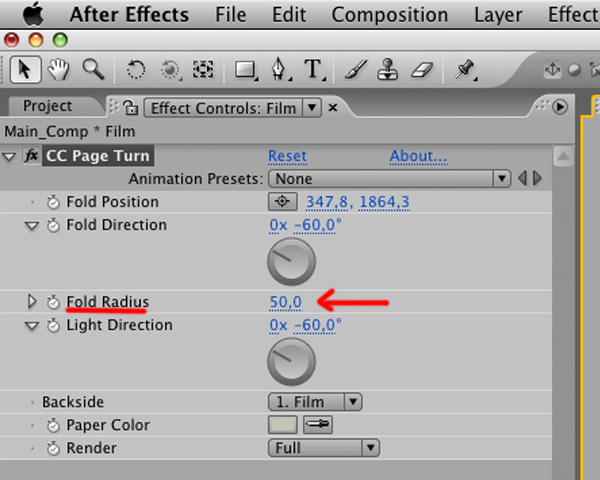
‘Fold Radius’. How large the curve for your film.

Step 17
“Light Direction’. Will how which direction the light stay. Gives some plastic effect.

Step 18
Now, let’s create a basic background just to fill in the blank space. Go to ‘Layer’ > ‘New’ > ‘Solid’.

Step 19
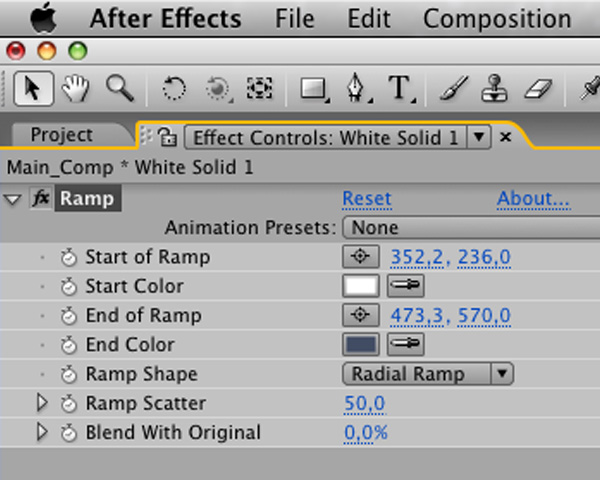
Apply ‘Ramp’ effect. Go to ‘Effects’ > ‘Generate’ > ‘Ramp’.

Step 20
Change the values to add some gray/blue color appearance.

Step 21
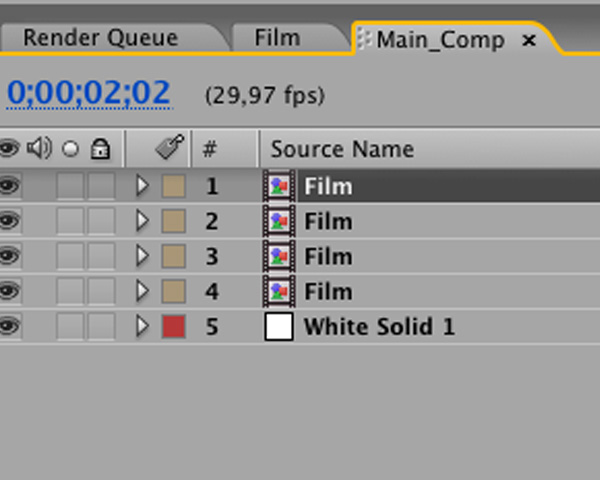
Now, in ‘Main Comp’, select the ‘Film’ comp and duplicate. As many copies as you prefer. Select and go to ‘Edit’ > ‘Duplicate’. Repeat.

Step 22
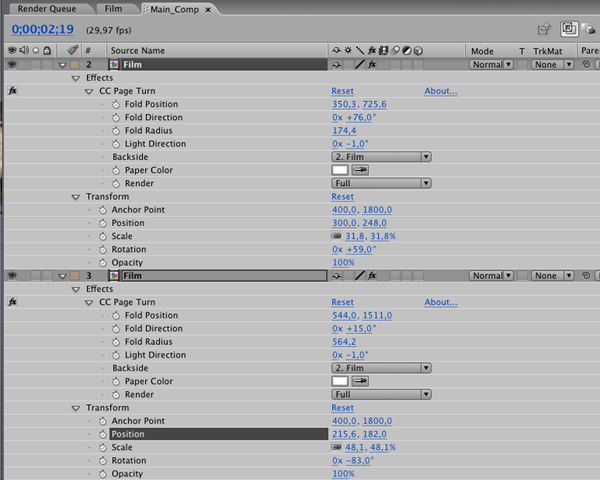
If you want add some configurations like my end result, you can see the settings below.
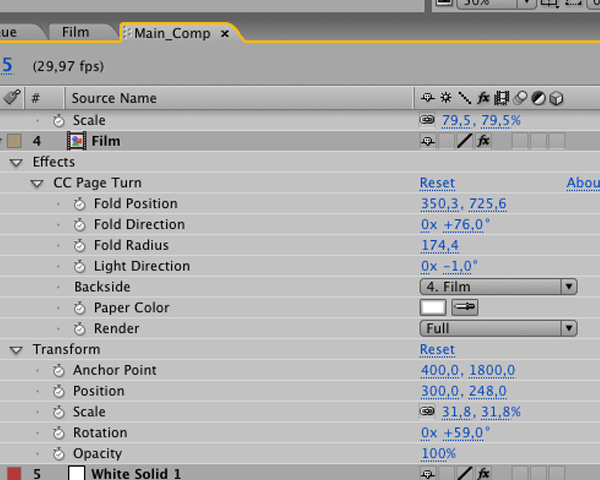

Final Image
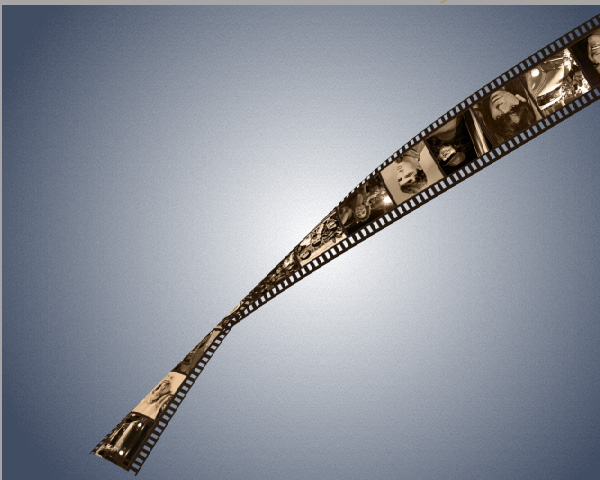
If you follow the steps, you will have something like this:
