I use to do quite a bit of work with 3D models and texturing was something that I did on just about all my projects. The biggest problem most people have with creating seamless tiles in Photoshop is getting rid of the seam, especially with small file sizes. Today, I will demonstrate a technique that will get rid of the seam every time. Let’s get started!
Step 1
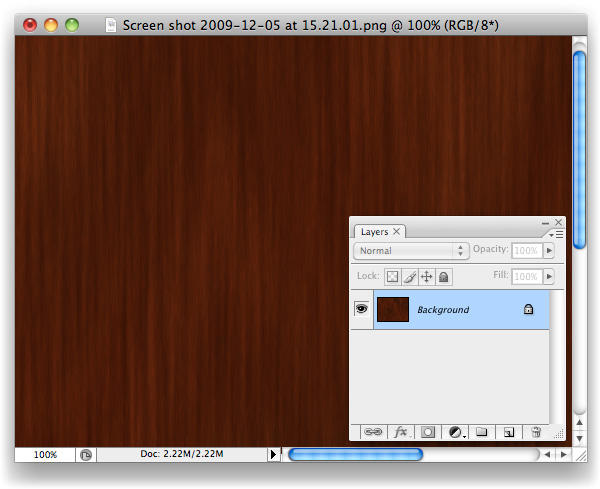
To begin, open up the texture you’d like to create a tile from. Any texture will do, for this example I chose a wooden background.
Step 2
Create a new document 400 x 400 pixels.

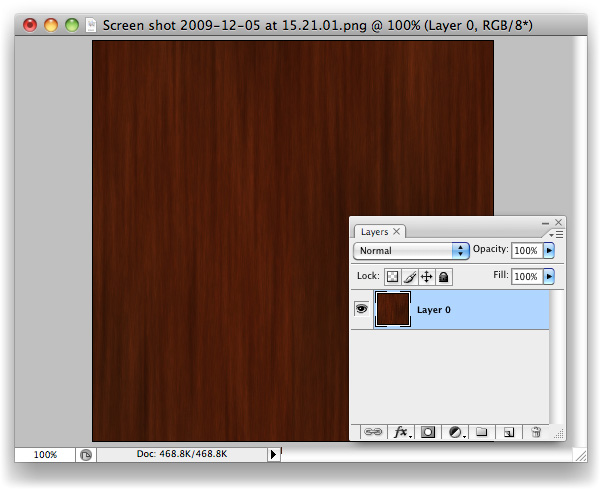
Step 3
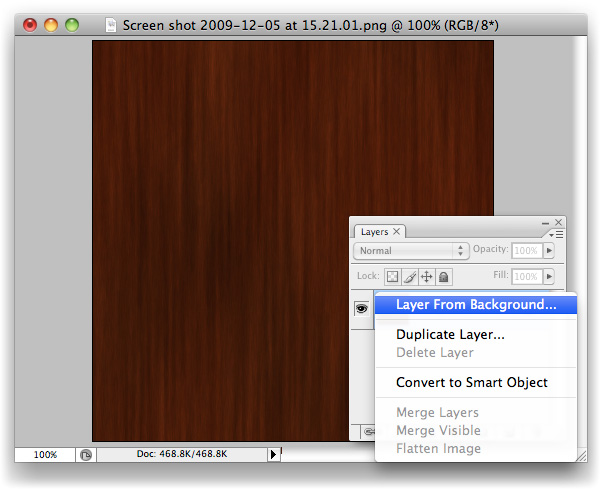
Crop the background layer down, if necessary and double click the background layer to unlock it and turn it into a regular layer.
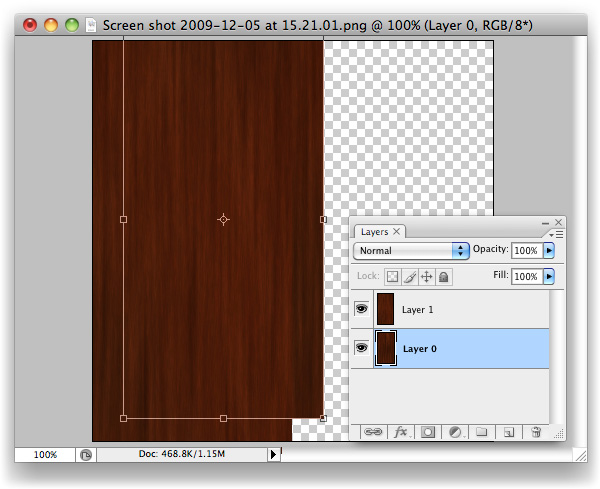
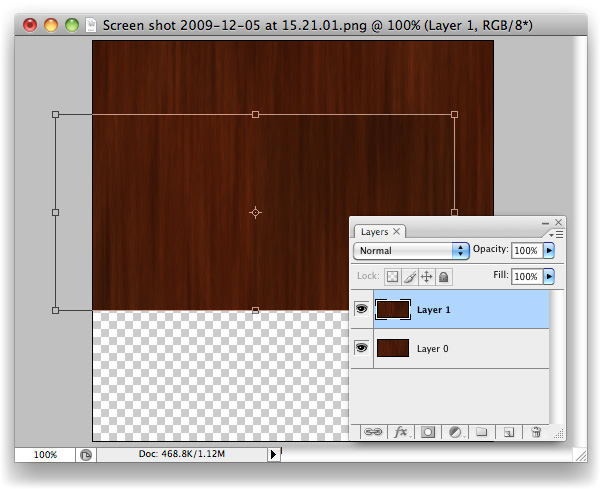
Step 4
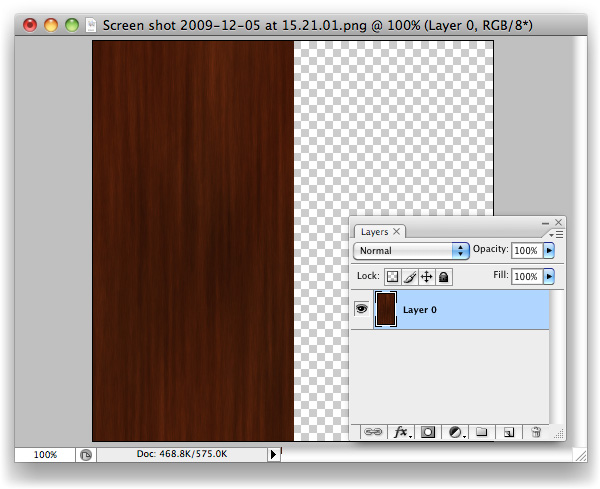
With the Marquee Tool, grab the entire right-hand side of the canvas.

Step 5
Cmd/Ctrl + X to Cut the selection away. You’ll be left with the left side of the image, on your "Layer 0".
Step 6
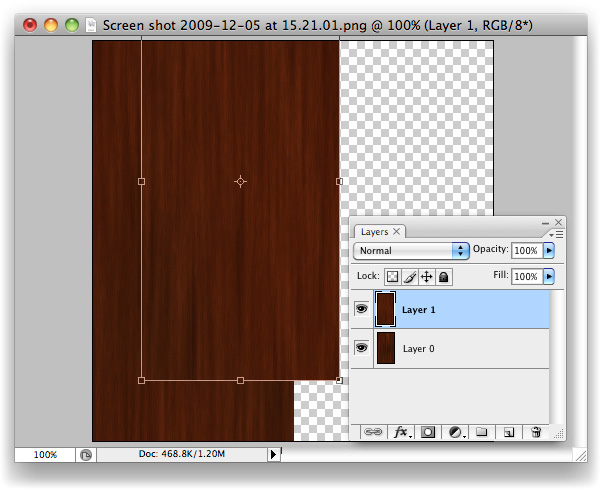
Cmd/Ctrl + V to Paste the selection that you just cut out back onto the canvas. It’ll be its own layer now, "Layer 1". You’ll want to drag it right over to where "Layer 0" is with the Move tool, snap it tight with the left-hand side of your canvas.
Step 7
Now select "Layer 0", and Move its contents over to where the right-hand side used to be.
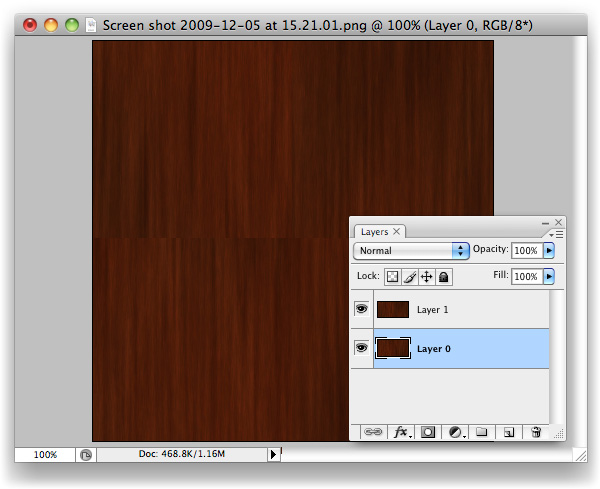
Step 8
What we have here now is the original image, sliced in half, with its pieces put in the wrong places. Amazingly, the background that I chose actually looks spot on after having done this, but you’ll likely see a seam of some sort along the centre.

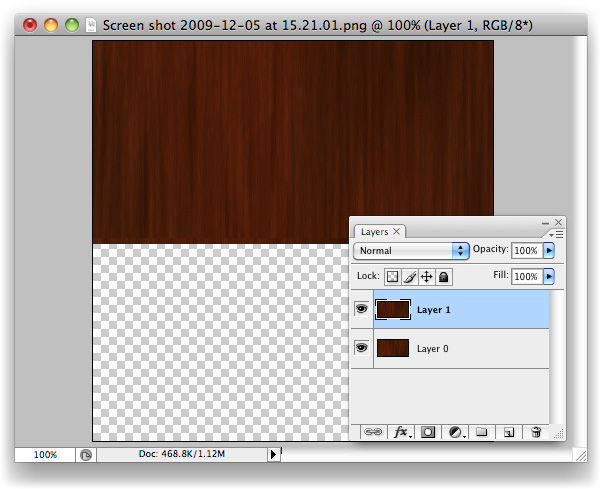
Step 9
With "Layer 1" selected, hit Cmd/Ctrl + E to Merge Down the layers on top of one another.
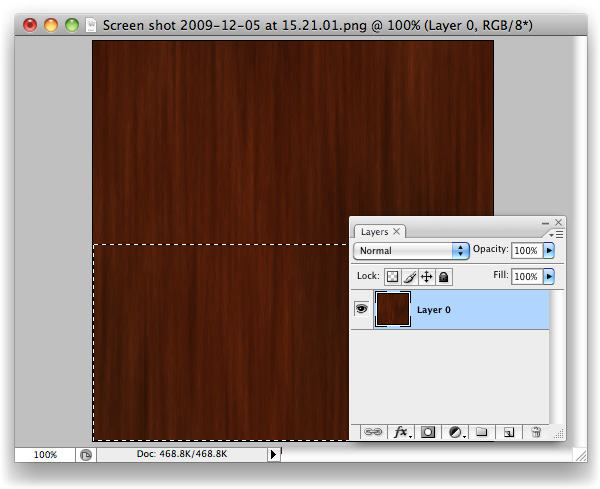
Step 10
We’re going to repeat the process once more, but vertically rather than horizontally. Grab the bottom half of the image with the Marquee tool (M).
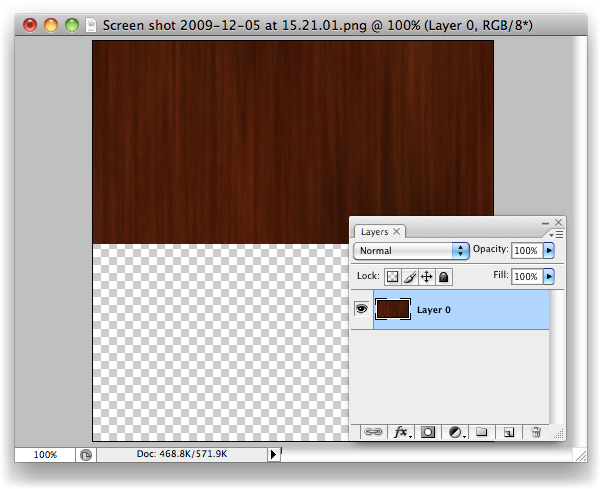
Step 11
Like last time, cut this selection out.
Step 12
Paste the bottom back in as a new layer and Move (V) it up so that it snaps tight with the top of the canvas, on top of "Layer 0".
Step 13
You should be able to guess what’s coming next? If so, you’re getting it, and this trick will soon be baked onto your brain and will, hopefully, save you lots of time in the future.
Step 14
Move (V) the contents of "Layer 0" down and snap it tight with the bottom of the canvas, where "Layer 1"’s content used to be.

Step 15
Here we go, check out that beauty of a seam. You’ll likely have two of them running through your image, whereas I’ve been fortunate enough to only have one (I still can’t believe the first cut was so clean!) What we’ve done is basically mimic the effect we would normally only see once we’ve applied a tiled image, and wonder how on earth to fix it. The edges of this image will tile perfectly, however, as we’ve moved the nice-and-tidy central area of the image over to the borders, and the original seams through into the centre of the canvas. Now we know that the problem areas are in plain sight, we can sort them out.
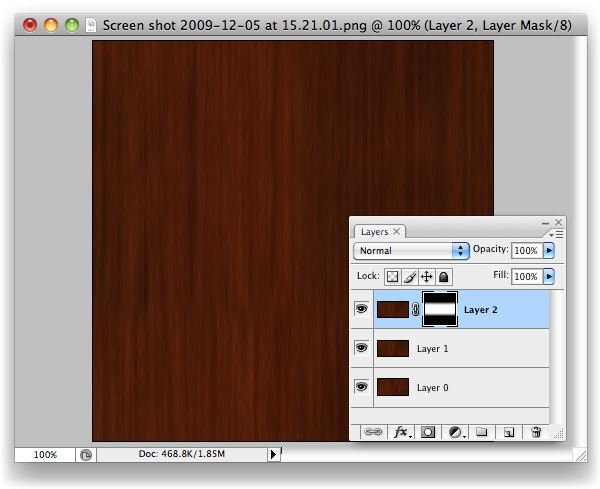
Step 16
Paste again. You’ll have "Layer 1" twice now, this second instance named "Layer 2".
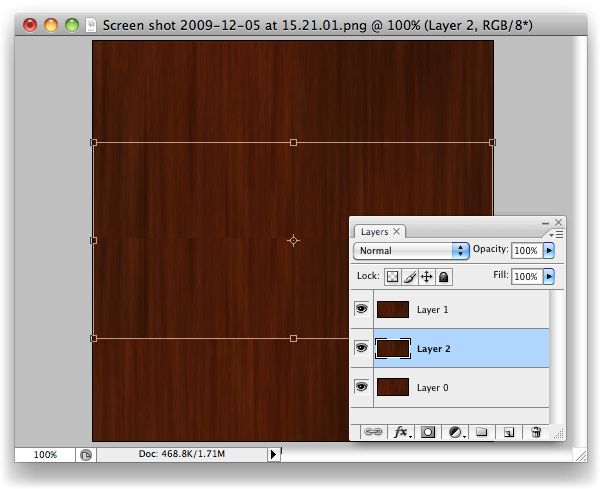
Step 17
Drag "Layer 2" up to the top of the layer stack (just grab it in the layers palette, move upward.

Step 18
Make a Mask on "Layer 2". It’s the third icon along at the bottom of the layers palette. Looks like a moon in a dark sky.

Step 19
With the Gradient Tool selected and Black > Transparent selected as the colour to be used with gradients, simply drag from the top of "Layer 2" down to about where I did in the screenshot.

Step 20
Same again with the bottom of "Layer 2", but upwards.

Step 21
Duplicate the new "Other Page" layer, and drag it underneath the original. Using the Levels panel (Command + L), drag the black Input Level over to the right and the white Input Level to the left slightly like in the image above to increase the intensity of the Gradient. Nudge this layer down slightly from the original "Other Page" layer, to reveal the second "Other Page". The increased intensity of this layer’s Gradient allows the effects of the gradient to be visible in this small space.
Step 22
At this stage, you’ve done all the legwork you should have to. If the gradients have left a sort of mushy, blurry edge, use a Brush and work into the mask a little to break the progressive line into a more choppy one. That should be all that’s needed to disguise the seam.

Final Image
You’ll now have your very own tiling image with seamless seams. More importantly, you should have a new trick up your sleeve that will hopefully save you lots of time in the future.
