
In this article, I will introduce you to the basics of oil paints; where to start and what to buy, allowing you to experiment and develop your own style.
Why Oil Paints?
There are so many reasons for using oil paints…
- the vast choice of colours that you can not only buy, but create yourself
- the thickness of the paint
- textures
- the smell—some artists love that smell
- and tradition—every new oil painter builds upon the generation before
A Little Bit of History
Oil paint is a pure pigment mixed with an oil, normally linseed, to produce the paint you buy in tubes. It has been around since about 625 AD, or so it is believed. Nobody really knows the true history of oil painting. Different oils have been used, including vegetable, poppy, olive, and nut, and all of them are very slow drying. Throughout history, these paints were traditionally mixed by the artist (or their assistants), but in the 1840s, the tube was invented, allowing for easy storage, carriage and mass production.
What Do You Need to Start With?
There are a few things you will need before you start painting in the first place (some of them very obvious). I will go into them in more detail further on:
- Oil paints
- Brushes
- Work surfaces
- Painting support
- Palette
- Oil
- Turpentine
- Palette knife
- A willingness to experiment and have fun
1. Oil Paints

There are so many colours to choose from that it can get quite confusing. To give you an idea, Winsor and Newton currently offer 22 different shades of yellow, and Daler Rowney’s Georgian Oil offer a selection of four shades of white. Some paints even have names that give you a real sense of achievement if you pronounce them correctly, like phthalocyanine turquoise, quinacridone magenta or cerulean blue.
To make it easy, there are starter sets that limit your palette, and introduce you to the most commonly used shades of different colours.
These sets can be a good place to start, and range in cost depending on how many tubes of paint are in them. However, there is a cheaper alternative that also gives you a bit more leeway in the colours you choose: student paints.
Student Oil Paints
These paints are still oil paints, but they are thinner, and the depth and richness of colour isn’t as good as artist quality. However, they are cheaper, and are a good place to start. You can buy these in starter kits, like artist quality paints, but you can also select individual tubes of paint if you wish. Just keep them to no more than about 10. Start with the following:
- Lemon Yellow
- Cadmium Yellow
- Cadmium Red
- Ultramarine
- Phthalo Blue
- Viridian Green
- Permanent Green Light
- Yellow Ochre
- Burnt
Sienna - Titanium White
As you can see from the list above, I have not included black. I tend
to create black from a mixture of my darkest colours, as I find black out
of a tube seems too unnatural and, well, black.
Or, if you prefer, experiment with the shades you love. You can also buy them in different sized tubes of paint (200ml, 120ml, and 37ml), allowing you to experiment with the colours you know you like and the ones you have just discovered.

Costs
There is an important point I would like to make about the cost of oil colours.
When you buy individual tubes of paint, you need to know that they are priced by Series. These Series range from 1 to 5, with 1 being the cheapest and 5 the most expensive. I have circled this information below—you’ll see it more clearly in the second image.


The difference between these Series is the cost of the original pigment. Some are costly to obtain (natural ones), while others are expensive to manufacture. Cerulean blue is infamously pricy, as are a number of pinks and yellows. This has always been the case; even Titian (also known as Tiziano Vecellio or Tiziano Vecelli), who famously used a lot of blue in his 16th century paintings, did so to show off the wealth of the patrons who were paying him. It was well known that blue was very expensive.
So be aware of the colours you choose. Some are a lot more expensive than others, but can be very much worth the extra outlay too. If you are tempted to go for Series 5, buy a 37ml tube.
Drying Time
Oil paints take a long time to dry. It can days, weeks, months or even years, depending on how thickly you used the paint, and how you thinned it—with oil or with turpentine, if at all. Patience is needed, but you can also work on more than one painting at a time.
One of the advantages of slow drying time is that it gives you time to change your mind. If, after a few days, you look at your painting again and don’t like it, you can simply scrape off the wet paint, and start again.
What Should You Buy?
I would suggest, to start with, going down the student quality paint route. Winsor and Newton do a great selection, as do Daler Rowney, and they can be easily found in art stores or online.
2. Brushes

Again, there are starter packs for brushes, but your local art store will also have a very wide choice. Above are five brush shapes that I think would be a good place to start.
You can see from my paint strokes that just by using the flat of the brush and then the side of it, I can get different effects. You can even turn the brush over and use the end of the handle to scratch into your paint.
Bristles on a good quality brush are natural, made generally from hog hair, and tend not to moult after a couple of uses (all brushes shed a few hairs at first). If you are using oil paints for the first time, experimenting with quality brushes would be to your advantage—they are more forgiving, they cover more canvas, and you can be rougher with them. And look out for wooden handles, avoiding plastic as that normally indicates a synthetic bristle.
What Should You Buy?
ProArte produce a wonderful range of good quality brushes, and you can find starter sets from most companies online or in your art store. I have an embarrassingly huge selection of brushes, from all sorts of different manufacturers, but in the end it is the shape of the brush that I go for above anything else.
However, avoid synthetic hair. It can’t stand up to a lot of use, and loses shape very quickly.
3. Work Surfaces
There are a number of surfaces you can create oil paintings upon. There are the standard canvas and canvas boards, and then cards, wood, walls and even metal.
Stretched Canvas and Canvas Board
There is a vast selection of sizes and shapes (below is only a tiny
choice). They include square, rectangular, tiny, and enormous to the point of immobility.

Stretched Canvas
A stretched canvas is a textured linen or cotton that is stretched around a wooden frame, and then primed ready for oil paint. When you lay a brush on it, it has a bit of give. The texture on these canvases can vary from rough to smooth—I prefer something that is in the middle.
You may have heard of box canvases. These are made in the same way, but the depth of the edge is far thicker, starting at around 2 cm. You can continue your painting around these edges, giving you the option of not having to frame your work.
Canvas Board
Canvas boards work in the same way as a stretched canvas, but the canvas is stuck down on a thick card. As a result, they are very portable and easily stored, and it is much easier to scrape into the paint than with canvas. However, you are limited by size—they tend not to be any bigger than 40 x 60 cm, because if they are any larger they will warp.
Card
This is where you will need to do a little bit of preparation. Card is wonderful for small projects, practice runs and experimentation, but it will need to be prepared first, as oil paint will just soak in and spread.
Oil painting primer or gesso is available in all good art stores and online. It is applied to the surface of the card, and once dry, you can then work.

Other Surfaces
The surfaces you can paint on all depend on priming, as I noted above. There really is no limit when it comes to what you paint upon, as long as it will accept primer. I have a friend who loves to paint on weathered wood. The surface is porous, but takes primer well, leaving him with an unpredictable and very textured surface.
You can also try metals and walls, but remember that oil paint takes a good long time to dry.

What Should You Buy?
I would recommend starting off medium to small, and on either stretched canvas or canvas board. Get a feel for the different types of surface, and how you like to work: in detail, boldly, or both.
Look for primed canvases, as they are ready to work on without you having to prepare them. They are very readily available at all art stores and online.
4. Supporting Your Work
I prefer to stand when I work, using an easel. I like to step back when I am painting to give myself a different view, and if there is good music on, some dancing may be involved too.
Wooden easels are the standard, but try to avoid both portable and metal ones, because they tend not to feel as sturdy as a standard wooden one.
If you would rather work seated, there are table-top easels that you can set either upright or at an angle, depending on your preferences.
What Should You Buy?
Easels range greatly in price, but to start with, choose a smaller one and stay at the lower price range. Your local art store will have a selection that isn’t too expensive, and you should be able to fiddle with them to get an idea of how they work and how to make yourself comfortable before you buy.
Once you find your feet, you will have a better idea of your needs and can then buy a larger easel if you prefer.
Daler Rowney do a very good selection if you would like to look online.
5. Palette
We have all seen the romantic view of an artist standing with a curved palette as they are working at their easel. The paint is placed neatly around the palette’s edge and the artist’s thumb is poking through a hole. These palettes are available, but I find them heavy, awkward to hold (you need to keep your arm up at all times) and limiting in size. Besides, I could do with using that hand for holding extra brushes, a rag or a drink.
What to Use?
You don’t need to buy anything specifically made for the job. An old plate will do just as well.
Below is a well-used palette. It is placed on a table at the side of the
easel (along with other bits and pieces), is a good size and is made from a piece of laminate that is normally used for making cheap wardrobes (I bought it in a DIY store where it was cut down to size for me). Look for something that is non-porous and has a slight sheen to it.

My mum is using an old kitchen cupboard door at the moment. Anything that will allow you to lay out your paints will do.
Working With a Palette
Laying your paint out around the edge in a specific order is the only way to go. As you can see above, the colours go from yellow to orange, red, pinks, brown, greens, blues, purples and (if you are using it) black. White is normally placed before the yellow. This is done to help you keep your tube colours clean, and when you run low, you know where to squeeze out more. You’ll also find you can select the colour you want without thinking if you always put it in the same place.
The centre of the palette is used for mixing your shades. This is the bit you scrape clean after a day’s painting ready for your next session.
If there is a gap between painting of days (or weeks), you can cover your palette with cling film to keep the surface of your paints wet.
6. Oils
While working with oil paints, you may wish to thin your paint, or slow down its drying time. This might not always be the case, but linseed oil will give you that option.
Dispense a small amount of oil into a small container that has a lid. Anything will do, even an old face-cream jar. The lid is to help store your oil. Don’t return it to its original bottle, as you will more than likely have touches of paint floating about in it, and the unused oil will be contaminated.
Using your brush, dip it into the oil, and then mix it into your paint on the palette before applying it to the canvas.
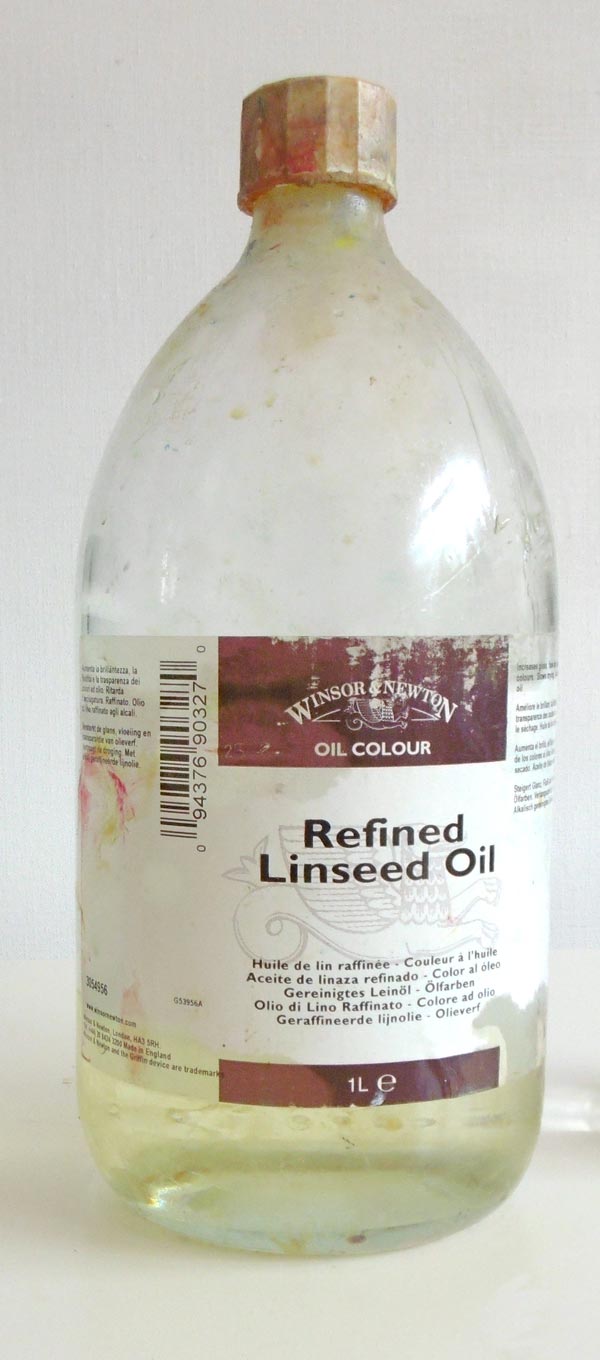
What Should You Buy?
Anywhere you can purchase oil paints will also supply linseed oil. Make sure you buy refined linseed oil, and that it is not for water mixable oil paints. (Raw linseed oil is generally used to treat wood.)
Winsor and Newton have a very good quality one, as do Daler Rowney and Ken Bromley Art Supplies.
7. Turpentine
What Is It Used For?
- creating thin washes to initially cover your canvas at the beginning of your painting
- thinning your paint instead of oil (Salvador Dali did this)
- cleaning your brushes
Pure turpentine is best and can be bought in art stores or online. Don’t use the stuff you can get at DIY stores, because it’s not good for your brushes.
You can buy low-odour thinners too, if you find the smell of turpentine too strong or are working in a small space.
8. Starting a Canvas
I would recommend either using charcoal on your canvas to map out the layout of your painting or thinned (with turpentine) paint.
Once you have your layout, you can keep using thinned paint to block in colour. This will dry fairly quickly and will be easily worked over.
Some artists use thin paint like this to build layers of colour up as their preferred method of painting, while others then use pure oil paint, achieving texture, and thick paint effects.
9. Palette Knives

Palette knives are wonderfully versatile. They can be used for mixing paint on your palette, laying down paint on your canvas, scraping into wet paint to create texture or pattern, or, if you don’t like what you have done, you can use them to scrape off the offending painting.
10. Cleaning Up
Quite frankly, this is the worst part of painting, but if you want to look after your tools, it’s a very good habit to get into every time you paint.
Palette
Using a palette knife, scrape any excess paint from the middle of your palette, and if necessary, use a turpentine-dampened rag to get it as clean as possible.
As I said before, leave your paint around the edges, and if you are coming back in a day or two, you don’t need to do anything. However, if you aren’t, cover the paint with clingfilm.
Brushes
If you leave them in a jar of turpentine overnight, or any longer, they will become misshapen—I’ve done it, and I could kick myself at the waste of money and the loss of many a favourite brush.
I would suggest you use disposable or rubber gloves for this so you don’t have to worry about getting paint off your hands.
Wipe your brushes on a rag, trying to remove as much paint as you can, and then rinse them in a jar of turpentine. Place a bar of soap in the palm of one hand and swirl your brush into it, creating a lather, and then rub the soap into your brush, right up to the base. Rinse this in water and repeat. You can normally do a few brushes at the same time.

There are specialist cleaners that you can use instead of soap (above), but they are expensive. However, they are good to use from time to time as they will treat your brushes as conditioner treats your hair. The Masters is very good, and you can find it online.
Turpentine
Don’t throw dirty turpentine down the sink. Use an old bottle to put it in, and when it is full, either put it in the bin, or, if your council objects to this, take it to your local dump for proper disposal.
After a while, in your dirty bottle, you will notice that the paint will separate from your turpentine, settling to the bottom. If you are careful not to disturb this old paint, you can reuse the turpentine for cleaning again.
11. Varnishing
I like to varnish my paintings when they are finished. It helps to protect them, and can give my colours a whole new depth.
Varnishing, however, can really only be done six months after you have finished your painting, so you’ll need some patience.
There are three types of varnish: gloss, silk and matt. I tend to mix half matt with half gloss to give me a silk finish (therefore avoiding the need to buy silk in the first place). It doesn’t reflect light on my work, as pure gloss does, and I don’t like the matt effect—but that’s a personal thing.
Paint the varnish on in broad horizontal strokes from top to bottom, and then, when it is dry, paint it vertically from left to right. Use a large square sable brush for this, and make sure it isn’t moulting.
Conclusion
Oil painting is about experimentation: finding out if you like thick paint or thin, texture or flat, or a combination of all four. Oil paint and its associated supplies
are easy to obtain and all worthwhile art shops will stock them, giving you a choice of either artist or student quality.
Oils
are a part of history, so take the plunge and have fun!
{excerpt}
Read More