Taking photos at night is not an easy task. Photos taken without adequate lighting often look dim or grainy; they typically don’t look the same as what we see with our own eyes. That is why it is sometimes easier to convert a daytime photo to night using Photoshop than it is to try to take the same photo in the evening hours. In today’s tutorial we will demonstrate a quick technique to make your photos look as if they were taken at night. Let’s get started!
Original Image
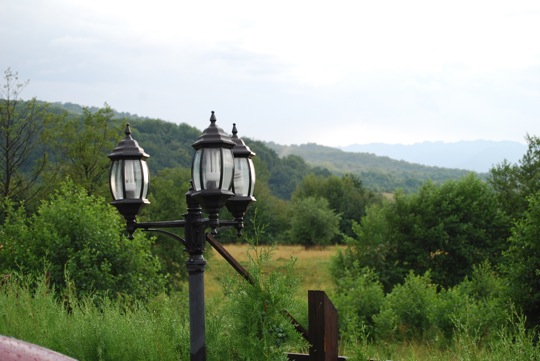
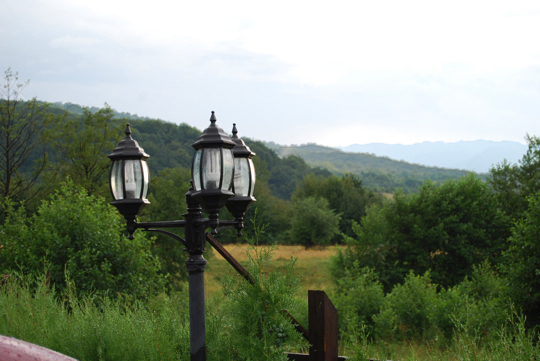
Before we begin, let’s take a look at the original image that we will be working from.
Step 1
Open your image in Photoshop. Now create a duplicate of the Background layer. Next we’ll be creating the filter stack which will help us preserve the picture’s details while darkening it. Now convert the duplicate layer to Smart Filters (Filter > Convert for Smart Filters) so that we can edit the filters whenever we need to.
Step 2
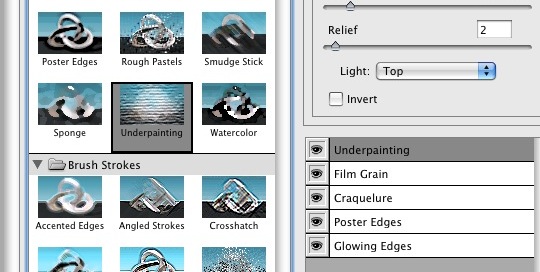
This image shows the Filter Gallery with a stack of filters in the lower right panel of the window. This is just an example of how a filter stack looks like – some of you probably didn’t even know that you can do this. We’ll be creating our own stack in a minute.
Step 3
Now, open the Filter Gallery (Filter > Filter Gallery) and we’ll begin making the filters stack. As a note, you could also do this by applying individual filters on the layer, stacking them in the Layers Palette, but I prefer to use this approach because I think it’s quicker this way, and probably because it has a lower impact on memory usage as well.
Next, make sure you clear the stack if you have used it before by clicking the Trash icon at the bottom of the stack panel until you only have a filter left in the stack.
Step 4
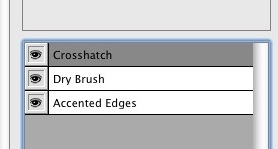
It’s time to get messy. For the first item in the stack, choose the Accented Edges filter from the Brush Strokes category. This will accentuate the picture’s edges, preserving its details while darkening. The values used are as follows: Edge Width: 2, Edge Brightness: 38, Smoothness: 5.
Step 5
Next, add a new item in the stack by clicking on the button next to the Trash icon you clicked earlier to empty the stack. This will duplicate the first filter and will be added above it. Now choose the Dry Brush filter from the Artistic category, and give this filter the following values: Brush Size: 6, Brush Detail: 9, Texture: 1. This will help us darken the photo.
Step 6
Finally, add a last item in the stack – Crosshatch from the Brush Strokes category, with the following values: Stroke Length: 9, Sharpness: 6, Strength: 1. This last item will sharpen the other two filters.
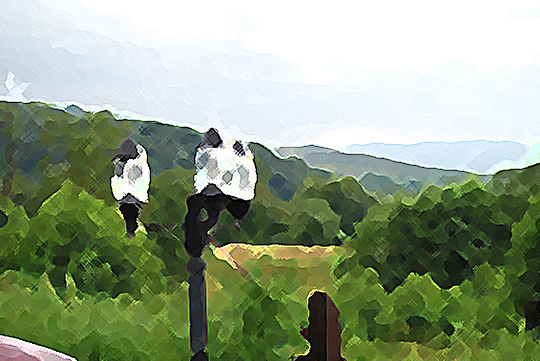
Right now, it doesn’t look very promising (check the image below), so we need to fix this. Make sure the smart filter layer is selected and from the Blending modes choose Linear Burn, and then give it a 40% opacity.
Step 7
Now it looks better, but it doesn’t look much different from the original. But after applying some adjustment layers, you’ll see that these filters have a big impact on making it look like it was really shot during the evening.
The first adjustment layer that we’re going to create is Brightness/Contrast. Give it a brightness of -50 and a contrast of 0.
Step 8
Next, add a Hue/Saturation adjustment layer with a saturation of -20 (the other two controls must be 0). Now add an Exposure adjustment layer with an exposure value of -0.45, an offset of 0 and make sure Gamma is set to 1.
Step 9
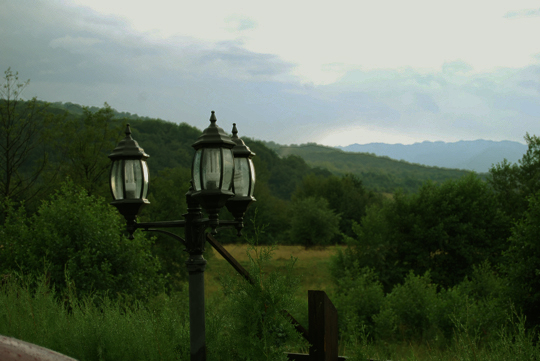
Wait, there’s something more to add. Add a Vibrance adjustment layer with a vibrance of +20 and 0 saturation. Finally, add a Levels adjustment layer, then select the Red level from the Levels dialog and give it the following values: 0, 0.91, 255. Do the same thing for the Blue level with these values: 0, 0.79, 255. The final result is below!
Additional Example
In this example I’ve used a value of 40% for the layer’s opacity. This value of 40% will be used for large images and landscape pictures (and I’m not referring to the page orientation). In case of a portrait or a small picture, you should use a value of 15%.
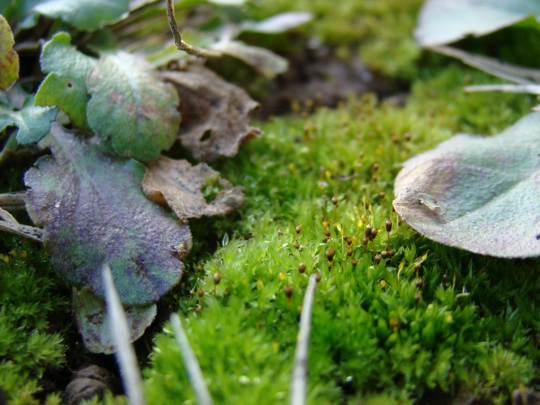
Before applying the effect.
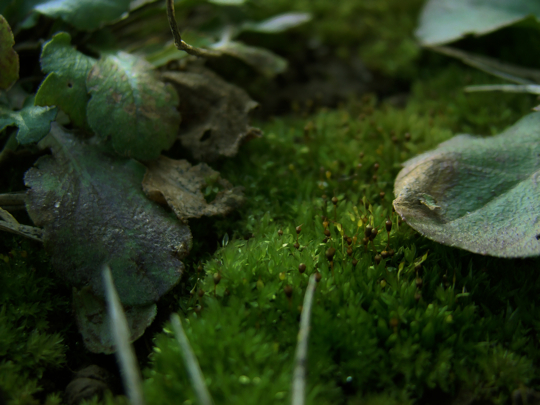
After applying the effect.
Download the Action
We have provided the action for this tutorial in the Extras folder for this tutorial’s download which is available exclusively to Psd Premium Members.